2 Setting Up Your Course Team
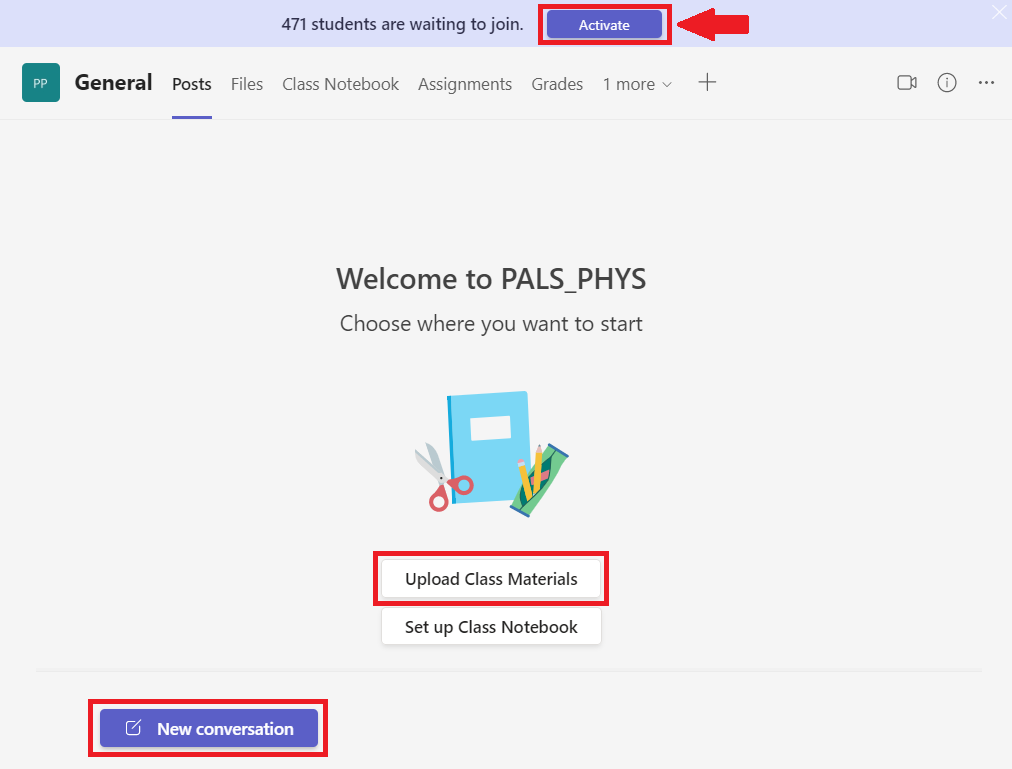
When you open your team for the first time, you will see the following page. Notice, at the top, that it shows you have students waiting to join. This is only present before you activate the team. This will provide access to the course to all of your students. Do this when you are ready for them to see the course Team.

Upload Class Materials
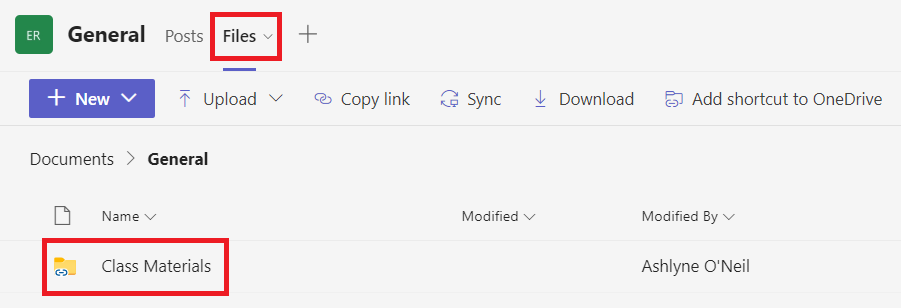
This will bring you directly to the Files location within your Team, and will create a Class Materials subfolder.
If you are posting editable files you would like students to have full access to (for example, if they are collaborating on something, or you are doing a breakout room activity), you can share them directly in the chat or the Files location.
If you would like to post read-only materials for students, upload them to the Class Materials folder within that Files area. Class Materials is “read only” and allows students to access the files, but not change them.

You can find more information about this in the following sections:
New Conversation
This will open up your conversation box. You can use this for general discussion, posting announcements, sharing files, etc.
You can find more information in the following sections:
- Notifying Students
- Announcements
- Communicating with the Team
- Look at the Document I Posted
- Formatting Text
Other Team Tabs
Assignments allows you to create, organize, grade, and provide feedback for assignments within your team. To learn more about this, go to the Creating a Basic Assignment page.
Grades will bring you to a page with your class list and their assessment-specific activity (viewed, turned in, grades, etc.). Unless you specifically know otherwise, this grade section will not be integrated with your institutions grade system.
Class Notebook is an optional function. We are working on the help page for it.
Media Attributions
- Teams-CourseHomepage3
- Teams-ClassMaterialsFile

