Protocol for setting up DHFR protein crystals

|
Materials and Reagents
|
|
| Reagents: | Materials: |
|
|
Protocol for setting up Intelli-PlateTM
You will be using the Intelli-PlateTM system to set up protein crystal drops using the sitting-drop method.

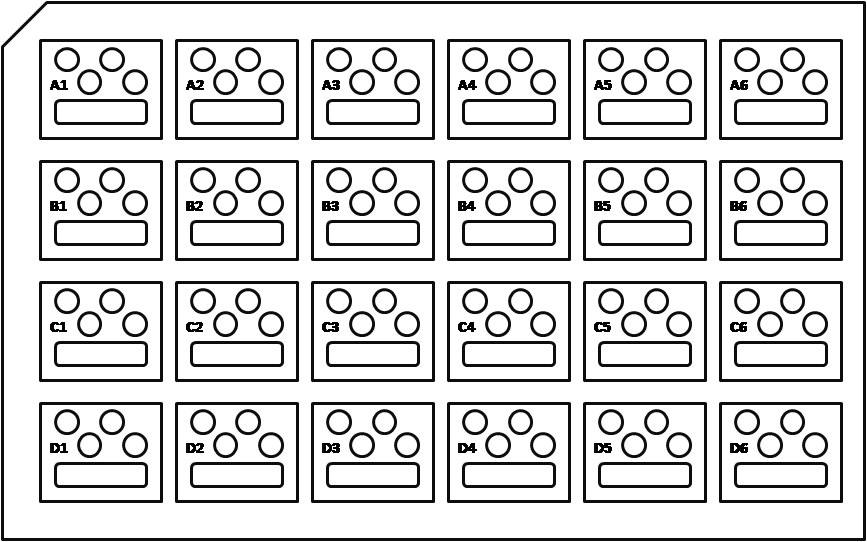
Figure 1: Schematic diagram of Intelli-PlateTM (Image created by Felicia Vulcu.)

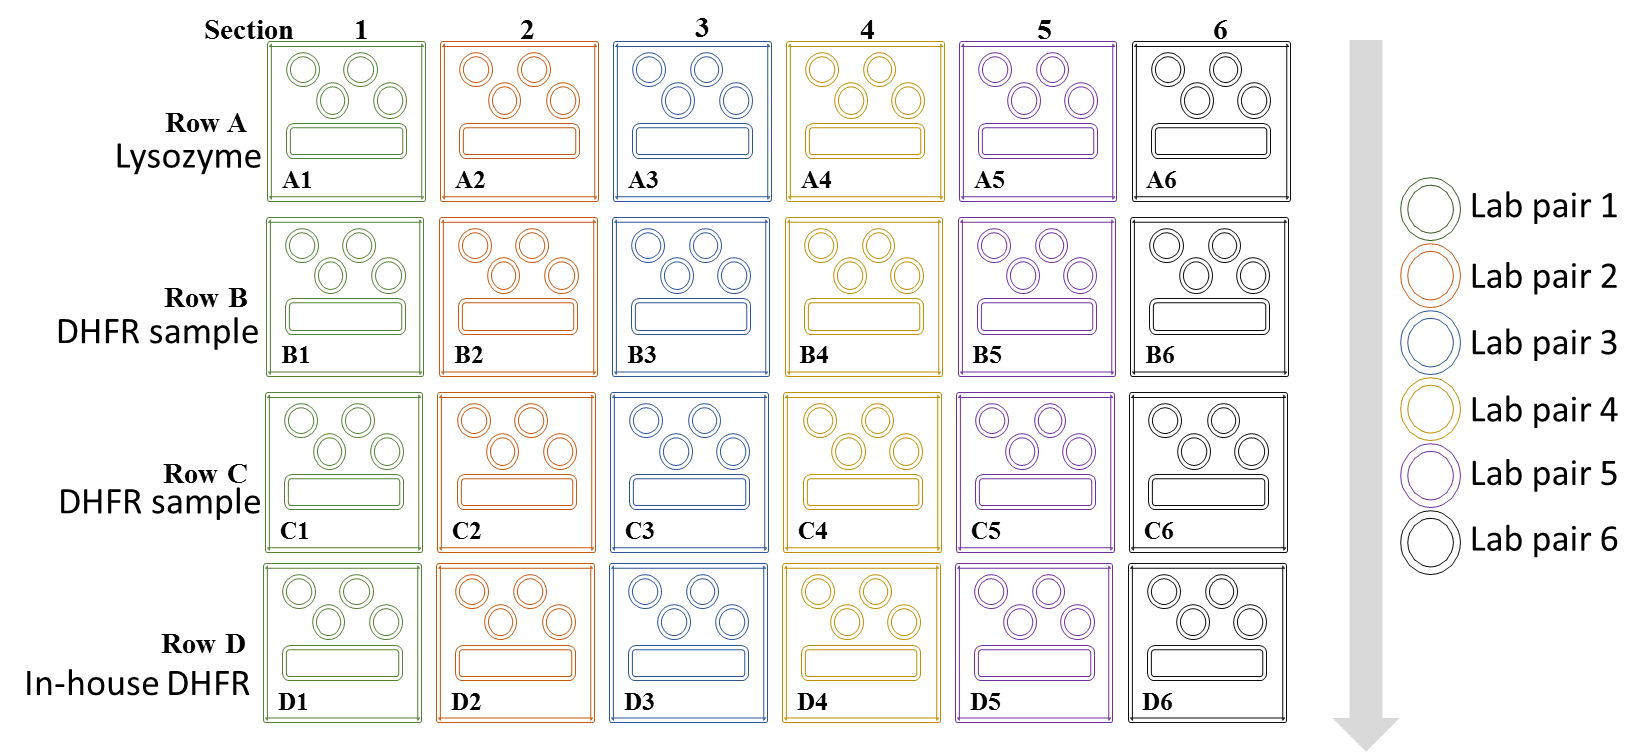
Figure 2: Schematic diagram showing 1 row of the Intelli-PlateTM containing the 6 different sections. Please note, each row on the plate is labeled A-D and each section is labeled 1-6. Each section contains 4 wells and 1 reservoir buffer. (Image created by Felicia Vulcu.)
Please click this hyperlink to watch How to set up the Intelli-Plate
Please note that multiple students can utilize one Intelli-PlateTM
Intelli-plate section:
Ensure you have labeled the plate PRIOR to loading.
1. Add 600 µL Well Solution to each reservoir.
For each section on the plate:
2. Row A will include the positive control protein solution containing Lysozyme. Prepare a mix of 50% lysozyme solution, 50% well solution to a total volume of 40 µL in a newly labelled microcentrifuge tube. Aliquot 3 µL into each sample well; 4 wells per section, 12 wells total.
3. Rows B and C will contain the DHFR protein samples you chose to test from your protein purification experiment. Combine 5 µL DHFR protein sample 1, 5 µL Buffer A and 10 µL Well Solution. Aliquot 3 µL into each sample well, 4 wells total.
4. Row D will contain the provided DHFR sample (4 mg/mL concentrated. Combine 5 µL DHFR protein sample 1, 5 µL Buffer A and 10 µL Well Solution. Aliquot 3 µL into each sample well, 4 wells total.

When all team members have loaded their samples on the plate, your instructor will help you apply the sealing film. Ensure you have labeled the side of the plate for identification next week.
Plates will be incubated at room temperature for 1 week.

