Protocol for bacterial transformation – heat shock method
Right, so what is the readout of a bacterial transformation? Formation of bacterial colonies on an LB-agar plate. Check out the following LB-agar plate result. Use your mouse button and scroll from right to left to see the formation of bacterial colonies 24-hour post incubation of the transformed E. coli DH5α cells. Super cool!
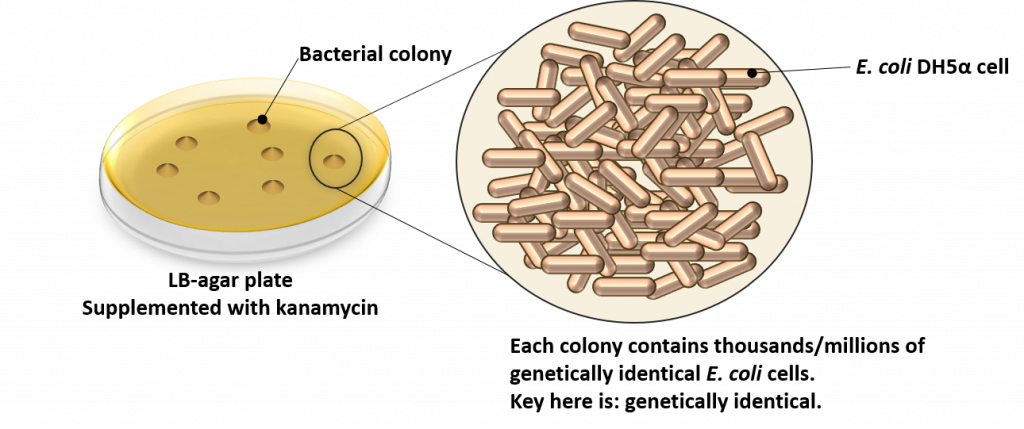
OK, so what’s in a bacterial colony? Well, to understand this we first need to know what a colony is. As the name implies, a colony is a cluster of individual E. coli DH5α cells. As can be seen from the following image, bacterial colonies appear on the surface of the LB-agar plate. Each colony is composed of individual E. coli cells that are genetically identical. This is the key to the entire transformation process, and one of the main reasons for growing transformed cells on solid (aka. agar) media versus liquid media: to isolate colonies of genetically identical cells.
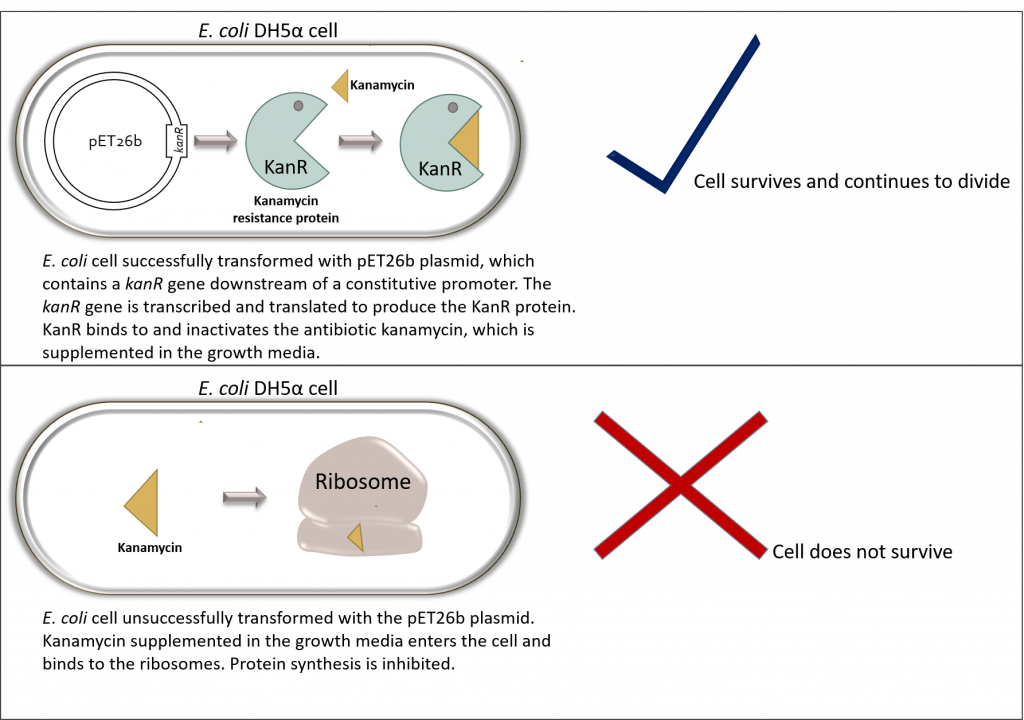
In our system we use use kanamycin to select for E. coli cells harboring our desired plasmid (pET26b). In theory, all bacterial cells that have not been successfully transformed with our plasmid should not grow on LB-agar plates supplemented with kanamycin. Why? Because the plasmid contains the kanamycin resistance gene upstream of a constitutively expressed promoter. As soon as the plasmid enters the bacterial cell, the KanR protein is expressed and inactivates the antibiotic kanamycin. These cells will survive and continue to divide over time giving rise to bacterial colonies. All other cells should be inhibited by the antibiotic.
Want to know more about antibiotic resistance genes? Check out this blog from Addgene:
Plasmids 101: Antibiotic Resistance Genes
This is great news as it means a few of our possible ligation products will be automatically streamlined by the bacterial cell. For example, the folA concatemers do not have a kanR gene, therefore these ligation products will not yield bacterial colonies. The same goes for pET26b plasmid concatemers. These ligation results are not only extremely rare, but they contain two origins of replication, which makes DNA replication quite difficult to control. Want to know more about the origin of replication? Check out this blog from Addgene: Plasmids 101: Origin of Replication
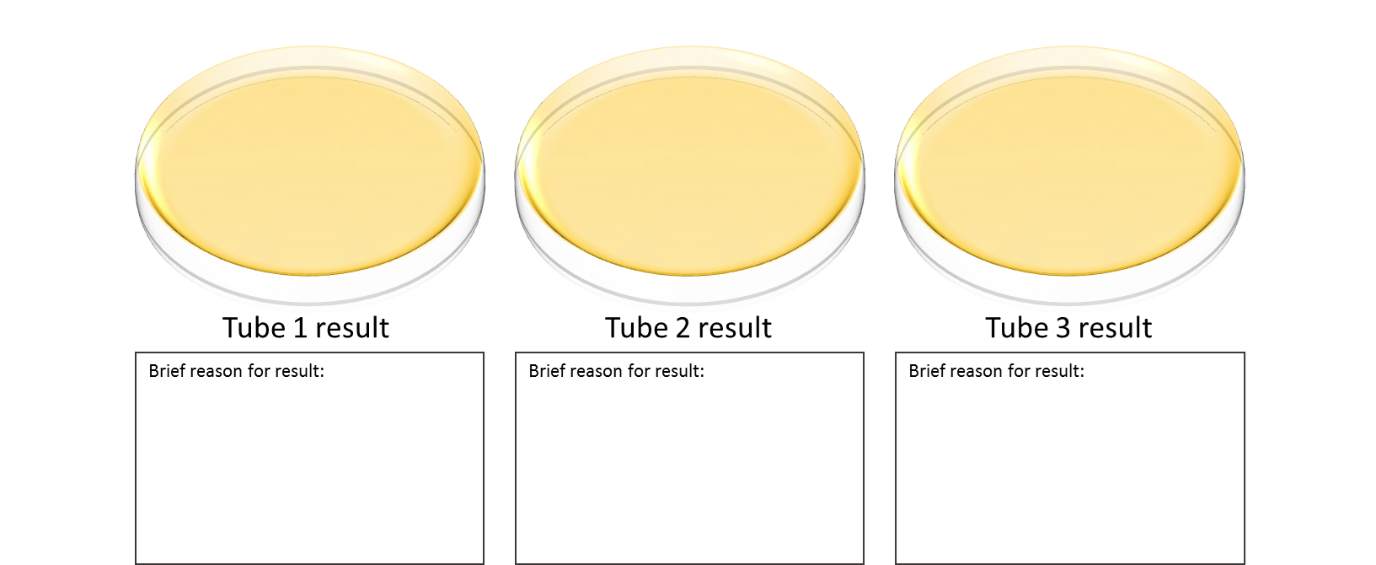
PRIOR to the lab, draw out the hypothetical results you expect to see from your 3 reactions (i.e. draw a Petri dish and whether or not you expect to see colonies). Briefly explain your hypothetical result for each reaction. You will discuss these during the lab time.

Please click this hyperlink to access the virtual lab bench
|
Materials and Reagents
|
|
| Reagents: | Materials: |
|
|
Please make sure that you work with the liquids on your designated work surface. Do NOT work over your books! Always stay alert and UNDERSTAND what you are doing and WHY you are doing it!
1. Obtain aliquots of E.coli DH5α chemically-competent cells (each aliquot contains 50 µL of chemically competent cells).
2. Thaw the E. coli DH5α chemically-competent cells on ice. This is important as thawing away from ice can reduce ability of the cells to uptake foreign DNA.
3. Add 2.5 µL of your ligation reaction to 1 aliquot of the E. coli DH5α cells . Repeat this step for your subsequent ligation reactions. Make sure you label your micro-centrifuge tubes appropriately.
4. Place aliquots of E. coli DH5α cells on ice for 10-20 minutes.
6. Heat shock the cells by placing the aliquots of E. coli DH5α cells in a 42 °C heat block for 42 seconds.
7. Quickly remove the E. coli DH5α cell aliquots and place them on ice for 2 minutes.
8. Using proper aseptic technique, add 450 µL of sterile LB to each aliquot and place tubes in the 37 °C cell shaker for 20-30 minutes.
Fun Fact: SOC (aka. Super Optimal broth with Catabolite repression) medium can be used at this step in place of LB medium. SOC medium is similar to LB, with the addition of other salts and glucose to increase transformation success (20).
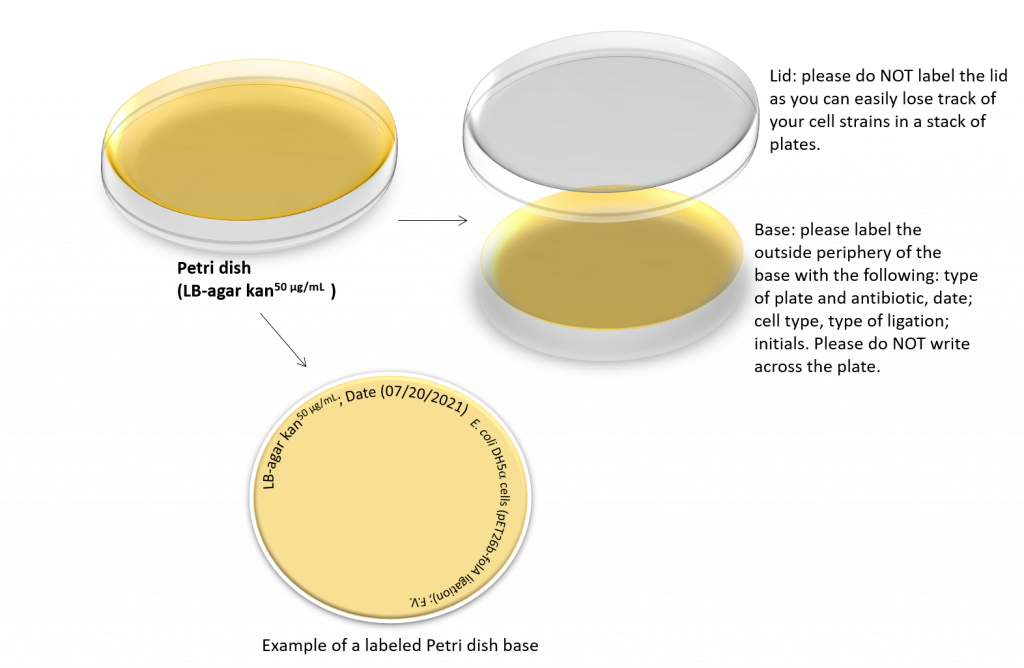
9. During the 37 °C incubation, obtain your LB agar plates (containing kanamycin) and allow them to warm to room temperature. Label the plates as shown:
Fun fact: we cannot plate the entire 500 µL cell mixture as the volume is too large and will overwhelm our LB-agar plate. We have two options here:
- Remove a 100 uL sample of our cell suspension and plate this sample on our LB-agar plate. This works extremely well unless your goal is to introduce all the cells on the plate.
- Concentrate the cells in our reaction tube into 100 µL of LB, then plate the entire volume on LB-agar plates. This is the option we will be using.
10. After the 20-30 minute incubation, please spin down the cells at 10,000 RPM for 1 minute. During this time take out a fresh, 1.5 mL microcentrifuge and label it “Sup” for supernatant. Place the empty tube in your tube rack for future use. Following centrifugation your cells will be concentrated at the bottom of the tube in the pellet. This means we can change the volume of our LB medium from 500 uL to 100 µL prior to resuspending the cell pellet in the medium. Resuspension means pipetting up and down in the LB medium until the cell pellet is distributed evenly in the liquid medium.
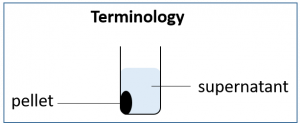
11. Gently pipette out the supernatant taking care not to disturb the pellet. It is OK if you leave behind a few µL of LB; you do not need to get rid of all the liquid. Place the LB in the freshly prepared tube labeled “Sup”.
12. Remove 100 µL of LB from the tube labeled “Sup” and add this to your pellet tube. Re-suspend (i.e. mix) your cell pellet by pipetting up and down several times. Take care not to introduce bubbles in your mixture (don’t go to the second stop when mixing as this will introduce bubbles).
13. Pipette all 100 µL of the transformation reaction onto each plate using proper sterile technique and spread around using a sterile bacterial cell spreader.
14. Leave the plates right side up on the bench. The plates will be transferred to the 37 °C incubator at a later time. Remove your plates the following day. A colony from each of your test plates will be picked for you and grown in LB media (supplemented with 50 µg/mL kanamycin) for the following week. You will be able to look at your plates the following lab week to make observations.
Please click this hyperlink to access the video: bacterial transformation (plating cells)
Clean your work surface, dispose of biological in the appropriate Biohazard disposal containers and wash your hands in the designated hand-washing sink.
Record what did and did not grow on the agar plates, along with any relevant observations of the growth. You will not be able to make these observations during the laboratory period, but they must eventually be recorded and appropriately analyzed.
