

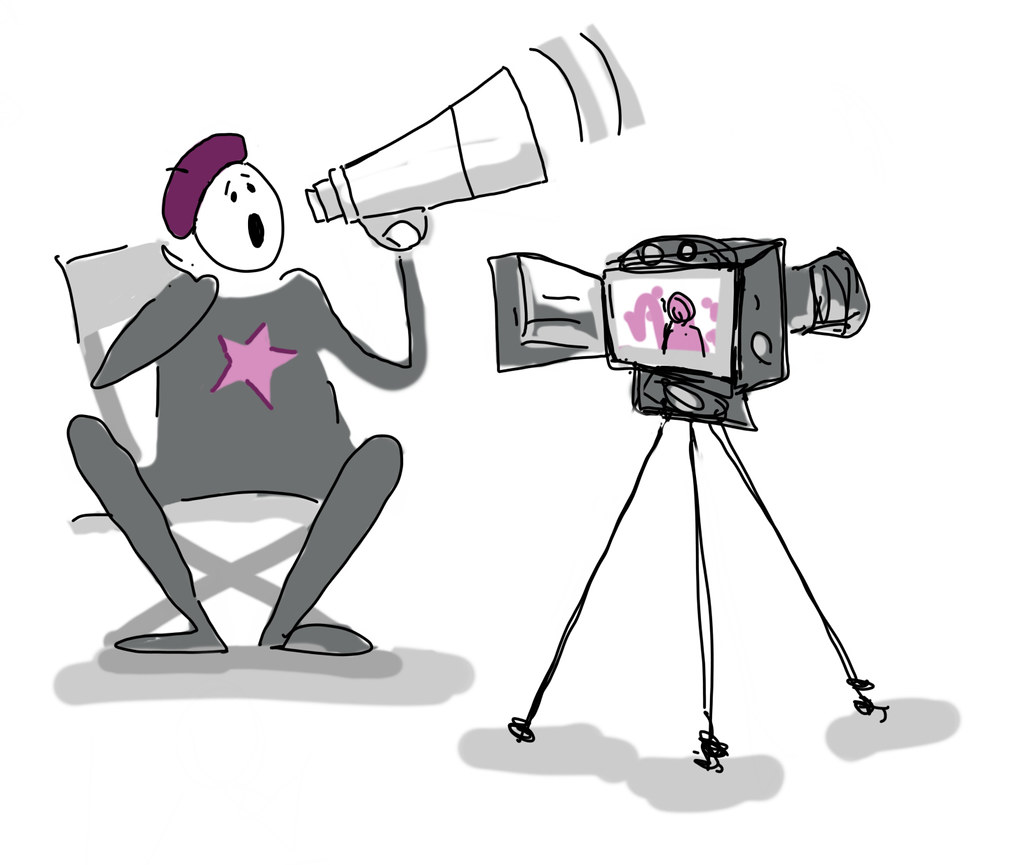
 Video Production at a Glance
Creating a video project can seem daunting at first because it combines all of the elements of visual design and sound design, along with the unique challenges of video. However, getting started on a video project can actually be a surprisingly straightforward and effective way to communicate an idea, tell a story, or show off your work.
What you need to get started:
- A camera or phone to record video and audio.
- Access to a computer with editing software.
- Access to audio (either recorded, or using audio files found elsewhere).
- An idea or a story to tell.
Why would you produce a video?
- In school, you might be given the option to create one as part of an assignment.
- It can help build your personal brand to reach more people or become part of your portfolio.
- You might want to create a video to post on social media.
- Learning video production can help you improve all manner of creative skills because it pulls in skills from many different creative fields.
Three steps of video creation
There are three major phases as you create your video:
- Pre-production: All of the planning work that happens before you actually start recording.
- Production: All recording (filming and audio) as well as gathering any assets you are not recording yourself (such as stock footage).
- Post-production: Where the footage all comes together and is enhanced with video/audio editing to create the final product.
Pre-Production
Pre-production: Planning
Before anything is filmed, it is all planned out. Here is where you start with an idea: what is it that you want to do? You may write a script and/or create a storyboard to plan out your shoot.

A Tip!
It can be tempting, on smaller video projects, to skip the planning stage. You should always at least have a rough written outline or storyboard even on small projects. It can help you keep things organized and ensure that no shots get missed.
The planning stage is critical for setting your project up for success. By giving yourself a clear outline of what you want to accomplish, you will have not only a clearer path to getting there, but also an understanding of what you will need to get there.
- Do you need a specific filming location?
- Do you have to track down music or other audio elements?
- Are you going to be recording vocals?
All of these questions will help shape what your production phase looks like.
Likewise, your access to production elements like equipment, time, and location will need to be considered while you are still in the planning stage. It’s all well and good to have an elaborate tree-top scene in your video project, but that won’t mean much if you don’t have safe access to a suitable location, or the equipment and training needed to capture it.
Pre-production: Techniques
Filming can be a daunting task, so here are some of the steps taken in the pre-production phase of a project:
- Finalize your script: If you have any dialogue, here is where you can finalize it before planning out your shots. This can always change as you go, but you still need that starting point.
- Storyboard and shot list: Here is where you begin to plan the visual interpretation of the script. The storyboard helps you lay out the script scene-by-scene, helping you decide what shots to use.
- Finding crew and location scouting: So you have the visual guideline to your script, the next step is finding the right people and the locations. You may find that you need to tailor your shots to fit different locations.
- Gear: Now that you have figured out your shots and locations, it’s time to finalize what gear you need to make your project happen.
- Budget: If your project is big enough to require one, here is where you need to finalize your budget and stick to it. Often, things will change and this is where you may need to find creative ways to achieve your goals while sticking to the budget.
- Casting: Now, all there is left to do before you film is find the right actors to bring your script to life. Normally, this is done by holding auditions.
Production
Lights, camera, action!
This is where the shoot actually happens and your plans from pre-production are fully realized. Here, you will be using your equipment to record the video and audio that you will then edit in post-production.
A Tip!
It can be tempting to come into filming with the “I’ll fix it in post” mentality, where, if something in a shot is not the way you want it, you will just fix it in editing. It is MUCH EASIER to get things as close to perfect as possible while recording. You will always achieve better results by being picky with your filming.
Framing
Framing is a way for you as the filmmaker to convey your vision by guiding your audience with your shot. You can manipulate the composition, angles, and size of your shots to say something (without actually saying anything!).
The rule of thirds is a “rule of thumb” for composing/framing visuals. The guideline proposes that an image should be imagined as divided into a 3×3 grid, which equally divides the image into nine parts, and that the important elements should be placed along these lines or their intersections. Smartphone cameras usually have this feature, you may just need to turn it on.
Here are the most common types of shots and their uses:
Wide/Long Shot (WIDE)
This shot is usually used to establish a time or place for the audience. It can also be used to show where the character or object is positioned relative to the environment. The frame usually includes the whole body of the person, or may be a wide frame of the environment (e.g. the New York skyline).
Medium Shot (MED)
This shot is framed from the waist up, allowing the audience to see the character(s) more closely, but far enough to see their gestures and movement. This is a useful shot when more than one person is on screen.
Close-Up (CU)
This is usually framed from the neck upwards, and allows the audience to see the emotions and expressions on the character’s face. It is usually used to convey the emotion of a scene.
Extreme Close-Up (ECU)
Similar to the close-up, this shot is usually used to emphasize a particular object or area of interest. This is used to narrow the attention of the audience to a specific subject.
A few short explainer videos about framing:
- Basic Shot Types: https://www.youtube.com/watch?v=laU2MI6X48I
- Basic Camera Angles: https://www.youtube.com/watch?v=lrB7Ce0J0UM
- How shots impact the feeling: https://www.youtube.com/watch?v=RjK509LkCFM&t=33s
Lighting
Lighting is another element used in video making to convey the tone or vision of a scene. Lighting helps to really motivate a scene, complementary to framing. One of the most common ways to set up lights is by using 3-point lighting. This approach includes the following setup:
- Key Light: The main area of interest, usually off to one side of the camera.
- Fill Light: placed usually opposite to key light, it is used to “fill” in the shadows created by the key light by softening them.
- Back Light: Usually placed in the back, above the subject. This is used to separate the object of interest from the background and to create more depth.
The 3-point setup is essential to achieving certain looks, but it does not have to be strictly followed. Here are some other common types of lighting and what they are used for:
- Natural lighting: As implied, this type of lighting that uses a natural light source or look (e.g. sunset, dawn). This is usually done using the lighting already available at location.
- Practical lighting: This type of lighting refers to sources of light that are on screen (e.g. a lamp, candle, fire). It is usually used in wide shots to create some depth-of-field.
- Motivated lighting: This is the type of lighting that uses studio lights to imitate natural light sources (e.g. moonlight, sunshine). This is done by diffusing or bouncing studio lights, and controlling the temperature (colour) of those lights.
A few short explainer videos about lighting:
- Using natural lighting: https://www.youtube.com/watch?v=AT_eHJ663kQ
- One light: https://www.youtube.com/watch?v=qLEqPCjNLYM
- 3-point lighting: https://www.youtube.com/watch?v=EBGuQZo0g94
Sound
Sound is the audio element used in video creation that ties all the visuals together to finish the storytelling medium. Depending on the shot, you might want to give actors individual microphones to ensure that their voices can be heard. If you want narration, you’ll record the audio separately and place it in the right spot during the editing phase.
While you can create your own sound effects, it’s usually easier to find free ones in a sound library. The University of Washington has a guide to open sound libraries that you might find helpful.
Screen-casting
One of the most popular (and easiest) video formats to create is the screencast or stream. Basically, you are recording your screen and narrating what’s on screen. Using a webcam is optional. The same three stages apply, as it’s good to have a plan before you begin, and you’ll need to edit the video to create something polished. But when it comes to the production, you don’t need a studio or cameras – just your computer.
Links from the video:
Note: These are only suggestions, and not the only options available. For audio and video editing, other suggestions can be found in this module. For screen casting, there are many options out there. If you’re unsure, reach out to your library and see if they have any suggestions or resources available.
Post-Production
Post-production is where it all comes together. You have your plan, all of your raw footage and audio, and now it’s time to put it all together in video editing software.
What is editing? It is the ability to take footage and tell a visual story by manipulating elements of the footage and audio.
The Language of Editing
Here are some terms to familiarize yourself with before you begin to edit:
- Cut: This refers to the clean transition from one clip into another.
- Continuity Editing: A type of edit where different shots are cut together to create an uninterrupted flow. This is usually done with multiple-angle shots of the same action. This type of cutting seeks to maintain a continuous sense of time and space.
- Dissolve: A type of transition where the end of one shot overlaps with the beginning of the next, creating a gradual fade. Note: Dissolve is the proper term used for fading between 2 shots. Fade is the proper term for another kind of transition, see below.
- Fade: A transition where there is gradual brightening or gradual change into a color at either the beginning or ending of a shot. This is usually used to establish a new time and place.
- Jump Cut: A sudden cut that creates lack of continuity in a sequence by ruining the flow. Often it can be seen as a mistake in editing, but if used with purpose, can be used to disorient the audience.
- Cutaway: A cut that interrupts the flow of a sequence with another shot that is, in principle, related to it.
- Split edit: This is when the visual and the audio of a scene cut at different times during the transition from one shot to another.
Video Editing Functions
There are many elements that can be manipulated in editing for a desired effect, here are some of the things you can play with:
- Exposure: This is how bright or dark footage is.
- Colour: This could be the shades, or hues you perceive, along with the temperature (warm/cold).
- FPS: Frames Per Second. Certain frame rates will make desired effects easier to pull off. For example, if you record at 60FPS and then slow it down to 30FPS, you will get a much smoother slow-mo, because there are more frames to work with. The higher the frame rate, the more frames there are per second.
- Opacity: This measures how transparent an image is. You can transition from one scene to another with a dissolve.
Editing Audio
It is important when in pre-production (planning) to have a rough idea of what sounds you think will go best with the visuals you have planned. That makes it easier to tie it all together in the end, audio-wise.
Have an idea of where you can get the audio from. The cool thing about audio is it’s literally all around us and can be pulled from any source, whether naturally (natural sound), stock audio (pre-recorded audio from an audio database), or audio that you create using your own sound effects.
When creating video, it is important to note that audio is added in post-production (editing). Once you have the audio you need, ensure when in post-production that it is in its own track, that way it runs parallel to whatever visual you’ve chosen and won’t overlap with anything else. No matter the software you choose, the principles of editing are the same: if you learn one you can learn them all. The differences will be in commands and layout.
Putting it all together
Here are some software tools that are free and available for most computer systems, and some for your phone:
Davinci Resolve
https://www.blackmagicdesign.com/products/davinciresolve/
- Great free video editor for advanced editors.
- Powerful enough to handle high resolution video formats like H.264 and RAW.
- Is used by industry professionals as well.
- Has more complex features like facial recognition and effects.
- Tutorials: https://www.youtube.com/user/CaseyFaris777/featured
Lightworks
- Intuitive interface, great for beginners.
- Offers a collection of detailed tutorials.
- Comes with a suite of stock footage and stock music to use.
- Quick export presets optimized for social media.
- Tutorials: https://www.youtube.com/channel/UCPJ_XP8jRi8ug4rsV2CdgEg
OpenShot
- Easy to use interface that is great for beginners.
- Customizable title-card templates.
- Unlimited layers for video and audio.
- Powerful key-frame animation capabilities for creating animated videos.
- Quick export presets optimized for social media.
VideoPad
https://www.nchsoftware.com/videopad/index.html
- Simplified layout, one of the best options for beginners.
- Pre-made, customizable transitions.
- Large library of video transitions and visual effects to customize videos.
- Tutorials: https://www.youtube.com/user/nchsoftware
HitFilm Express
https://fxhome.com/product/hitfilm-express
- One of the best all-in-one free video editors available.
- An auto-stabilizer to make shaky footage look smooth.
- Audio mixer for fine tuning sound for professional quality output.
- Ability to copy a group of attributes from one clip and apply them directly to another or to a whole project.
- Tutorials: https://www.youtube.com/channel/UCUiLF7yT-TfGoIiKsMLhI3A
Shotcut
- An open-source, cross-platform video editor.
- Includes a vast collection of tutorial videos.
- Supports a variety of large formats, including 4K, ProRes, DNxHD, etc.
- Has advanced audio filters like balance, bass and treble, compressor, and more.
WeVideo
- A cloud-based online video editor that can be accessed from anywhere as long as there is an internet connection.
- Stock library with images, videos, and music.
- Ability to export videos in 4K resolution.
- Easy to create branded templates with a logo, making it great for businesses.
- Unlimited cloud storage.
- The free version contains watermarks.
Video editing apps for your phone:
Video editing apps on phones by nature will be far more limited than anything that can be used on a computer. Most free versions of these apps come with a watermark. All common mobile devices have a built-in editor. Most social media apps allow you to edit uploaded footage and re-download the edit.
 Dig Deeper
Some ideas for where to find some more stuff for your videos.
Where to Source Free Stock Footage
Where to Source Free Music/Sound Effects
- https://mixkit.co/
- https://freesound.org/ (must create account but free)
- https://freemusicarchive.org/
 Activity: Mini Daily Routine Vlog
Purpose of Activity:
To create a short vlog using the techniques and principles from the module. What’s a vlog, you may ask? Good question. It’s a video blog. Instead of bloggers writing blog posts, vloggers make short reflective videos and call them vlogs! In this activity you will just be making one vlog post (and not an entire series)
Difficulty Level:
There are beginner, intermediate, and advanced levels of this activity.
-
Beginner: Create a short personal vlog of your morning routine (1-3 minutes in length).
-
Intermediate: Create a short personal vlog of your day, featuring at least one other person (1-3 minutes in length).
-
Advanced: Create a short personal vlog of your complete day, featuring at least one other person and additional audio or graphical assets that you can share on social media (1-3 minutes in length).
Learning Outcomes:
- Demonstrate an understanding of video production phases and tasks.
- Apply videography and editing principles to create a vlog.
- Incorporate editing styles and media types into a project.
- Demonstrate understanding of a chosen editing software and recording equipment to create a final product.
Task:
In this activity, you will need to create a ‘day in the life’ micro vlog of some or all of your daily routine. You will plan, record, and edit your vlog for submission here and/or post it on social media.
You are welcome to use any recording and editing software with which you are comfortable, including what you find for your mobile phone. You are also encouraged to bring in other media elements such as sound or graphics.
Time Commitment:
This assignment should take you approximately 3-5 hours to complete.
Success Criteria:
- Produce a final video with multiple shot types and edits.
- Showcase an understanding of one or more videography principles.
- Incorporate audio and graphic elements.
How to Complete This Activity:
- Decide on how you want to capture your daily routine.
- Complete pre-production.
- Create a storyboard of your routine, including framing, shots, and the other elements you will need to capture.
- Record your footage and audio for your daily routine.
- This could be in several small snippets throughout the course of the day to capture all of the major events.
- Edit together all of your footage, the audio, and any other elements.
- Export and submit your finished video (the final length should be between 1-3 minutes).
 An Example
See an example storyboard for a video here. (link will open in a new tab)
What do I do with this?
If you are playing along using the Liberated Learner Work Binder, upload your video file to the Technologist Module folder.
If this is the only Liberated Learner activity you plan to do, then save the file wherever you like. Don’t forget to share it with your friends and family to wow them with your video production prowess.
