3. CREATING FORMS
3.2.1: Adding a Button
To add buttons to an existing form you must open the form in Design View. At this point make sure that wizard capabilities are available:
-
-
- if necessary, select Use Control Wizards: (figure 3.3a) to turn wizard capabilities on
- you may need to click a more button to get a complete display as shown.
-
To add a button you click the Button button (figure 3.3b):


Next, you click a location on the form where you would like the button to be placed. Click in the area labeled Form Footer and space will be added to the form’s design to accommodate the button.
Because Use Control Wizards is on, the system will take you through a series of prompts where you specify the nature of the button. You need to add three buttons to each form. To improve your productivity, you may want the tool bar always visible. In the Tool Bar to the far right (figure 3.3b) you will see a pin … click that and the Tool Bar will stay pinned to your display. Consider selecting/entering the following at the pertinent prompts:
|
Close button |
Form operations |
Close form |
Close |
|
Button |
Category |
Action |
Text/Picture |
|
Add button |
Record operations |
Add new record |
New Row |
|
Delete button |
Record operations |
Delete a record |
Delete Row |
Figure 3.4: Button categories
A Course form in Design View with three buttons in the Form Footer section:
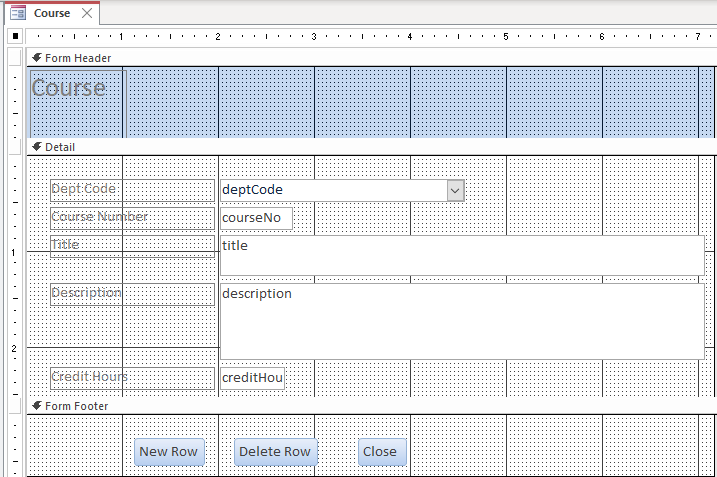
At any time after creating a button you can switch to Form View to test your design. If some button is not working as you like then just switch back to Design View, delete the button and try again.
