3. CREATING FORMS
3.1: Using the Form Wizard
There are many ways to create forms. We discuss the simplest approach here. Click the Create tab and then select the Form Wizard:

The Form Wizard steps you through a sequence of choices where you choose the table for the form, the fields to appear on the form, the layout for the form, the style, and the title to appear at the top of the form. At this point you should create two forms in your University database, one for the Department table and one for the Course table. As the wizard steps you through each case, you should select/enter:
-
-
- All fields of the table to appear on the form (try clicking the
 button when it shows)
 - A Columnar layout
- A style of your choice
- A title of your choice
- All fields of the table to appear on the form (try clicking the
-
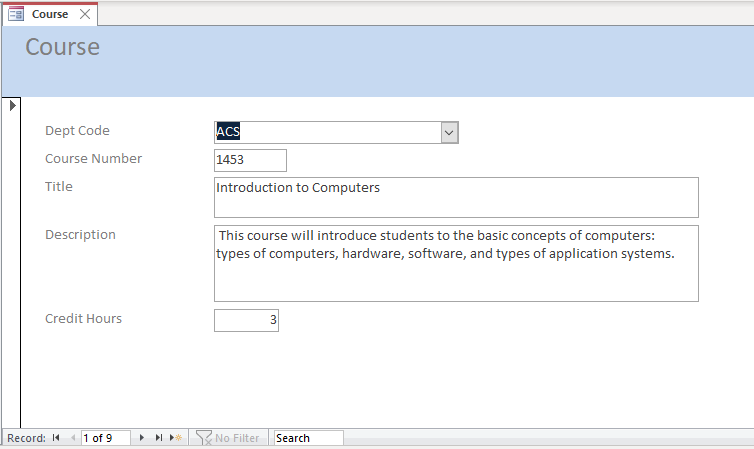
The last thing you do with the wizard is choose one of: Open the form and view data, or, to Modify the form’s design – choose to open the form to view data. Note that data appears according to information you provided for data types and properties.
A major difference now is that the user will see just one row at a time. Notice the navigation buttons at the bottom of the form where the user can click to navigate through the rows of the table or to add a new row: