These strategies are intended to be used while you are recording your content. It is difficult to edit without audio pauses, refreshing graphics to re-record, and full sentences to cut between, so it is important to build these into your recording routine.
15 The production process for creating instructional videos
Carlie Soares
- The pre-production process: everything from storyboarding to equipment testing
- Best practices for recording your videos, and how it can save you time in the editing stage.
- How to keep accessibility in mind throughout the planning process
The 3 Stages of Video Production
The stages of video production aren’t just coming up with an idea, getting a camera out and pressing record – it’s a detailed (and fun!) process. In the next two chapters, we will be going through the 3 stages of video production. The process of creating a video from concept to completion consists of three stages: Pre-Production, Production and Post-Production The 3 stages of production are crucial to making videos, no matter the length of the video, or the amount of “special effects” required.
Take a look at the infographic below to see more about the 3 Stages of Video Production
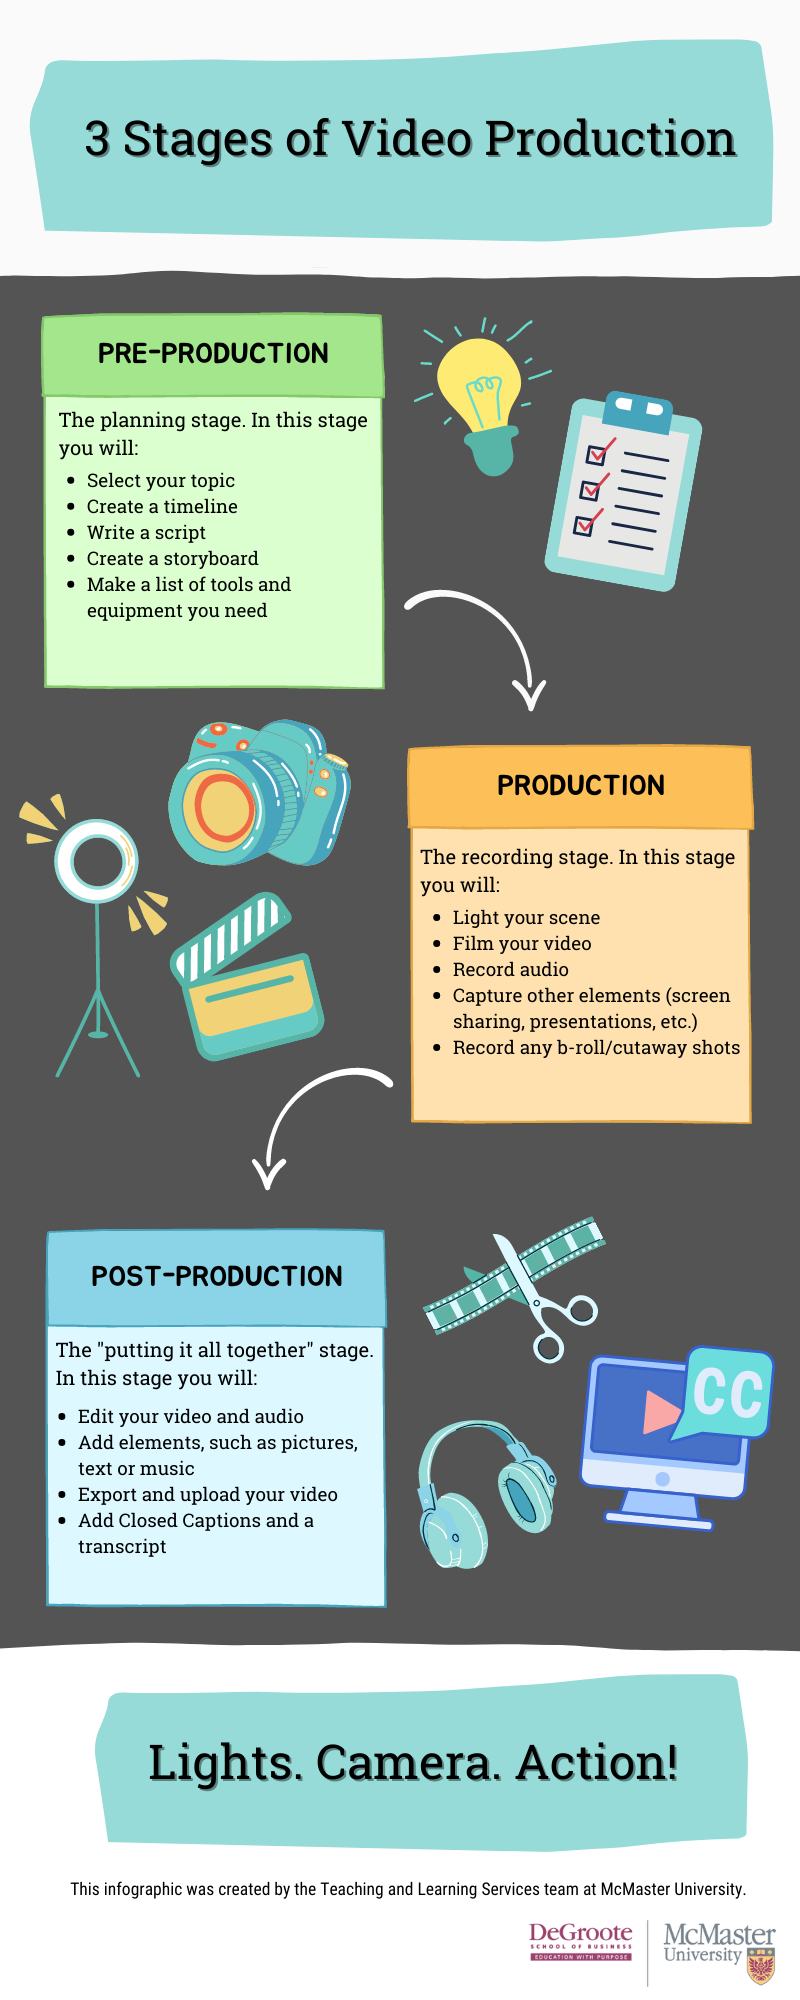
The 3 Stages of Video Production [opens in Microsoft Word]
5 Mistakes in Using Videos for E-Learning Courses
Before we begin, let’s take a look at this infographic from elearninginfographics.com [opens in new tab] that shows the 5 most common mistakes when using video for e-learning courses.

While these points may seem obvious, they are still very common mistakes that people often miss. Think of the next two modules as a guide on how to avoid these common errors.
Pre-Production
Otherwise known as the planning stage. While you may have a vision for what you would like to achieve, it is crucial to have a plan on how you will achieve it.
In this section, we will cover these topics:
- Preparing yourself for video production
- Working with a video producer
- Creating a storyboard and writing a script
- Preparing your tools and presentation materials
- Rehearsing your content
- Going for it!
Tip: TechSmith also has a free library of video resources [opens in new tab] that cover topics such as “What is the right video length?”, “What sections do you need for your video”, “Script Writing Basics” and more!
Prepare yourself for video production
Full video with transcript [opens in new tab]
You’ll likely choose to use a combination of options, depending on the nature of your content. For example, many online courses have had a positive response when each week began with an on-camera brief welcome and overview (under 30 seconds), followed by chapters of content (the equivalent of the content that would have been covered in lecture that week), and supplemented with at home webcam videos to answer any questions that popped up during the week. This provided a nice blend of personality with professional and easily re-usable content.
Working with a video producer
Full video with transcript [opens in new tab]
A video producer has years of experience of creating dynamic videos, and they can be an important asset to the process if you have the budget. Video producers can assist you throughout the 3 stages of production, and can bring your vision to life.
Things to keep in mind when working with a video producer:
- Define the goal: Share your vision with the production team of what knowledge you want to convey to your learners and why video is the best format to do so. Begin by defining what you want to show in the video, its duration, and how students will access it.
- Plan with the team: Video producers will know best how much time it’s needed to prepare, record, and edit a video. They will also advise on which resources you need and your involvement in every step of the process.
- Storyboard: Start writing what you want to say and outline the flow of your video through images or notes. You will need both script and visuals before you engage in a creative brainstorming session with video producers and answer their questions as they work towards understanding your vision and needs.
- Follow the guidelines: Before and during the recording session, follow the video producer’s guidelines. To be on screen, they will suggest what to wear, where to locate yourself, how to move around, and even what to do if you make mistakes. All these tips help you perform at your best and contribute to the effective use of post-production time.
- Be reasonable: Magic also has its limits. Video producers will be able to do as much as the technology available allows them to do. Even more important, post-production takes time and any change required above the storyboard, which was initially planned to do, will add substantial resources and time in this final phase. That is why spending enough time storyboarding will always pay off in the end.
Creating a storyboard and writing a script
By scripting, storyboarding, and rehearsing your content ahead of time, you can alleviate some of the complexities of online teaching and select the right set of tools and technologies to help with your learning objectives. The tips below are designed for those who plan to pre-record asynchronous content, but the principles apply to synchronous material as well.
Define your learning objectives
Write these from the learner’s point of view – what will they be able to do once they’ve participated in your learning module or watched this video? You can include this orally and visually, by preparing text content and then reviewing them at the start of your video.
Prepare an outline
Writing a script before capturing your audio and video will enable you to be clear and direct about what you are trying to communicate and what you want the learner to focus on. Scripting helps you choose your best words, devise your most cogent explanation, and thereby create a clear, crisp video.
- Keep the tone conversational and your sentences short. A 2-minute video, for example, has an average of 360 words.
- Select the images you plan to use first, then write your script. This will help you organize the structure of your script.
- Add cues, both physically and verbally, and highlights to direct the student’s attention to important information.
It is encouraged that you maintain your personality while you are recording your lectures. Don’t be afraid to venture a touch off course, as long as it is useful. On the flip side, don’t just read your presentation slides either.
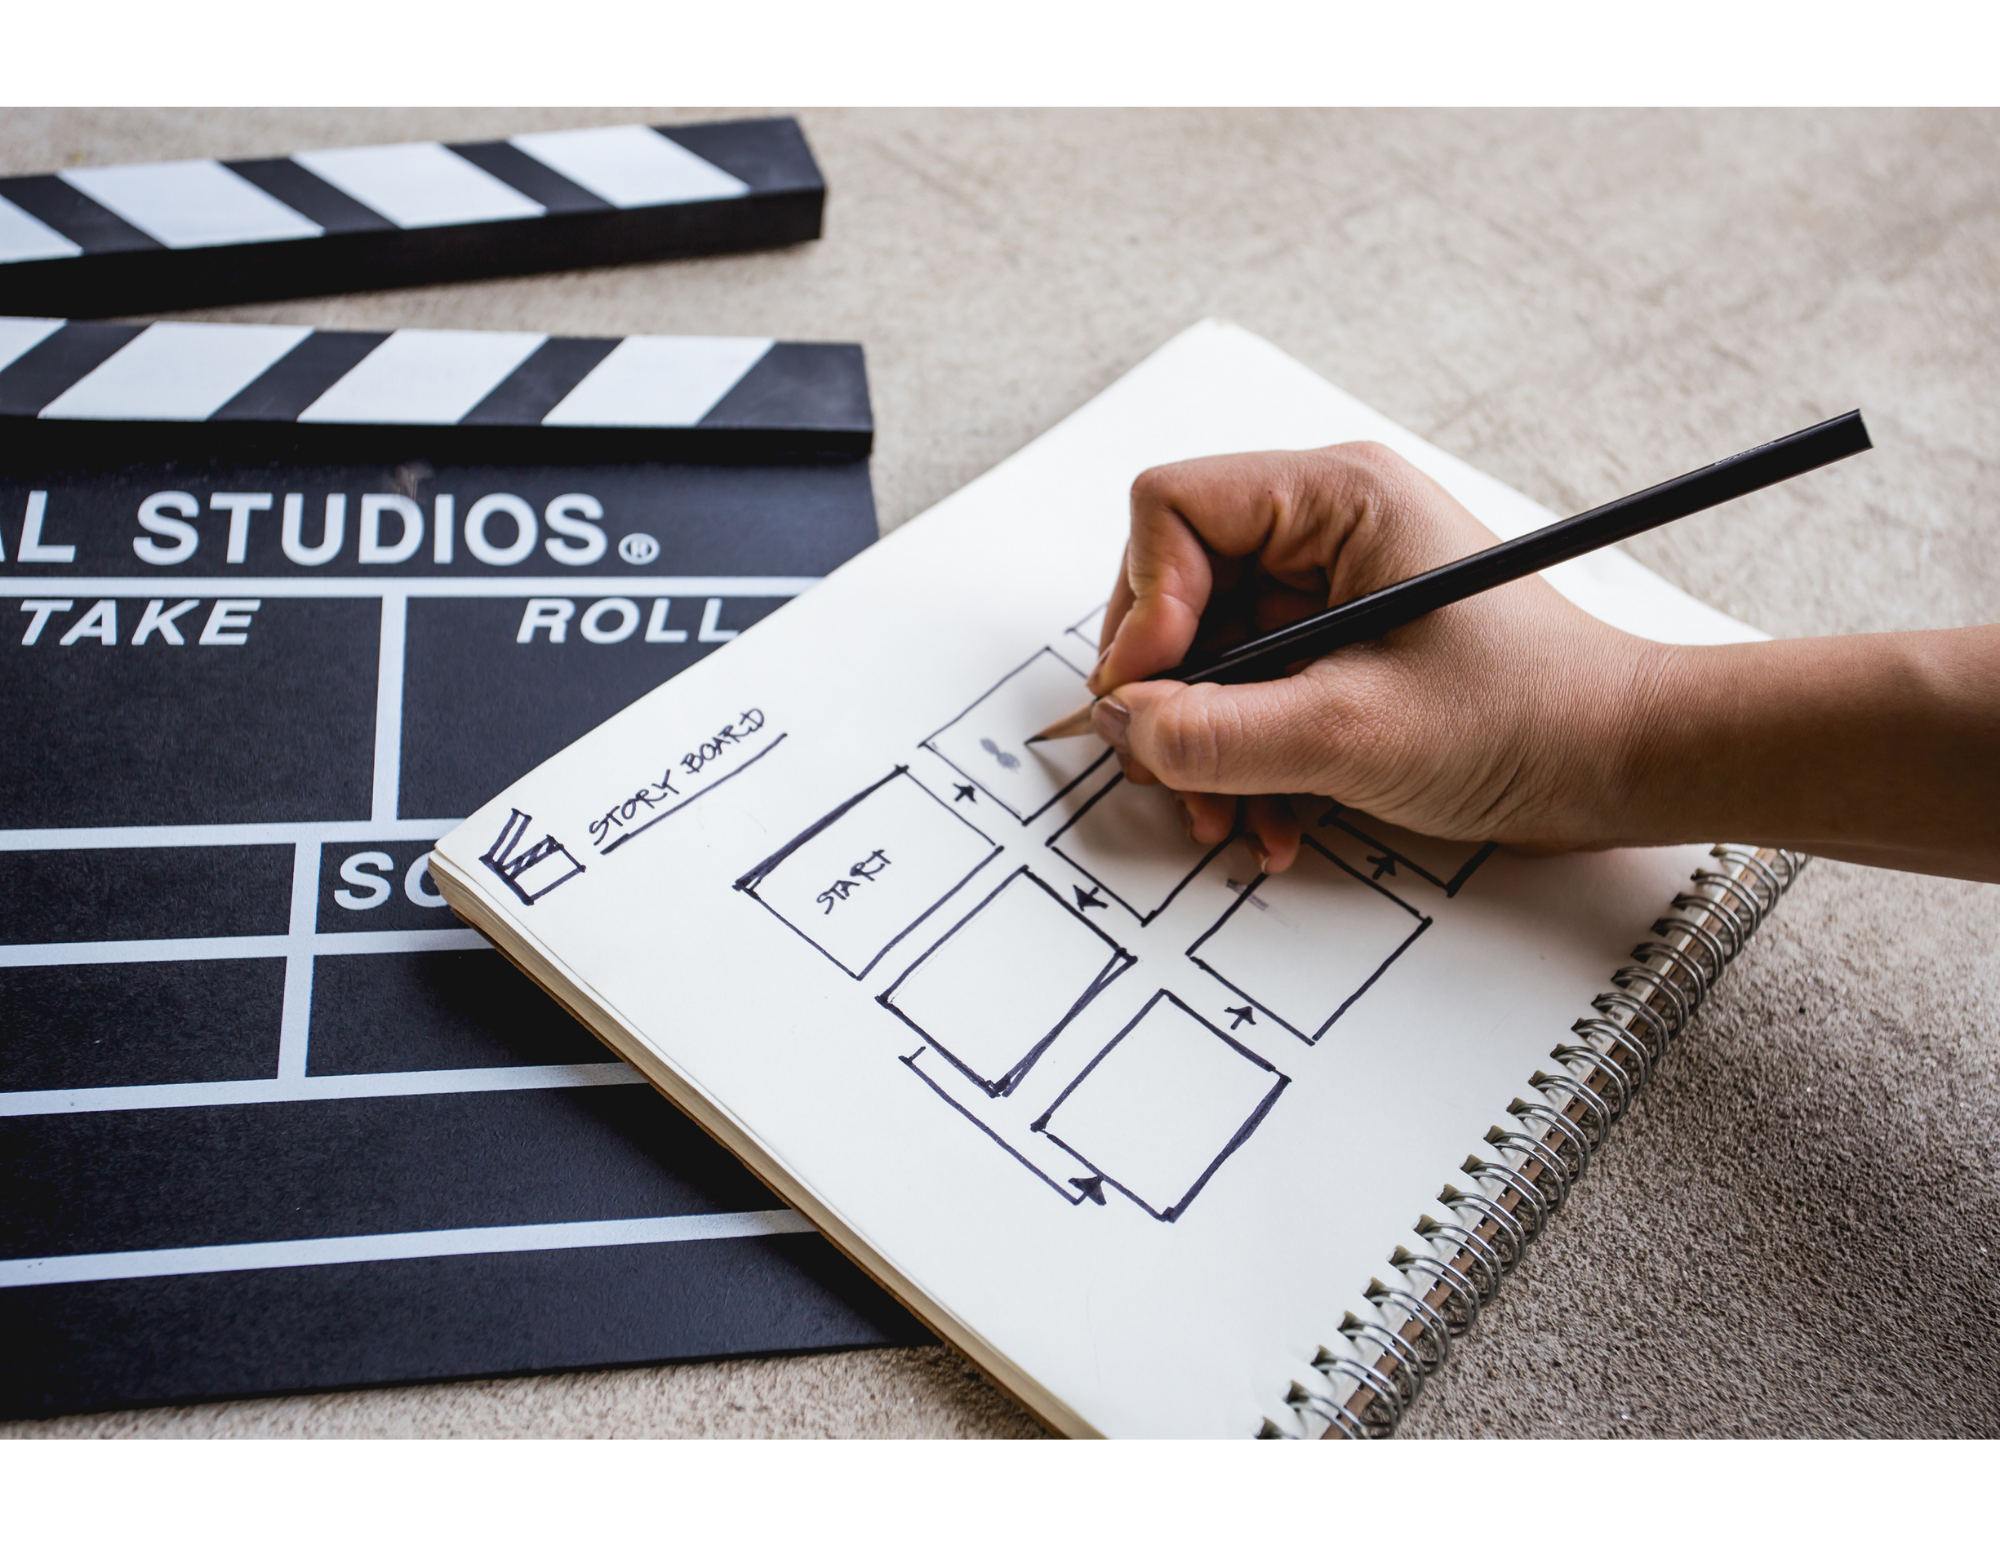
Create a storyboard
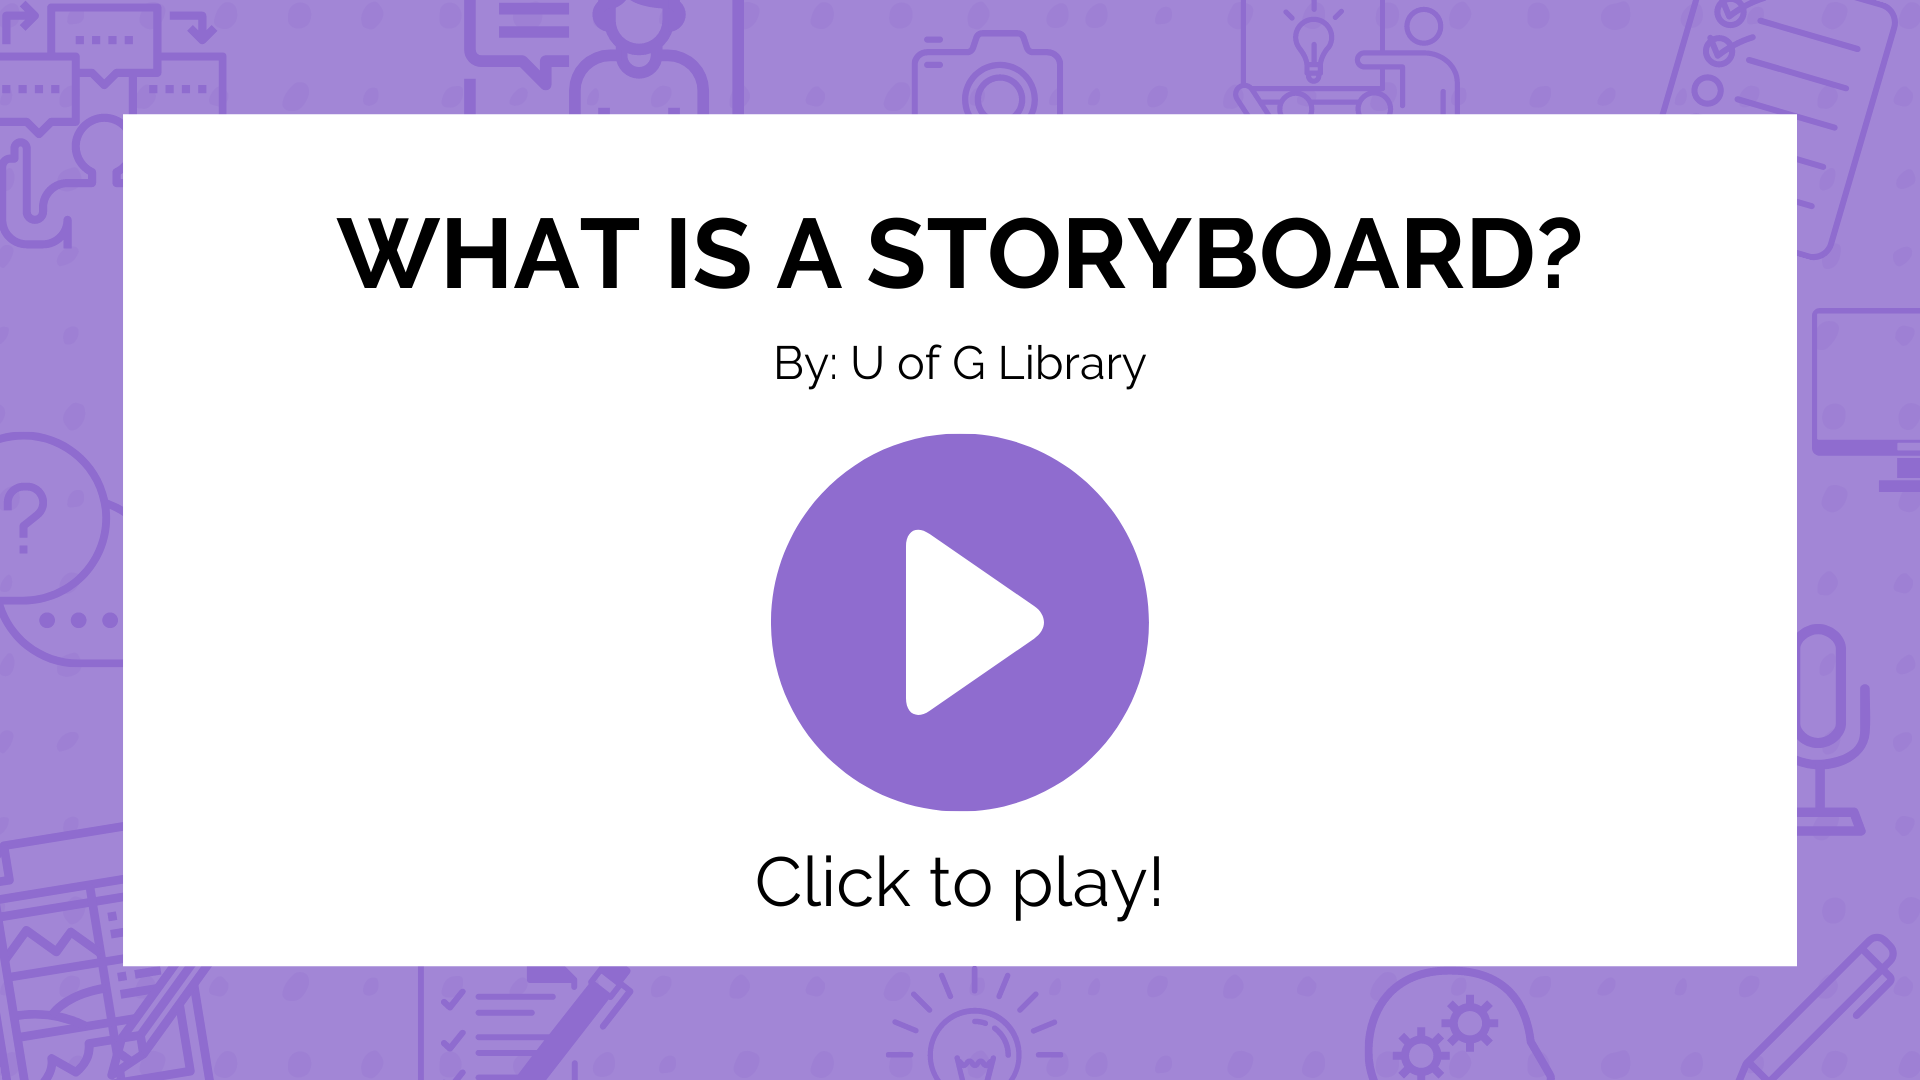
To help you focus the design of your materials, start by storyboarding to help you plan the flow of information you intend to cover. Just as a detailed class flow plan can help you stay organized during synchronous teaching, a storyboard will help you organize the visual sequence you want to occur on screen when you’re creating pre-recorded materials. A storyboard sketches out how a video, sequence of graphics, or interactive experience will unfold, shot by shot. You do not need to be an artist or designer to create an effective storyboard. You can use paper and pen, slides, or even you can use this pre-built storyboard template [opens in new tab]
As part of this planning, take the time to practice moving between your content and the tools you are using. For example, you may want to make notes on your slides or lecture materials about when you want to be speaking directly to the camera, and when you want to share your screen. For synchronous lessons, you can make notes of when you want to put students into breakout rooms (and for how long), and when you will be asking other individuals to share their screens. You might even want to put in reminders to yourself about muting and unmuting students if it will make your lecture go more smoothly at certain points.
If you want to learn more about storyboards, jump back to Module 1 [opens in new tab] for a reminder of how storyboards help us to break up our content and focus on the learning outcomes.
Prepare your tools
Keeping Accessibility in Mind
If you plan to display text or show slides in your video, ensure that all your content has sufficiently high color contrast to be easily readable by all viewers.
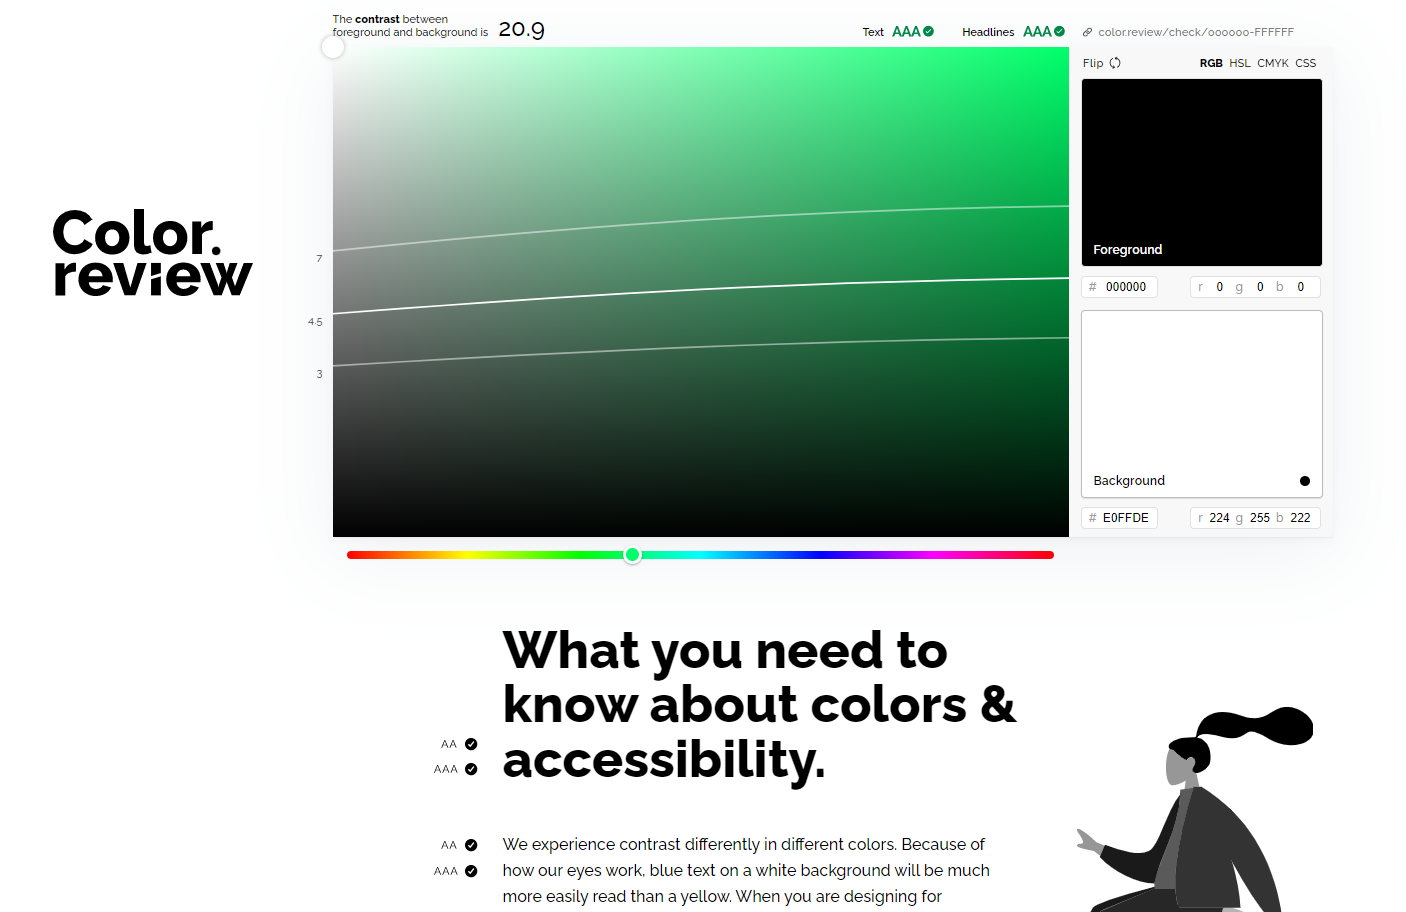
Create visuals with high colour contrast. This refers to the colour contrast of the text against the background on a page, but can also be applied to visual elements such as slides, charts, and graphs. You can use a web tool, like Color.review [opens in new tab] to check the contrast of a particular pair of colours.
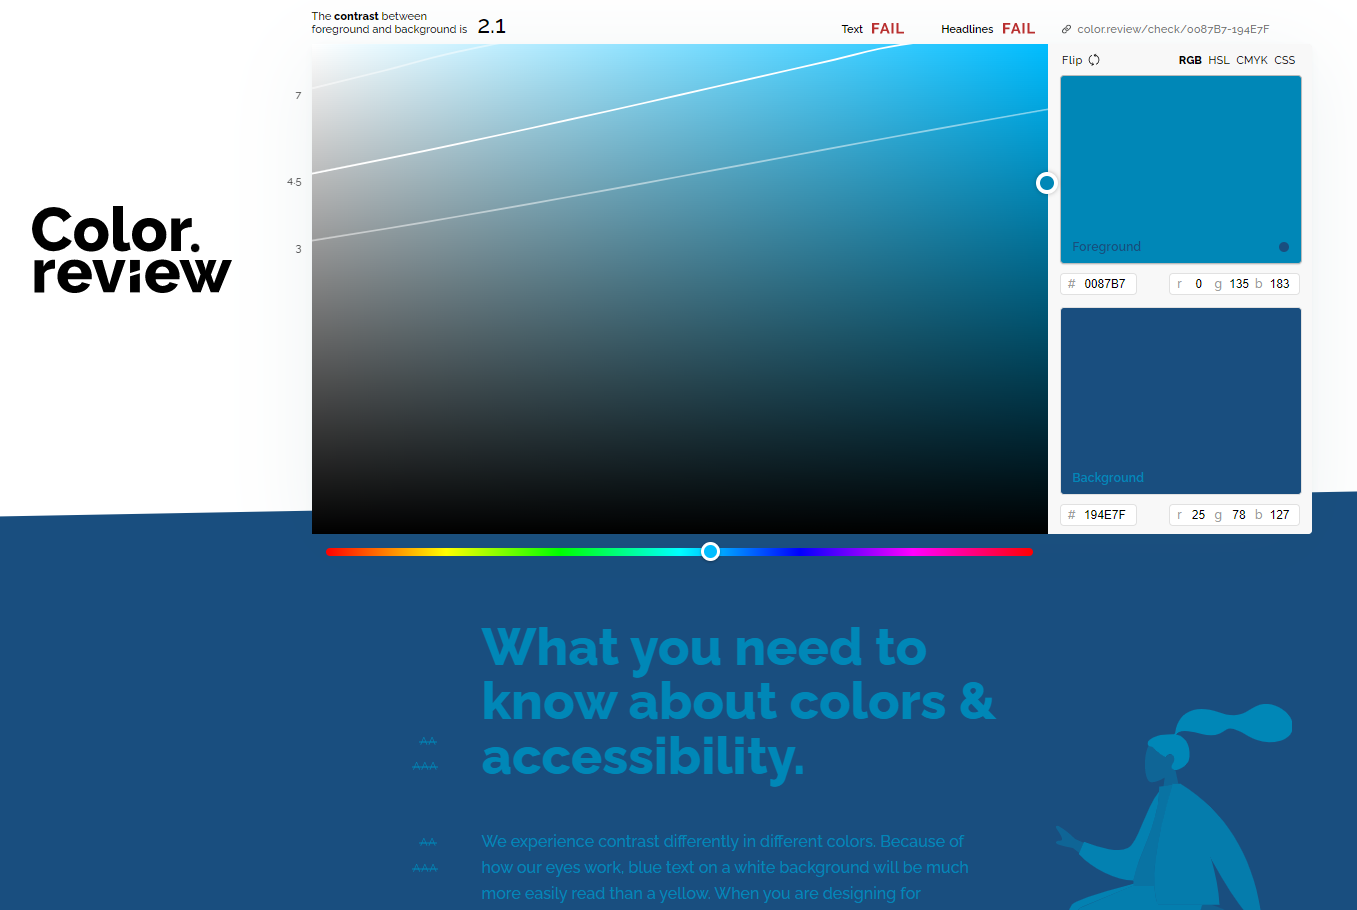
The image above shows an example of poor colour contrast. These two shades of blue placed together result in a “fail”, for both text body’s and headlines.
You will want to avoid colour combinations such as:
- Dark red and black
- Green and yellow
- Yellow and white
- Neon colours and white
This image is an example of a strong colour contrast. The black and white colour contrast is classic, and for good reason. Use only colours that have a high contrast for your documentation. Stick with black or white text on a coloured background. Make sure you test the contrast beforehand! You can learn more about accessibility needs in Chapter 12: Examples of Accessible Tools for Online Environments [opens in new tab]
Here are some other things to keep in mind for accessibility:
- Meaningful visual content should be verbalized in recordings. It benefits viewers who are unable to see or read visual elements of your video and reinforces using proper terminology in the context of analyzing a visual element
- For slide decks, read the text of slides aloud. Ensure that any information displayed on the slides is communicated verbally
- For diagrams, graphs, or maps, identify the necessary information that you want your viewers to take away from the image. For example: “This graph shows a positive correlation between money spent at the movie theater and hours spent consuming media.”
Decide what technology will help you execute your teaching plan and take some time to play around with them. Do you have a good quality camera? Is your background too busy? Are you located close to a busy road? Do you have the right lighting? The previous chapter, Creating instructional videos: Technology recommendations from low- to high-tech [opens in new tab], will guide you on how to select the right tools based on skill level and price point. Take the time to select your tools based on your comfort level, and what you would like to achieve.
Additional tips on preparing your content in advance
- Increase engagement through variety: consider using a diverse set of teaching tools including collaborative projects, whiteboard or blackboarding, audio or video materials you or others create, and face-to-face interactions. These will help keep your students’ attention piqued and the course material engaging.
- Always come back to your learning objectives: make sure that any tools or technologies you’re using are in the service of the specific concepts, terms, or skills you have identified as priorities for the lesson.
Rehearse your video before recording
The more preparation you put into your content, the more effective it will be. While there is never the expectation of perfection, you do want to be organized and professional. Rehearsing can help you work out any kinks – is there an area that is unclear? Does the content flow well? Is the content clear and concise? Is how long you think it will take actually how long it takes?
Practicing should include both your verbal component and the visual component. You might know what you’d like to say, but saying it at the same time as navigating your computer applications might take a bit of time to perfect.
Introduce the lecture
In point form, articulate what this video will be about. An ideal video length is 5-7 minutes, which only gives you enough time to cover a few concepts. Articulating your introduction can help you ensure that your planned content will be of appropriate length.
Summarize your main points frequently
Unlike in a classroom, there’s no visual indication or feedback from the students about how they are doing. In order to assist with comprehension and to increase clarity, it works well if you repeat your main concepts clearly and often. This will also reassure your learners that they are following along and are focused on the right pieces of information.
Go for it!
At the end of the day, this is your content. Work on a design and process that you’re excited to get working on. If you’re strong in front of the camera, use that. If you have a great hand for drawing, use that. Play to your strengths, don’t be afraid to make a mistake, and always, always test using a 30 second video before you record something longer. You want to make sure your audio and video are recording properly.
Production
Lights. Camera. Action! Now it’s time to record your video. This section will cover how to configure your space into a home studio for optimal video recording and some strategies to make editing your video easier while recording.
Check out this downloadable PDF: 10 Tips for Filming a Piece to Camera [opens in new tab]
Configure Your Teaching Space
Your teaching space should allow you to teach in your own style and to feel comfortable, prepared, and able to fully engage with your viewers. You don’t need to spend a fortune, or any money at all, to make that possible. Below, we have included a few key things to think about as you get yourself set up for recording
- Lighting
- Backgrounds and locations
- Sitting vs. standing; showing up on camera
- Recorded audio quality
- Your home network
Lighting
- Make sure your face is well lit, to help your viewers feel like they are present with you, whether you are teaching synchronously or asynchronously.
- Light yourself from the front: consider a desk lamp moved behind and above your computer. Position it to have the light come from above and off slightly to one side of your face at a ~30-45 degree angle.
- Avoid backlight and overhead lighting, as these can cast unflattering shadows.
- Don’t sit or stand with a window behind you, as the camera’s light balance will be thrown off and your face mostly washed out.
Background and locations
When recording videos, especially from home, finding the right background is key. You want something interesting, but not too distracting.
There is a lot going on in this background. Click on the hotspots to find out more.
—Click in the TOP-RIGHT corner of the window above to view in fullscreen.
Here are some things to keep in mind when selecting a background:
- Avoid busy backgrounds. Students may be tempted to spend more time examining what’s going on behind you than focusing on the material, and many cameras (especially those built into computers) have a hard time remaining focused on your face if there are a lot of things competing for autofocus.
- Protect your own digital privacy: avoid having photos or objects that would allow someone to find you or your loved ones and potentially compromise your security online.
- Avoid backgrounds showing copyright-protected artwork, images, or objects. Should you envision a future use for your content, this may prevent you from doing so.
Here is the same person with a simple background. The subject is placed a few feet away from the wall, and has very minimal visual distractions in the background. This gives the video a crisp, clean feeling and allows the viewer to focus on the presenter.

Sitting vs. standing; showing up on camera
Some instructors will want to stand, some will want to sit. The choice is ultimately yours, although it may be the case that standing can help increase a sense of energy and dynamism. We suggest continuing whichever format you typically used in your face-to-face classes. In either scenario, we recommend the following:
- Place yourself in the center of the frame. Your head should be equally far from the left and right, and in the upper third of the frame.
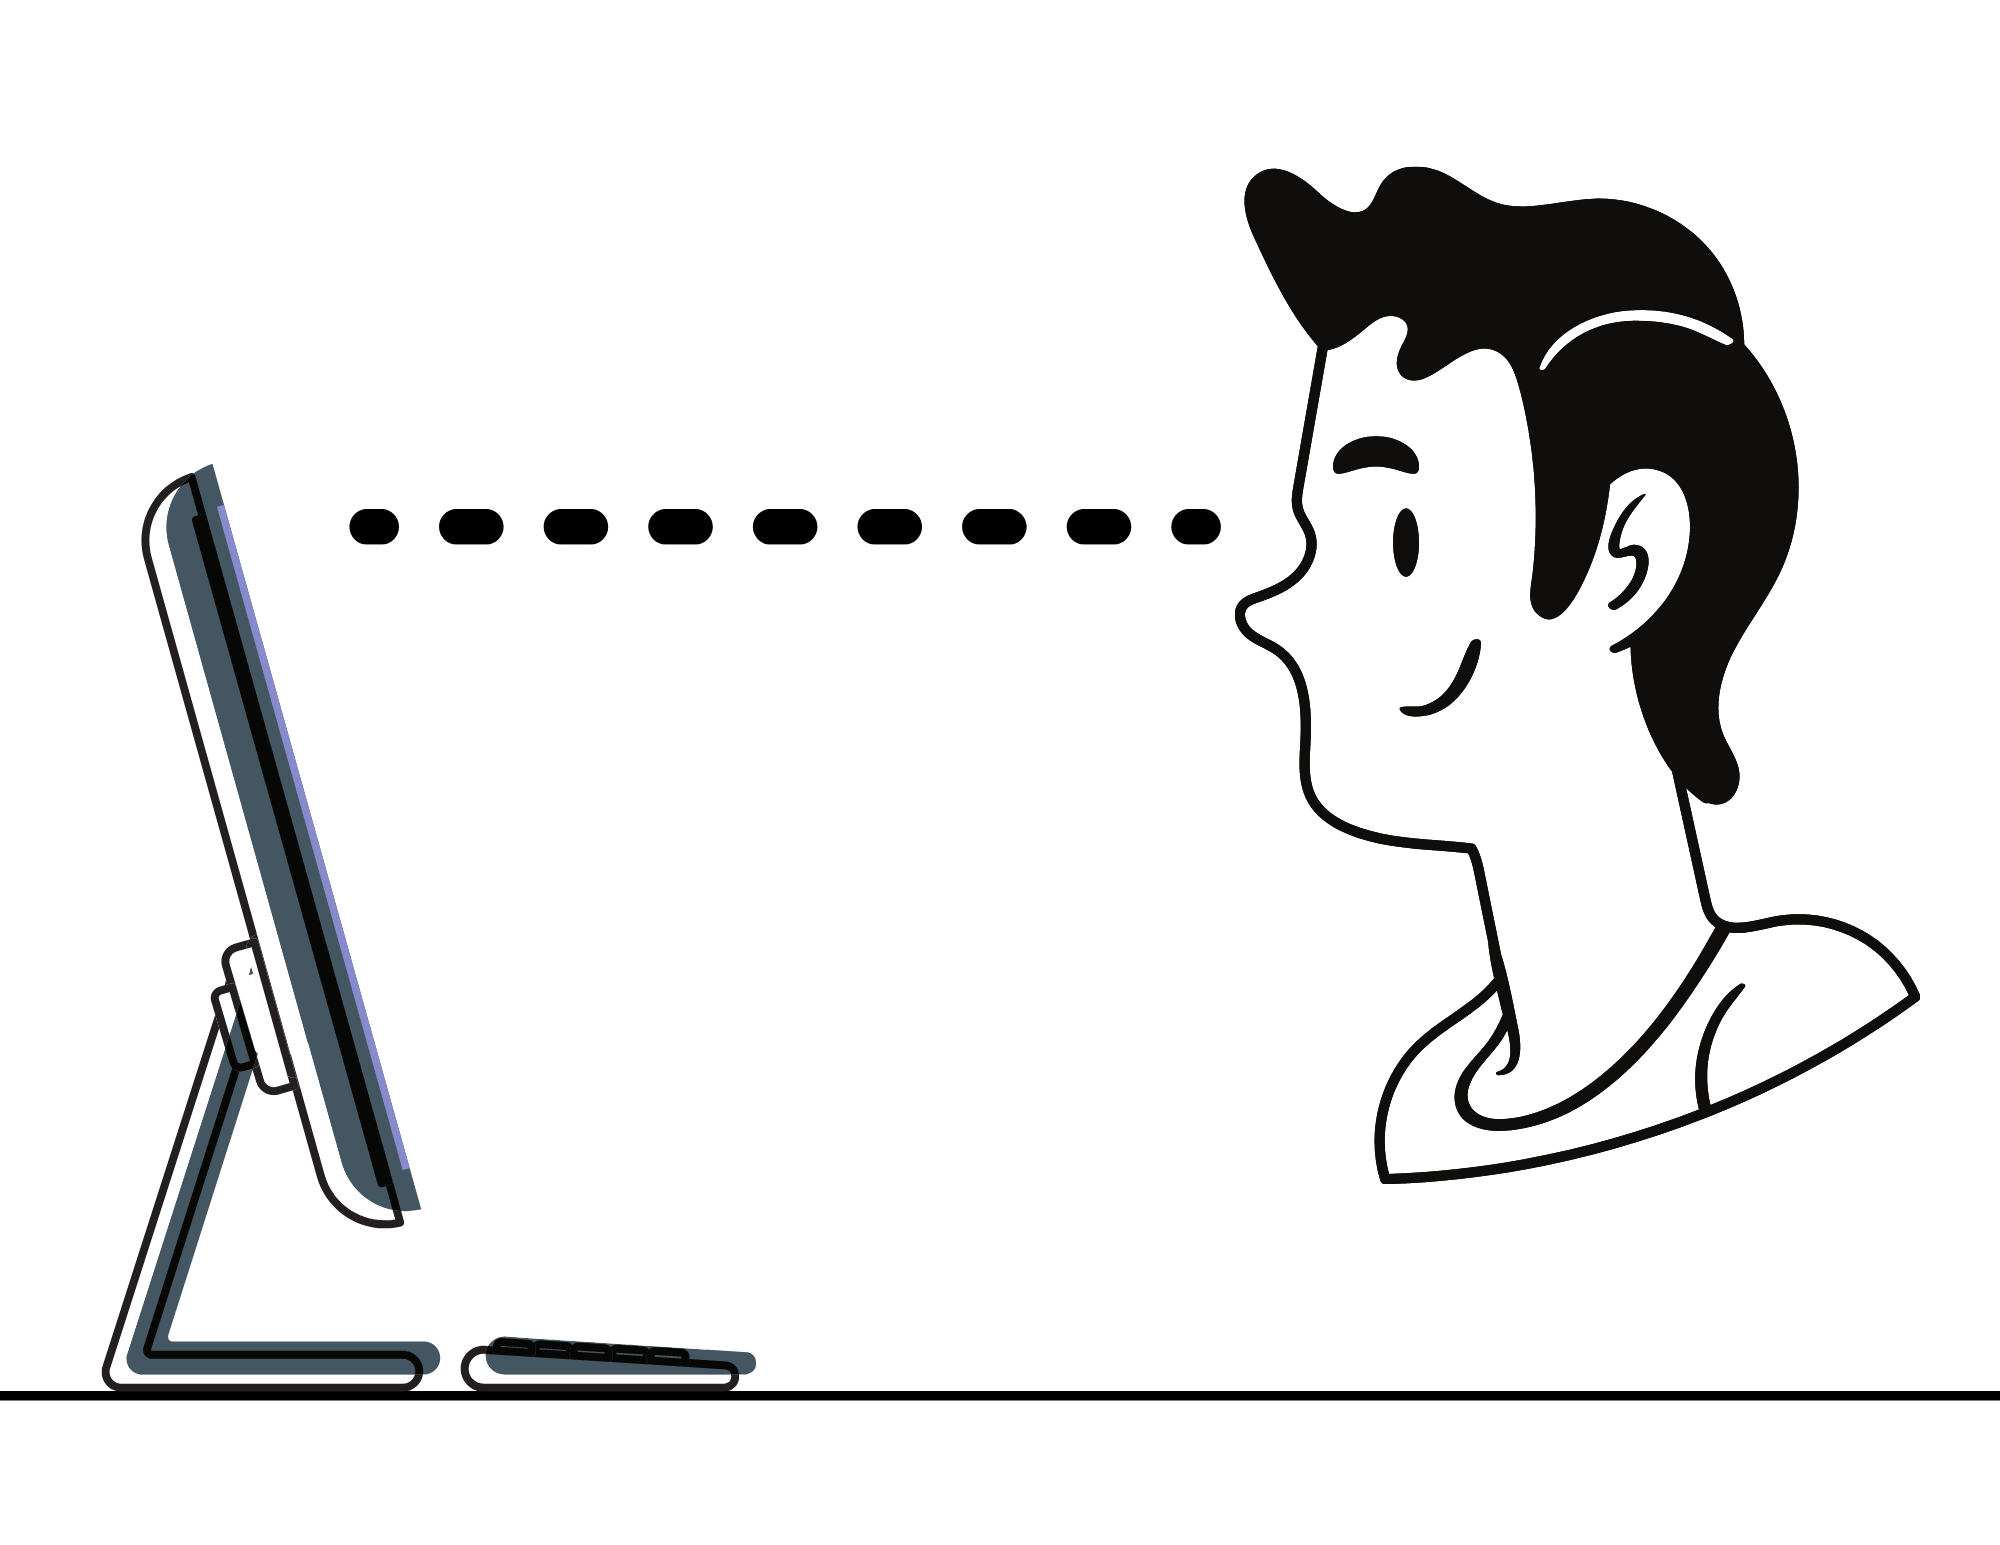
- Position your camera at or slightly above eye level: when you look at the screen you will be making ‘eye contact’ with your audience. This will help with creating and maintaining a connection with your viewers.
- Set the screen and camera perpendicular to the ground: use books, a small sturdy box, or a stand to prop up your laptop or tablet.
- Establish a steady foundation for yourself and your camera: sit in a chair that doesn’t spin, and make sure your computer and camera are not on a wobbly surface.
- Put your script where you can see it: there is no perfect way to manage reading from a script while recording yourself on camera. Here are a few suggestions:
- If you are using a desktop computer, have your scripts positioned at eye level and just to the side of your camera so you can refer to them as you deliver your lines.
- If you are using a second device for a camera, such as an iPhone, you can use your desktop or laptop as a teleprompter. Position it just below the device, and reference your notes, slides, or script as you move through your presentation.
Recorded audio quality
Creating videos is not only about looking good, but sounding good as well! The audio quality in your videos is extremely important.
- Prioritize making sure you can be heard: clear audio will help your students follow along. Muffled audio will make it hard for your students to understand what you are saying. Beautiful images won’t matter if the audio isn’t clear.
- Consider a USB mic for recording asynchronous content. For synchronous experiences, your onboard mic and speakers are usually sufficient, but we recommend investing in a USB mic for asynchronous production. USB mics are available at a wide range of price points, from relatively inexpensive to professional-grade. You can learn more about different microphones in the previous chapter: Creating instructional videos: Technology recommendations from low- to high- tech [opens in new tab]
- Use a quiet space: find a location where you will be free as possible from distractions – people talking, pets barking, fans whirring, trucks beeping, etc. – as these can affect sound quality.
Your home network
Your network connection matters. The following tips may help prevent technical problems that would derail synchronous class time, distract the learners, and impede learning.
- Use at least 20Mbps bandwidth whenever possible: Zoom requires a minimum bandwidth of 600 kbps (up/down) and recommends 1.5Mbps, but we generally find more – 20 Mbps – is better. To check the speed of your network, we suggest running Speedtest [opens in new tab] to check your upload/download speeds. If you’re not getting the speed you need, consider plugging into a wired connection.
- Keep your software up to date and your computer’s battery charged.
Strategies to make editing your video easier while recording
Your Turn!
What do you notice when watching videos?
Find a video similar to the type of video you are creating, and make a list of things you like about it. Do you like their lighting? Their audio? Maybe their location? If you are noticing these details while watching other people’s videos, it is important that you also take the time to make your videos stand out to the viewer. Take some time experimenting with the equipment you already have, or you can jump back to Chapter 14: Creating Instructional Videos: Technology Recommendations from low- to high- tech [opens in new tab] for more recommendations.
—Click in the BOTTOM-RIGHT corner of the window above to view in fullscreen.
Did you know you could PRINT the Takeaways of the H5P component above? Print + Save PDF in your “Ideas Corner” folder! See the “printer” icon in the BOTTOM-RIGHT corner of the window, when you are not viewing the slides in fullscreen.
