14 Creating instructional videos: Technology recommendations from low- to high-tech
Carlie Soares
In this chapter, you will find:
- How you can easily take your videos to the next level by incorporating different kinds of technology.
- What technology is best suited for your content creation style based on difficulty and budget.
- Lean more about the different applications available for recording your videos.
Video Cameras
All good videos start with a camera. You don’t need a good camera to make a good video, but it certainly helps. Take a look through the slideshow below to learn more about cameras, and which one might be best suited for you.
—Click in the BOTTOM-RIGHT corner of the window above to view in fullscreen.
Microphones and Audio
When recording videos, audio often gets overlooked. Investing in good audio equipment is one of the biggest upgrades you can make to video quality, especially when you are planning to stand far away from the recording device.
—Click in the BOTTOM-RIGHT corner of the window above to view in fullscreen.
Lighting
Another factor that is often overlooked is lighting. When recording videos, lighting can make all the difference in the quality of your recordings.
—Click in the BOTTOM-RIGHT corner of the window above to view in fullscreen.
You can learn more about how to apply lighting techniques when recording videos in Chapter 15: The Production Process for Creating Instructional Videos [opens in new tab]
Accessories
While these accessories are not necessary when it comes to recording videos, they can make the process easier, and offer creativity. Something as simple as investing in more storage can save you time in the long run.
—Click in the BOTTOM-RIGHT corner of the window above to view in fullscreen.
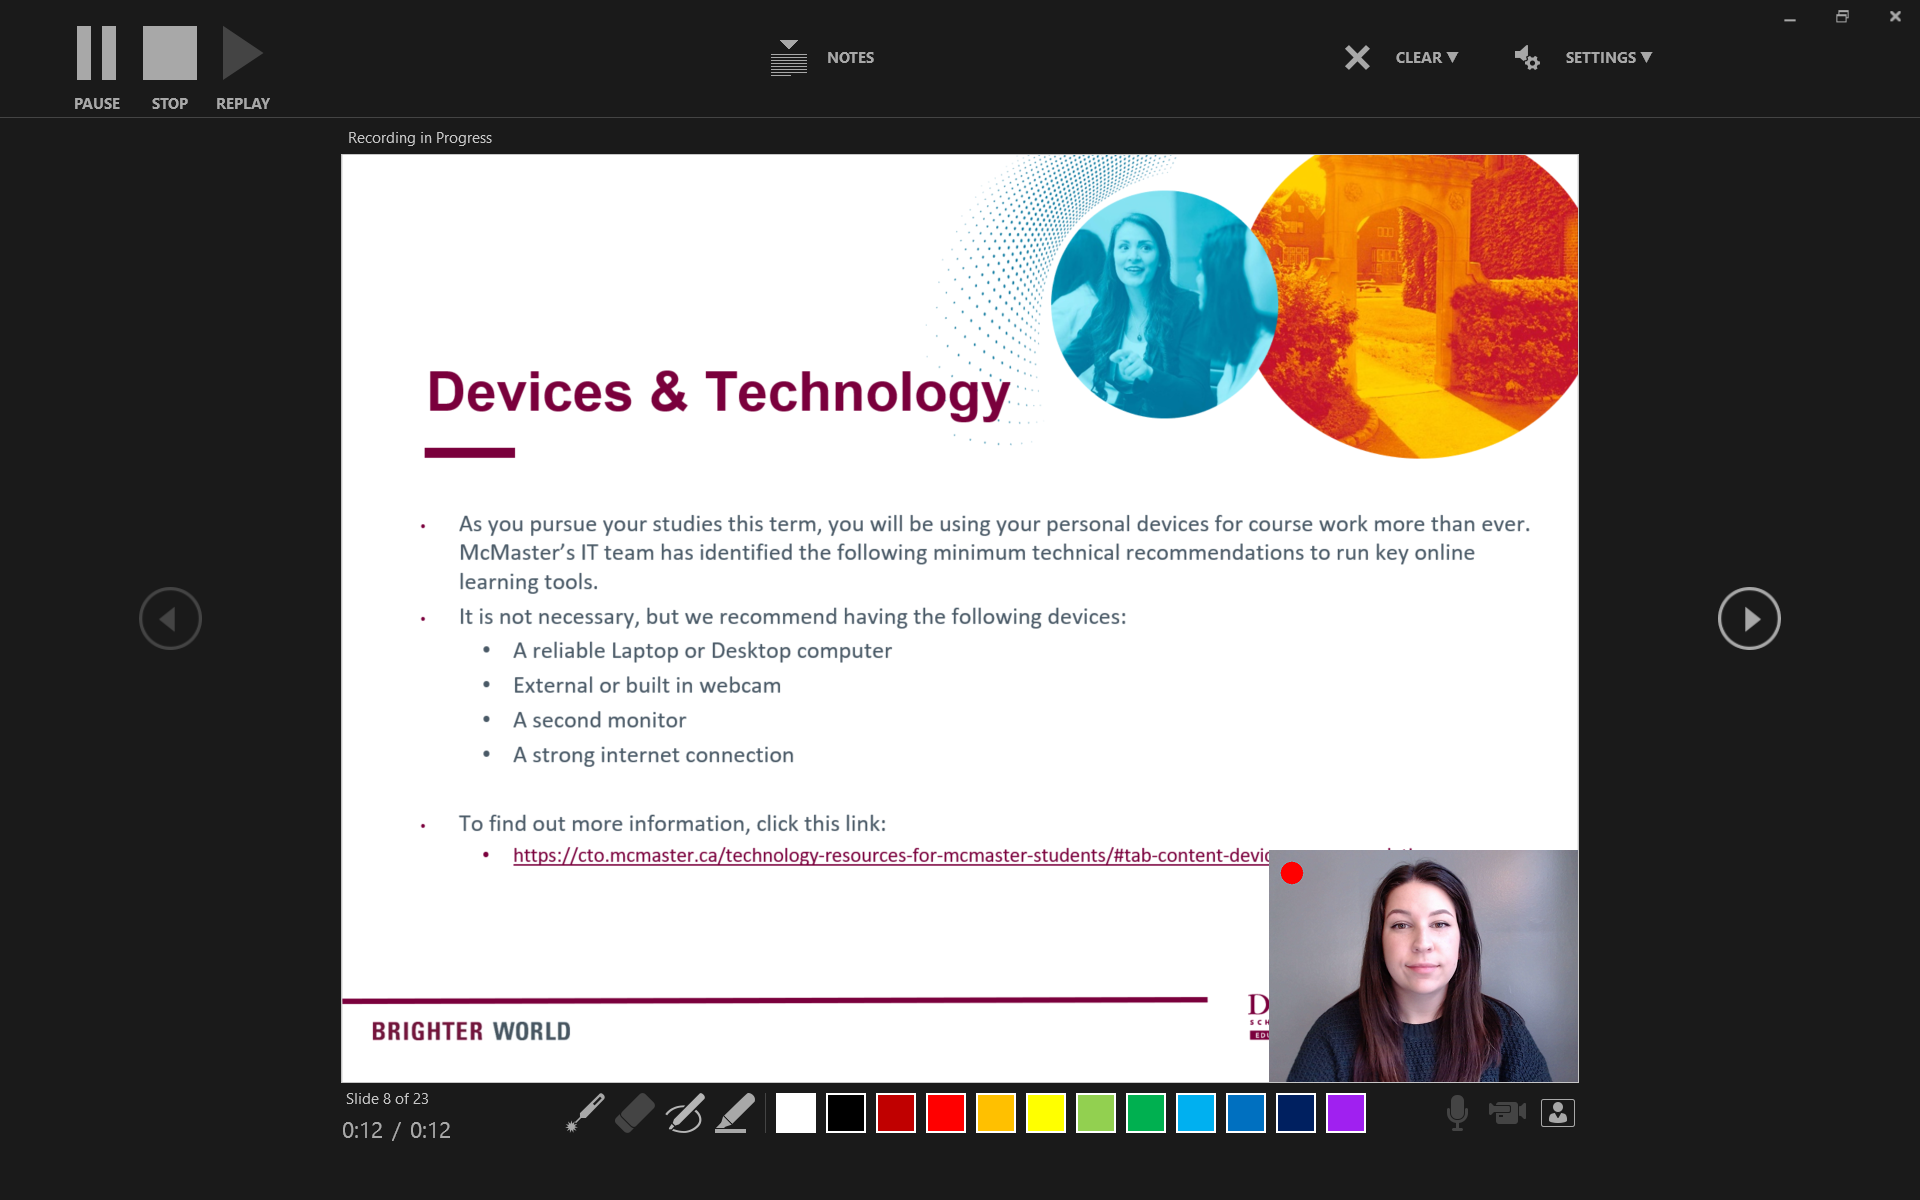
Recording
Now that you have the technology, the next step is to record your video. Luckily, there is a wide variety of options for recording video that will fit anyone’s skill set and budget. This section is organized from beginner to advanced.
1. Online learning platform
—Click in the TOP-RIGHT corner of the window above to view in fullscreen.
Most online teaching platforms have built in recording options! You can record your webcam, audio and visuals all at once, and simply. These platforms require you to set up “meetings”, but you can still use them for recording videos by setting up a meeting with yourself. Some of these platforms require subscriptions or payments.
Find out more about recording with Zoom [opens in new tab], Teams [opens in new tab], WebEx [opens in new tab], Google Meet [opens in new tab], and BlueJeans [opens in new tab]
2. Presentation Software
Did you know that PowerPoint can record videos? You can record a presentation in real-time as you present, while adding annotations and slide timings.
Find out more about recording videos in PowerPoint [opens in new tab] , Google Sheets [opens in new tab], and Open Office [opens in new tab]
3. Built In Recorder

Most laptops and desktop computers come with software that you can use to record your video. On a Windows computer, you can record video using the Camera app [opens in new tab], or Microsoft Gamer Bar [opens in new tab]. On Apple computers, you can use Photo Booth [opens in new tab] or QuickTime [opens in new tab]. These software’s are adaptable with external cameras and microphones, and save directly to your device.
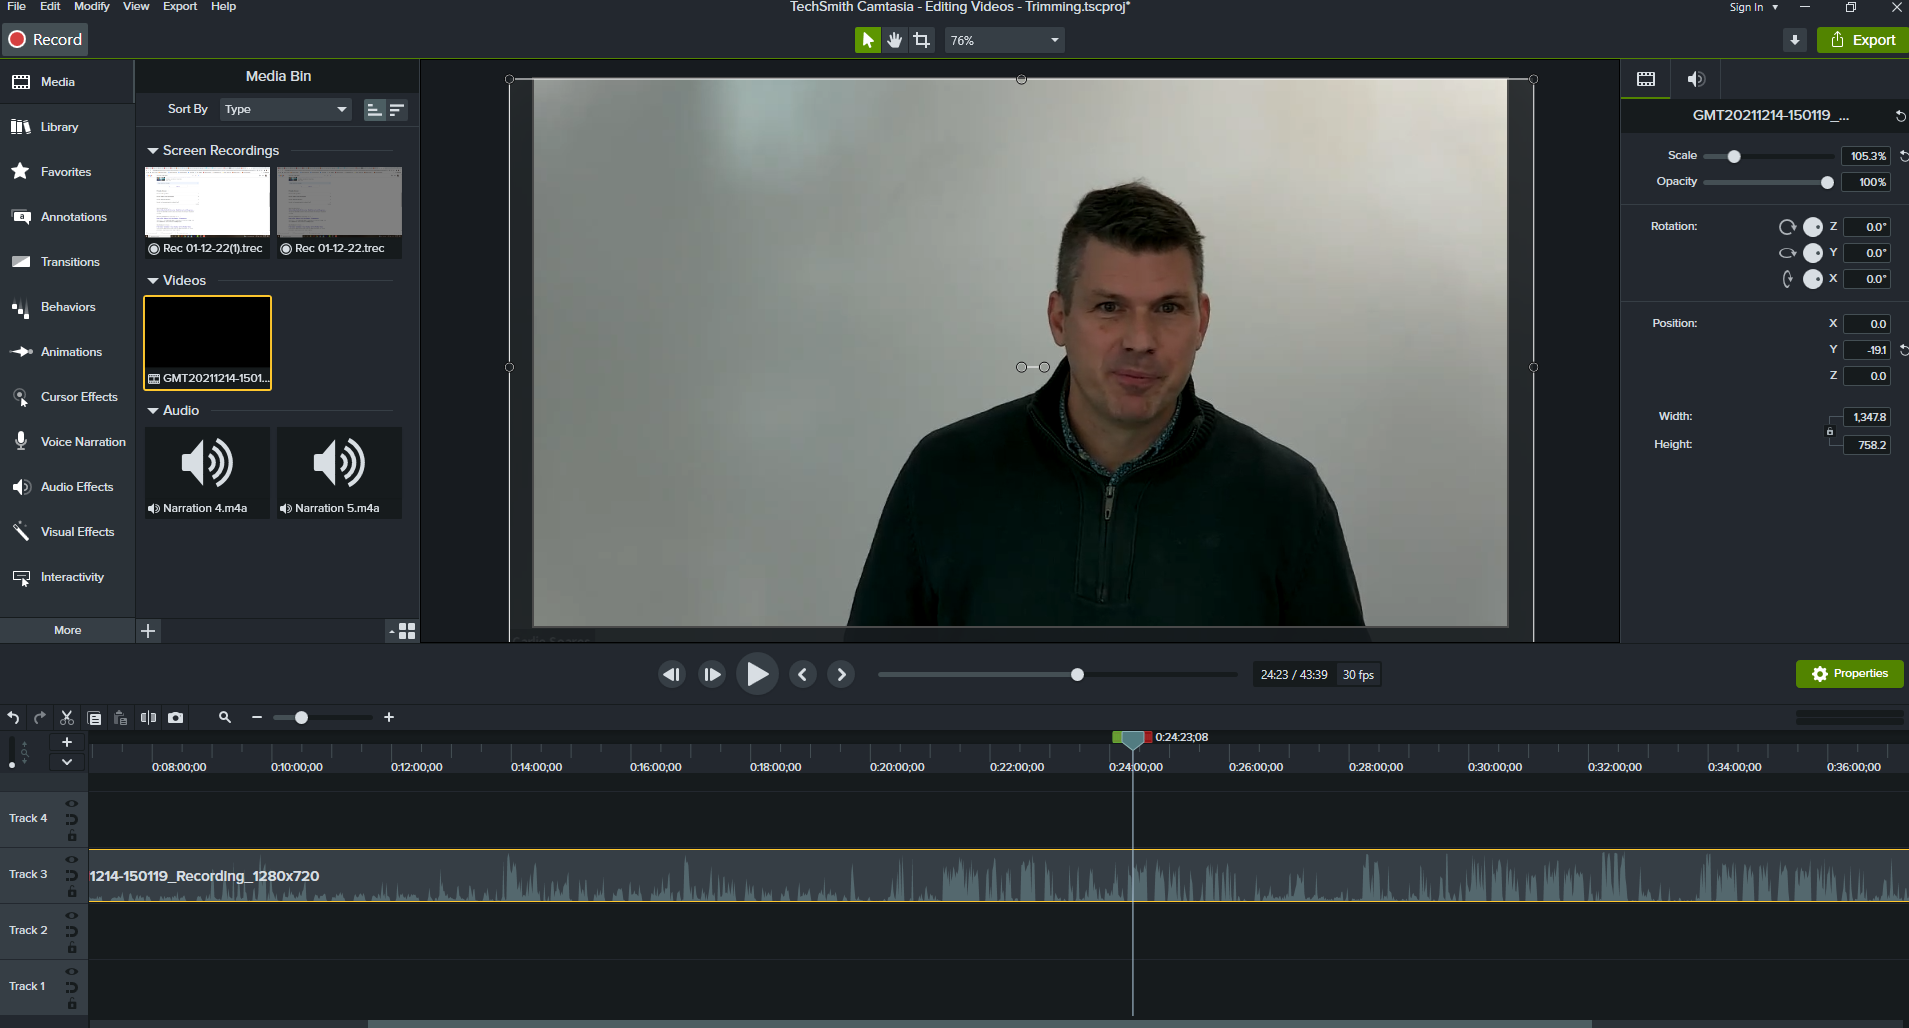
4. Recording Software

If you’re looking to enhance your video recording, or be able to record video, audio and screen capture all at the same time, investing in a recording software is the best choice for you. Whether it be low tech or high tech, these software’s are jam-packed with recording and editing options. For example, Camtasia [opens in new tab] (pictured above) allows you to record your video, then it automatically gets uploaded into an editor where you can trim video, add music, add text, and much more!
5. Recording with a video camera
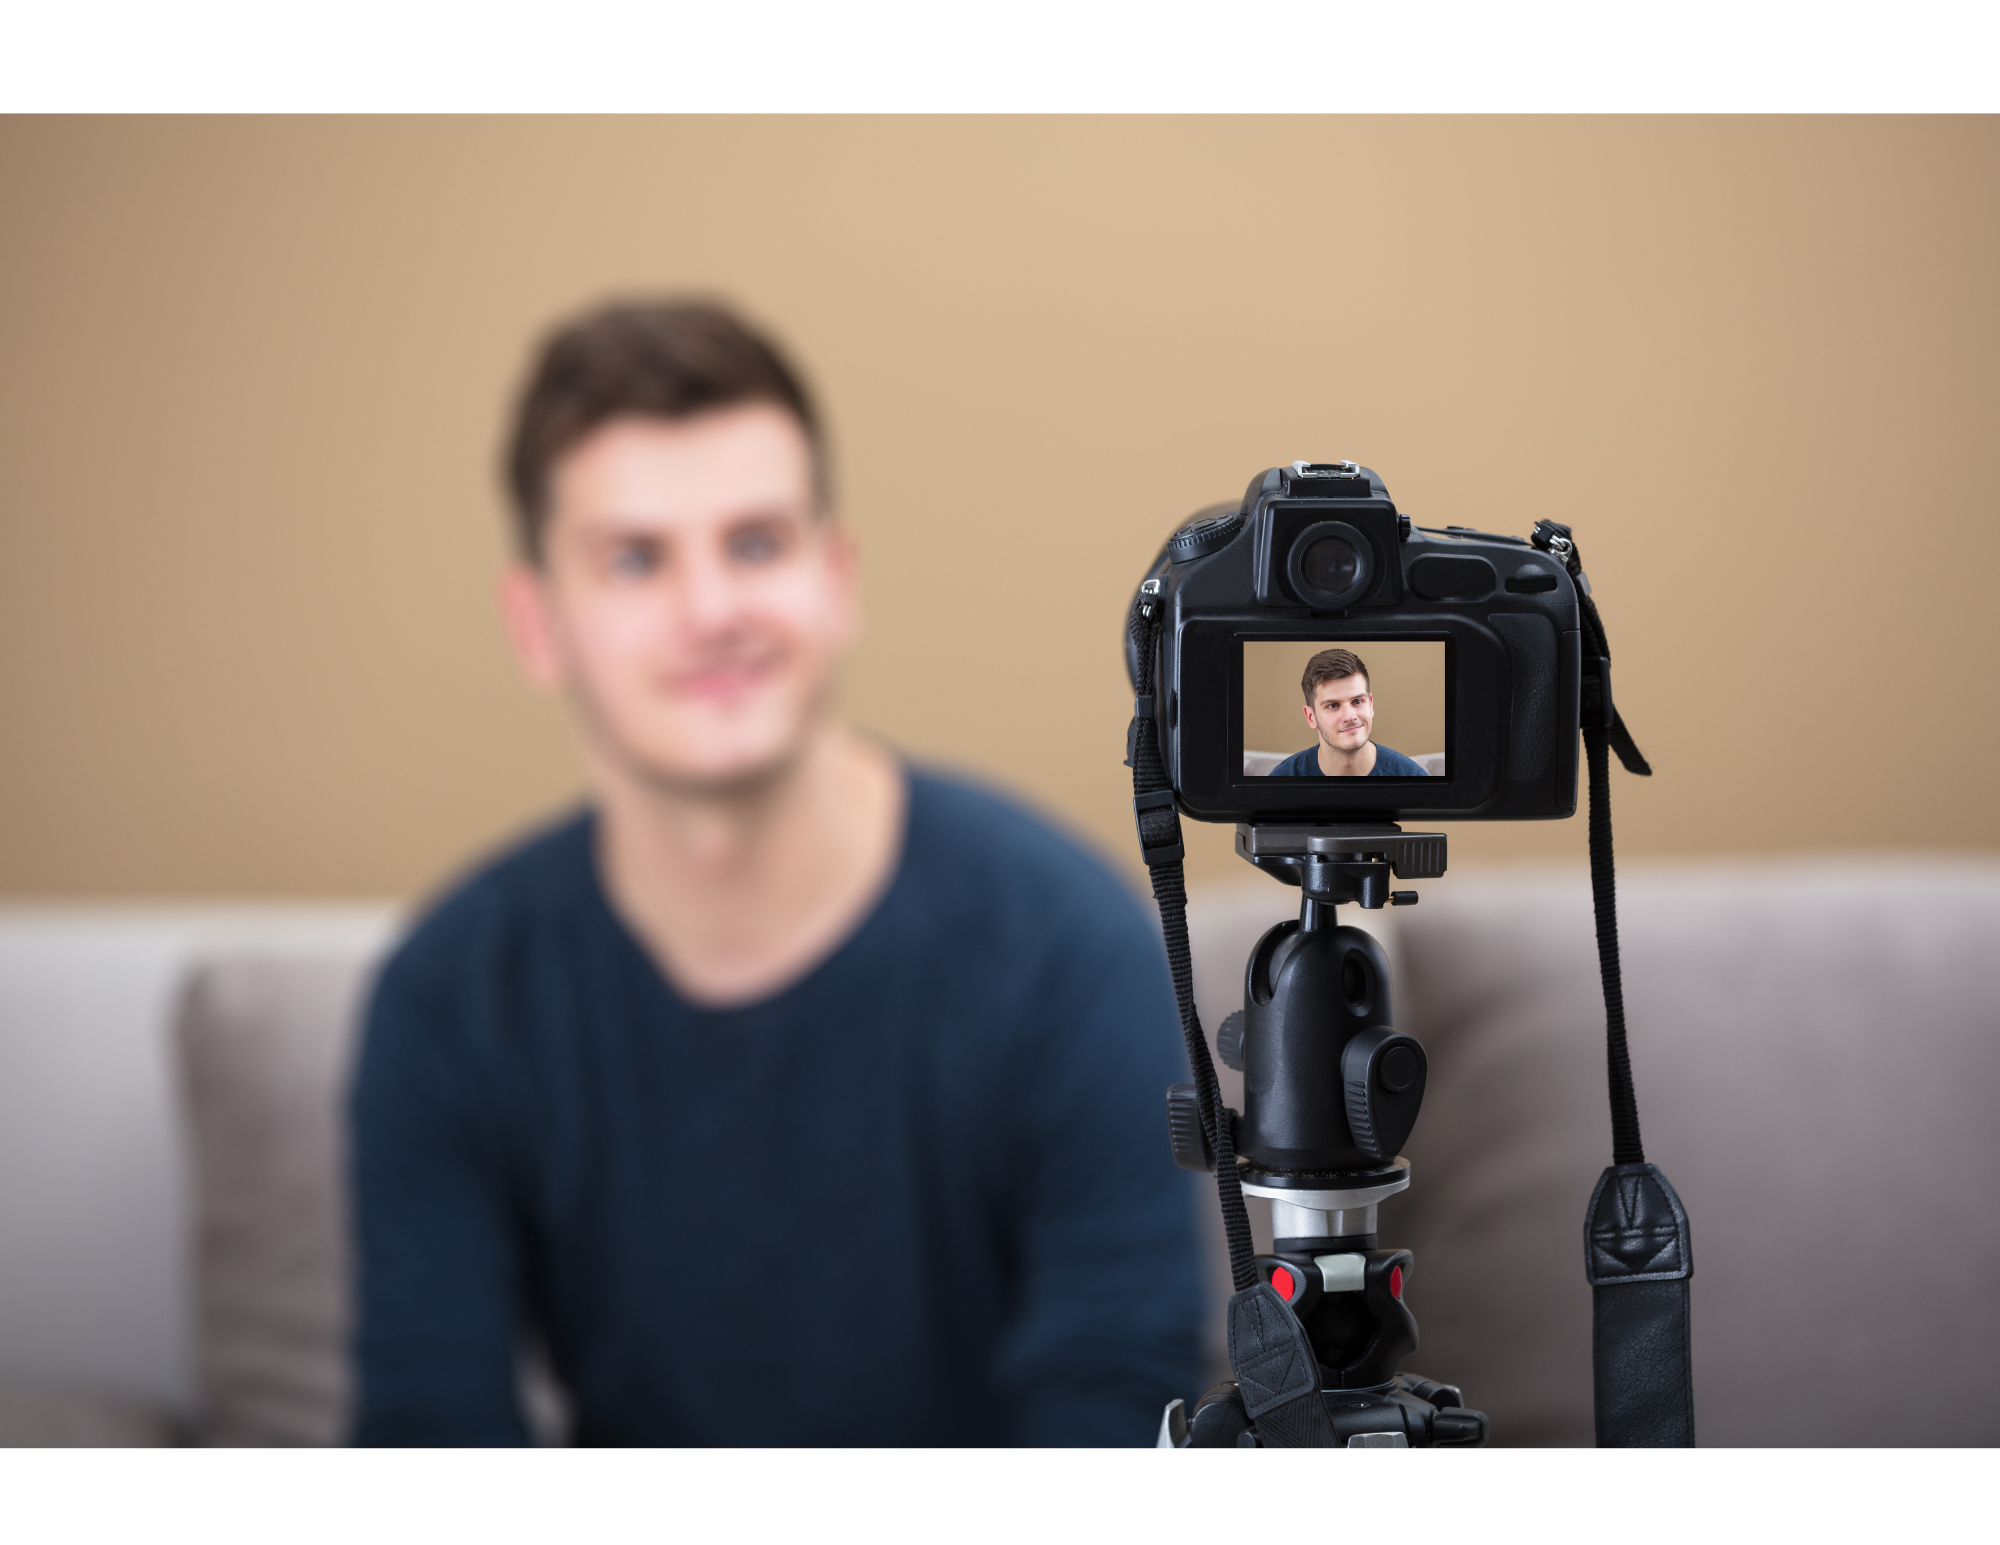
Whether it be a smartphone camera, or a high tech camera, the same principles and techniques come into play. This technique takes some time to master, but once you do so you will have high quality video that you can share with others. You will need a place to store your recordings, whether it be on your recording device or an external hard drive, and upload them to your computer for editing.
Editing
Your recording is done, but maybe you had a few bloopers, or you want to add some text or images. Your next step is editing your video!
1. Built in editor
—Click in the TOP-RIGHT corner of the window above to view in fullscreen.
Most laptops come with a built in video editor. For Microsoft products, you can edit using Microsoft Photos [opens in new tab]. For Apple products, you can edit your video using iMovie [opens in new tab]. These applications are automatically added to your device and are free to use. You can trim your video, add text and music, and even add simple motion graphics!
2. YouTube Studio
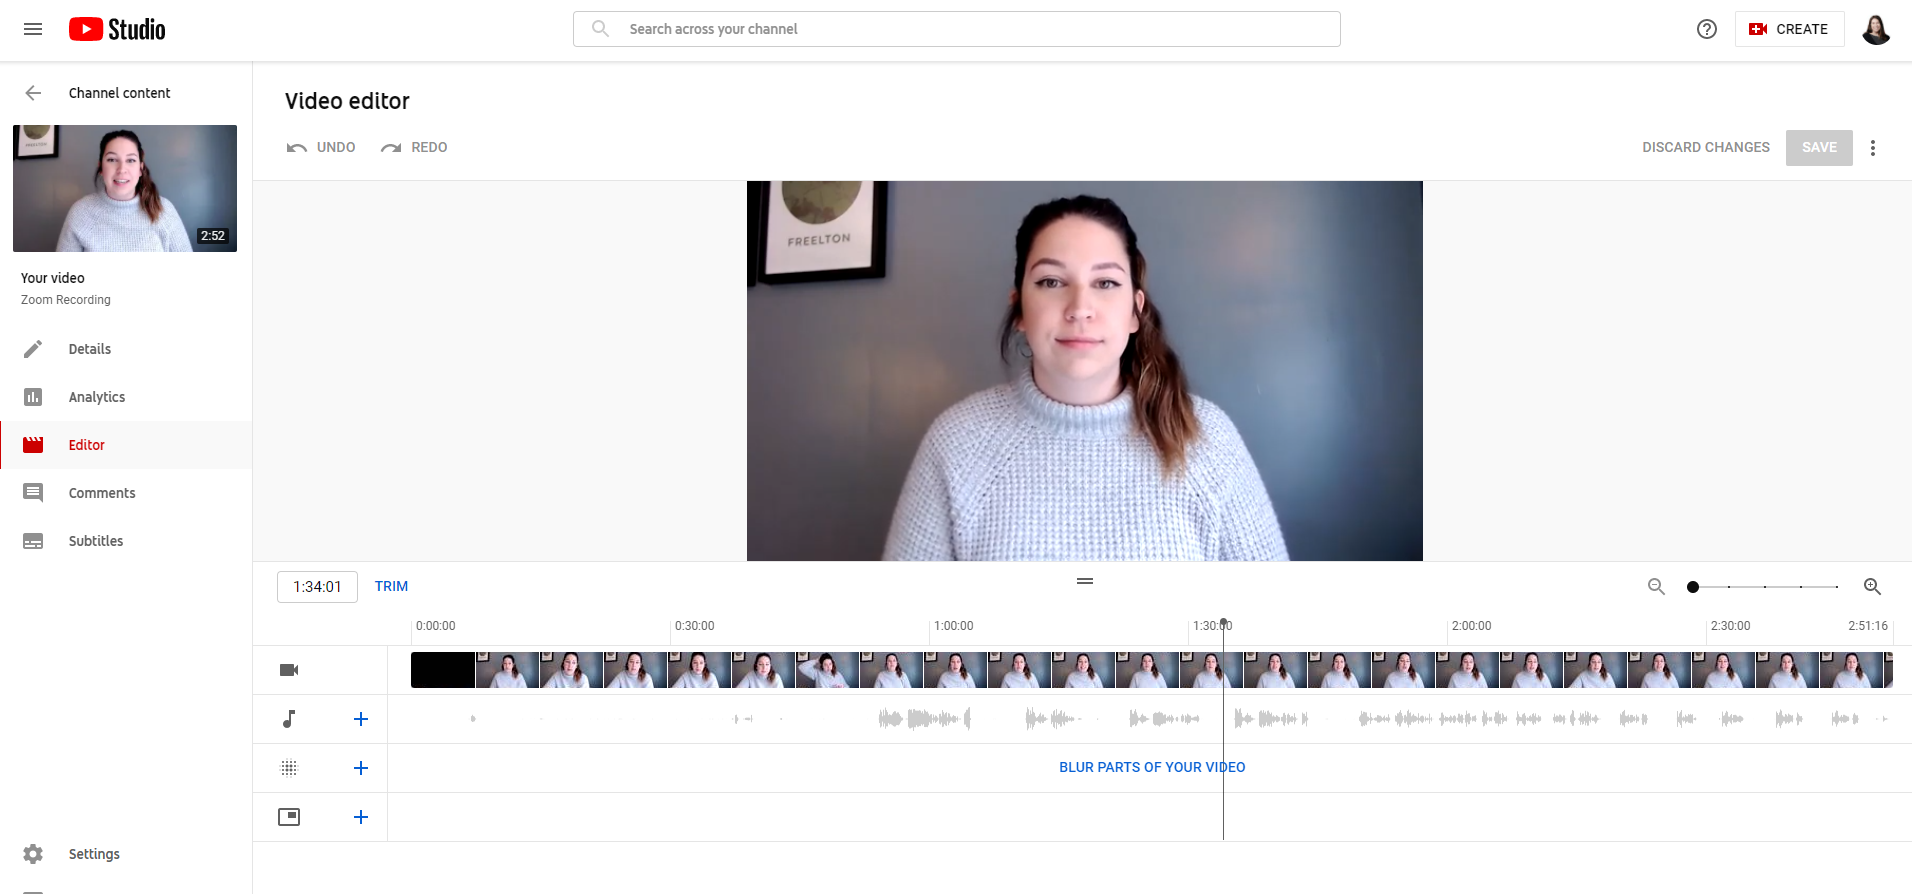
YouTube Studio [opens in new tab] offers a number of editing features. When you upload a video, you can edit it before you share it with others. You can also add additional audio tracks, images, title cards and motion blurring. All you need is a free YouTube account to get started! You can share the video via a YouTube link, or you can download the video (with the edits you made) back onto your device to upload to another platform.
3. Low Tech Editing Software
Low tech editing software’s are a great choice for someone who wants to dive deeper into video editing, and they won’t break the bank. These software’s give you loads of options, like adding images and text, to editing music and creating motion graphics, all while keeping the interface user friendly. These software’s include Camtasia [opens in new tab], Filmora [opens in new tab], Movavi [opens in new tab] and much more! These applications are a lower budget version of high tech editing software, but they really pack a punch and can add a lot of value to your video.
4. High Tech Editing Software

These editing software’s are powerhouses. They can handle footage up to 4K, and have amazing rendering speeds. They also come with all the editing functions you need, but they are a bigger learning curve for someone starting out. They also can be quite expensive, so make sure you have room in your budget before purchasing. Some of the more common software’s include Adobe Premiere Pro, Final Cut Pro [opens in new tab], and Avid [opens in new tab]. A free editor with these features is DaVinci Resolve [opens in new tab] with an upgrade “Studio” version available.
—Click in the BOTTOM-RIGHT corner of the window above to view in fullscreen.
