25 Create New Content
Chapter table of contents
Books in Pressbooks are made up of chapters, which are the building blocks of content, and parts, which are organizational blocks that house those chapters. If you intend to have your book hosted in Pressbooks, it is best practice to work on the book directly in Pressbooks as soon as possible, rather than work in another application like Microsoft Word and then copy the content into Pressbooks.
Chapter title and permalink
When a chapter is opened, you will see the WYSIWYG toolbar, which contains three rows of tools that can be used to add and format content in the chapter.

Above the toolbar is the chapter-title field where the title of the chapter can be added and edited.

Underneath the chapter-title field is the permalink—the URL or web address for that chapter. This link is automatically generated when you add a title for a new chapter. Once the link has been created, it will not change unless you edit it.
You can edit a chapter’s permalink as follows:
1. Click the “Edit” button on the right side of the permalink.

2. This action opens the permalink field where a new or revised segment can be entered.

3. For example, “-different-title” can be added to the end of the permalink to better describe the chapter. To save the changes, click the OK button and save the page. To back out of this action, select “Cancel” located under the Permalink label.

It is recommended, as part of a book’s final review, that the author checks the permalinks of all parts and chapters to make sure they are relatively short and reflect the title of a chapter or part. Permalinks do not need to match a chapter or part title exactly.
IMPORTANT: Changing a permalink will break all internal links to that page in a book, therefore, be sure to locate and update affected links.
Editing tools and views
The editing view—accessed through the Organize tab on the Dashboard menu of a book—is used to add content directly in a chapter or part. From the editing view, you can choose to work in the Visual Editor or the Text (HTML) Editor and can switch back and forth between them when necessary. The Visual Editor lets you see formatting and styling as you work, and includes a comprehensive WYSIWYG toolbar with 32+ features at the top of the page. The Text Editor gives you the ability to edit and see your work in HTML. Fewer tools—14 in total—are available in this latter view.
| For more discussion and screenshots of these editors, see Using the Visual and Text Editors in Pressbooks from the Pressbooks Userguide. |
The reader’s perspective is called the book view, or the webbook. To check this view while editing, use:
- “View Chapter” found in the red banner at the top of the web page
- changes must be saved first using the red Save button on the mid-right side
- a warning message will appear if changes have not been saved
- book view appears in the same tab
- “Preview” button in the Status & Visibility sidebar on the right
- changes do not need to be saved before viewing
- book view opens in a new tab
- changes must still be saved if they are to be kept
Save and autosave
Pressbooks automatically saves work every five minutes. However, it is recommended that the Save button be regularly used as well. (See Revisions Tool.)
Markup: HTML and CSS
| See The Importance of “Good Markup” in the Pressbooks Userguide. |
Special features
Distraction-free writing mode
If you like to work on content without the distraction of the entire Pressbooks interface, click on the distraction-free writing mode (DFWM) button in the top-right corner of the WYSIWYG toolbar, and the left and right sides of the interface will fade out unless you move the mouse over the edges. To return to the original mode, click on the DFWM button again.

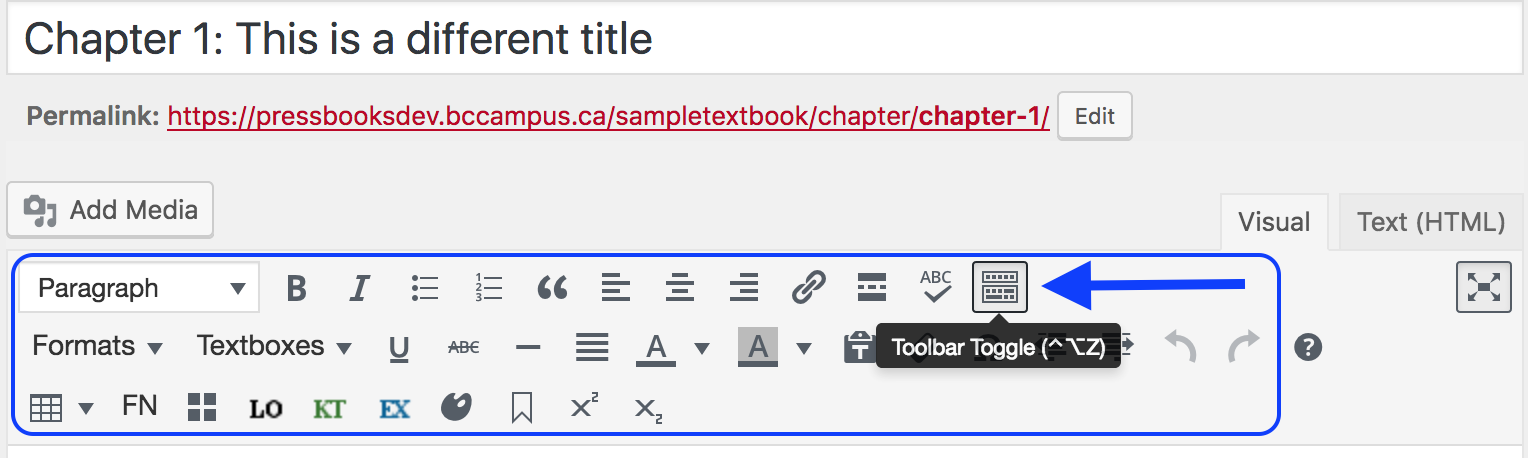
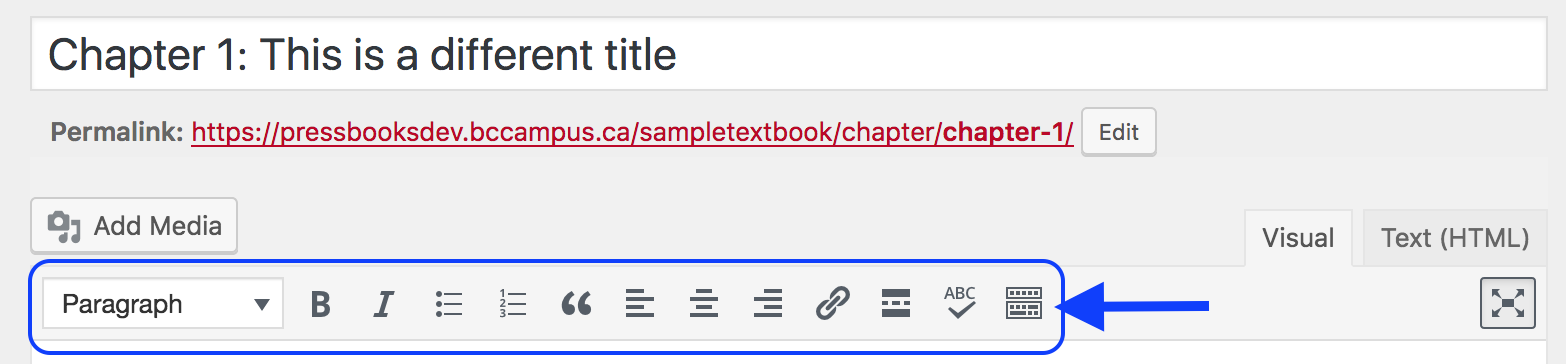
Toolbar toggle
On the far right end of the WYSIWYG toolbar is another button called Toolbar Toggle. The default setting for each newly created chapter is for all three rows of features in the WYSIWYG toolbar to display. If you click on the Toolbar Toggle button, these three rows will collapse leaving just the top one. Click the button again to reveal all features.
Special characters
In the second row of the WYSIWYG toolbar, there is a Special character button that gives you access to a large collection of special characters. To use, click on the Special character button, and locate the symbol you need. Click on it, and it will be inserted right into the text.
More information
| For more information, see Writing Directly in Pressbooks in the Pressbooks Userguide. |
