6 Using Window & Browser Capture
Let’s say you’re conducting a lesson or workshop and you want to watch a video with your students or participants. You can accomplish this using either the Browser Capture or Window Capture option – both of which have pros and cons.
Browser Capture
1. Create a new Scene
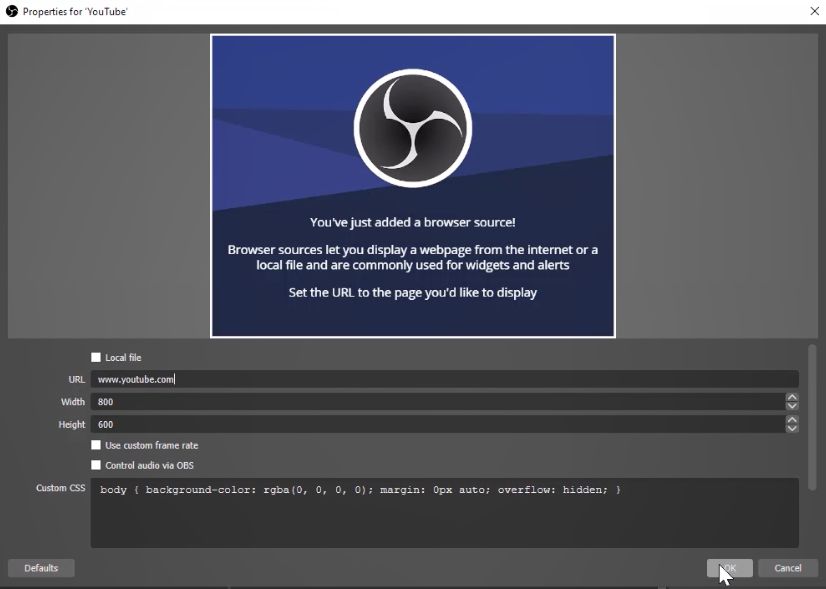
2. In the Sources dock, click the + button and make a new Browser Capture source
3. Add the URL you’d like the Browser Capture to use, then click OK

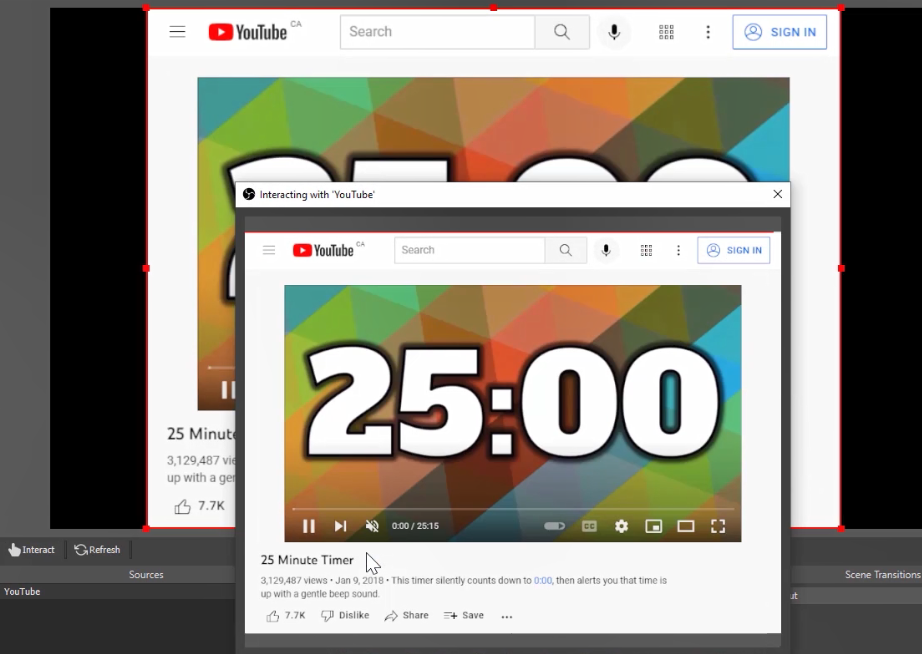
4. One of the biggest pros of using Browser Captures is that by selecting the ‘Interact’ button, you’ll be able to interact with the browser from within OBS as you would a normal browser, without having to exit OBS


5. One issue is that you will not be able to scroll within the Browser Capture source. To fix this, open the Browser Capture properties and edit the Custom CSS by removing “hidden;” from the end of the line

Window Capture
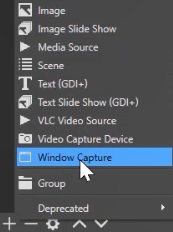
1. In the Sources dock, click the + button and make a new Window Capture source

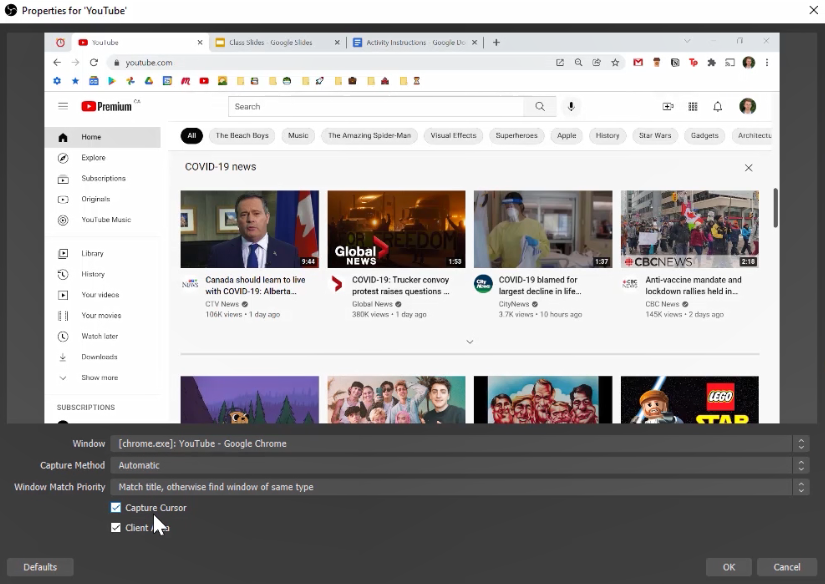
2. Select the window you’d like to capture

3. One pro to using Window Capture is that, unlike Browser Capture, you’ll be able to quickly swap to a different window that you have open on your computer. To do this, select the Window dropdown menu and choose a different window

Another positive is that if you have multiple tabs open in an internet browser, you will be able to quickly swap between them. However, unlike a Browser Source, you will need to exit OBS to interact with the browser, instead of interacting with it directly within OBS.

