10 Creating Live Captioning Using Google Slides
Adding captions to a live stream or video is an effective way to enhance your content’s accessibility. You can do this by using Google Slides. In this exercise, we’ll use the Scene from the previous Panel Discussion chapters.
1. In Google Slides, create a blank black slide (Note: it’s recommended that this be done in a completely separate browser window from one you may already have open)
![]()
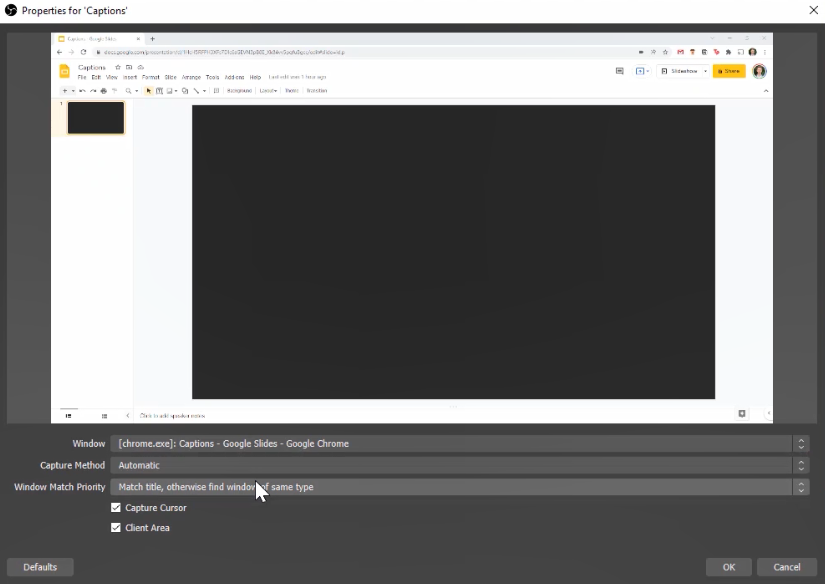
2. In OBS, create a Window Capture source and select the Google Slides window
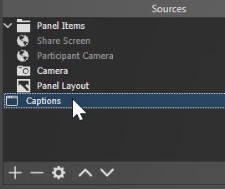
3. Position the Google Slides Window Capture at the bottom of the Sources dock
4. Reposition your Panel Discussion sources so that there is a rectangular opening at the bottom of your Preview/Program window
![]()
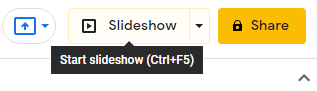
5. In Google Slides, click Slideshow
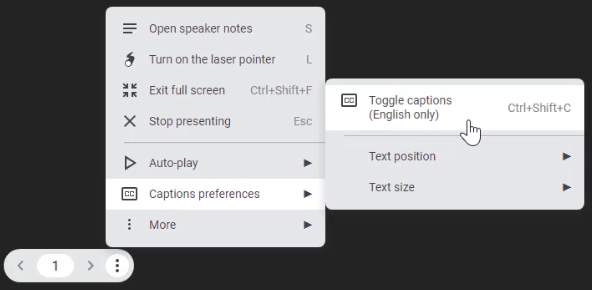
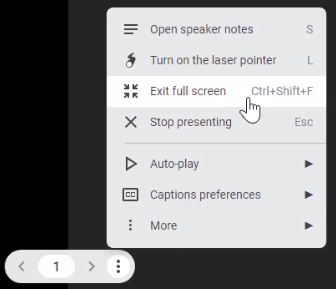
6. Open the three-dot menu in the lower left corner. Select Caption Preferences > Toggle Captions. You can also adjust the size of the captions if desired.
7. Select ‘Exit Full Screen’
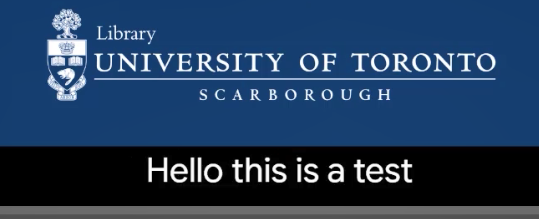
8. Start speaking to test if the captions are working
9. Open OBS – you should be able to see the captions appearing within the Preview/Program window (adjust size/location if necessary)
One limitation of this technique is that it will only pick up your voice and not others in a remote location. To get around this, you can use an external speaker for your computer instead of headphones, so the Google Slides captioning will also pick up their voices.
