33 Transforming Assets & Creating a Picture-in-Picture Effect
One of OpenShot’s most powerful tools is the Transform function, which allows you to alter an asset’s scale, location, and rotation. By keeping in mind how OpenShot layers content to mimic their order in the Tracks on the Timeline, you can easily use the Transform tool to create a picture-in-picture (PiP) effect so that viewers can, for example, see a speaker and their lecture content at the same time.
To transform assets:
1. Place the content that you’d like to appear as the smaller PiP (eg. video of speaker) on a Track in the Timeline
2. Place the content you’d like to take up the main portion of the screen (eg. lecture slides) on a Track beneath the PiP footage
3. Right click the PiP footage and select Transform.
4. After selecting Transform, the object will be highlighted in the Preview Window, indicating you can interact with it. To complete the PiP effect you, adjust Scale and Position so that your speaker is smaller than the lecture slides, and positioned elsewhere on-screen (like the lower left or right corner)
Although this PiP effect only required adjusting Scale and Position, he other properties you can edit using the Transform function are also listed below:
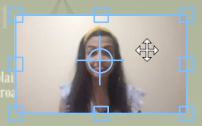
Position: Place your mouse in the middle of the asset. Once you see two arrows that cross each other, click and drag the asset around the screen
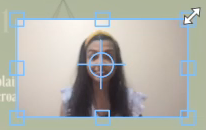
Scale: Click and drag the square blue handles that appear on the edges and corners of the asset
Tip: press and hold the CTRL/CMD key to maintain the asset’s aspect ratio when scaling up or down
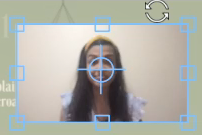
Rotation: Position your mouse just outside of the asset. Once you see two circular arrows, click and drag to rotate the asset
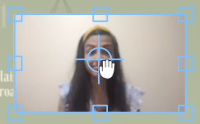
Axis of Rotation: If you’d like your asset to rotate around a point other than the centre, click and drag the Axis Point to a new location, then rotate
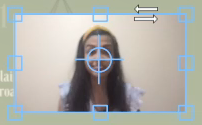
Shear: Position your mouse along the side or top/bottom edge of your asset. Once you see two horizontal arrows pointing in opposite directions, click and drag to shear your asset

