13 Creating a Live Stream Profile
When you start OBS Studio for the very first time the program will initiate by having you setup your first OBS Studio Profile. If you have already setup your first profile. you can create new profiles through the Profile menu by selecting ‘New’ from the dropdown.
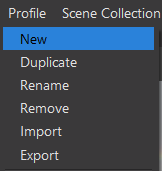
When you are creating your profile you will be asked to add a name for your new profile.

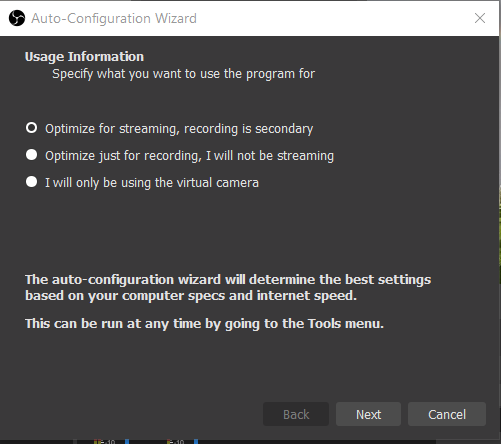
Next you will be asked about the intended use of this profile. It might be best if you create three profiles optimized for each purpose: Streaming, Recording, and using your Virtual Camera.
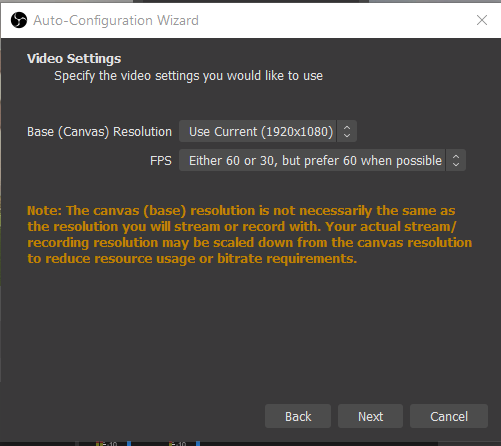
Next, you will set up your video settings. OBS Studio will know the resolution you were using and the default Frames Per Second(FPS) are already optimized for the type of usage you selected in the previous window.
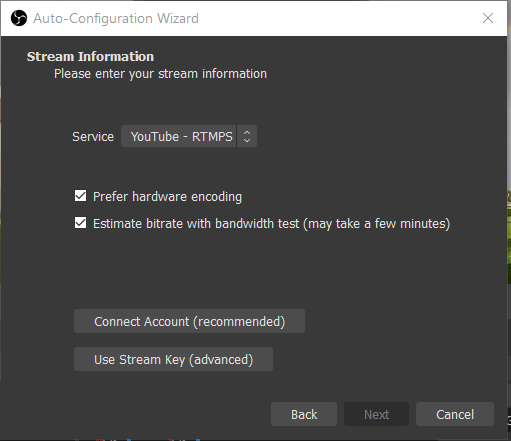
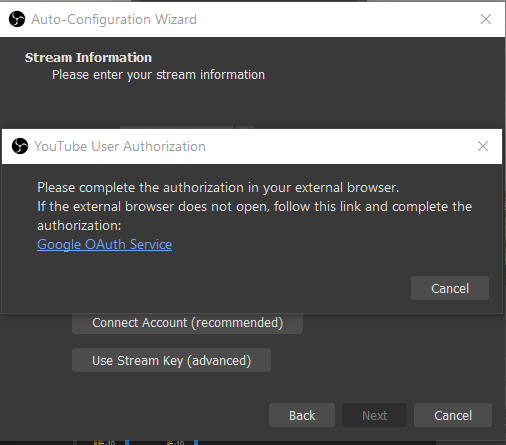
Within the next window, you will find Stream Information. You can select the Service you will be streaming from. In this tutorial we have selected YouTube. Then select Connect Account to authenticate your YouTube account with OBS Studio.
When you have selected Connect Account a YouTube User Authorization window pops up.
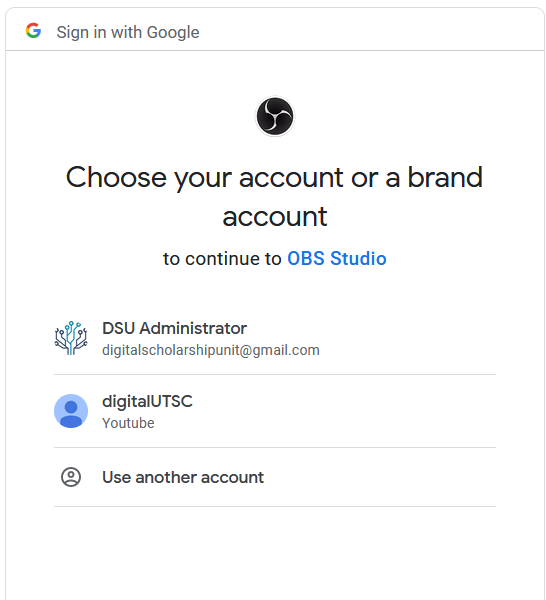
Then, within your browser a Google page will open asking you to connect your account with the OBS Studio service. Select the account you would like to connect.
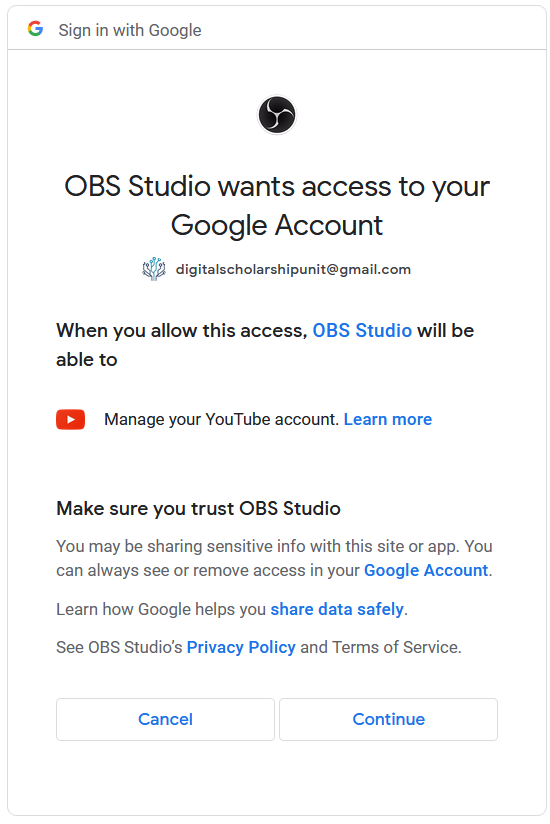
On the next screen click ‘Continue’
The next web page will indicate the authorization was completed successfully and you can close the page.

Next, in OBS the Auto-Configuration Wizard will test your connection with the YouTube Server. You might also notice that your Program window in OBS Studio has a static screen during this testing – don’t worry, that is normal.
If there are any issues at this point, the process will fail. This could be for several reasons, such as a weak internet connection, or your YouTube channel not yet being authenticated and setup for Live Streaming.
Note that this is a separate authentication process required by and done directly through YouTube, and can unfortunately take up to 24 hours to complete. To find more information on how to authenticate your YouTube account, visit this link.
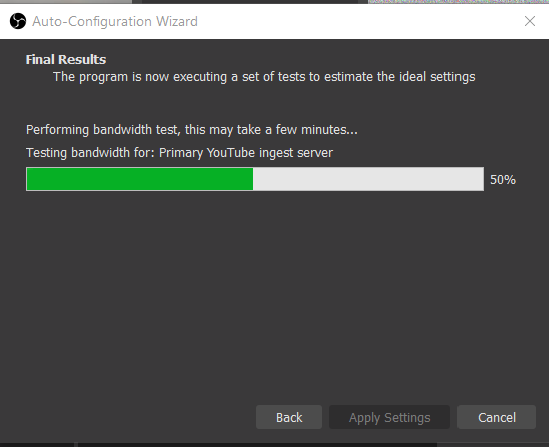
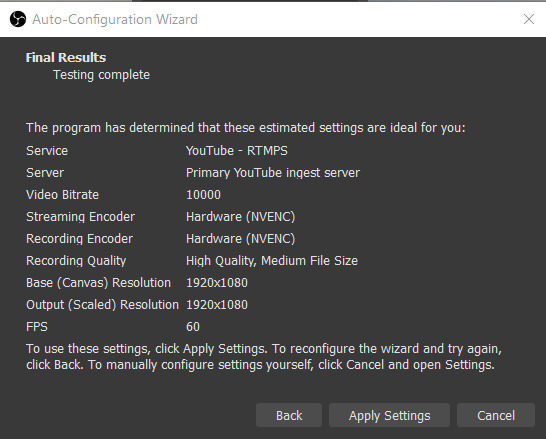
Upon completion of a successful connection, you should move on to the next Auto-Configuration Window. This window will indicate the final results of the test and that it was completed successfully. Click the ‘Apply Settings’ button to complete the setup of your YouTube Live Stream Profile.
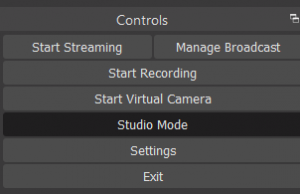
Once you have completed your profile setup, you will notice a new button on your Controls dock called “Manage Broadcast”.
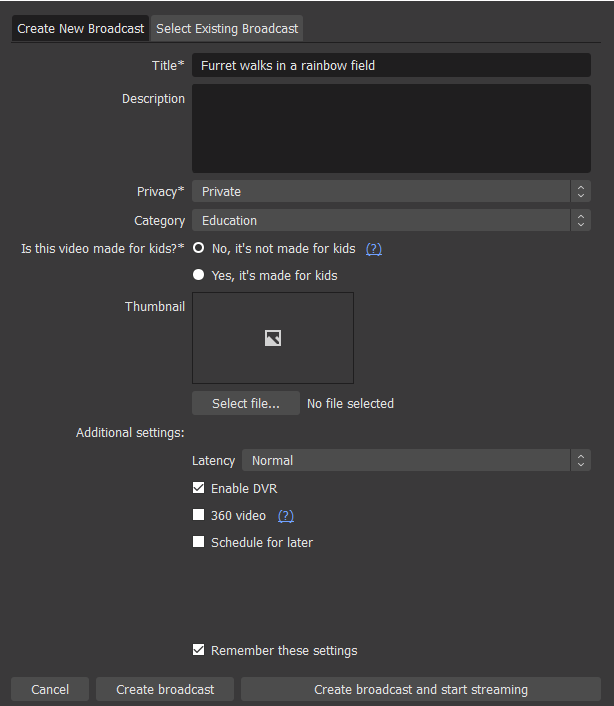
If you click on “Manage Broadcast” you will get a window that allows you to adjust the settings of your broadcast.
- Create a Title and description
- Adjust privacy settings (important to select Private if you are just testing)
- Select a category that YouTube will place the feed under
- Select “No, it is not made for kids” unless it is directly made for children audiences
- Add a thumbnail of an image you would like to use to represent your Live Stream in search results
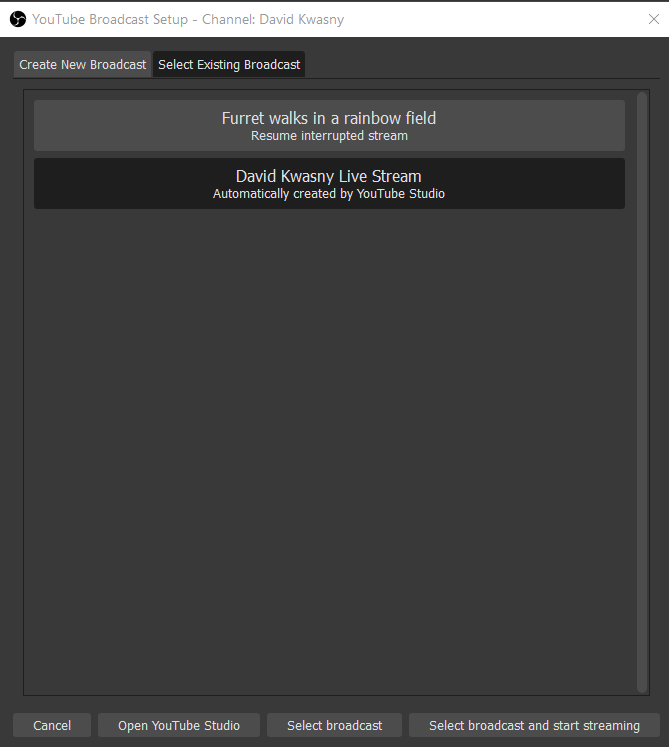
If you select the second tab on the top of the window, you can review your previous broadcasts. This page also allows you to “Open YouTube Studio” with the button at the bottom. This is very handy as clicking on it provides quick access to your Live Streaming Studio on YouTube.
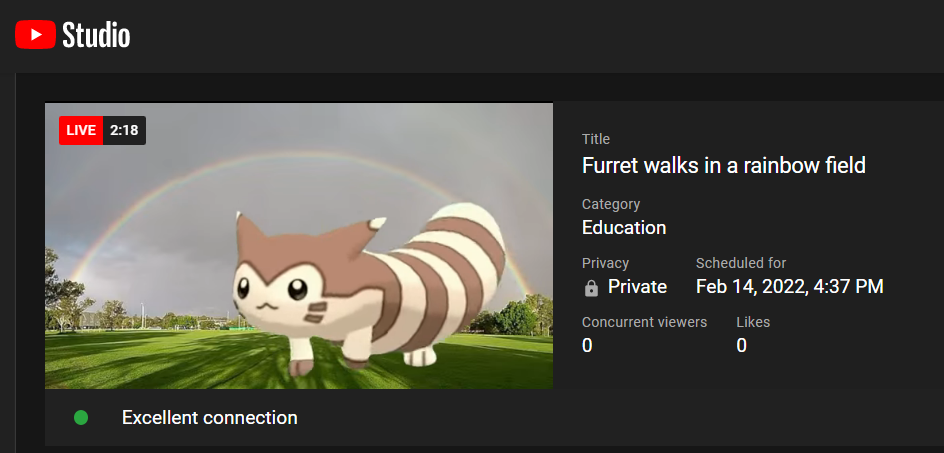
When you are in YouTube Studio and you have selected to “Start Streaming”, you will be provided with a page that provides you with great information about your stream, including live analytics and a chat moderation window.
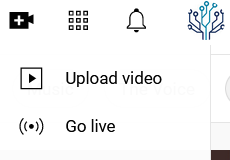
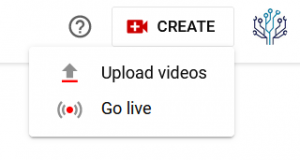
If you do not access the YouTube Studio through the “Manage Broadcast” settings, you can access the studio through YouTube by selecting the “CREATE” button next to your profile icon, and the clicking on “Go Live”
It is best to always test out your stream functionality prior to doing a live event. Audio can be very tricky if you are using multiple sources. Have fun, and happy streaming!

