7 Automatic Scene Switcher
Automatic Scene Switcher is a feature that functions so that, rather than manually switching between scenes, OBS will switch between them for you when you swap between programs on your computer. This can make creating content easier and feel more natural, whether synchronous or asynchronous.
1. Create a new Scene called Scene 1 and add a Window Capture source
2. Create a second Scene called Scene 2 and another Window Capture source within this second Scene
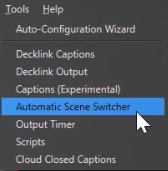
3. Click Tools, then select Automatic Scene Switcher

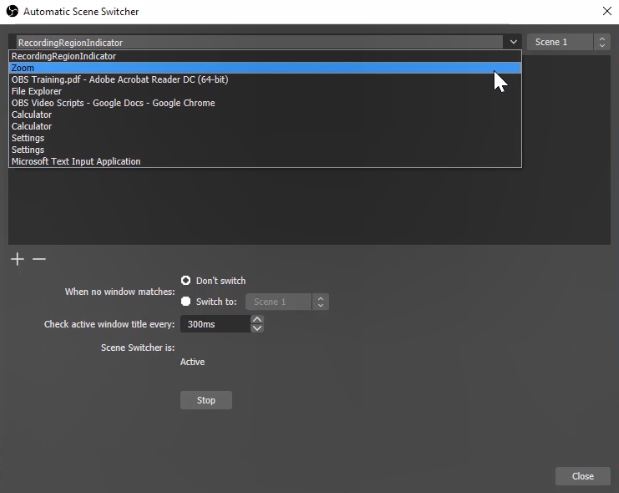
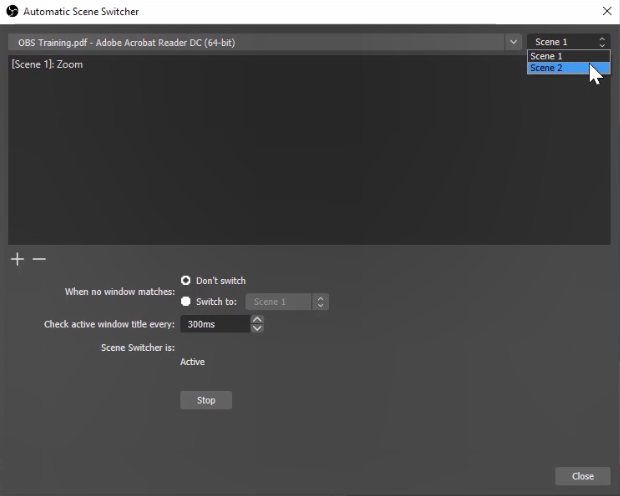
4. From the dropdown menu, select your first source, as well as the Scene it’s located in

5. Click the + button to add the selected Scene to the Scene Switcher
6. Repeat steps 4-5, but this time selecting the source and Scene created in step 2

Now, rather than continually switching between scenes and sources manually, when you click on that file or program on your computer, OBS will automatically swap between your Scenes. You can also make it so that when you click away from these files or programs altogether, OBS automatically switches back to a main or default screen.
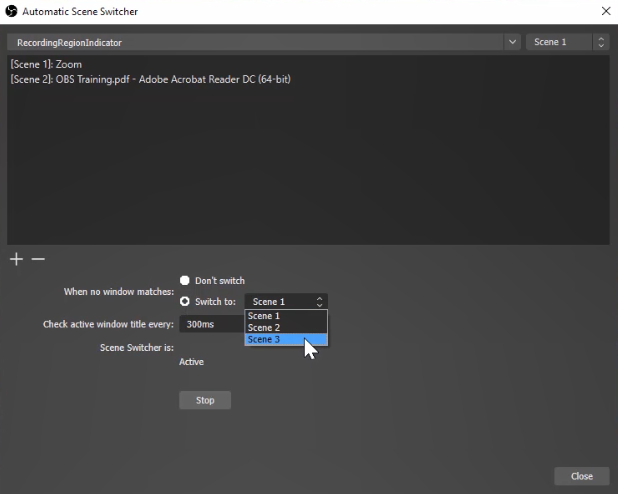
1. Create a new Scene called Scene 3 and add your camera as a Video Capture Device
2. Open the Automatic Scene Switcher
3. Select “When no window matches, switch to Scene 3”

After setting this up, when you click away from the programs or files or click into a new window that has not been added as part of the automatic scene switcher, OBS will by default switch back to your camera. Now you can interact with your files and programs as you normally would, and OBS will take care of the Scene switching in the background!

