5 HTML Panels
So far, the text panels we have added have been plain text only. If you want to add formatted text, for greater expression, you can use HTML panels instead.
HTML panels are a bit wonky, and they don’t always work as you might expect. In particular it can be hard to get the size just right (the “distance” or “scale” options are your friends to help solve that). If your formatting needs are more complex than basic formatting, it would likely be better to create a predefined image holding your text and use an [img[]] code instead.
1. Inserting an HTML Panel
The method for adding an HTML text passage is almost the same as for adding a plain text passage. The only difference is that you surround the passage title with angle brackets (“< … >”) instead of single quotes.
Try adding the following link code to on of the passages in your practice story:
[[<MyHTMLText>]]
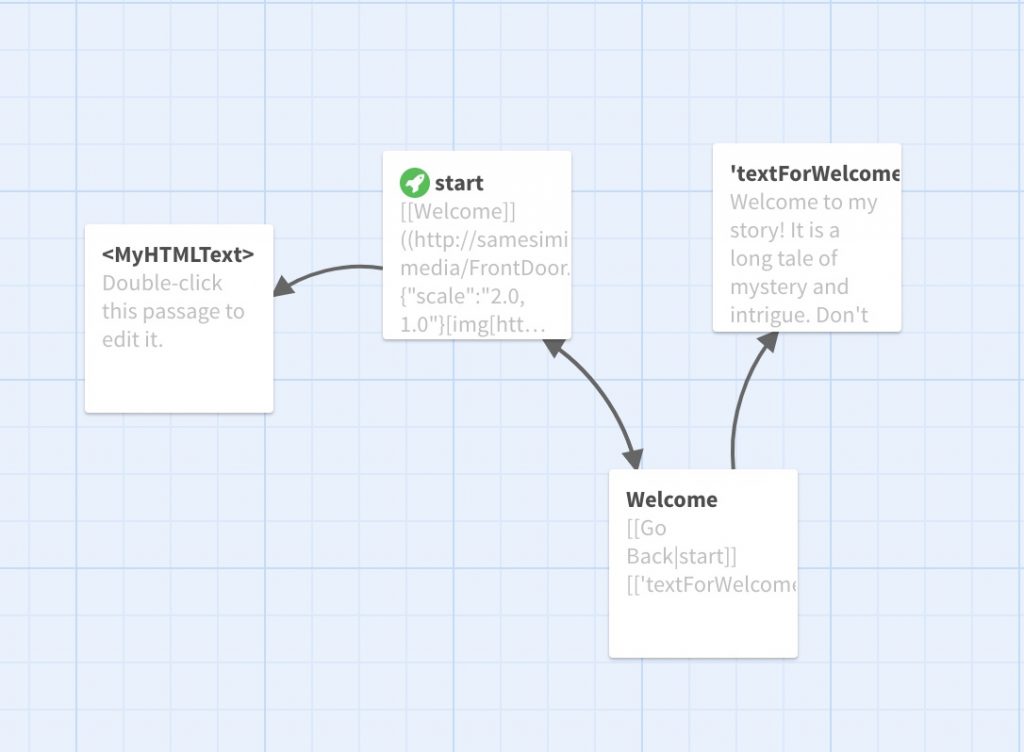
Any content inside passages with a title surrounded by < and > will be interpreted and rendered as HTML-formatted text.
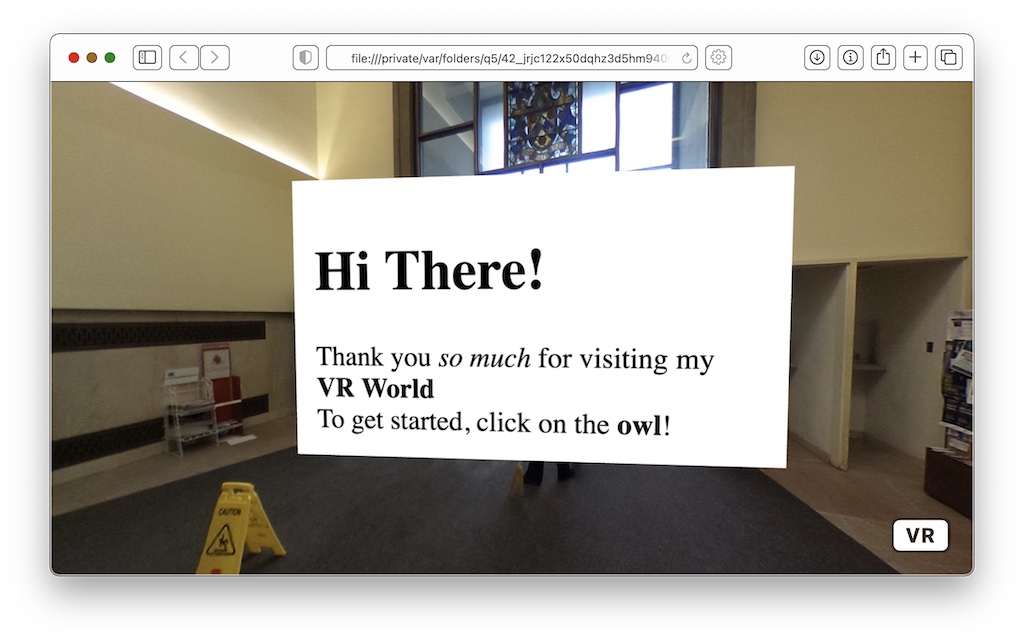
Try entering the following text in the <MyHTMLText> passage:
<h1>Hi There!</h1>
Thank you <i>so much</i> for visiting my <b>VR World</b>
<br />
To get started, click on the <b>owl</b>!
When you run the story, you should see the HTML panel:
I’d recommend that you keep things pretty simple with HTML text formatting. Complex layouts or styling may not work well.
In particular, HTML links (<a>) do not work, since reach cannot tell where in the HTML panel a user clicks, and whether that actually hits the text of a link.
But still, it can be useful to add a bit more expressivity to your text.
HTML panels can also easily get very large. I recommend that you only add a limited amount of text to an HTML panel, and increase the distance using the “distance” option, for example:
{"distance":"4"}[[<MyHTMLText>]]