3 Adding a Background Image
It’s time to add a background image to our scene. Background images make your story more immersive and provide a visual context for your writing.
It’s not possible to add images (or other media) directly to Twine through the app itself. Such media needs to be hosted on another website somewhere on the web. We will add the URL for the media to our Twine story so that it can find our media and load it from a remote location.
assets container in a basic https://glitch.com project works. And so does a website hosted by github pages.1. Code for adding a 360 Background Image
Reach has a special code for adding background images. Basically you put the URL for the background image inside double-parentheses:
((https://example.com/link/to/image.jpg))
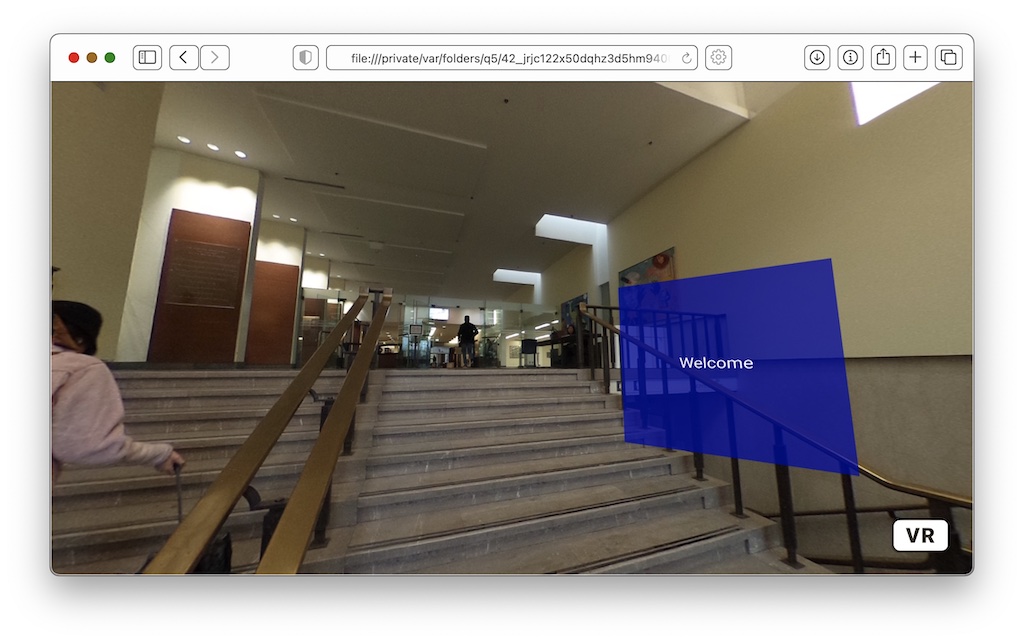
As practice, you can try adding the following background to one of the passages in your story:
((http://samesimilar.com/reach/demo-media/FrontDoor.JPG))
2. Required Format for Background Images
Your background image should be all of the following:
- .jpg or .png format
- Stretched as an ‘equirectangular’ projection
- Not too big! Large images can take a long time to load. Consider resizing your image to 4096×2048 to start.
- width should be 2x height
- Width and height should be a ‘power of two’ e.g. 1024, 2048, 4096, etc. It’s not strictly necessary, but it helps speed up loading times for your scene.
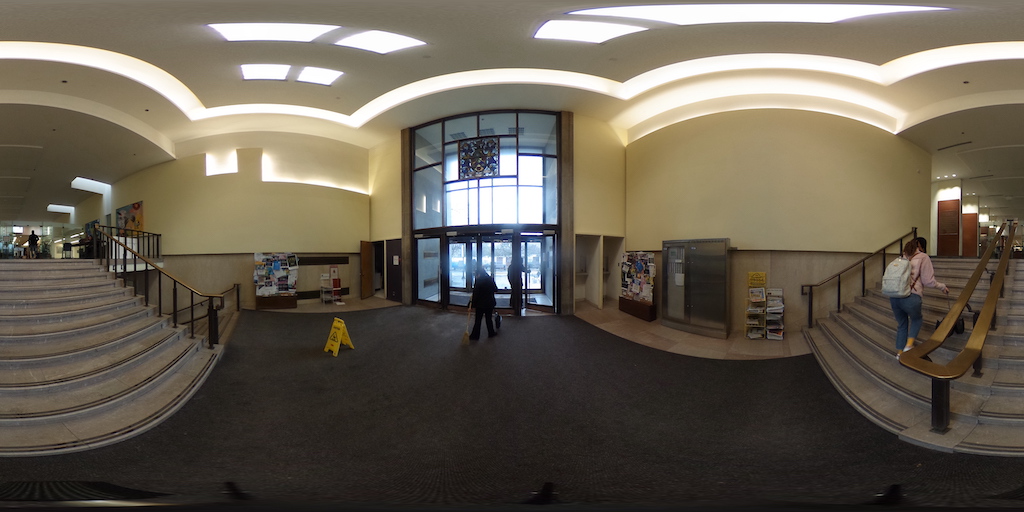
About Equirectangular Projections
This is a common ‘stretched’ format that is created by 360 cameras, like the Ricoh Theta S, for example. It looks like an extreme panorama. If you try to use a flat image as a background instead, it will look pretty weird. But maybe that’s what you want!
3. Advanced: Multiple Backgrounds (Layers)
You can install multiple backgrounds in a passage, as separate layers. The ‘inner’ backgrounds need to have transparent areas to let the ‘outer’ backgrounds show through. You also need to specify different distances for your backgrounds, to define the order in which they are layered.
As an example, try adding the following code to the same passage where you added the practice background:
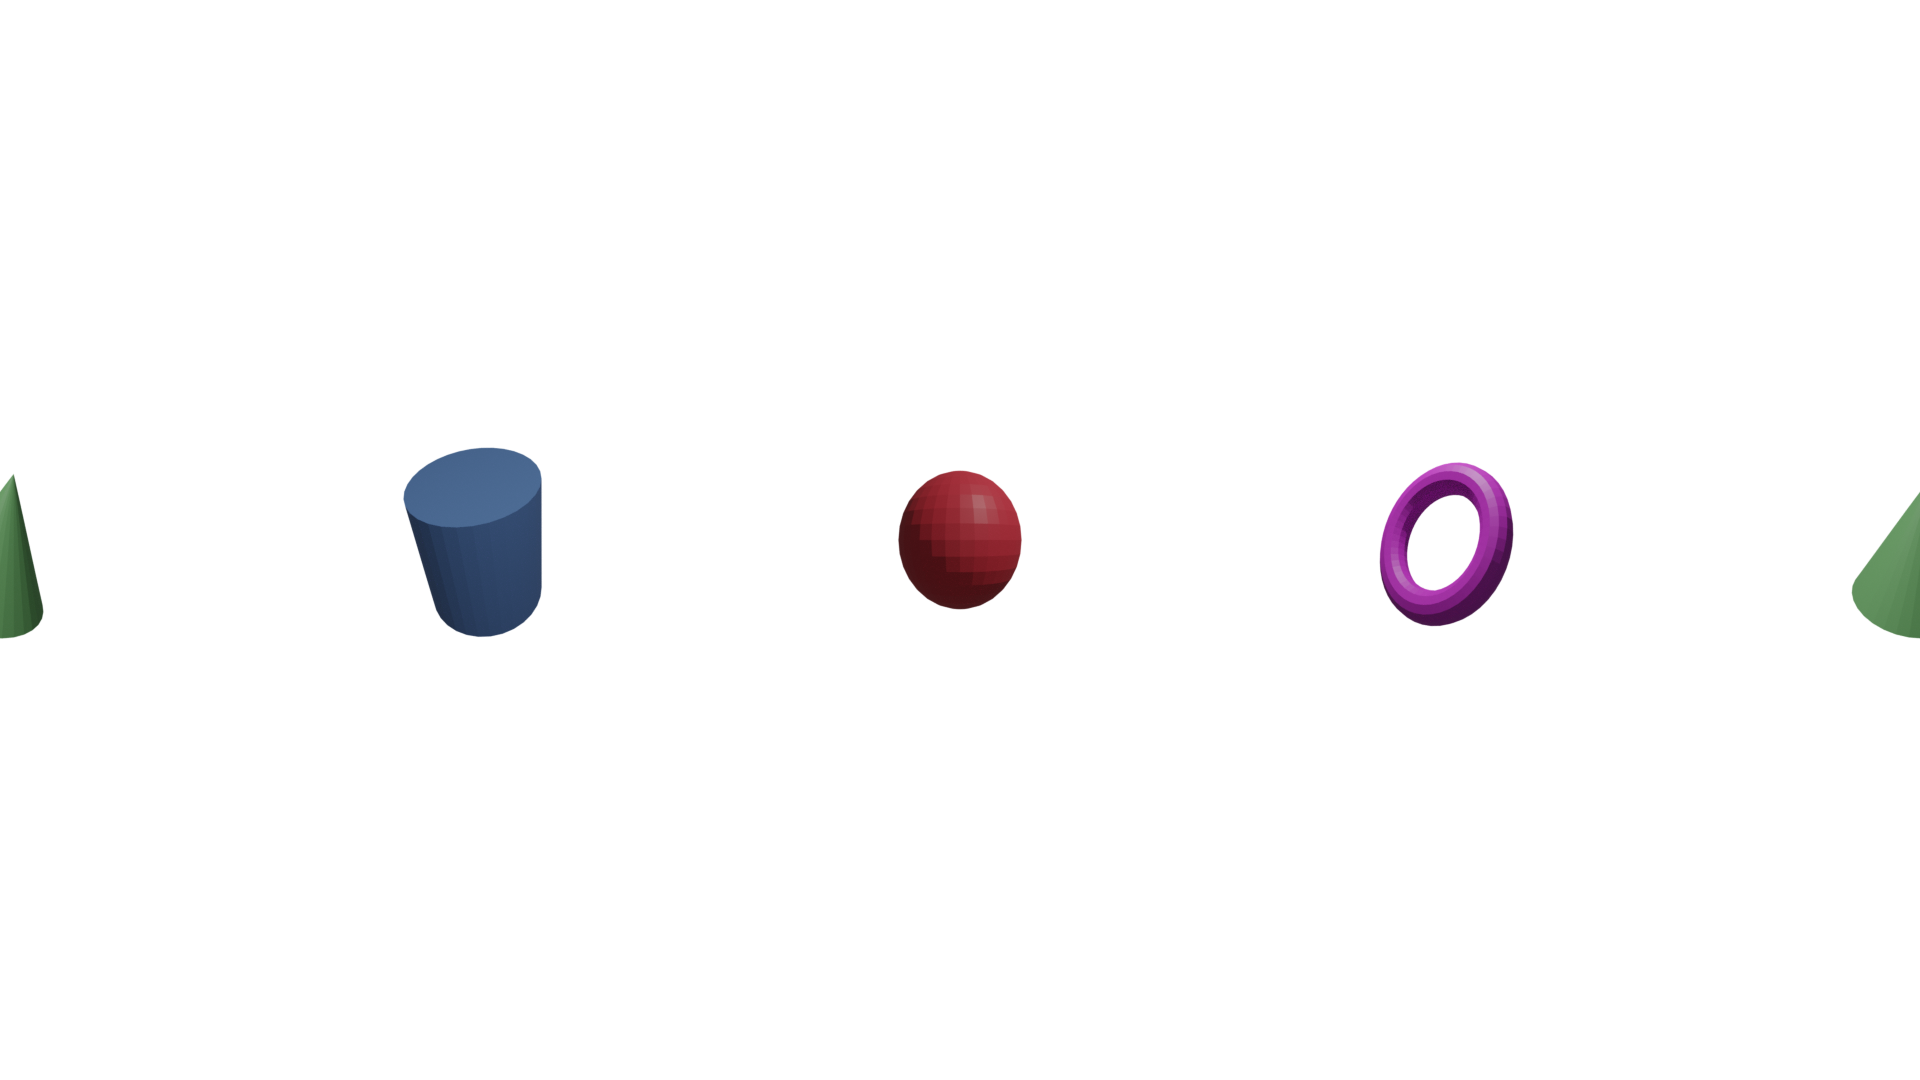
{"distance":800}((http://samesimilar.com/reach/demo-media/shapes.png))

If you download and look at the shapes.png file on its own, you’ll notice that it is mostly transparent, with a few shapes spread out. This will let it layer nicely on top of the photographic background.
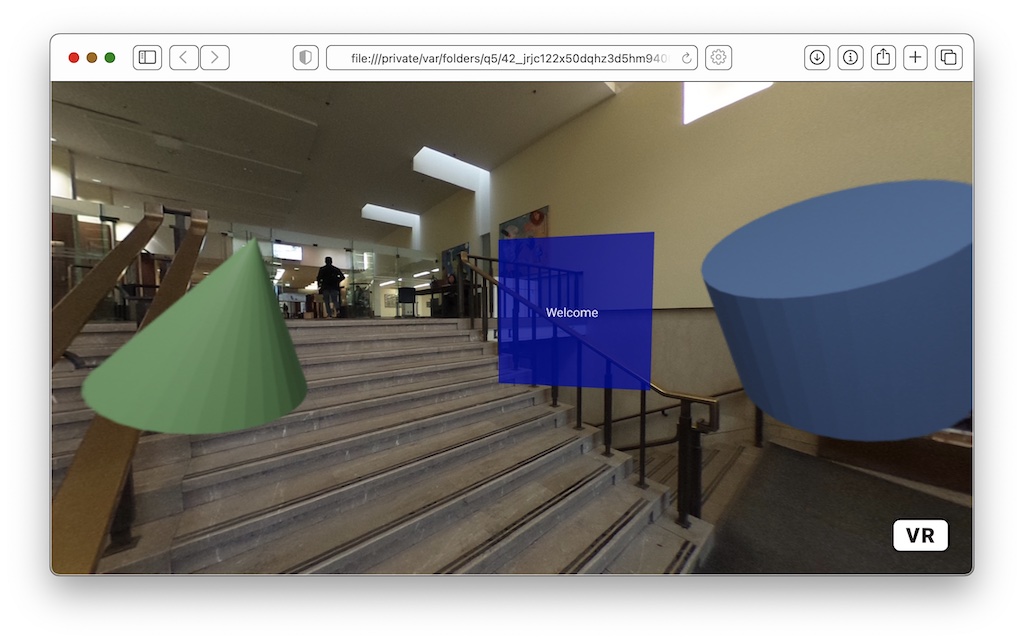
By default, backgrounds are added at a “distance” of 1000. Background layers with a lower distance will render on top of layers with a higher distance. By comparison, link and text panels are at a default “distance” of 1 (approximately like 1m in virtual distance).