2 First Story With Reach
Initially, we can start by using the same ‘link’ syntax that is used by Twine for regular text-based stories.
Reach VR stories are a series of linked scenes, and work like an immersive ‘walkthrough’, in that you click links to connect between scenes. These scenes are really just regular Twine passages, so the linking syntax works the same way.
1. Create a new story and change the story format.
In a new story, open the menu at the lower left of the screen by clicking the story name.
Click “Change Story Format”.
Then select ‘reach’ at the bottom of the list. It should appear there if you successfully added it as a custom story format as described in the previous chapter.

Now click ‘Play’ to view your empty VR story in your browser! Click and drag with your mouse to look around at the default scene.

2. Connect Two Passages
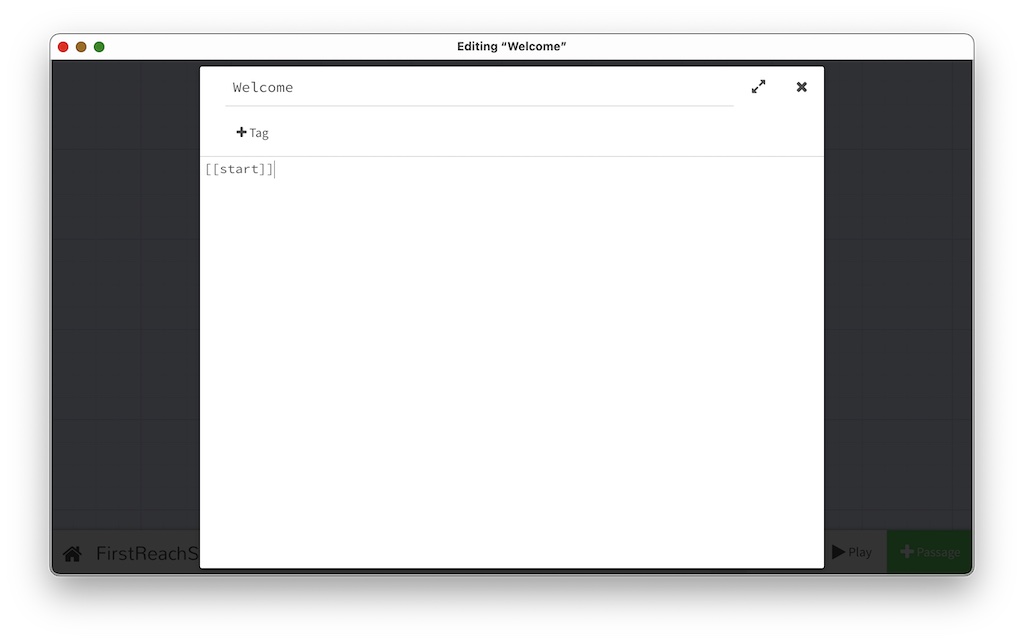
Ok, back in Twine, double-click the first ‘Untitled’ passage.
Change the title of the passage to ‘start’.
Add the following text to the content of the passage:
[[Welcome]]

By using square brackets like this, it tells Twine to create a new passage, and then add a link from ‘start’ to ‘Welcome’. This link is one way, so at the moment there is no way to go back. Let’s add a link back to start from welcome. Close the editing window for ‘start’, then double-click ‘Welcome’ and add the following text:
[[start]]
You should see a double-sided arrow connecting the two passages.
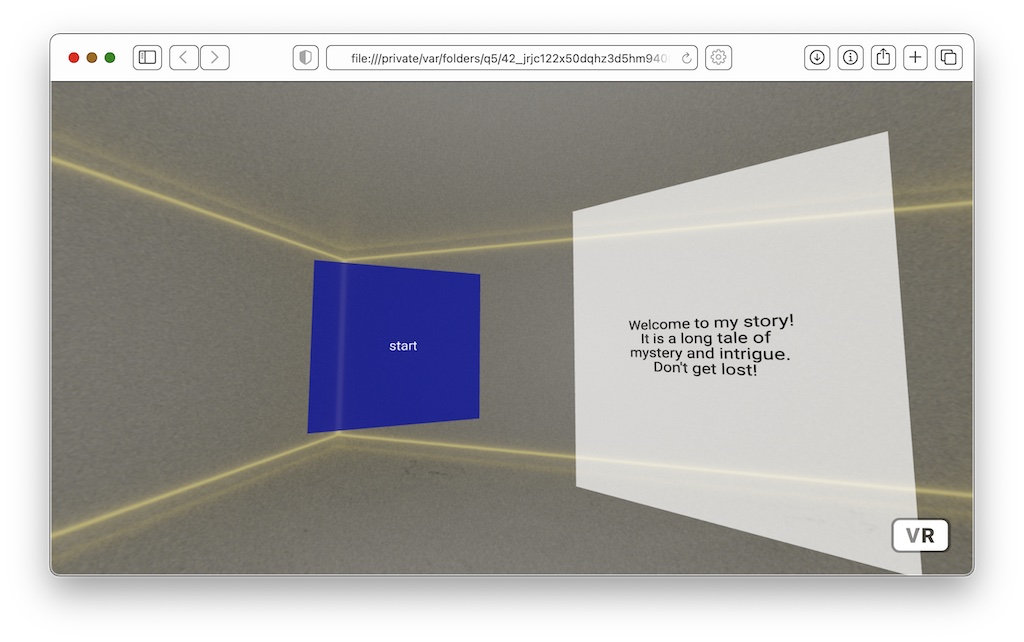
Click ‘Play’. Now you will see a floating blue link panel. (You’ll have to click and drag to “turn around” in VR space to find it – Look behind you!) If you click the blue panel, you will jump to the new passage. If you turn around again, you’ll find another panel linking back to the original panel. This is the basic way passages can be connected in reach.

3. Add a Text Panel to a Passage
Ok let’s add some content to our ‘Welcome’ passage. A ‘Text Passage’ is the first special kind of passage that reach recognizes that is different than a traditional Twine story. A text passage is not a scene that you can navigate into or away-from, like the passages we have just created. Instead, reach presents any text you write in the passage as a floating panel in your scene.
In the editor for the ‘Welcome’ passage, add the following new line of code:
[['textForWelcome']]
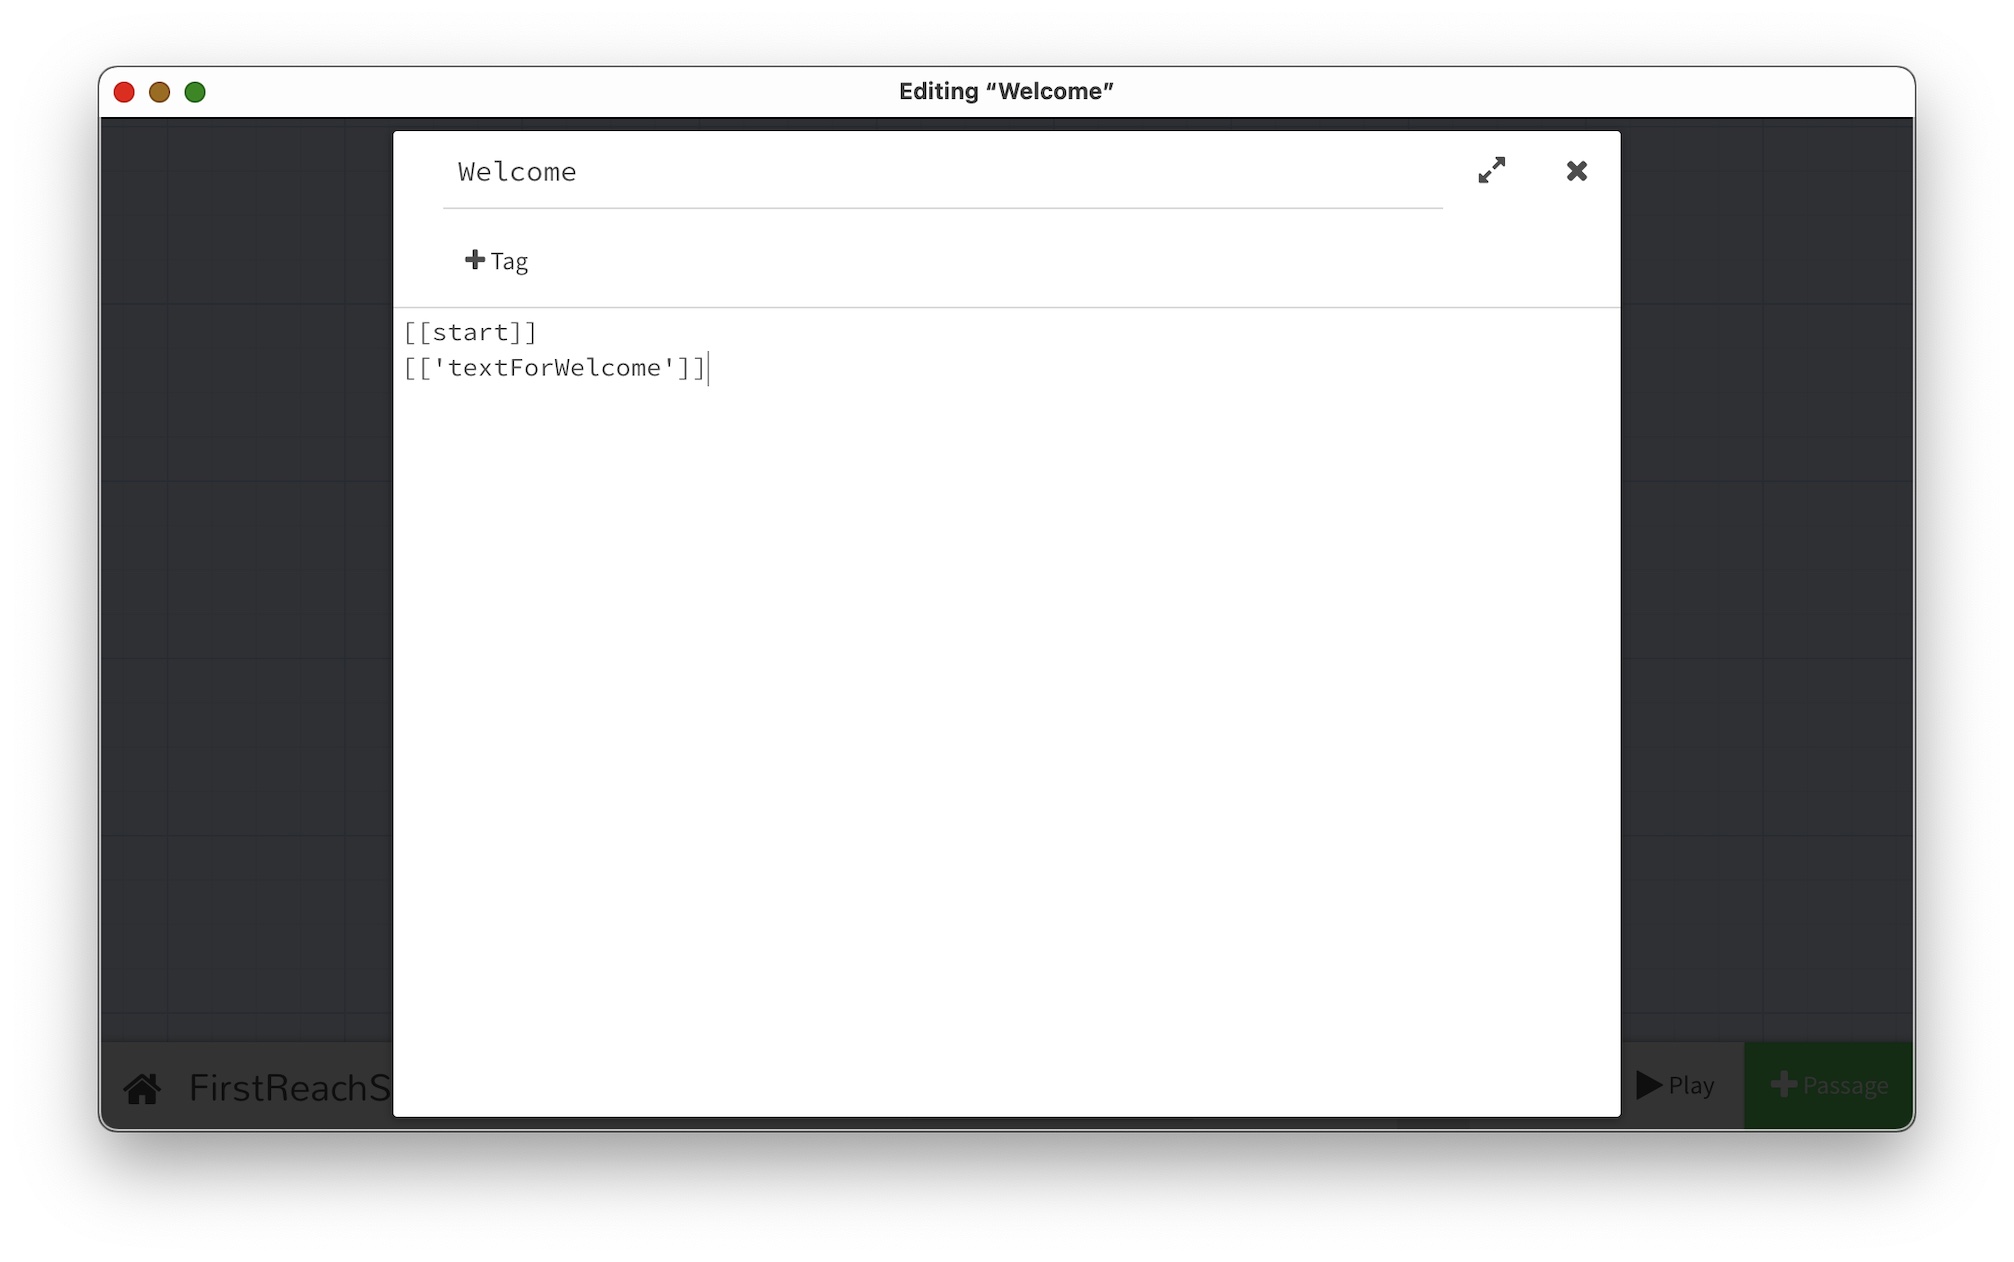
You’ll notice after you have closed the editing window that Twine has created a new passage. Double-click to open this passage and enter any text you like! This text will be presented to the user in the story as plain text, in the scene that connects to it.
To see the changes, click ‘Play’, then navigate in VR to the ‘Welcome’ scene. Look around and you should find the text.

4. Changing the Position of Links and Text Panels in the Scene
We may wish to change how the text and link panels are arranged in the scene. By default, reach will render these panels in the same relative orientation as the layout of your story passages in the Twine editor. So if a text passage is ‘above’ the scene passage in the Twine editor, it will be ‘in front of’ the viewer when they open the scene.
Try dragging the passages in the Twine editor into a different layout, and run the story to see how the layout changes in the VR scene.

5. Changing the Text Displayed on Link Panels
By default, the text displayed on a blue link panel is the title of the passage in the Twine editor. We can change the text (without changing the title defined for the passage), by separating the text from the link name with a | character.
[[Text|Link]]
So to change the title displayed in the ‘start’ link (in the ‘Welcome’ scene) we can revise the link code:
[[Go Back|start]]