4 Image Panels
Reach can also display normal images in floating panels in the passage. This chapter will explain how to add such images to your scene.
Your images should be:
- jpg or png format
- Can be fully opaque, or (png images) can include an alpha channel (for transparency).
- Again, make sure they are not too big. Maybe try dimensions around 256px or 512px to start. The owl example below is 100px x 100px (which is perhaps a bit too small).
The same rules for hosting external media like background images apply to hosting these images as well.
1. Add an Image Panel using a URL
The code to add an image panel looks like this:
[img[http://example.com/link/to/image.png]]
So for example, as practice, try adding the following code to one of the passages in your Twine story:
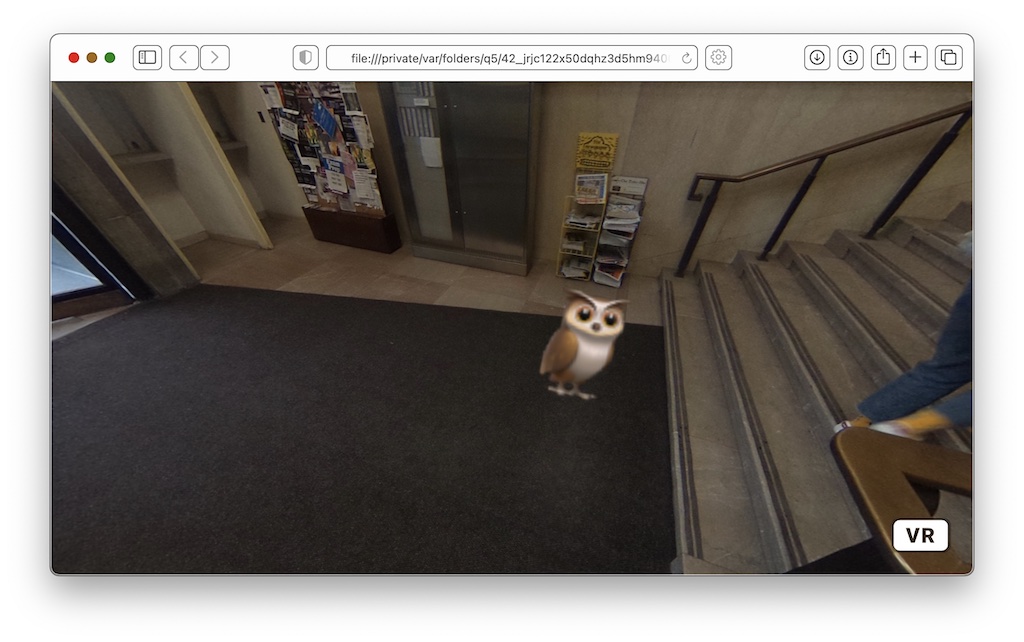
[img[http://samesimilar.com/reach/demo-media/owl.png]]

2. Change the Position of an Image Panel
These image panels don’t show up as separate passages in the Twine editor, which means we can’t drag and drop them to move them around like we did with links and text passages. This means that we need to explicitly write down the desired position using the options prefix. Try changing the line with the owl image code to the following:
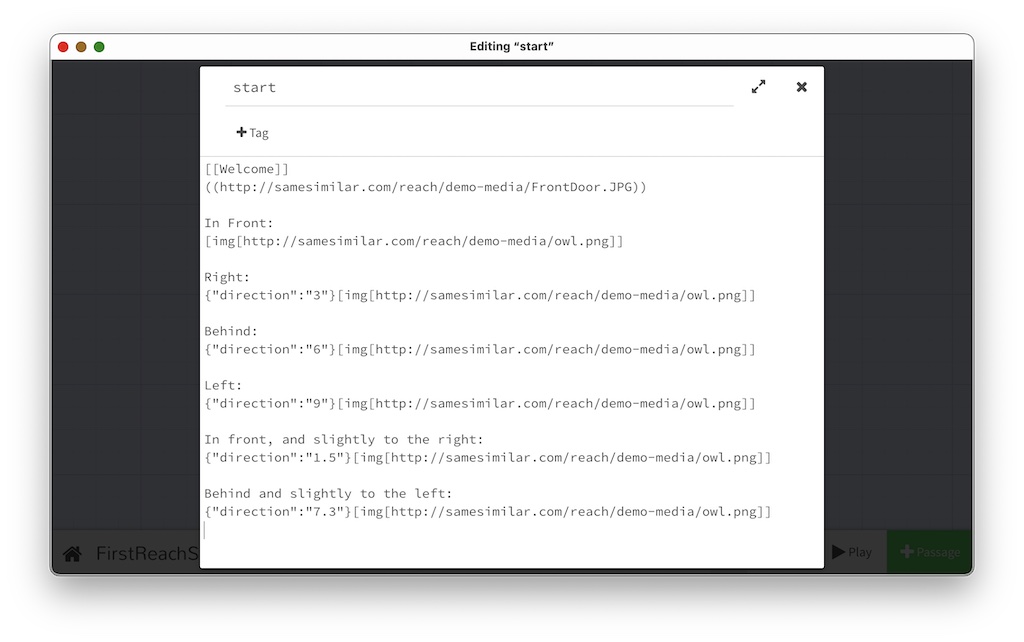
{"direction":"3"}[img[http://samesimilar.com/reach/demo-media/owl.png]]
Then run the story again. You’ll notice that the owl has moved to the right.
Try some different numbers for direction. “3” is directly to the right of the viewer in VR. “6” is behind. “9” is directly to the left, and “0” or “12” is directly in front (the default value). Basically, imagine the VR viewer standing on a big clockface, looking towards “12”. The direction numbers are based on the hours on the clock face.
3. Moving the Image Panel Up and Down
You can move the image around vertically using the “inclination” option.
{"inclination":"1.4"}[img[http://samesimilar.com/reach/demo-media/owl.png]]
The default inclination value (straight ahead) is “0”. Values between “0” and “3” will position the panel somewhere between directly ahead and directly above the viewer. Negative values between “0” and “-3” will position the panel somewhere between straight ahead and directly below the viewer. You can use decimal values to precisely position the panel.
4. Combining Multiple Options
You can add both direction and inclination (and later, you’ll see additional options) to the same image. Use a comma in the options prefix to add additional attributes.
{"direction":"9","inclination":"-1.4"}[img[http://samesimilar.com/reach/demo-media/owl.png]]
5. Turning Image Panels into Clickable Links
The image panels we have added so far are just passive, non-interactive billboards. We can make them ‘clickable’ by adding the destination passage title at the end of the code, between the last two square brackets:
[img[http://example.com/link/to/img.png]TitleOfPassage]
For example, in the story we are working on for practice, the following code will create an image that links to the Welcome passage:
[img[http://samesimilar.com/reach/demo-media/owl.png]Welcome]
6. Resizing Images
You can make your image panels larger or smaller in two ways, either with the “distance” option or the “scale” option.
The “distance” method is easiest. If your image is further away, it will look smaller (naturally!). The default distance is 2. Try setting the distance to 10. (These map to approximately 2m or 10m away from the VR viewer.)
{"distance":"10"}[img[http://samesimilar.com/reach/demo-media/owl.png]]
You can stretch an image using the “scale” option. It lets you stretch an image both horizontally and vertically. You enter the scale value as a multiplier of the original size of the image. So the default is “1.0, 1.0” which is 1x the original image size. To double the width, but keep the height the same, use “2.0, 1.0”. Here is an example:
{"scale":"2.0, 1.0"}[img[http://samesimilar.com/reach/demo-media/owl.png]]
The “scale” and/or “distance” options can be combined with the “direction” and “inclination” options for the same image. Just separate them all with commas within the curly brackets.