Creating great video: Editing
They say editing is where the magic happens. Much of the time you may be able to create a great video without needing to edit it. However, sometimes you may need to remove mistakes, background noise, or add embellishments. For our purposes we will focus on simple editing techniques that will allow you to remove mistakes, decrease/increase the volume, and add images. With a little exploration you can discover many more tips and tricks to make great videos.
This section uses Camtasia to illustrate the required techniques but the principles are similar for many video editing tools. Camtasia is a supported tool that is easy to use for recording audio and video but you should use the tools that work for you. You can view the selection of tutorial videos on the Techsmith Website.
Pro tip: Creating video can be taxing on the computer system. Make sure you have enough room on your hard drive and memory for it to work well. These are the requirements for using Camtasia.
Importing Content
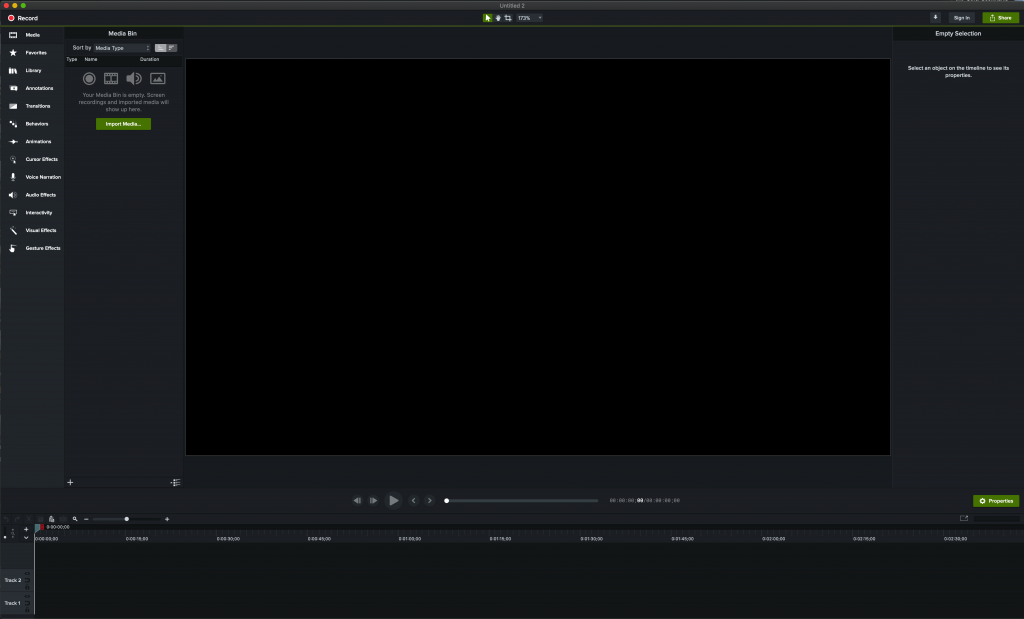
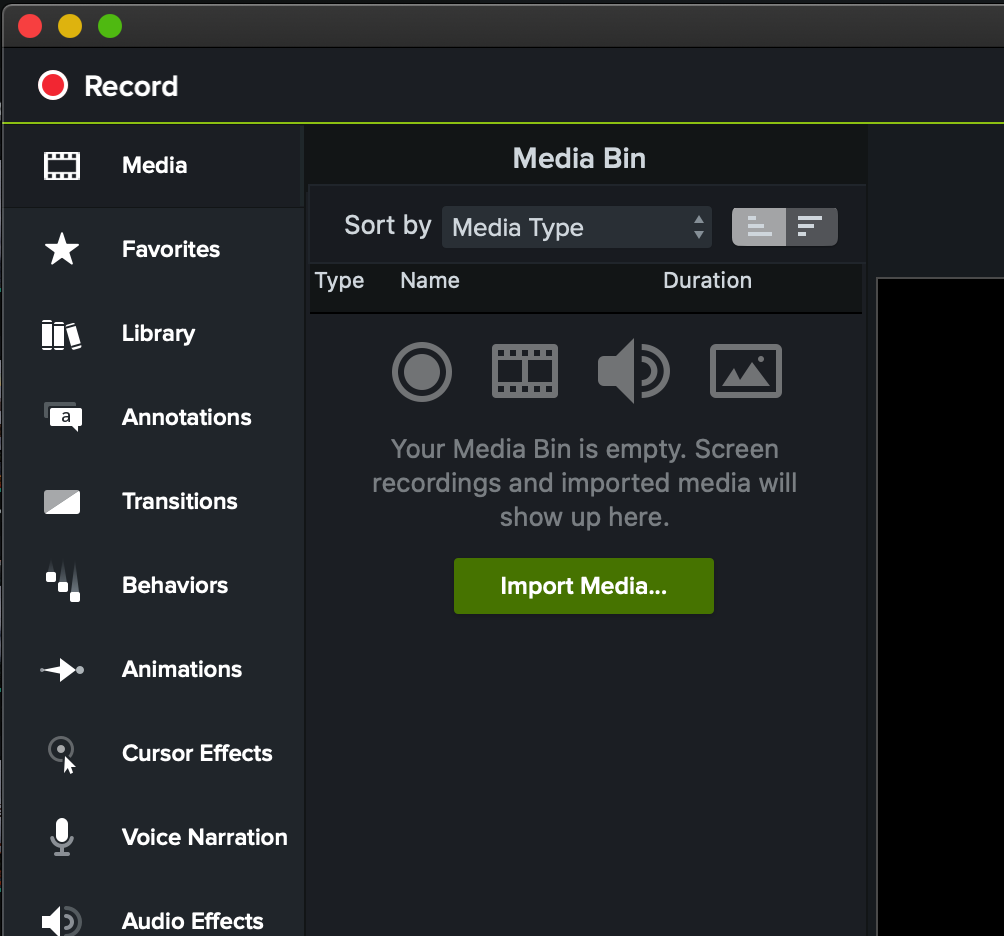
If you made your video/audio recording on your phone/tablet it may easiest to edit on the same device. But if you would rather work on a computer the first step is to import it into Camtasia. The process is the same if you are doing audio only.
- To import your media, click the green Import media button.
- Then locate your media.
- Camtasia will put the files in your “bin” and put them on the timeline. The timeline is where you will edit the video.
Basic Editing
Once you have imported your media you can begin the editing process. The most common edit is to delete a section of the video to remove a mistake. The following video illustrates the common edits used to remove content.
Editing Audio
Even if you follow the information presented in Creating great audio, sometimes you will have to edit it. You can take out dead air, fix mistakes, increase the volume, etc. This video shows you the basics of editing audio.
Exporting Media
Once you have all of the editing completed you will be ready to export your media and share with students. To do this, follow the steps outlined in this video:
Share your media
Once you have exported your video you can then publish your file to be shared with students. You have many options to choose from including MacVideo, Echo360, Microsoft Stream and others. We recommend MacVideo for this type of video which easily embeds in Avenue courses like this one. MacVideo also does automatic captions.
Next Steps
Now that you can made and edited a video with great audio we can discuss the main types of video used in teaching and learning – lecture videos, VLOGS, and eLearning.
