Screencasting and Peer Evaluation
Michael Evans
Introduction
How screencasting can be coupled with peer evaluation.
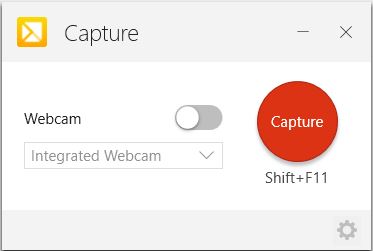
Screencasting is taking a digital picture or video of your computer display. Screencast videos are a great way for students to create class presentations, share them, and receive feedback from one another. TechSmith Capture (sometimes called “Launch Recorder”) is a free piece of screencast software.
A benefit of this approach is that students can practice creating presentations and receiving feedback in a relatively low-anxiety situation, i.e. they need not speak in front of the class. This provides scaffolding toward in-person presentations, which many students will be required to give throughout their careers. It also avoids having to sacrifice precious class time – a drawback of in-person presentations. Another benefit is that it helps students to establish personal connections among one another, a challenge in online learning environments, but something that is important for engagement and success (Carter et al., 2014).
Once posted on a discussion board or other online forum, students can easily assess/evaluate each other, providing one another with grades (which may or may not count toward their actual grade) and descriptive feedback. Recent research has shown that engaging in peer assessment/evaluation helps higher education students learn more effectively (Wanner and Palmer, 2018). Students can use a rubric to mark their peers’ work, tell them what they liked and how their presentation could have been better, and note what they learned while viewing their peers’ presentations. Students then submit their peer assessments/evaluations to an online dropbox.
I have had students create screencast presentations in two general education courses (Astronomy: Exploring the Night Sky and Big History: The Story of the Universe) at Durham College. In the astronomy course, students were further required to assess the presentations of two of their peers. I am always delighted by how much they learn from one another through this process.
Resources
- Screencast software (e.g. TechSmith Capture/Launch Recorder)
- Slideshow software (e.g. PowerPoint)
- Discussion forum
- Peer assessment/evaluation rubric and question sheet
Steps for Implementation
Step 1. Create an account
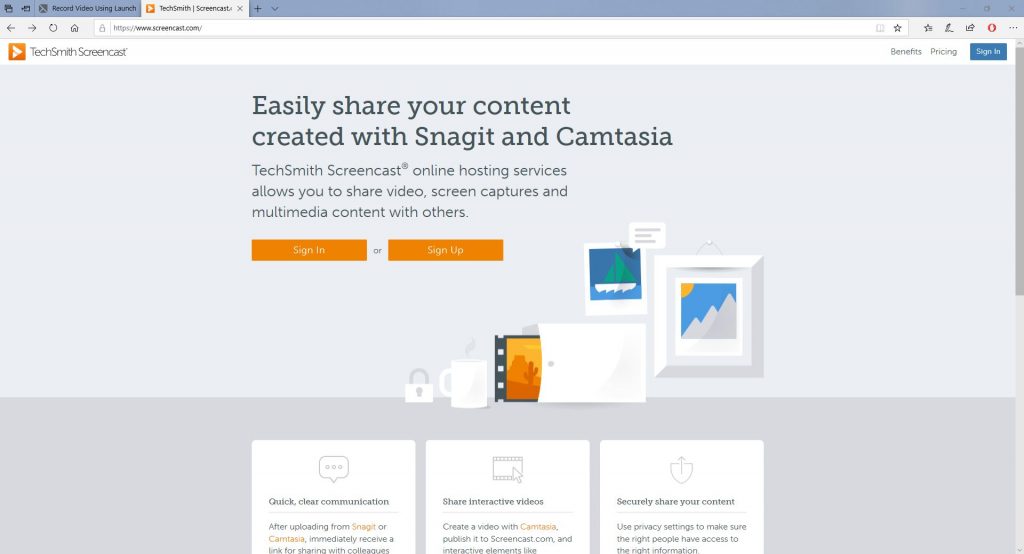
Creating this account will allow you and your students to download the free TechSmith Capture/Launch Recorder app. It will also allow you and your students to store the videos on www.screencast.com as well as receive a shareable link, with which students will submit their presentations.

Step 2. Download and install TechSmith Capture/Launch Recorder
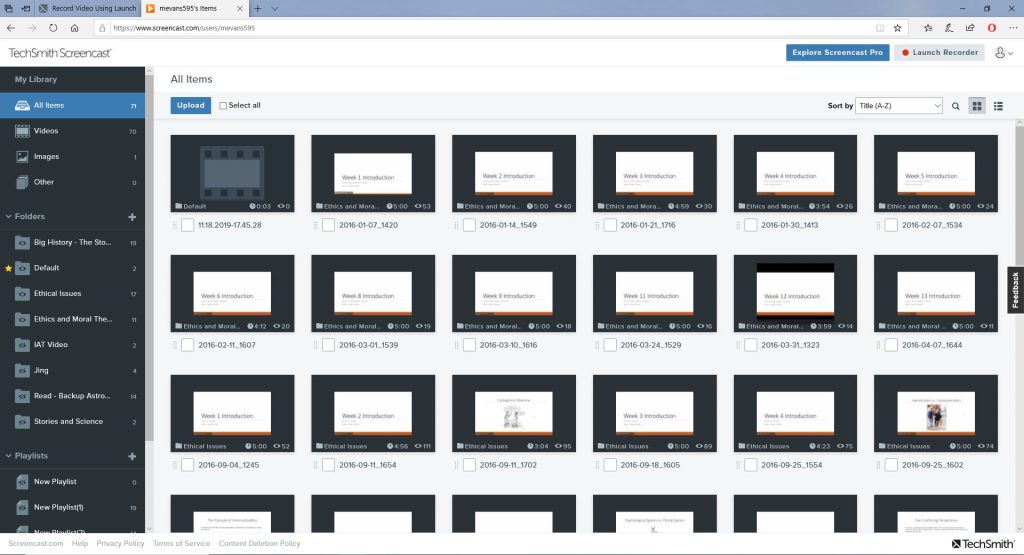
Once signed in to www.screencast.comencast.com/>, click “Launch Recorder” in the top-right corner of the screen. It will attempt to launch the TechSmith capture app. Since you haven’t installed it yet, it will prompt you to do so after a few seconds. Click “download and install”. Once the app is finished installing, it should open automatically.
Step 3. Record your presentation
Once you have a script and slides ready to go, full-screen the slides, hold “alt” and hit “tab” until you select the app so it will pop up over your slides, and click “Capture”. Then, select however much of the screen you want to capture (likely all ot), click the capture video icon (the video camera), be sure your preferred microphone is selected and working, and click the red circle to record. The app will count down and begin recording. There is no time limit so you can record for as long as you like.

Step 4. Finish, upload, and share your presentation
When you are finished recording, click the familiar vertical lines in the bottom-right corner indicating “pause”, then click the square indicating “stop”. You will be presented with a preview of your video. If you are satisfied with it, click “Upload to Screencast”. TechSmith Capture will store your video in “My Library” on www.screencast.com> and present you with the sharable link students will submit (e.g. to a discussion board). To obtain a shareable link in the future, go to “My Library” on www.screencast.com, hover the cursor over the video’s thumbnail image, click the arrow indicating “share”, and copy the link under “Share URL”.

Step. 5. Peer assessment/evaluation
Once students have submitted their www.screencast.com links to the discussion board, they will use a peer assessment/evaluation rubric and question sheet you have prepared for them (see above for some elements to include in this) to assess/evaluate the work of a peer (or two, or three) and note what they learned from watching it. When finished, they will submit their peer assessment/evaluation to a dropbox. You can then, perhaps after vetting them for appropriateness, distribute the peer grades and feedback to each student.
Top Tips for Success
- Two names – Keep in mind for yourself and for your students that, somewhat confusingly, TechSmith uses two names for this tool – TechSmith Capture and Launch Recorder.
- No time limit! – Unlike its predecessor, Jing, TechSmith Capture has no time limit, so students can record for as long as they need to. Just keep in mind that (as of early 2020) free www.screencast.com accounts come with 2 GB of storage space and 2 GB of bandwidth (watching a 13 MB video once uses 13 MB of bandwidth, while watching a 13 MB video twice uses 26 MB of bandwidth).
Further Reading
Carter, L. M., Salyers, V., Myers, S., Hipfner, C., Hoffart, C., MacLean, C., & White, K. (2014). Qualitative insights from a Canadian multi-institutional research study: In search of meaningful e-learning. The Canadian Journal for the scholarship of teaching and learning, 5(1).
TechSmith (2019, November 20). The ultimate guide: What is a screencasting and why use it? [Blog post]. Retrieved fromhttps://www.techsmith.com/blog/what-is-screencasting/
Wanner, T. & Palmer, E. (2018). Formative self-and peer assessment for improved student learning: the crucial factors of design, teacher participation and feedback.
Assessment and Evaluation in Higher Education, 43,1032-1047.
Digital Resource
TechSmith Capture Tutorial – https://www.techsmith.com/tutorial-capture.html
Author

Michael teaches General Education courses in the School of Interdisciplinary Studies at Durham College. Since 2012, he has taught post-secondary courses spanning a broad range of subjects – including philosophy, psychology, and history of the universe – in online, face-to-face, and hybrid formats.
Michael holds an Honours Bachelor of Arts with a double major in Philosophy/Law and Society and a Master of Arts in Philosophy from York University. He also holds a Bachelor of Education from the University of Toronto with a focus on global education, and a Teaching English as a Second Language graduate certificate from Seneca College. He is a member of the Ontario College of Teachers and is an Ontario Certified English Language Teacher.
Michael lives in Toronto with his love and fellow adventurer in teaching, Imola, and their two cats, Kara and Helo.

