Getting Started
Create an Account
Pressbooks is a centrally managed network of individual books hosted by eCampusOntario and available for free to educators, students and staff at Ontario colleges, universities, and Indigenous institutes. This is Ontario’s Pressbooks homebase – and each book you create will have a home page on this network.
If you don’t already have an account, there are two pathways to get one. Either way, start by:
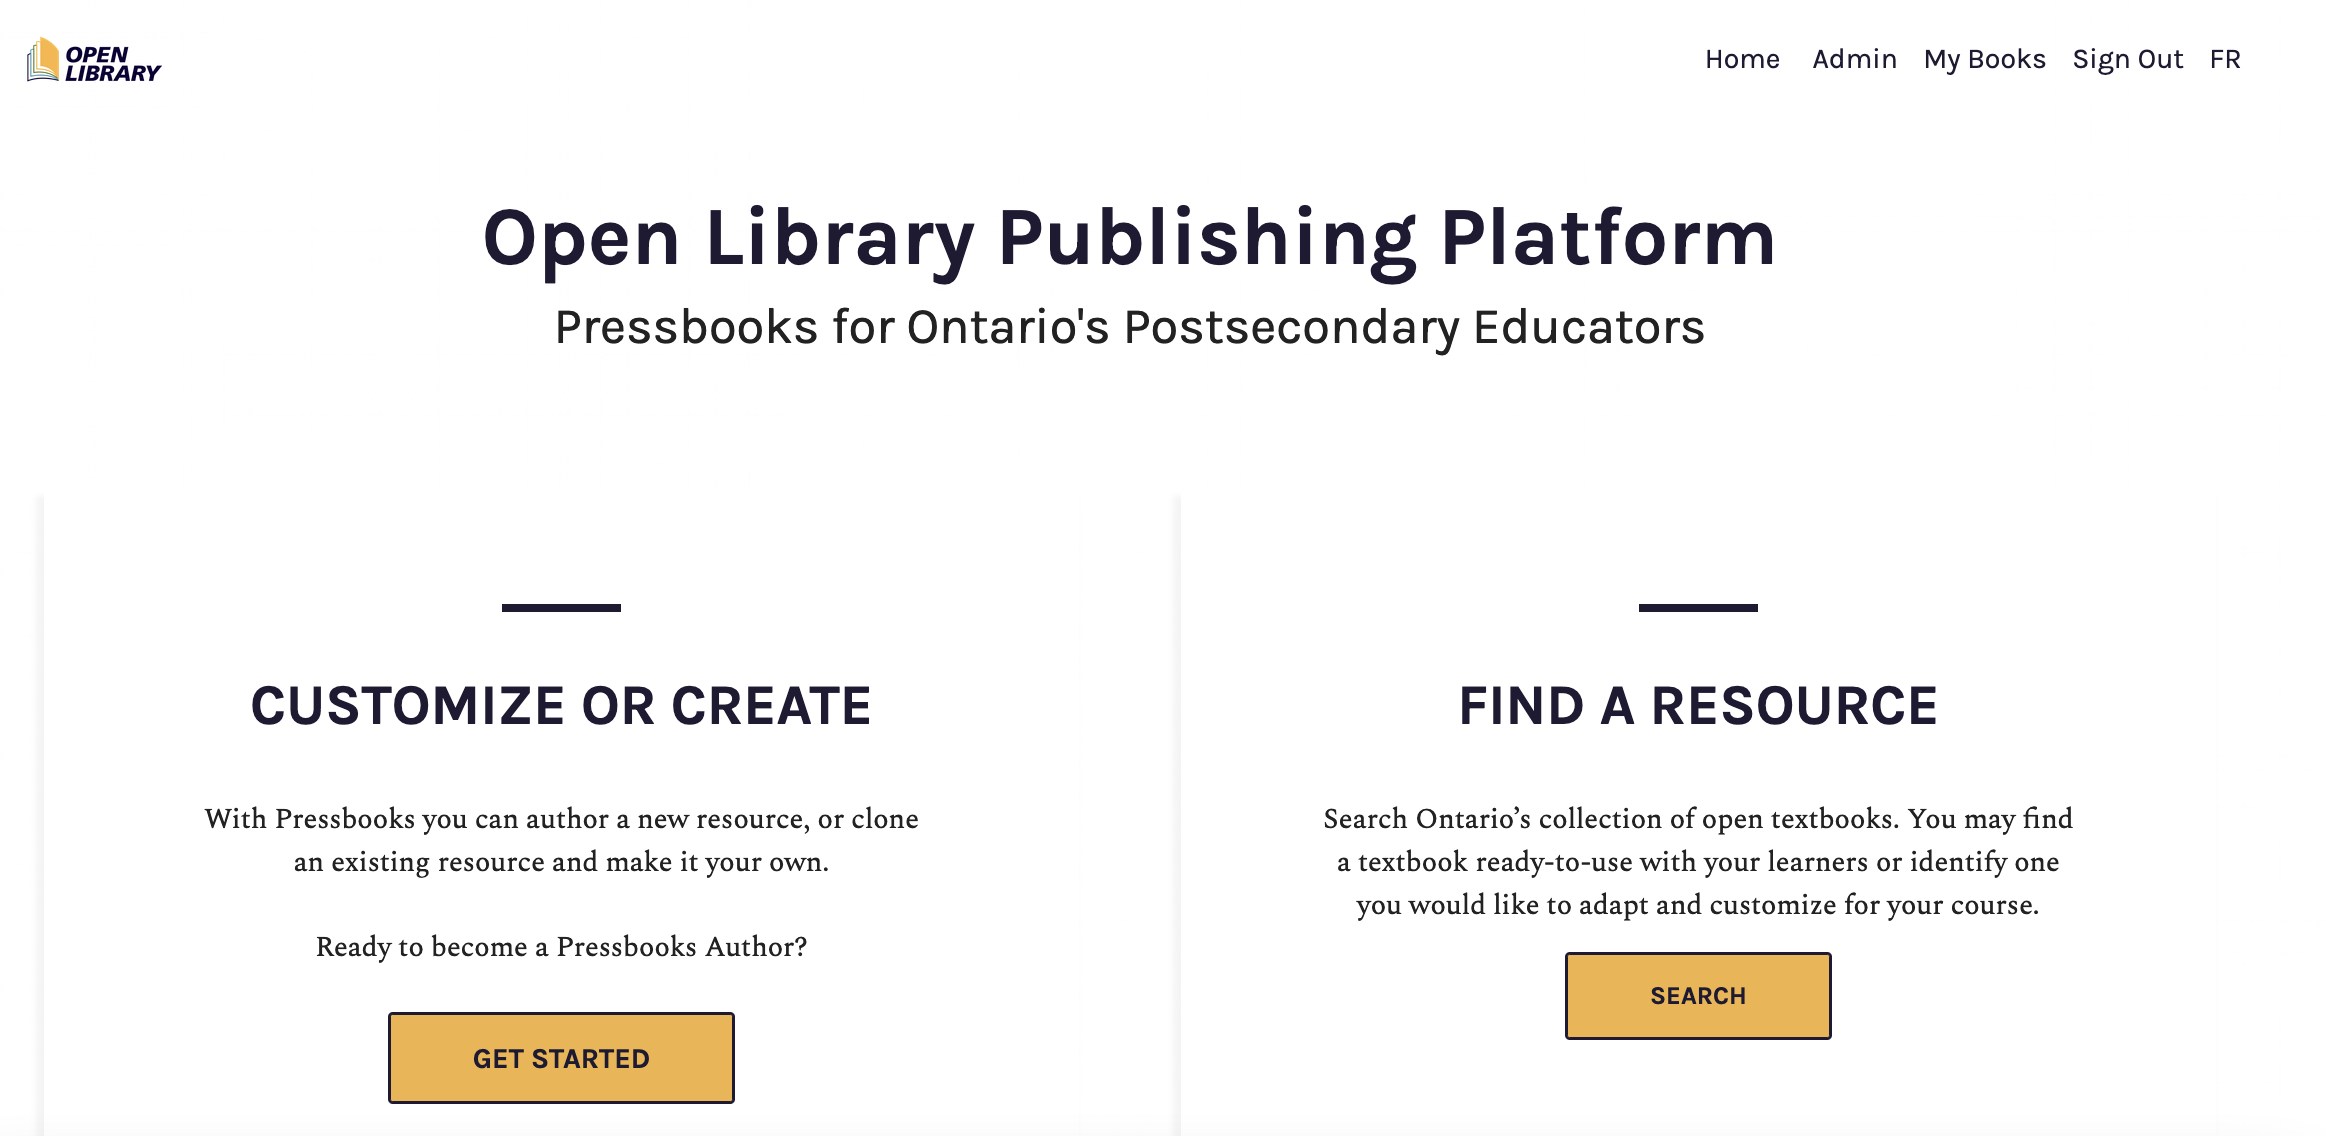
- Going to the Open Library Publishing Platform
- Click on “Get Started” under “Customize or create”
- Select your Institution from the drop-down list
- If your institution has enabled single sign on, you will be prompted to select the “INSTITUTIONAL LOGIN” option and log in with your institutional credentials
- Otherwise, you will be prompted to complete a form and a member of the Open Library team will review your request and confirm within 2 business days.
Once you’ve created your account and have successfully logged in, you’ll be presented with a page like the one you started with, but with “Admin” and “My Books” options.
Overview of the Pressbooks Interface

Before creating or writing in Pressbooks, you may want to consider a few important features or elements about your book. Take some time to think about your book’s landing page, also known as the “webbook”. To be clear, whether the resource you’re creating is an actual ‘book’ or not – this is the term used to describe the landing page. The “webbook” is the book’s home page. Each book you create will have its own distinct URL. A book’s home page looks a bit like the image below.
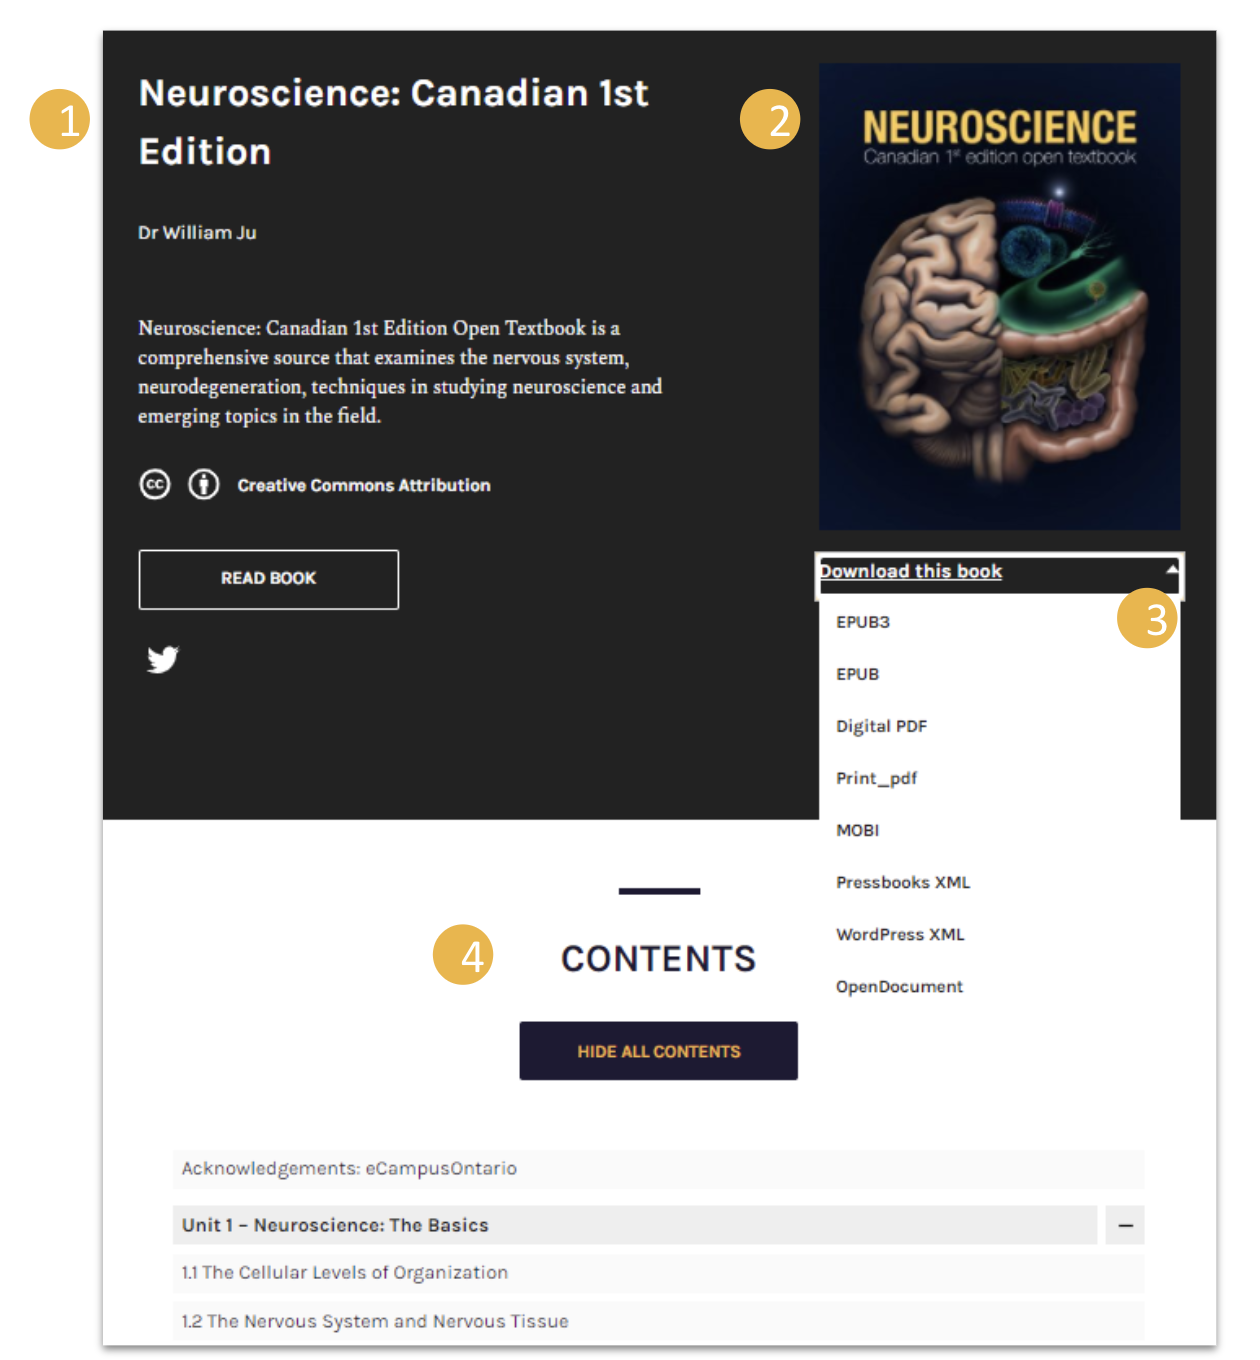
The book cover is on the right and, below it, a drop-down menu shows the different download formats. There’s also basic descriptive information about the book, as well as a clickable table of contents that lets you browse the book. You can also include other metadata at the bottom of the page.
- Title, author, licensing information
- Cover image
- Download options
- Table of contents
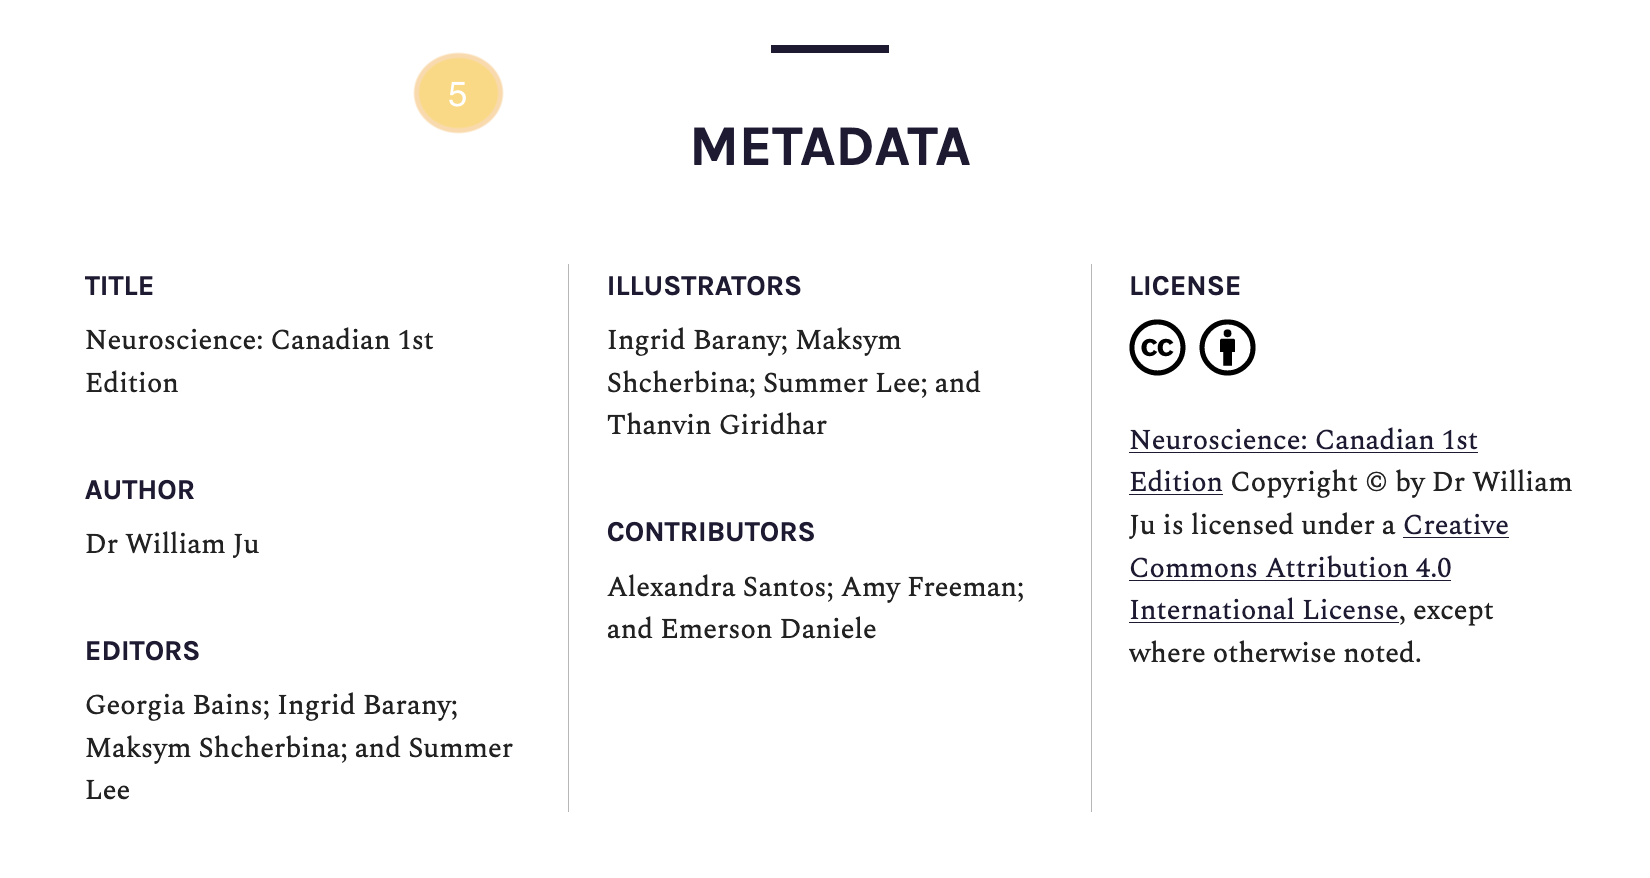
- Metadata
There should also be a basic description of the book.
The best way to learn about the Pressbooks platform is to simply start creating with it. In this next section, we’ll walk through the process of creating a new book that you can use as your safe space for testing things out prior to publishing a more permanent resource.
Create a Book
There are three ways you can create a new book in Pressbooks:
- Create a new book from scratch
- Clone an existing book and adapt it
- Import an existing resource to create a new book
 Activity: Create a Pressbook
This activity is optional.
Complete the steps below to create a Pressbook from scratch.
- Click on “Create a New Book”.
- Create your URL: the URL for all your resources will start with ecampusontario.pressbooks.pub/ and you’ll be asked to fill in the remainder of this. Choose wisely because you won’t be able to change it later. For this Activity, simply call it “My Sandbox”.
- Add a title – we suggest “My Sandbox”.
- Choose the language of the book (this corresponds to the language of the reader’s interface).
- Set Privacy: Choose “No” for this purpose as you don’t want your “My Sandbox” book to be visible to anyone but you!
Clone a Book
There are other ways to create new content for your book other than from scratch. You can clone any book in a Pressbooks network, provided it is licensed under an open license that allows adaptation. You can duplicate the book’s content and settings by simply copying and pasting its URL, then assigning a new one.
Activity: Clone a Book
This activity is optional.
Complete the steps below to clone a book in Pressbooks.
- Search the Pressbooks Directory for a Pressbooks resource that has a license that allows for adaptation.
- Copy the URL.
- Make sure you are logged into your own Pressbooks instance.
- This time choose “Clone a Book”.
- Paste in the Pressbooks URL link of the original book.
- Create a link for the new book.
- Add your own title of the new book.
A cloned copy of the original resource will now be listed in your books (under “My Books”). You can now easily edit the Parts and Chapters to customize and contextualize it for your own teaching and learning purposes.
You can also add a source comparison. If you clone a book, it will always feature that handy little tag at the bottom of the page indicating the book’s source and linking to it. This helps readers understand which version of the book they’re looking at. You can even activate a side-by-side source comparison to show readers what has changed in your version.
Import an Existing Resource

Best practices for importing .DOCX files – Importing from one format to another never goes smoothly, so you’ll need to do a bit of clean-up. You can prepare your Word document to facilitate this process:
- Ensure that the file name does not contain any special characters
- Check your file size (maximum 25M)
- Mark new chapter titles as “Heading 1”. Pressbooks recognizes “Heading 1” as the title of a new chapter.
- Use the style panel : Basic markers will be transferred (e.g. bold, italic, etc.), but special fonts and colors will not
- Make sure your images are accompanied by alternative text
Activity: Import Existing Resource
This activity is optional.
Complete the steps below to import an existing resource into Pressbooks.
- Find an existing Word Document resource that you have created and/or used in a course.
- Log into Pressbooks and go to the “My Sandbox” book you created earlier.
- On the tool list (normally in the Dashboard on the left) select “Import”.
- Choose the type of file to import – in this case, Microsoft Word (docx).
- Select your file and click “Begin Import”.
When you import content, a list of all “chapters” is displayed, allowing you to choose which chapters you want to keep and where in the book you want items to appear. Chapters can easily be reorganized later using the “Organize” menu, so don’t worry too much about getting everything in the right place from the start. This is also useful if you’re only adapting part of a book and want to exclude certain sections.
