9.2 Glucometer Use
People with diabetes require regular monitoring of their blood glucose to help them achieve as close to normal blood glucose levels as possible for as much of the time as possible. The benefits of maintaining a blood glucose level that is consistently within the range of 4-7 mmol/L will reduce the short-term, potentially life-threatening complications of hypoglycemia as well as the occurrence rate and severity of the long-term complications of hyperglycemia.
Patients in the hospital setting are likely to have inconsistent blood glucose levels as they are affected by changes in diet and lifestyle, surgical procedures, and the stress of being in a hospital. The physician will prescribe how regularly the blood glucose should be monitored. In acute situations, a sliding-scale treatment for insulin will be individually prescribed per patient. The medication administration record (MAR) or sliding scale will provide directions for the amount of medication to be given based on the blood glucose reading.
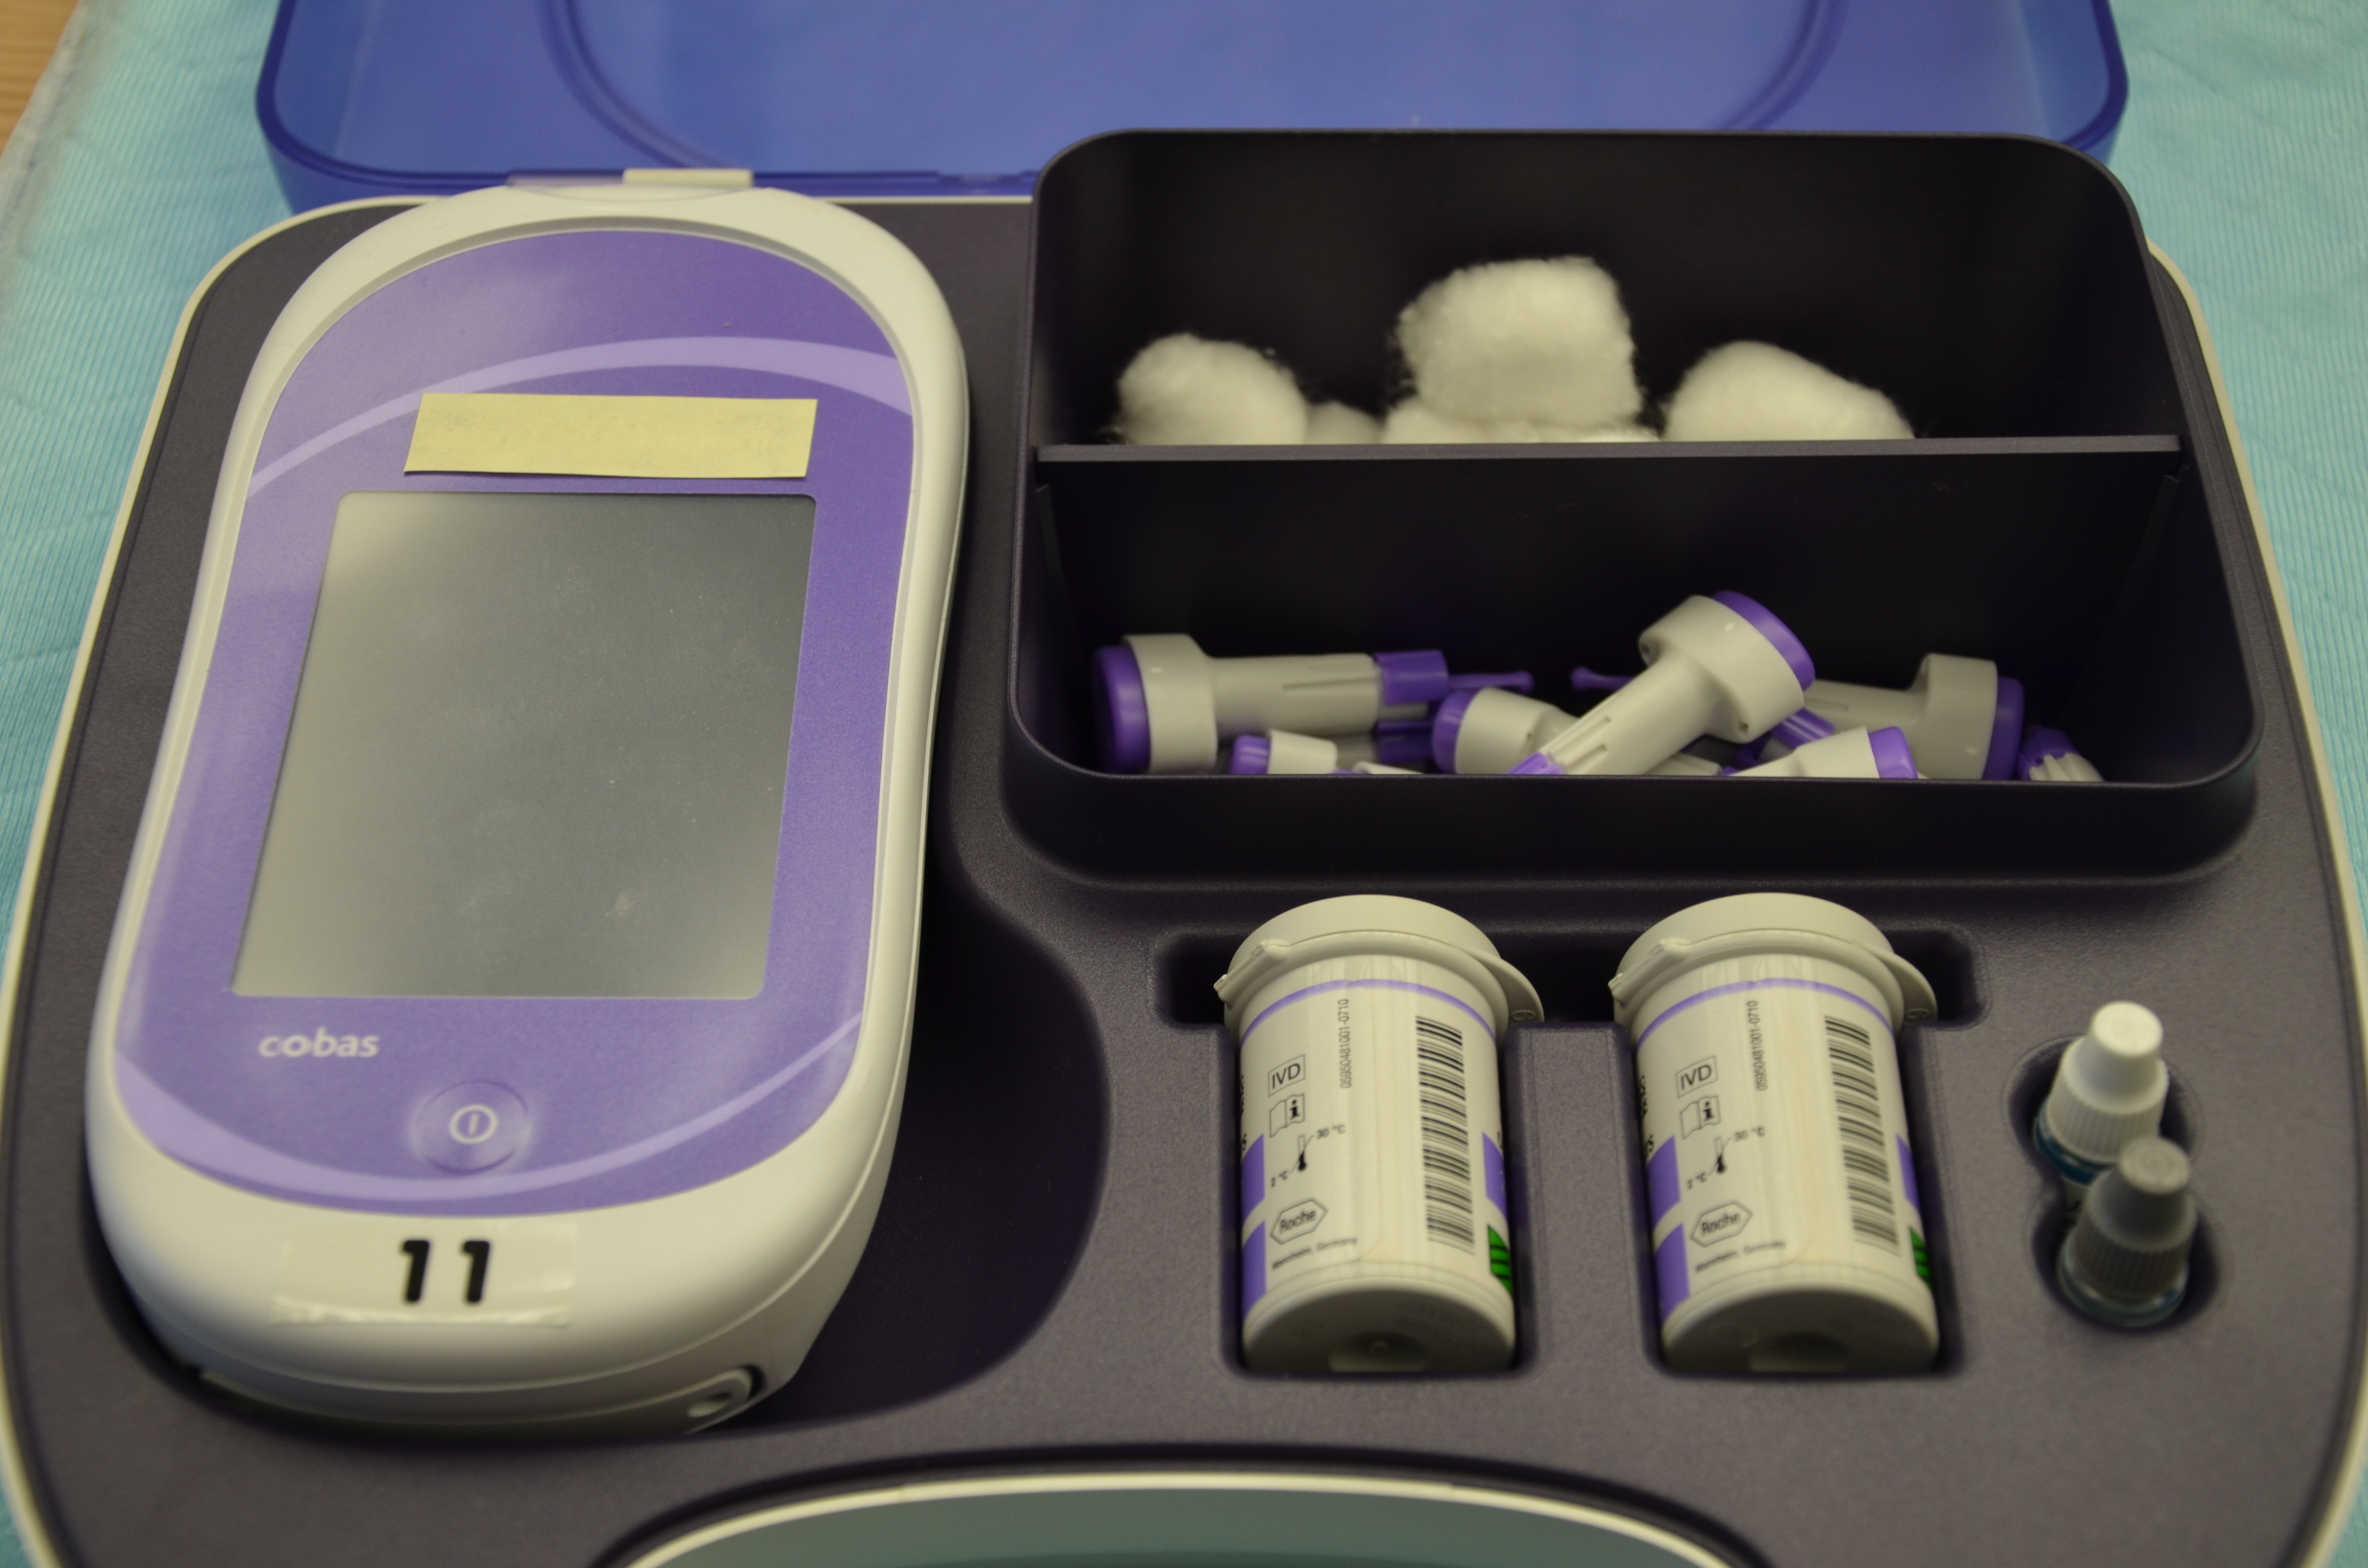
It is usually the responsibility of the nurse to perform blood glucose readings. As with any clinical procedure, ensure that you understand the patient’s condition, the reason for the test, and the possible outcomes of the procedure. Prior to performing a blood glucose test, ensure that you have read and understood the manufacturer’s instructions and your agency’s policy for the blood glucose monitoring machines (see Figure 9.1) used in your clinical setting, as these vary. It is also important that you determine the patient’s understanding of the procedure and the purpose for monitoring blood glucose level. Before you begin, you should also determine if there are any conditions present that could affect the reading. For example, is the patient fasting? Has the patient just had a meal? Is the patient on any medications that could affect the reading (e.g., anticoagulants)? In these situations, draw on your knowledge and understanding of diabetes, the medication you are administering, the uniqueness of your patient, and the clinical context. Use your knowledge and critical thinking to make a clinical judgment.
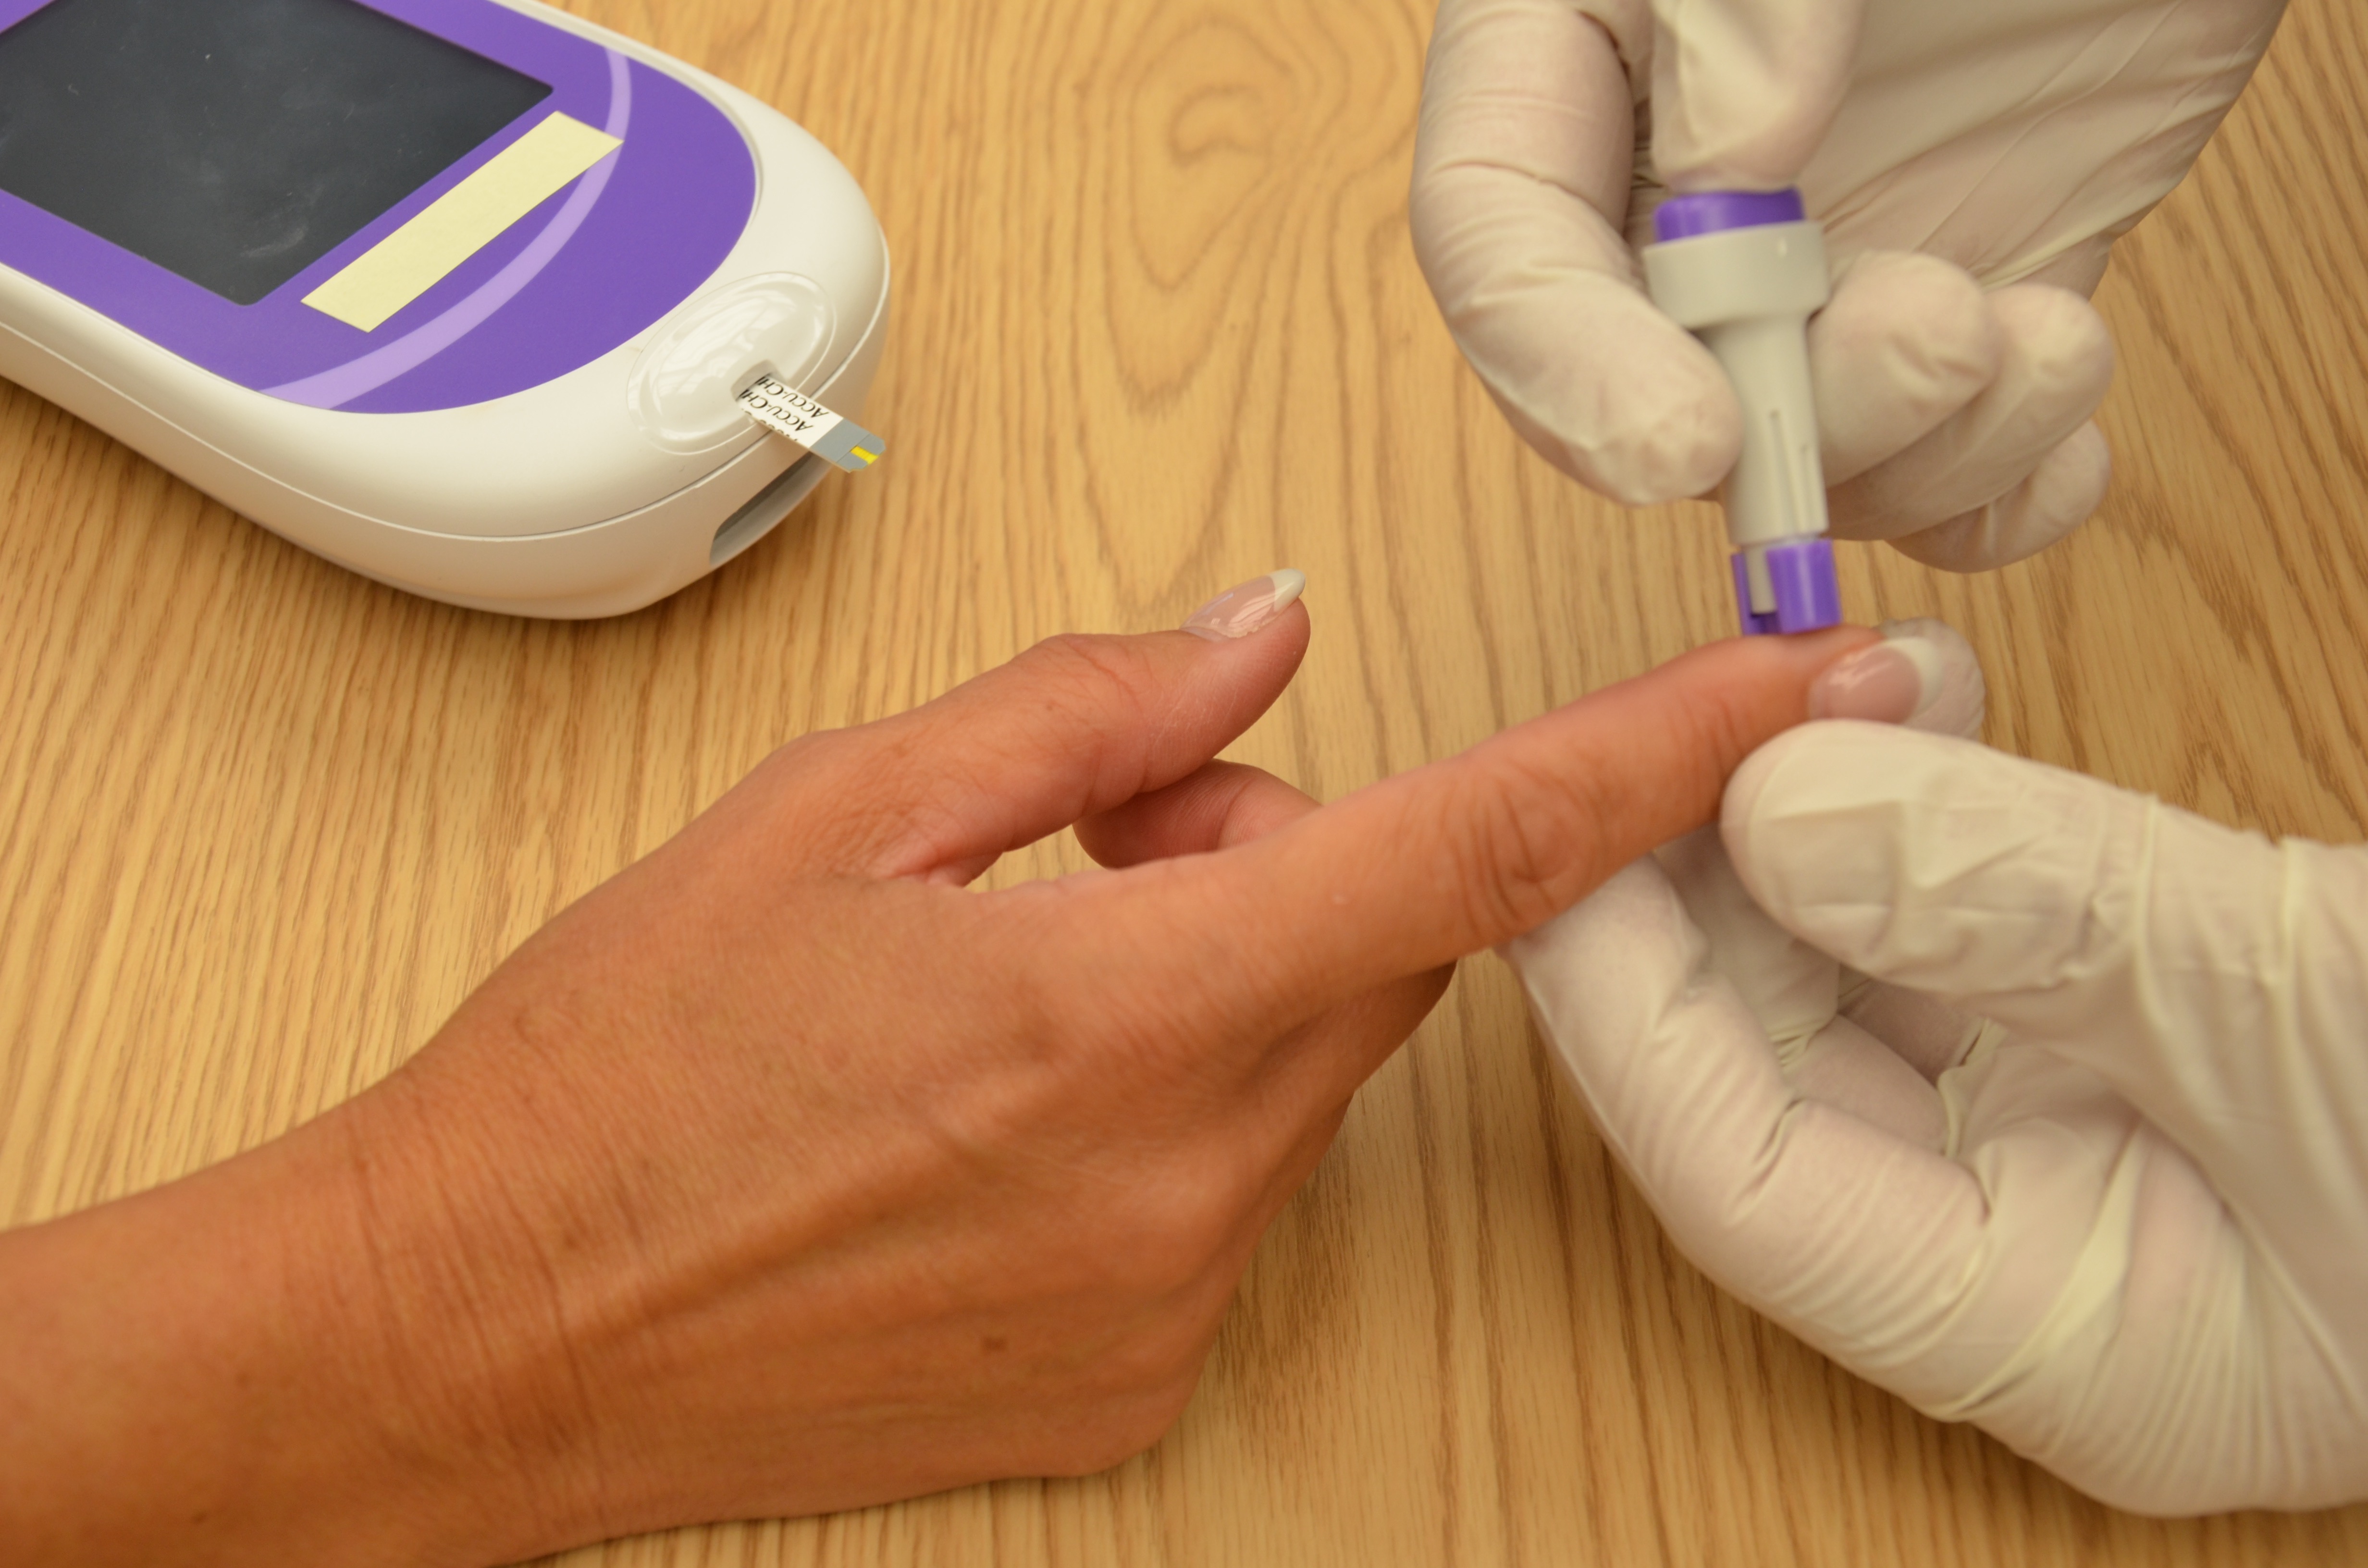
Inspect the area of skin that will be used as the puncture site and ask the patient if they are in agreement with the site you have identified to use for the skin puncture. Your patient may have a preference for the puncture site. For example, some patients prefer not to use a specific finger for the skin puncture. Or a particular site may be contraindicated. For example, you shouldn’t use the hand on the same side as a mastectomy.
Patients who do their own blood glucose testing at home may prefer to handle the skin-puncturing device themselves and continue self-testing while they are in the hospital.
Checklist 77 outlines the steps for taking a skin-puncture blood sample and using a blood glucose monitor (glucometer) to measure a patient’s blood glucose level.
Checklist 77: Blood Glucose MonitoringDisclaimer: Always review and follow your hospital policy regarding this specific skill. |
|||
Safety considerations:
|
|||
| Steps | Additional Information | ||
|---|---|---|---|
| 1. Review the patient’s medical history for diabetes type, medications, and/or anticoagulant therapy. | A thorough knowledge of the patient’s medical history is important even when the test performed is a relatively simple procedure.
Anticoagulant therapy may result in prolonged bleeding at the skin-puncture site and require pressure to the site. |
||
| 2. Determine if the test requires special timing; for example, before or after meals. Blood glucose monitoring is usually done prior to meals and the administration of antidiabetic medications. | Blood glucose levels are affected by diet, and the test may be scheduled at very specific intervals.
Diet and medication orders are based on the assumption that the test results are accurate. |
||
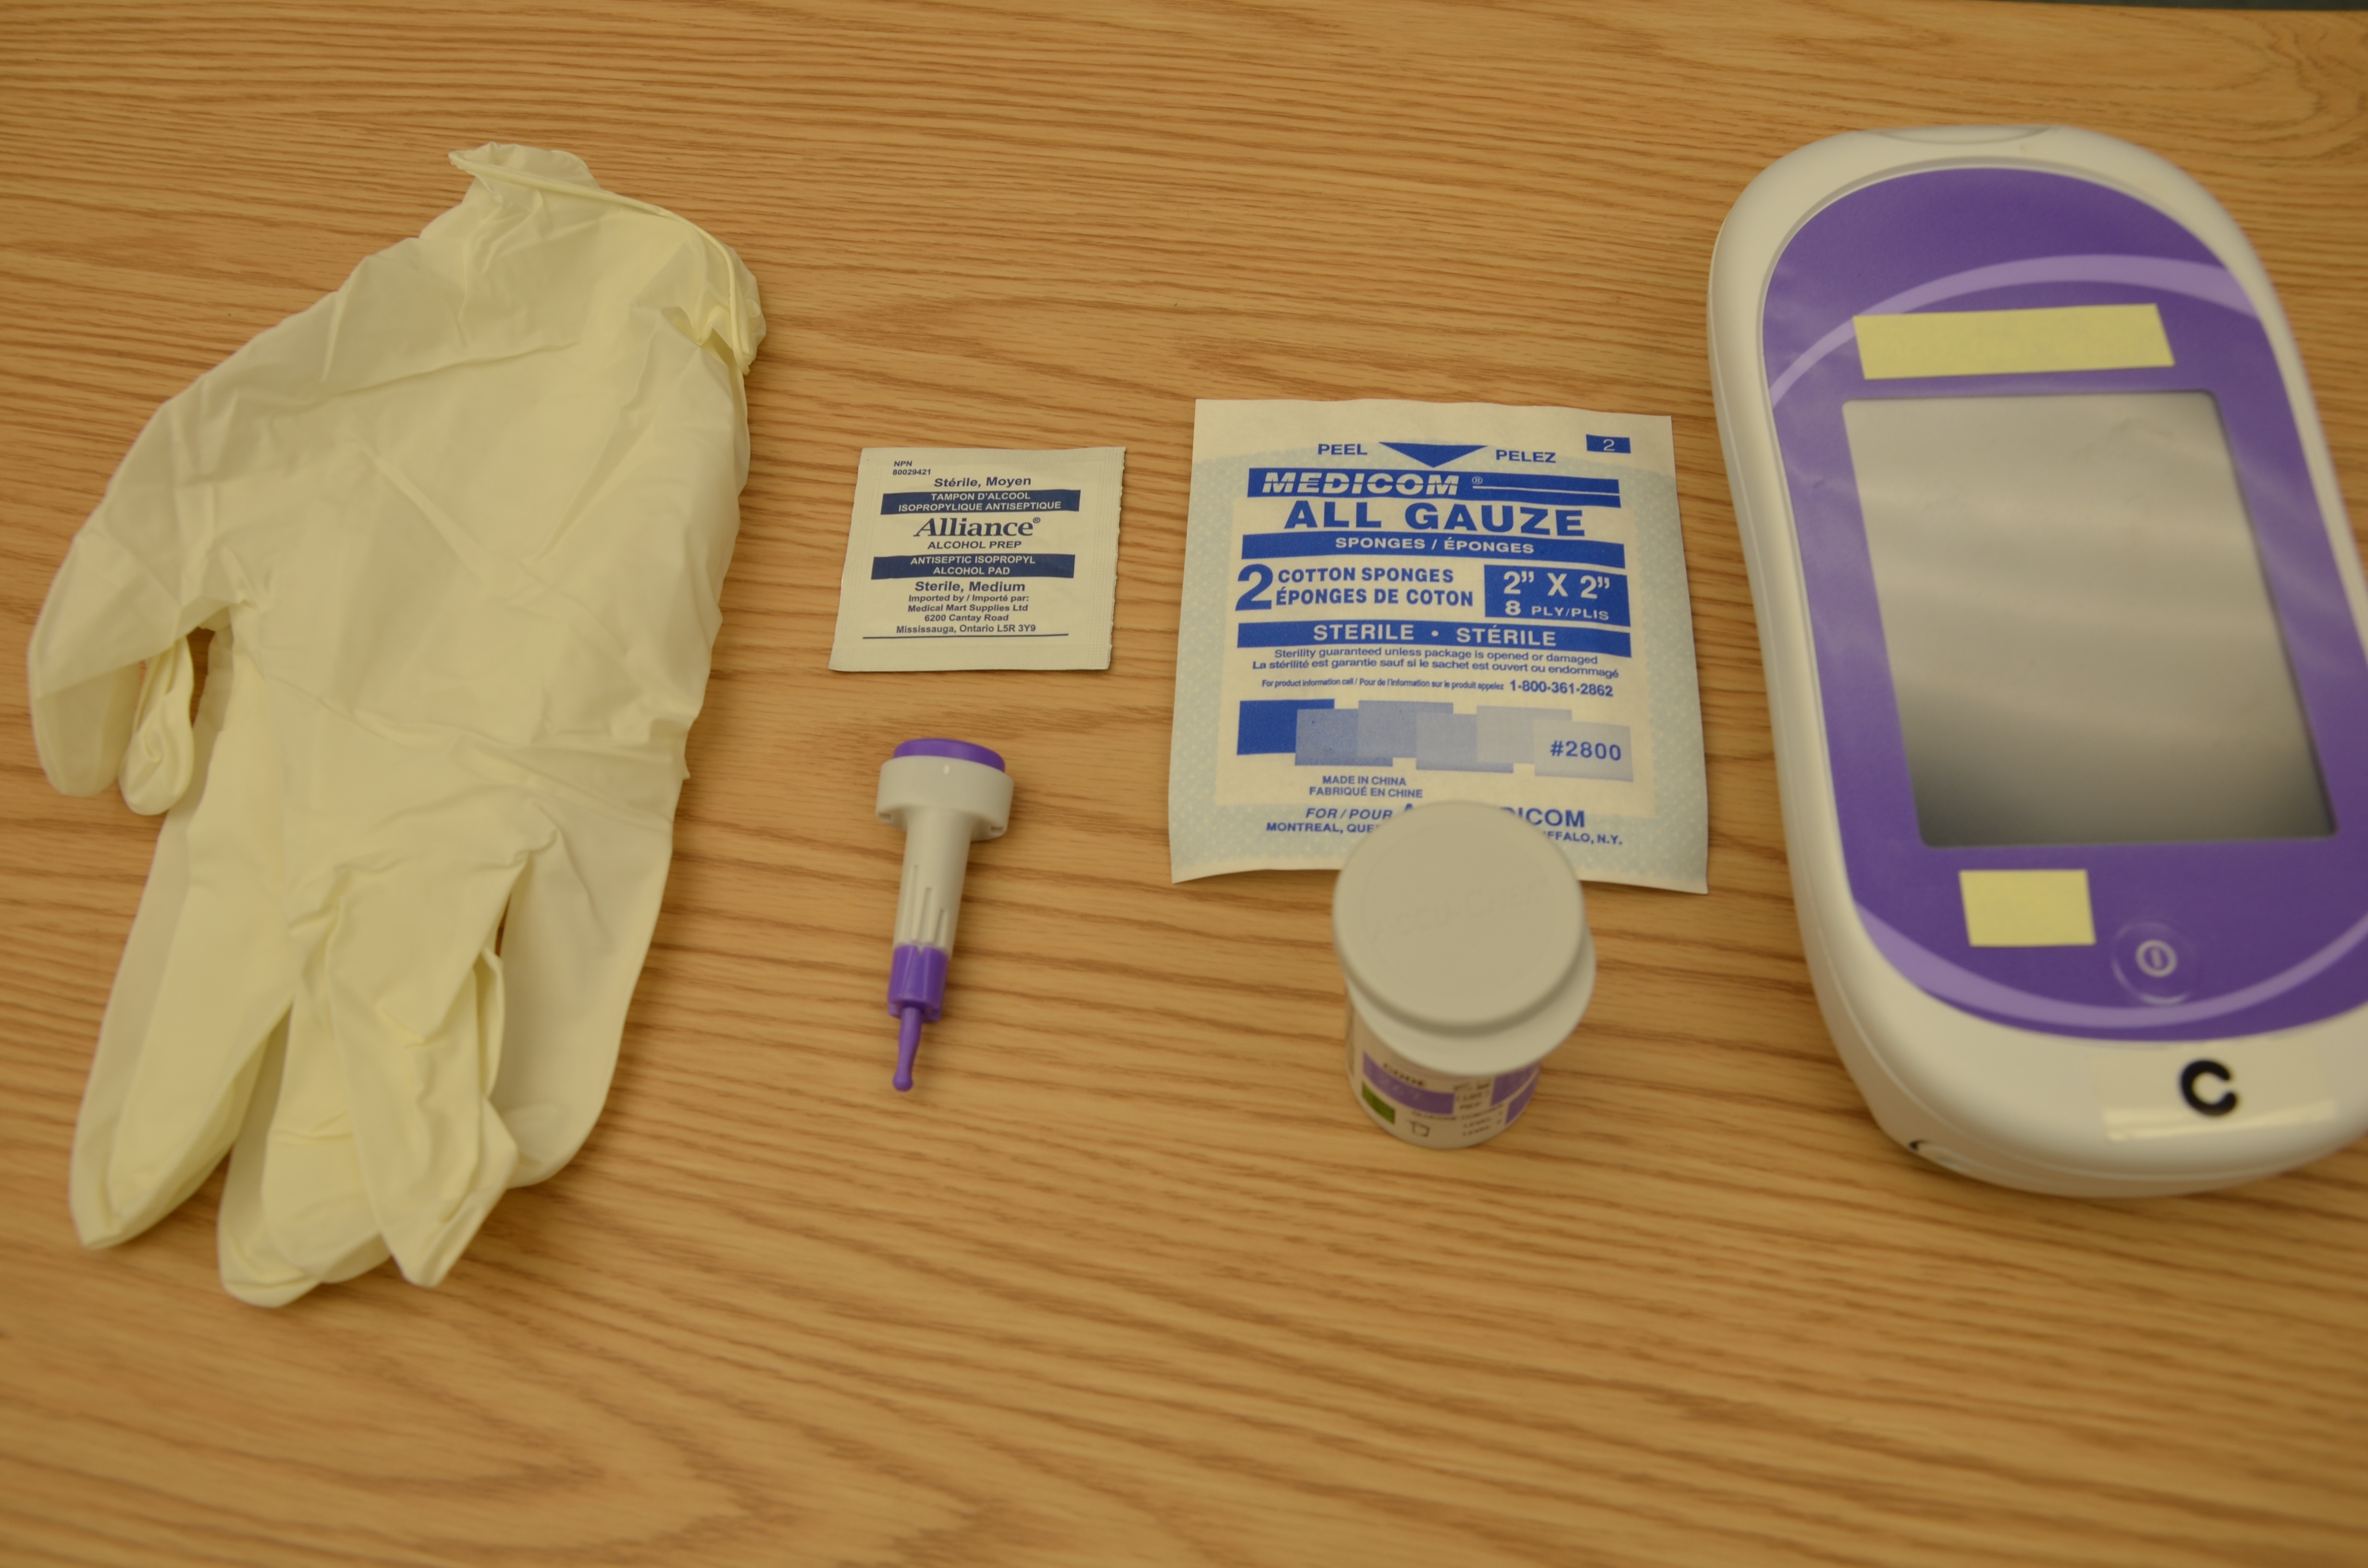
3. Gather equipment needed:
|
Having equipment prepared and available promotes organization, safety, and timeliness.
 |
||
| 4. Determine if blood glucose meter needs to be calibrated. | Calibration should be done regularly according to agency policy to ensure accuracy of readings. | ||
| 5. Assess patient’s sites for skin puncture. | Skin integrity at the puncture site minimizes the risk of infection and promotes healing. | ||
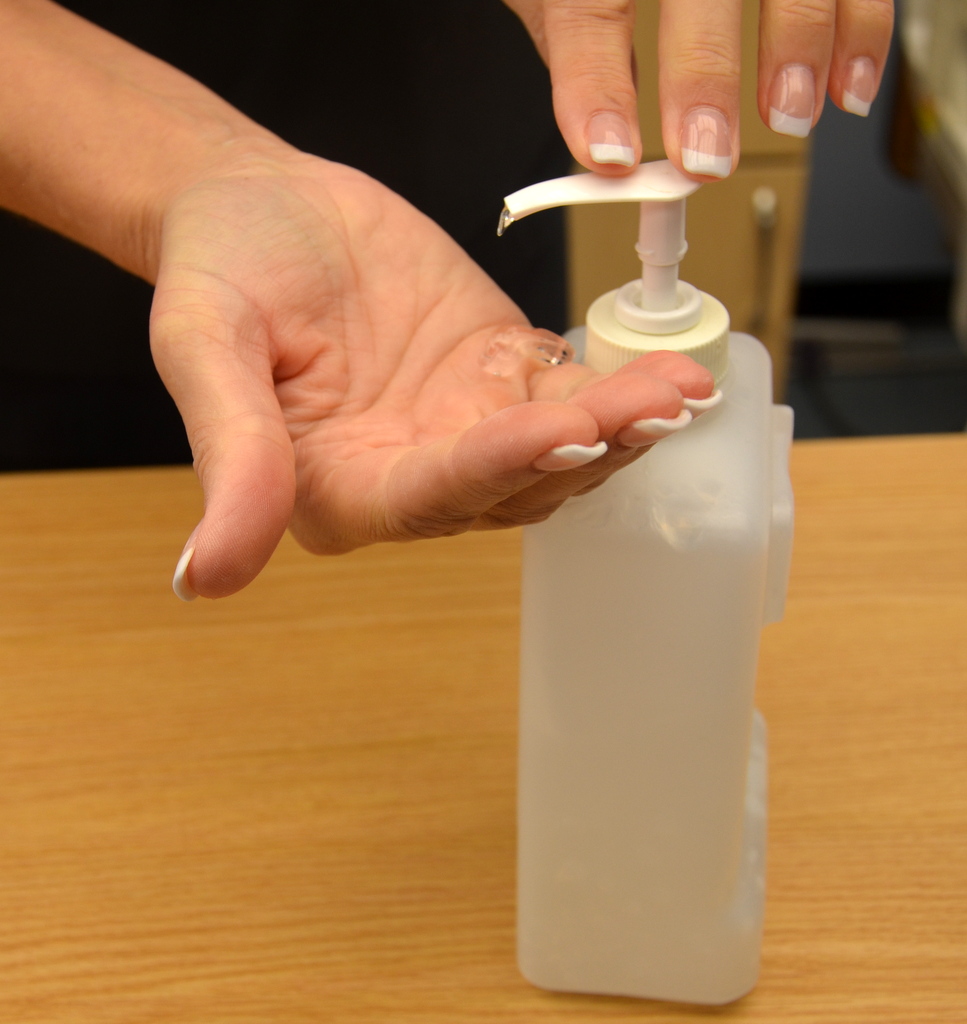
| 6. Perform hand hygiene. | Hand hygiene prevents the transfer of microorganisms.
 |
||
| 7. Have patient wash hands with soap and warm water, and position the patient comfortably in a semi-upright position in bed or upright in a chair. Encourage patient to keep hands warm.
Hospital policy may require use of an alcohol swab only, not water, to clean the puncture site. Ensure that puncture site is completely dry prior to skin puncture. |
Washing reduces transmission of microorganisms and increases blood flow to the puncture site.
  |
||
| 8. Remove a reagent strip from the container and reseal the container cap. Do not touch the test pad portion of the reagent strip. | Tight closure of the container keeps strips from damage due to environmental factors.
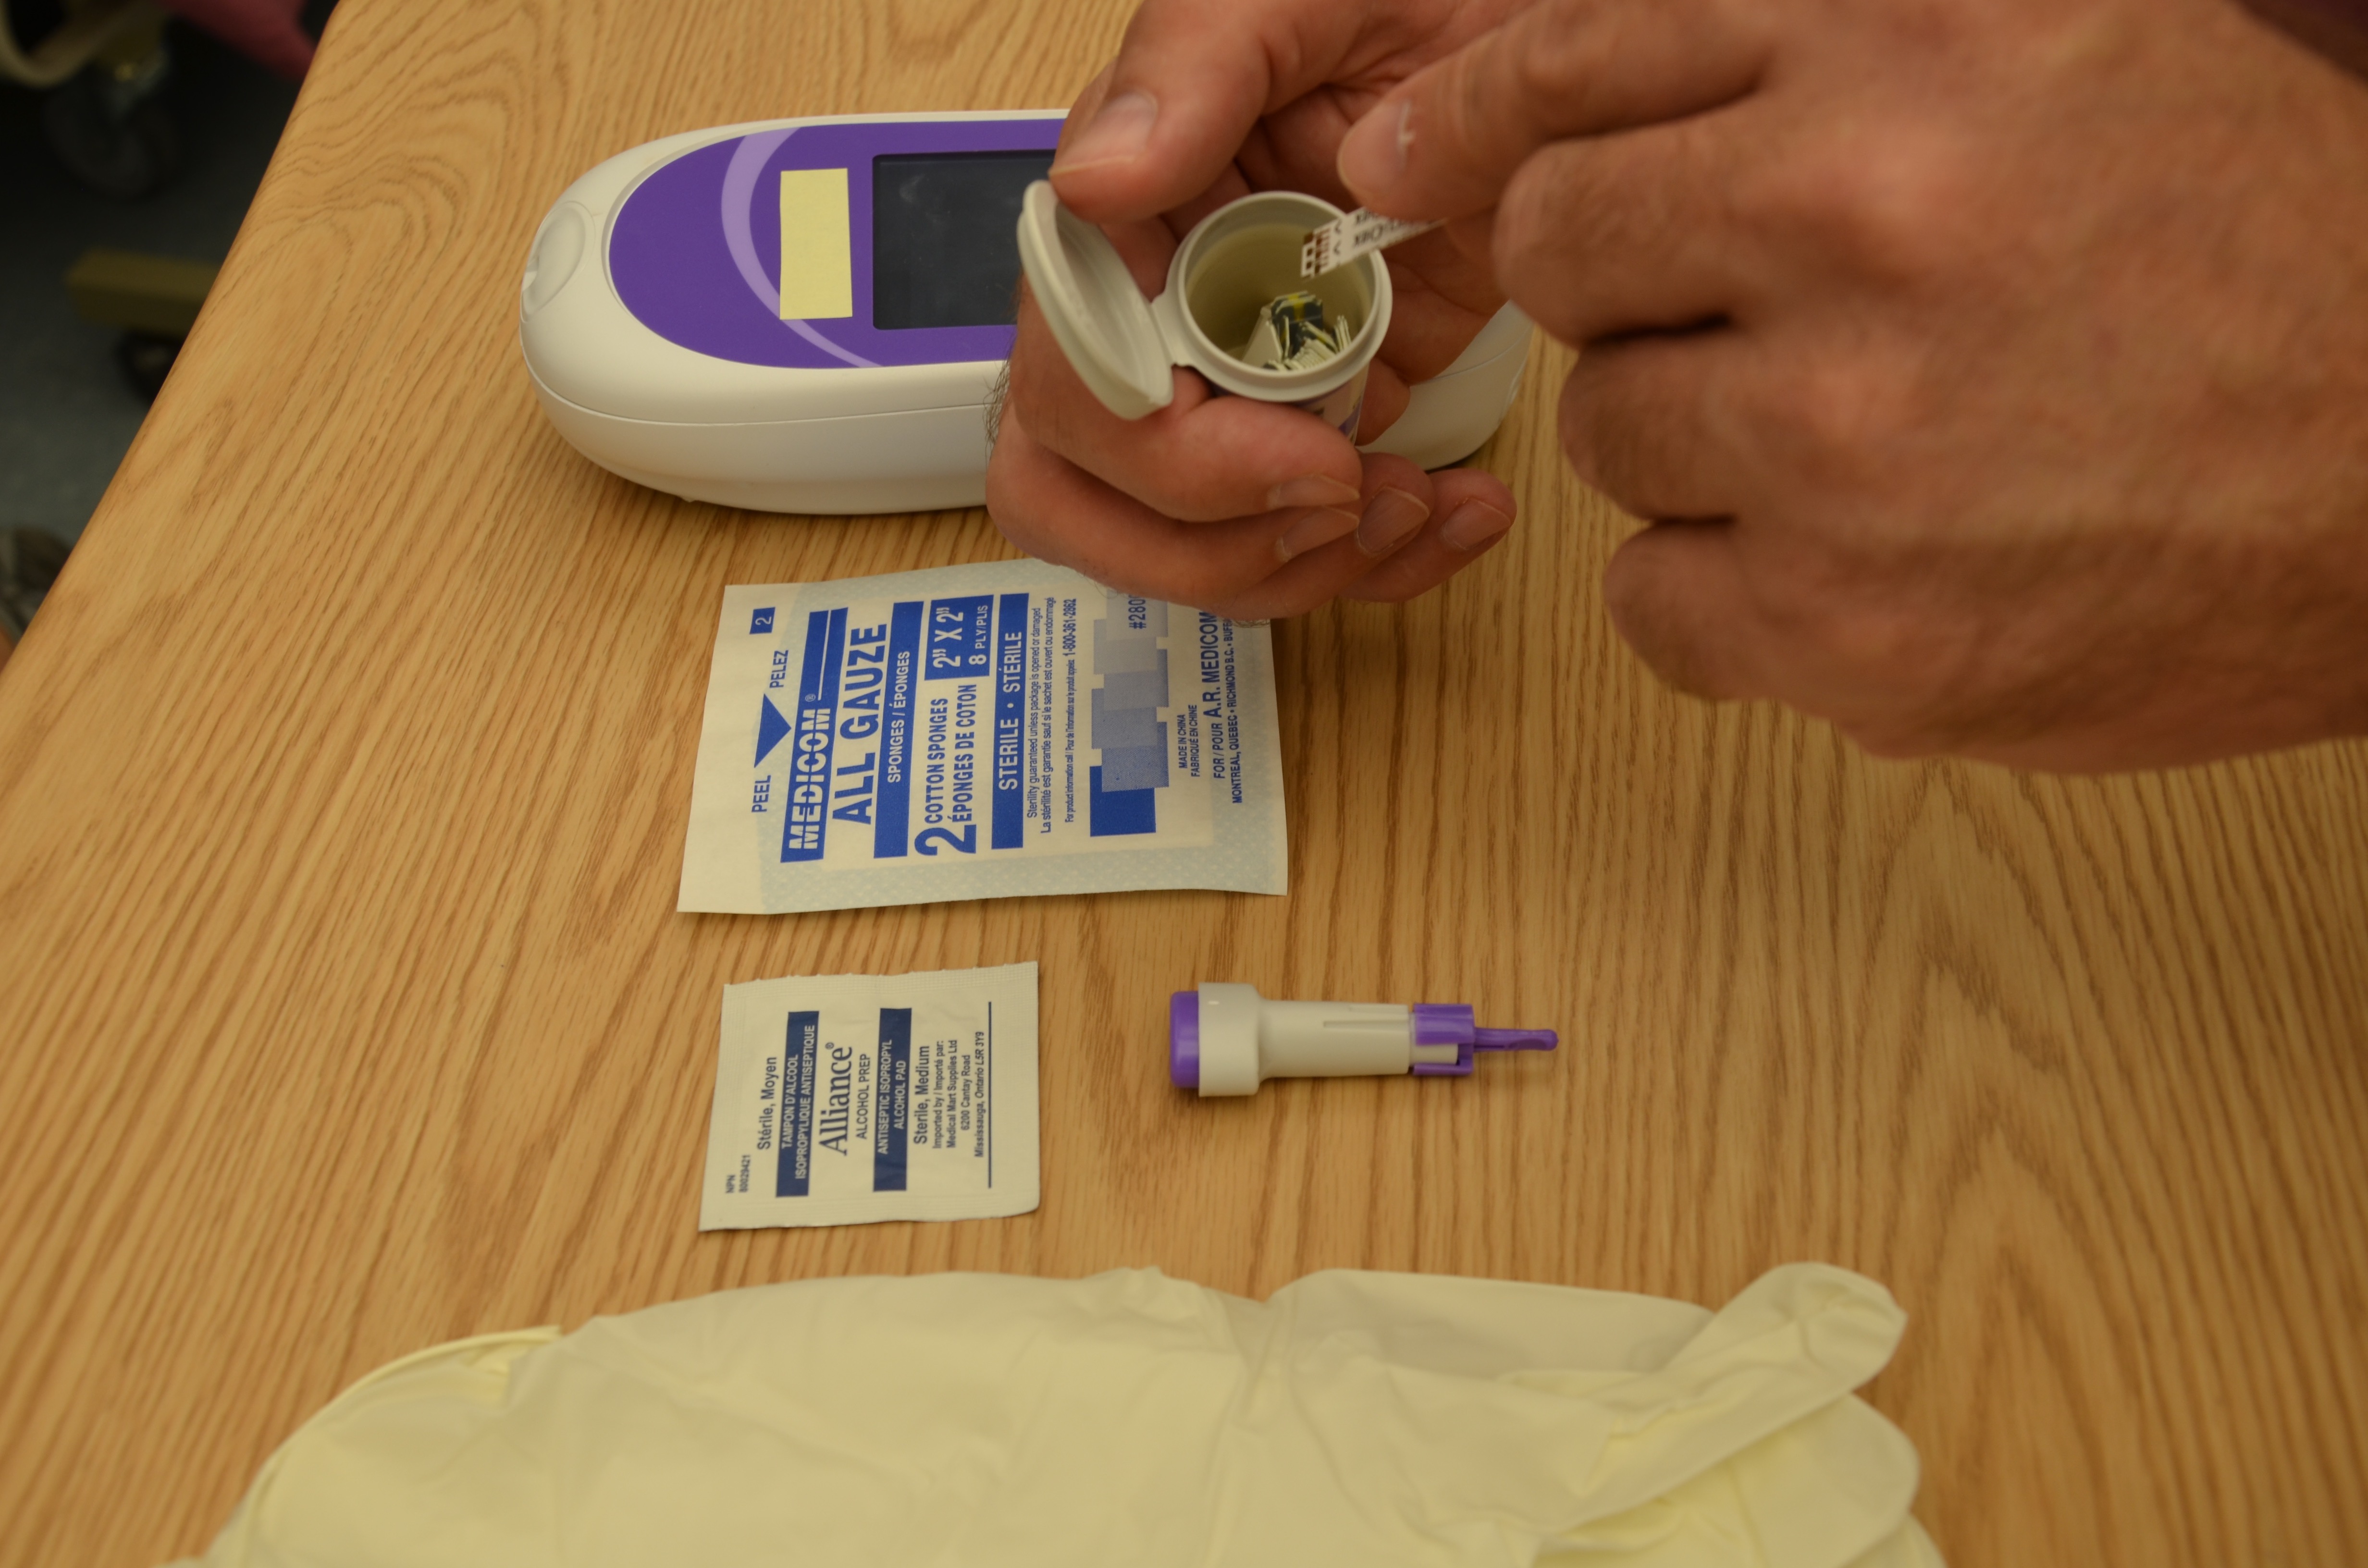 |
||
| 9. Follow the manufacturer’s instructions to prepare the meter for measurement. | This prepares meter for accurate readings.
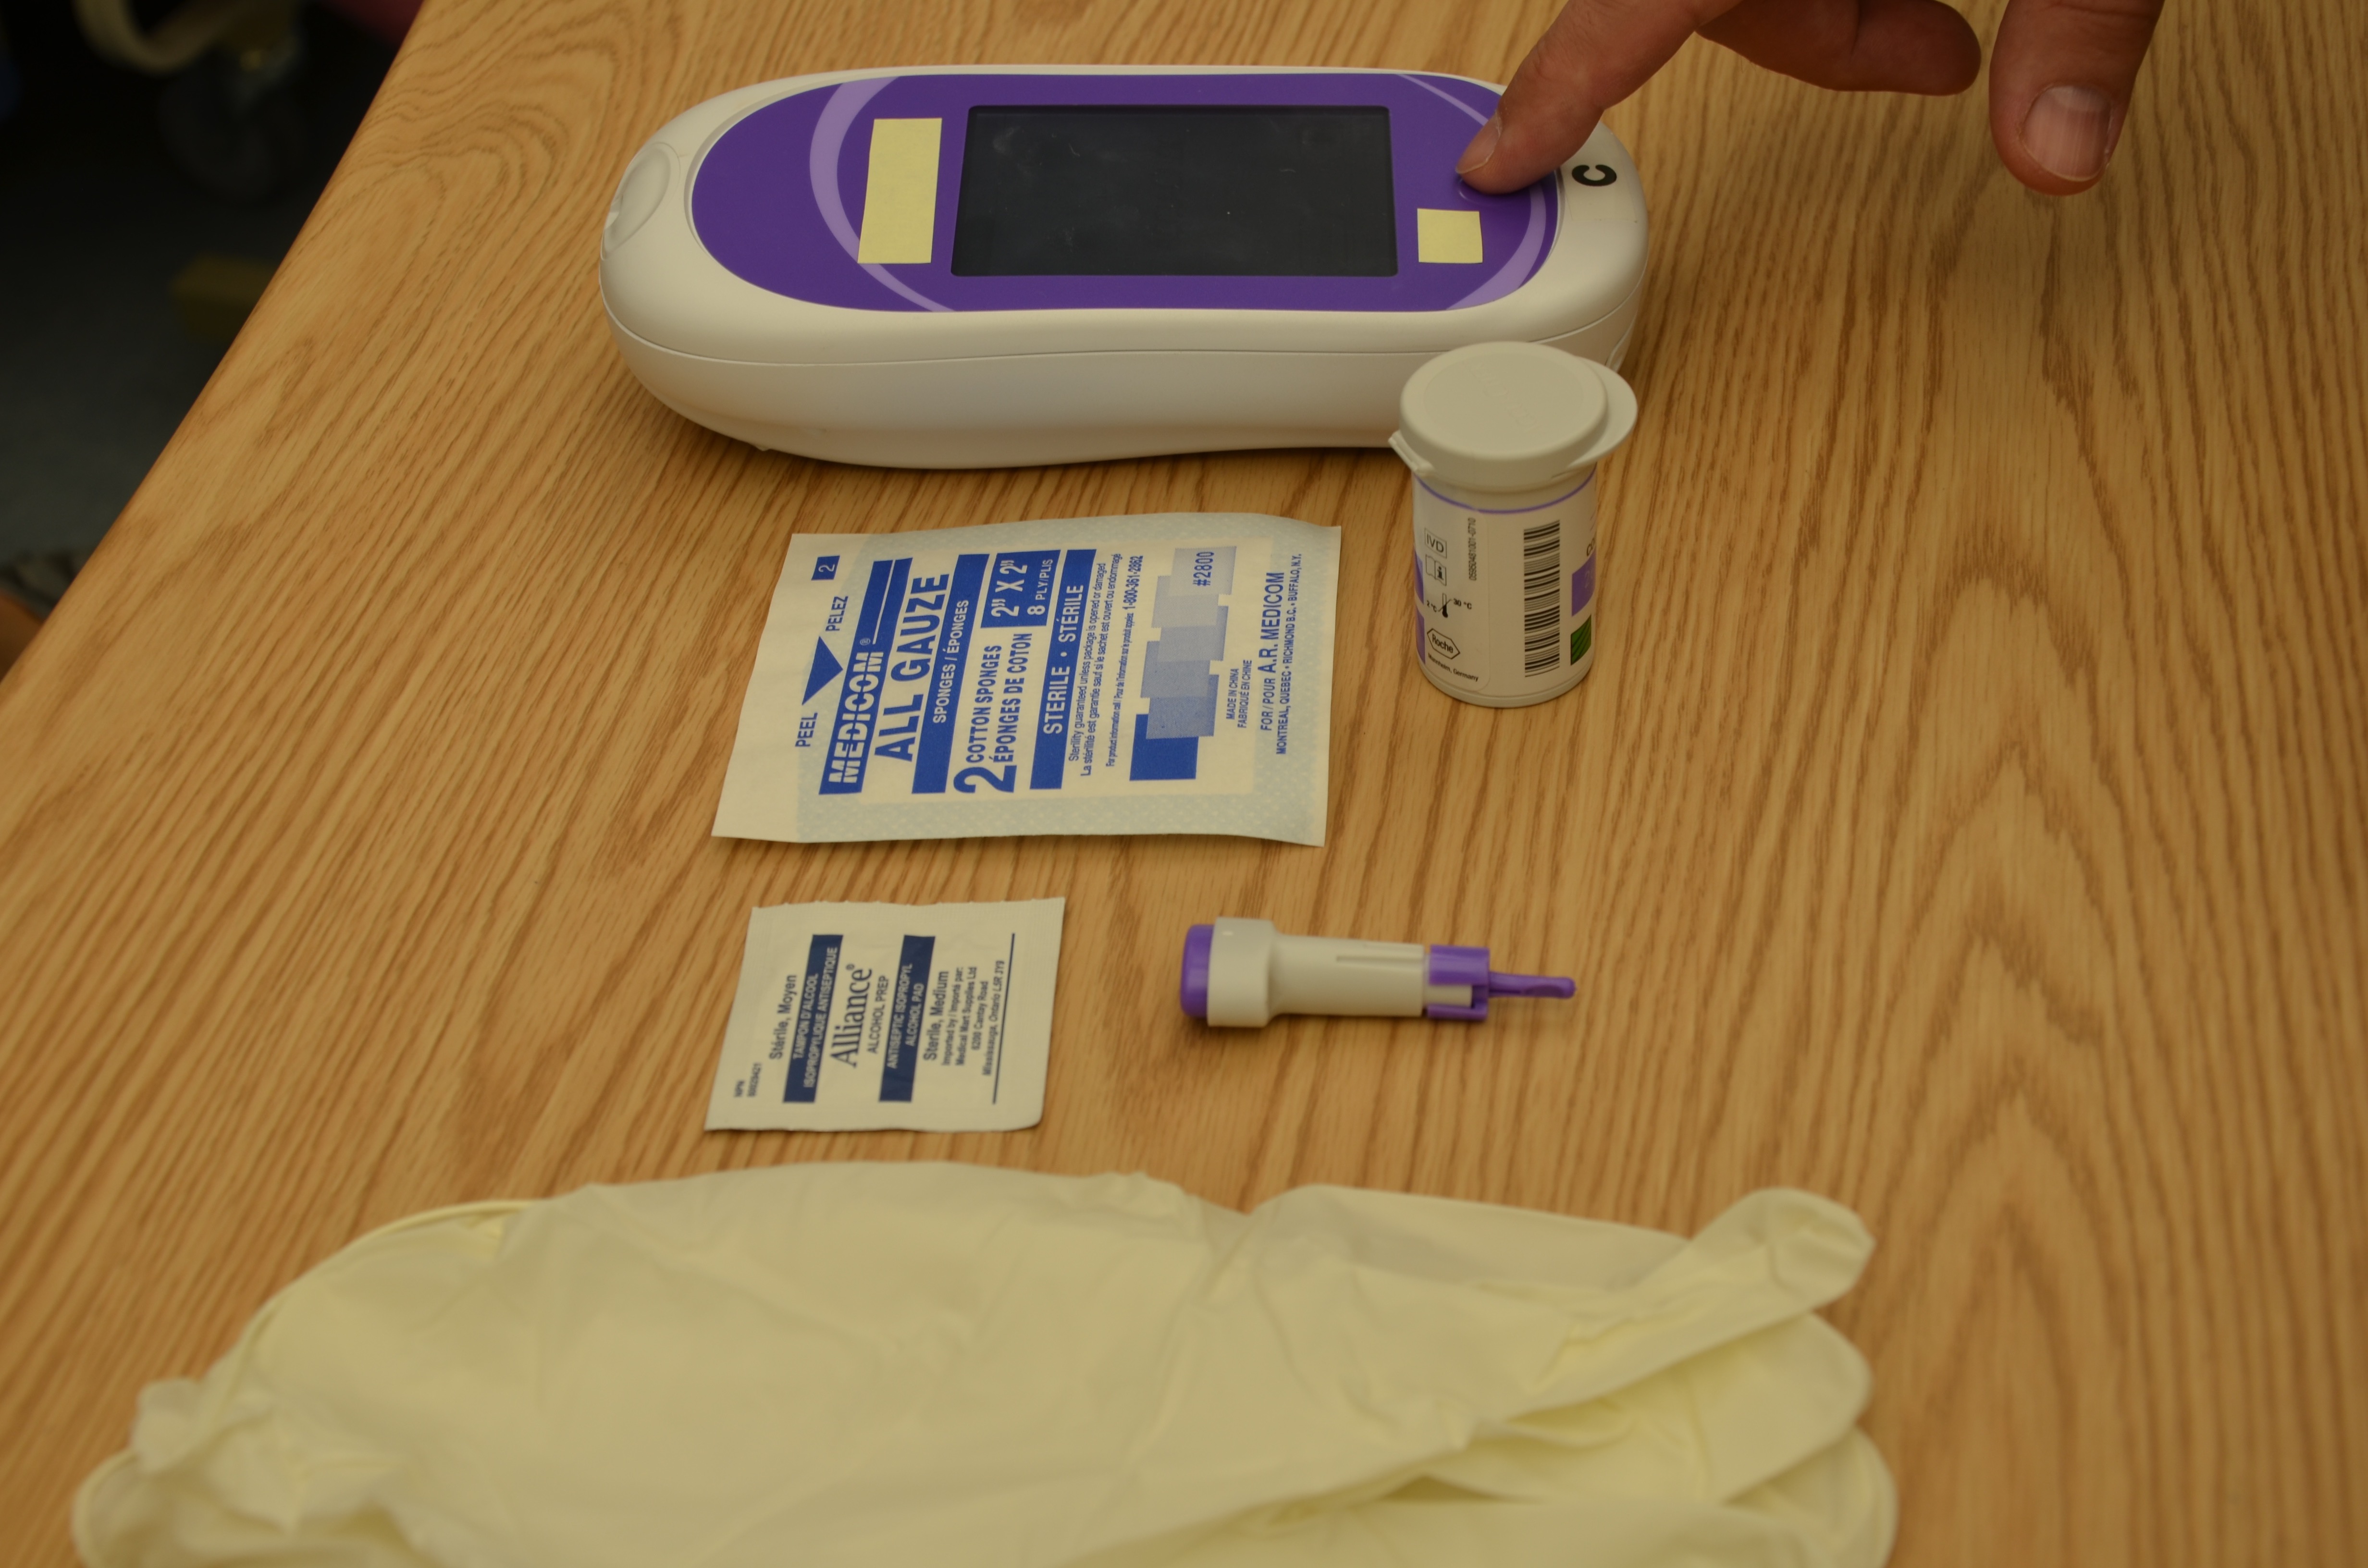 |
||
| 10. Place the unused reagent strip in the glucometer or on a clean, dry surface (e.g., paper towel) with the test pad facing up. This step is dependent on the manufacturer’s instructions. |
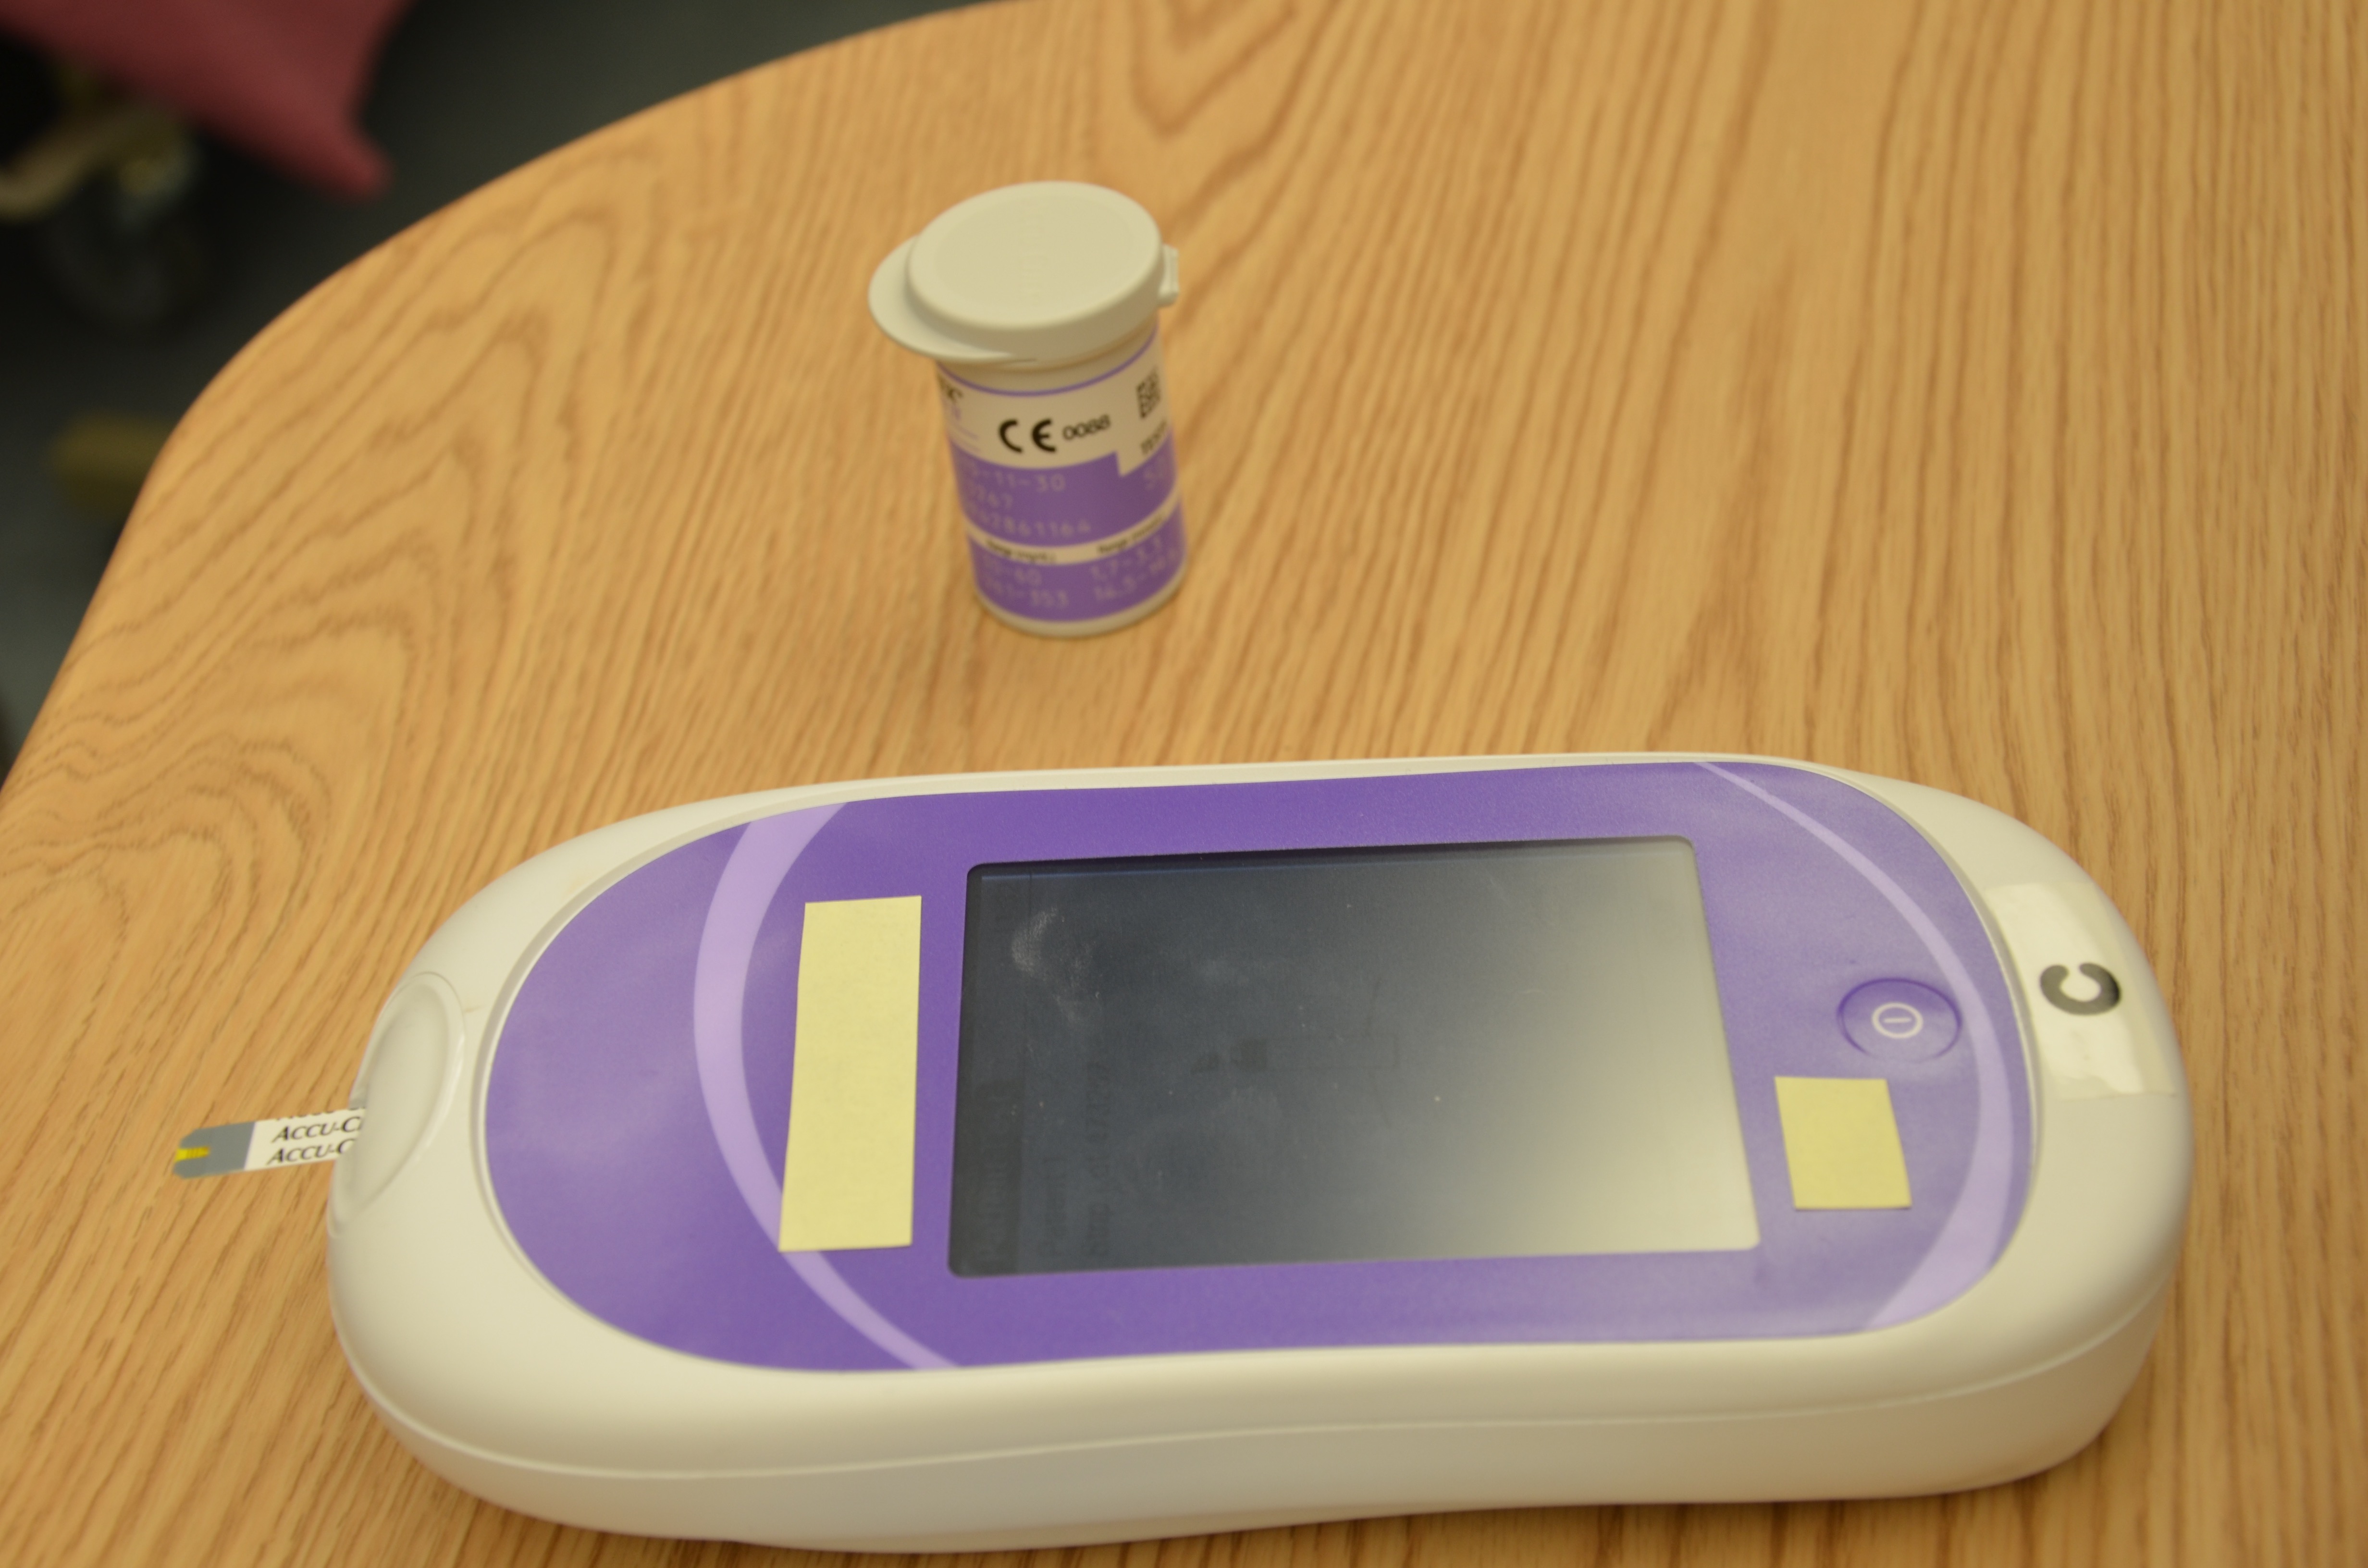 Moisture may alter the test results. |
||
| 11. Apply non-sterile gloves. |
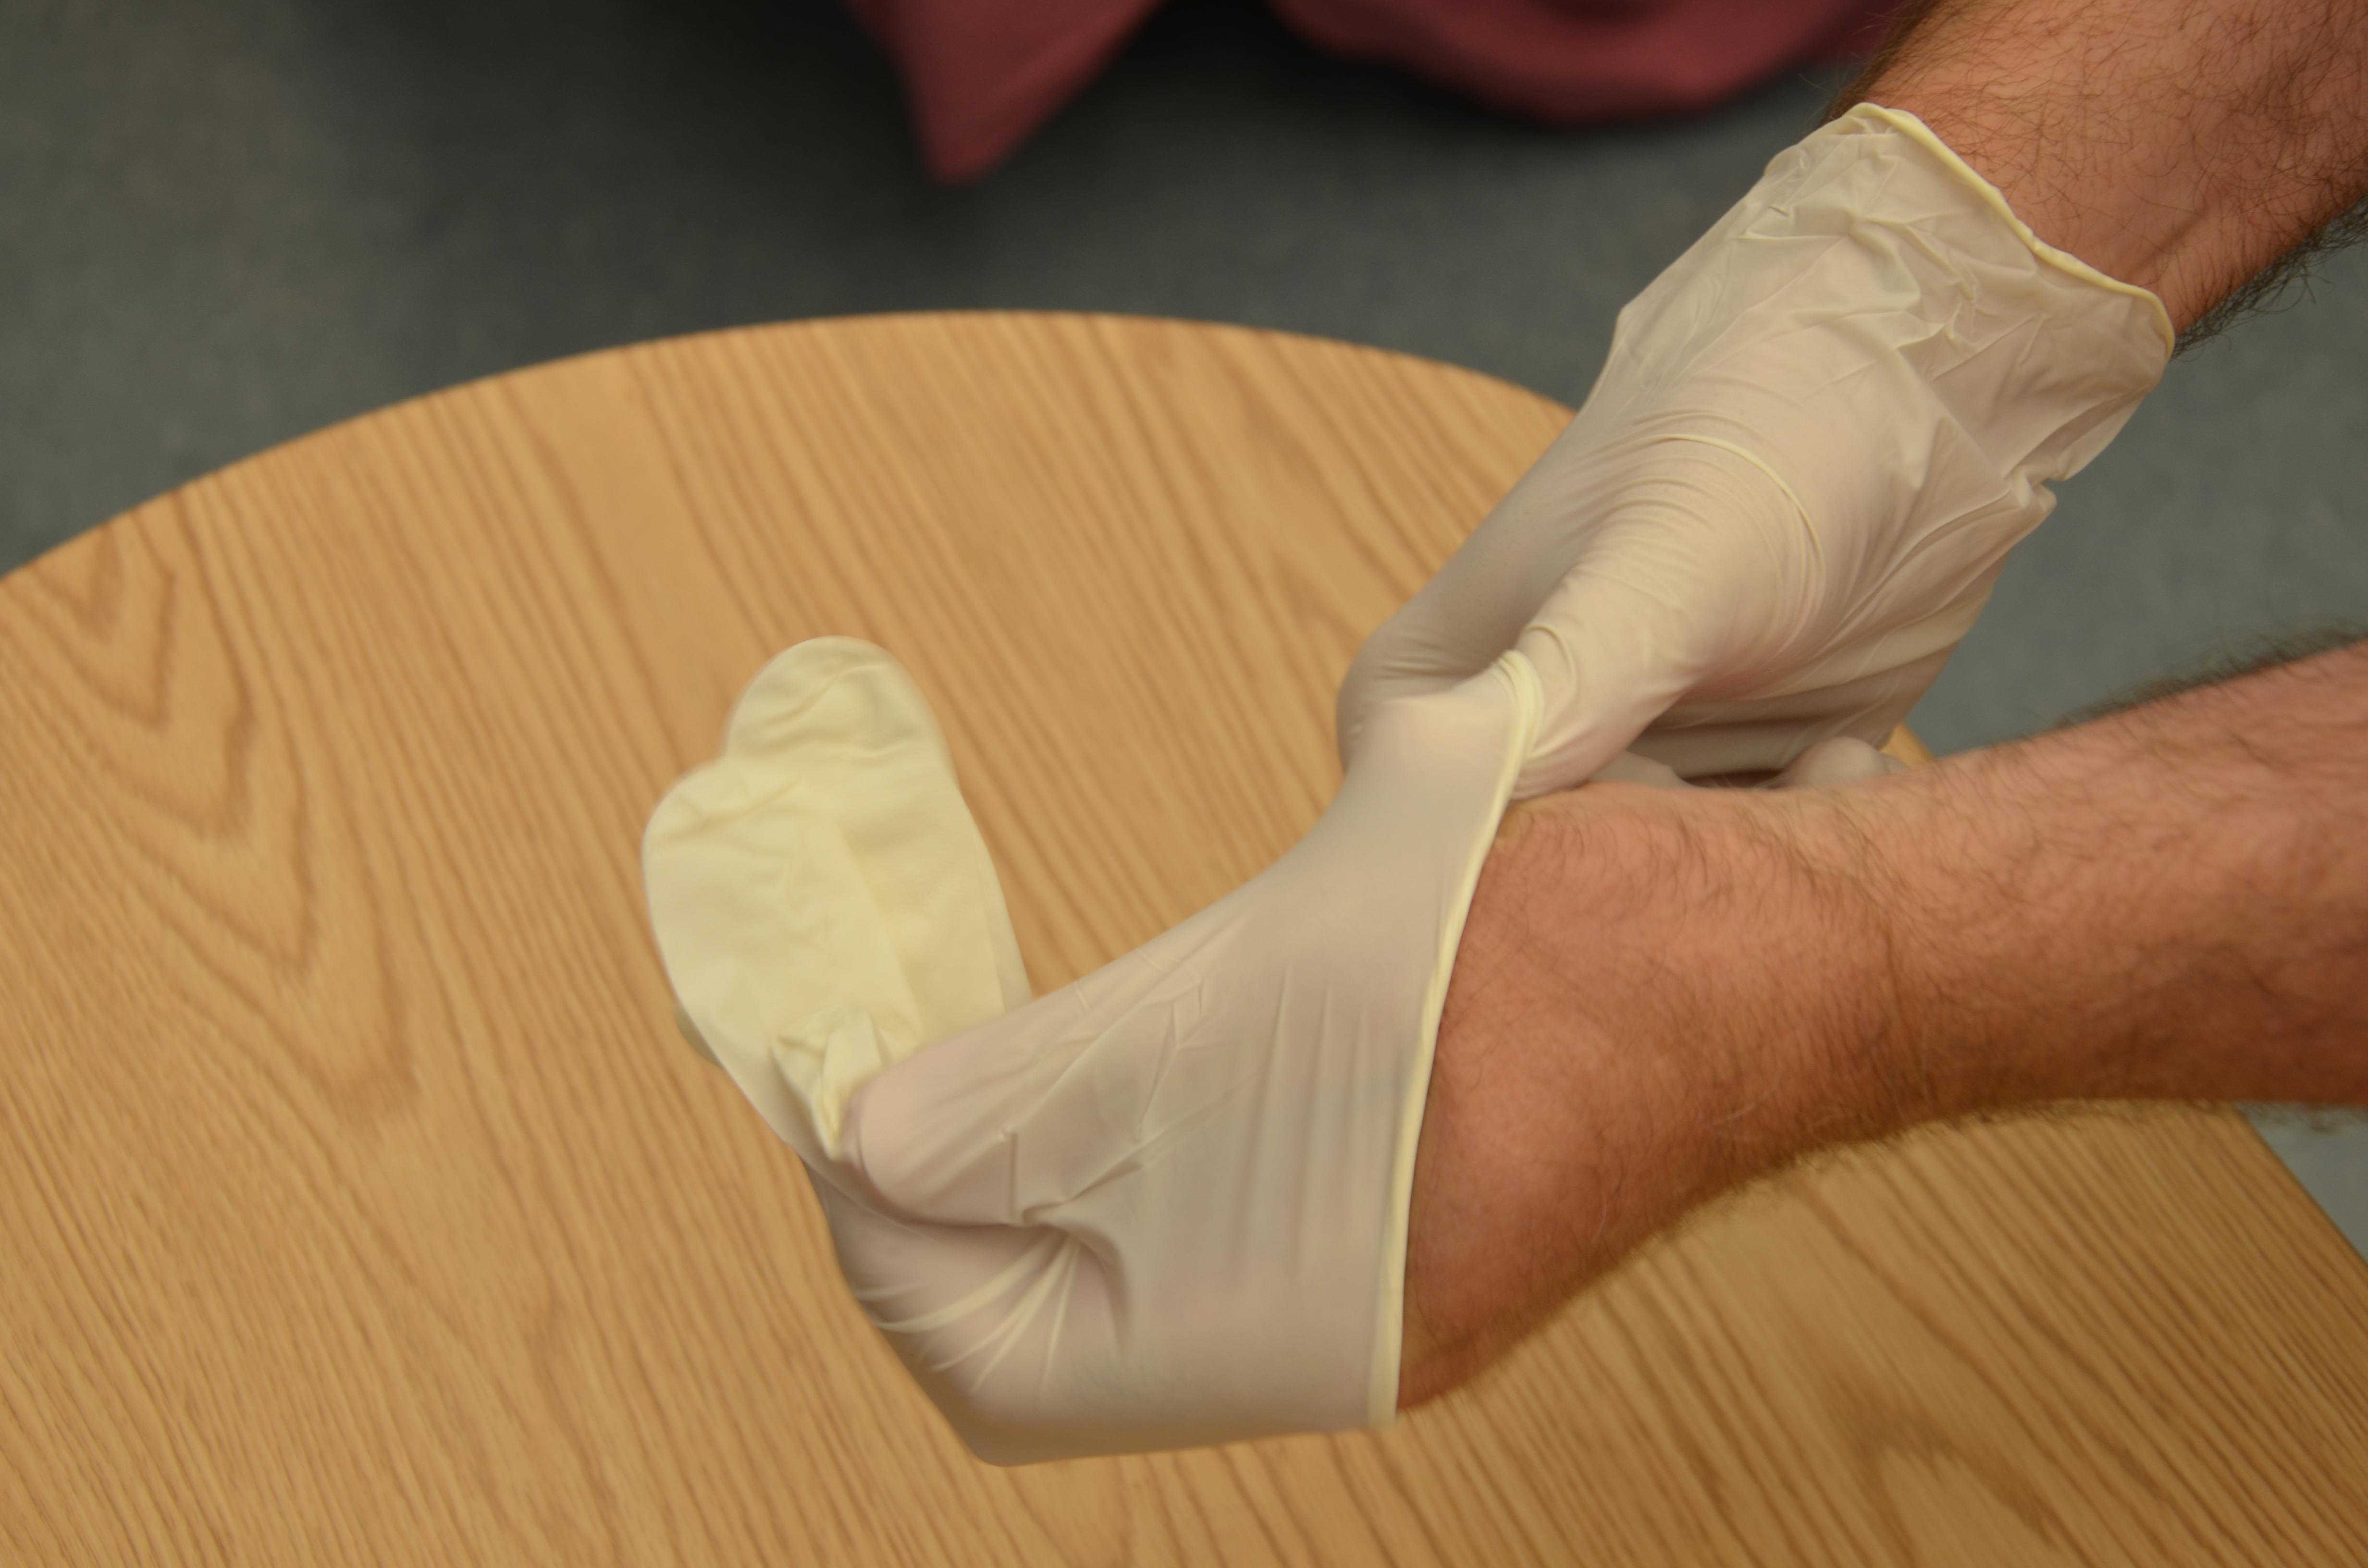 Gloves protect health care provider from contamination by blood. |
||
| 12. Keep area to be punctured in a dependent position. Do not milk or massage finger site. | Dependent position will increase blood flow to the area. Milking or massaging the finger may introduce excess tissue fluid and hemolyze the specimen.
Avoid having the patient stand during the procedure to reduce the risk of fainting. |
||
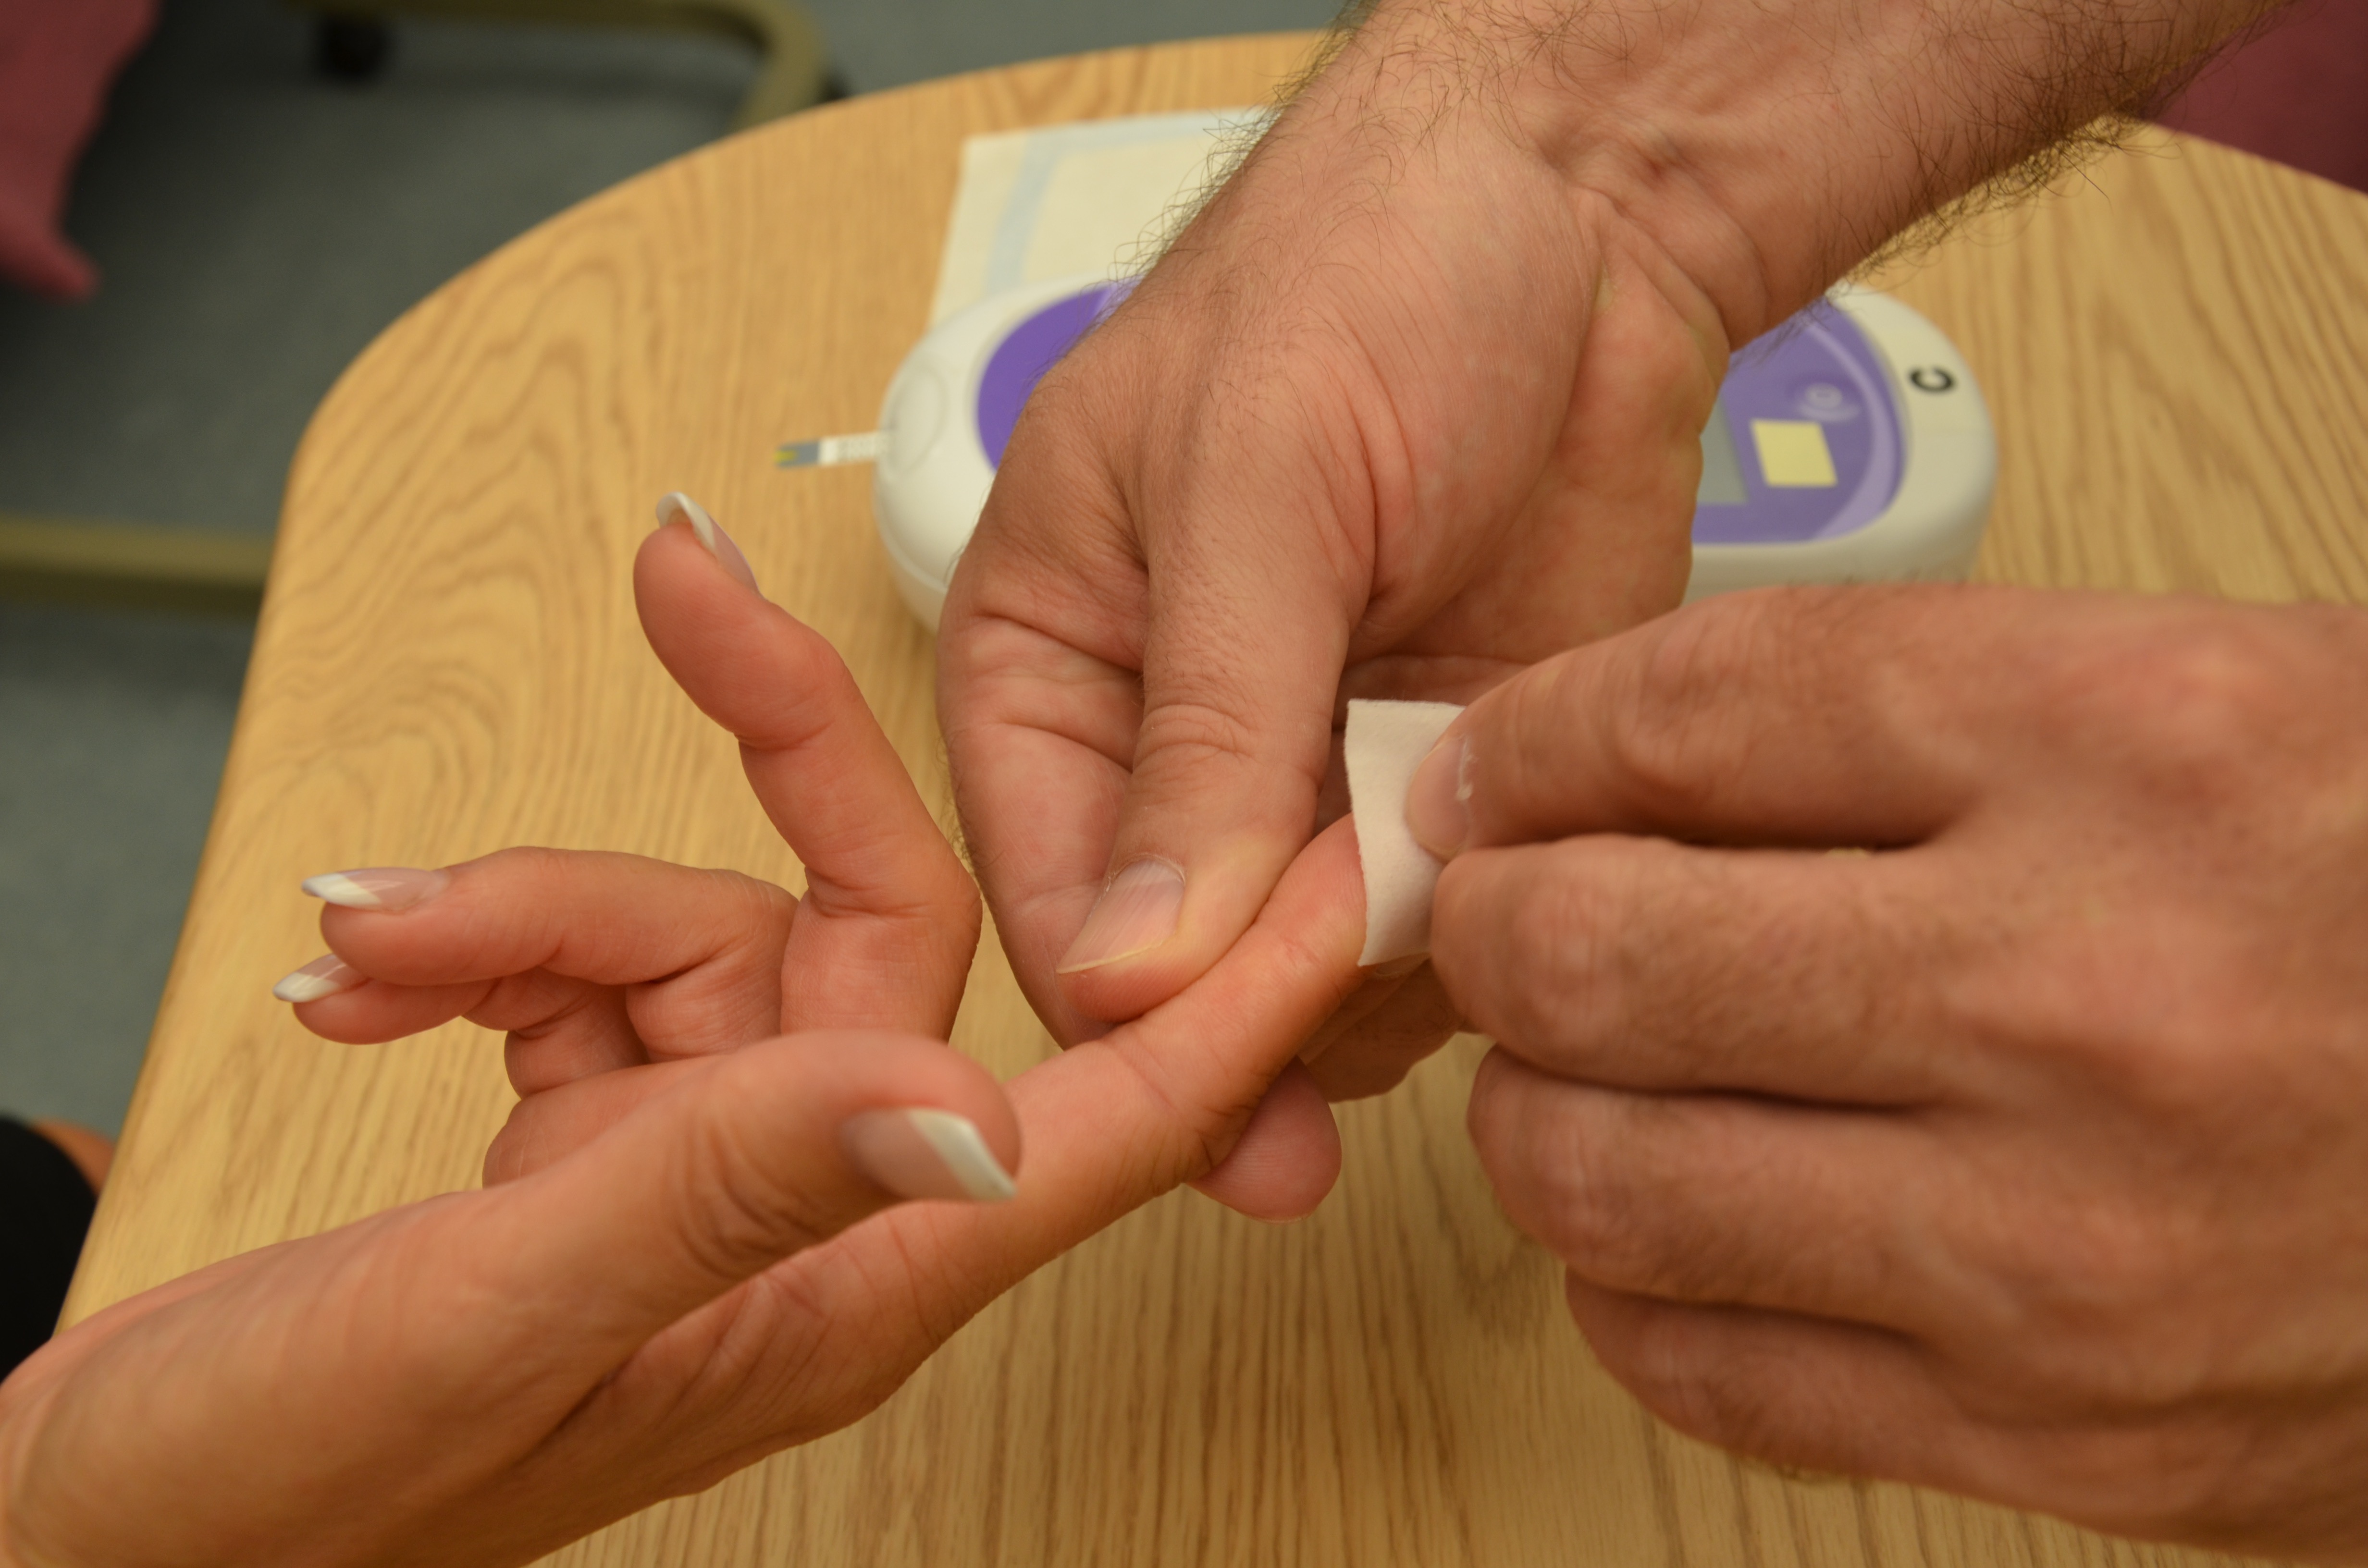
| 13. Select appropriate puncture site and perform skin puncture. | Your patient may have a preference of site used. For example, the patient may prefer not to use a specific finger for the skin puncture. Or the site may be contraindicated. For example, do not use the hand on the same side as a mastectomy. Avoid fingertip pads; use sides of finger.
 |
||
| 14. Gently squeeze above the site to produce a large droplet of blood. | Do not contaminate the site by touching it.
The droplet of blood needs to be large enough to cover the test pad on the reagent strip. 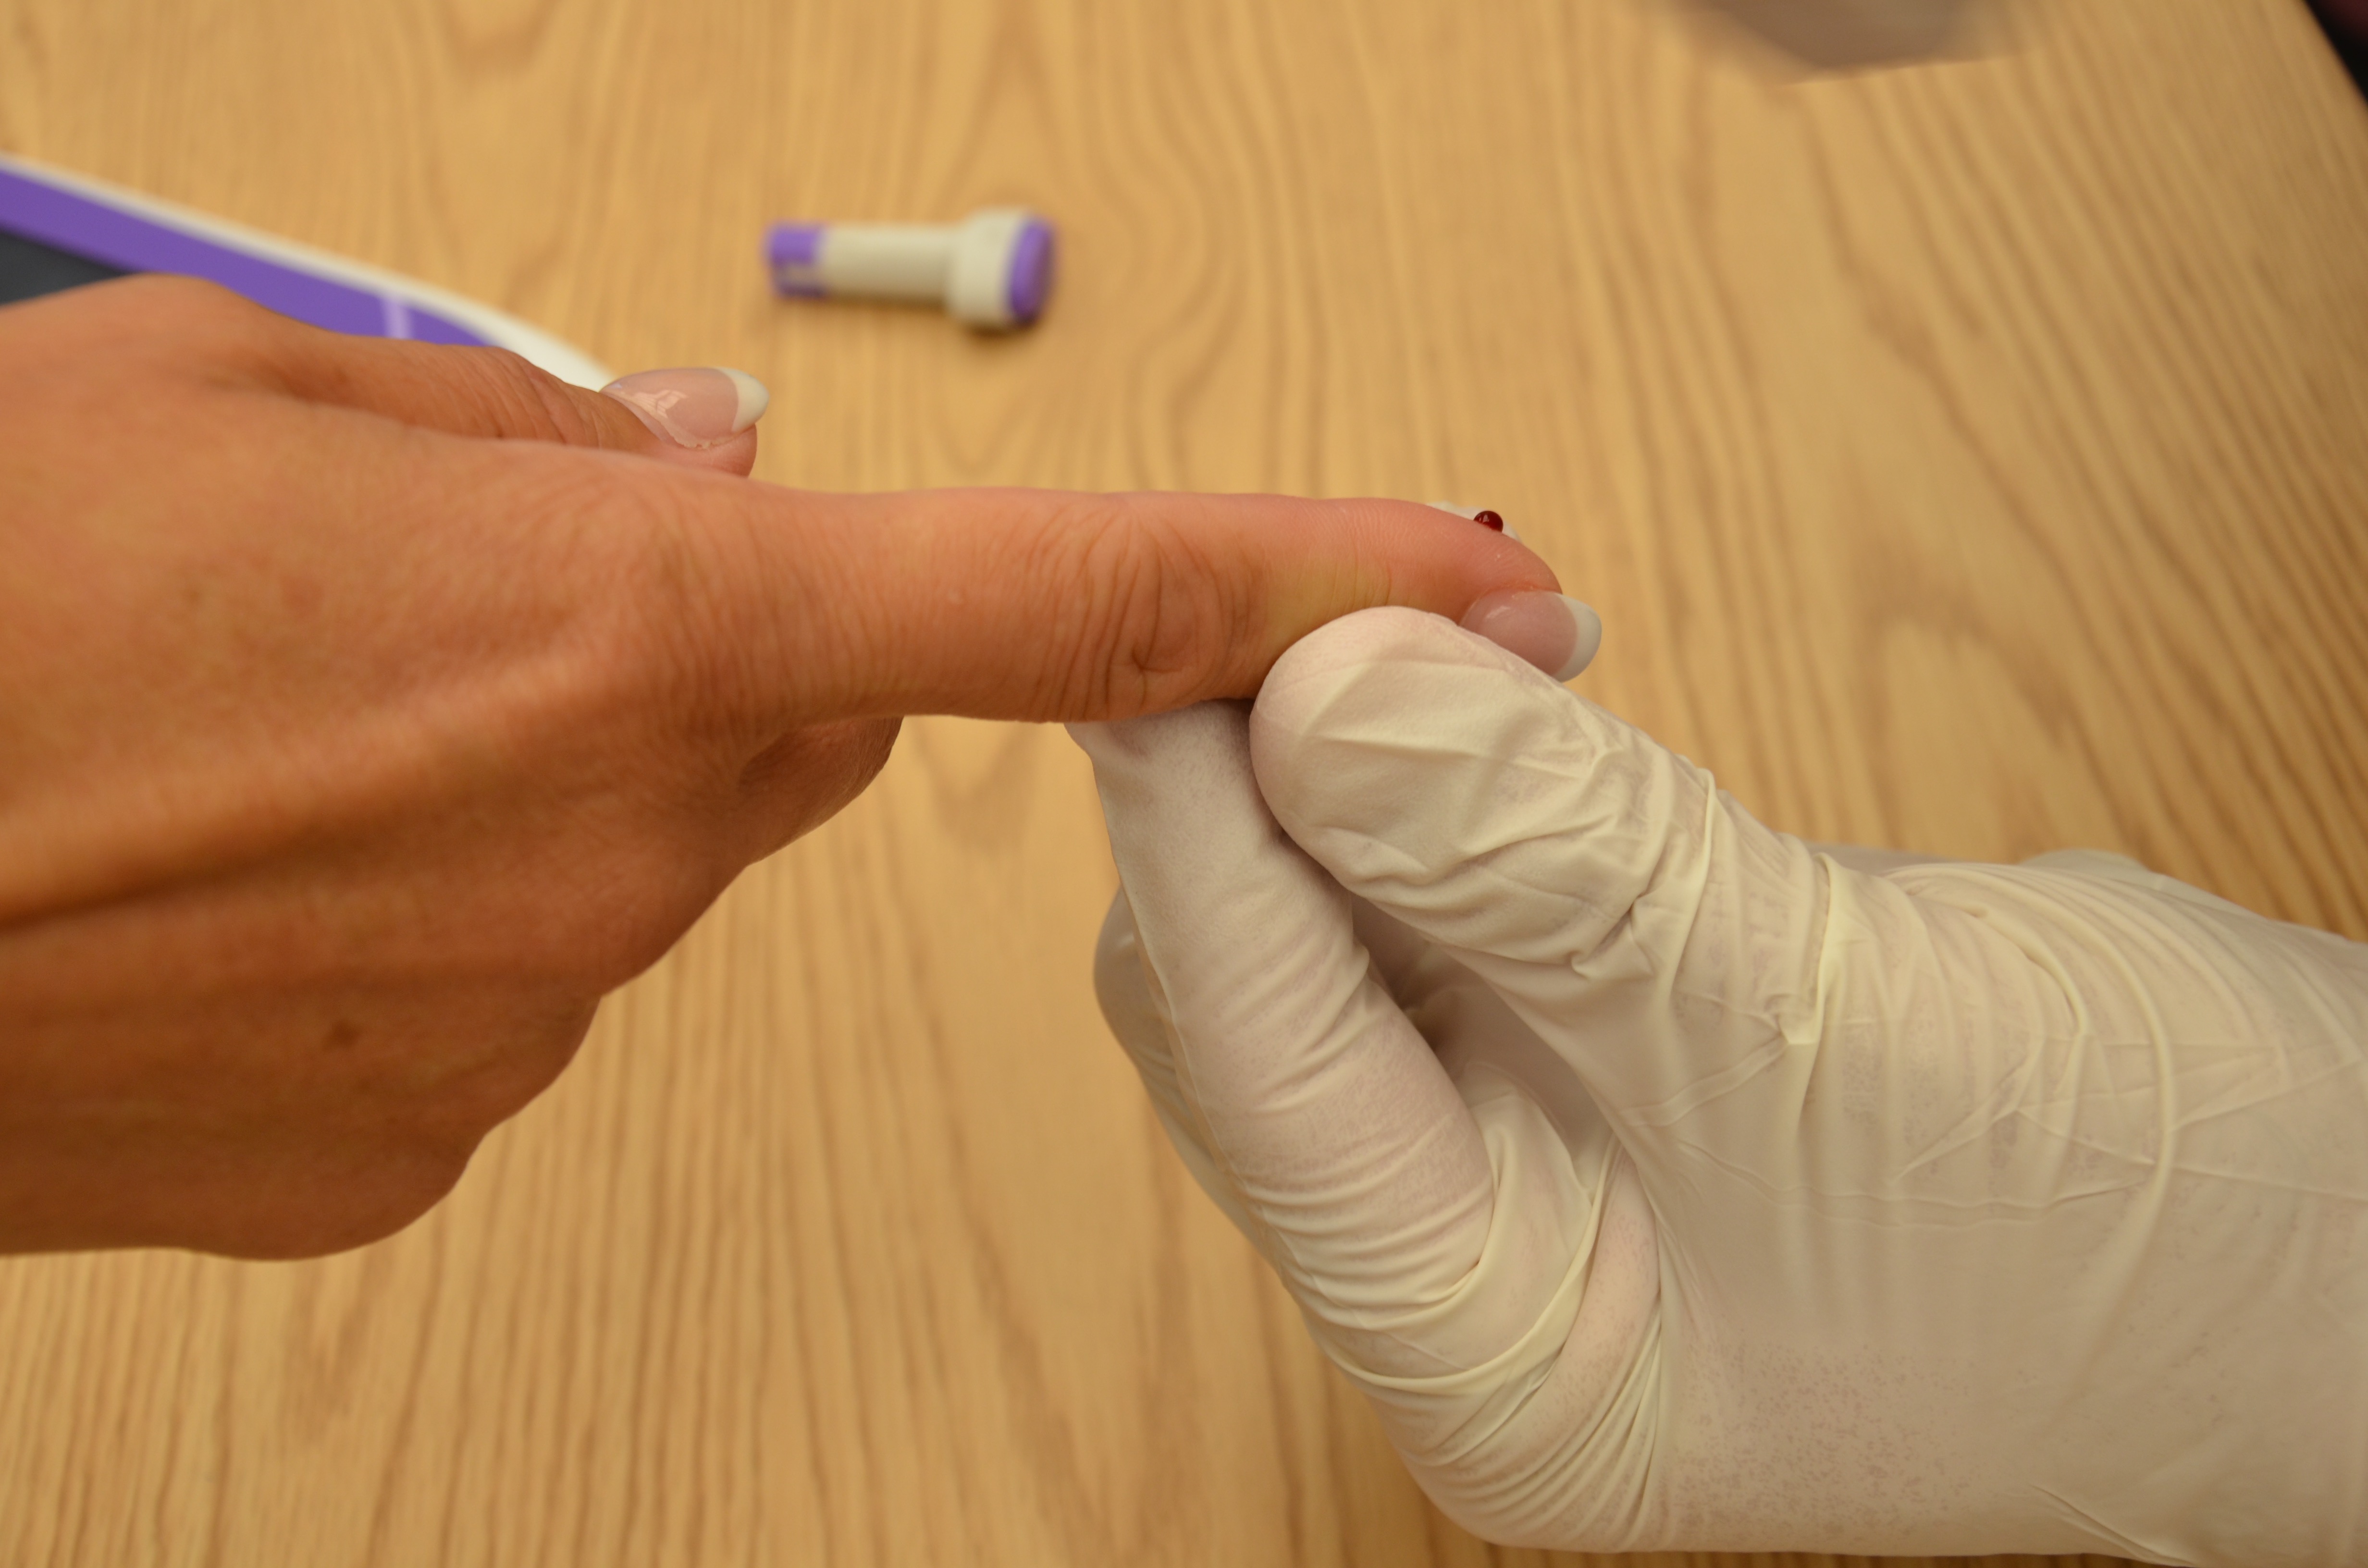 |
||
| 15. Transfer the first drop of blood (or second drop if indicated by agency policy or manufacturer’s instructions) to the reagent strip and apply following the manufacturer’s instructions. | The test pad must absorb the droplet of blood for accurate results. Smearing the blood will alter results.
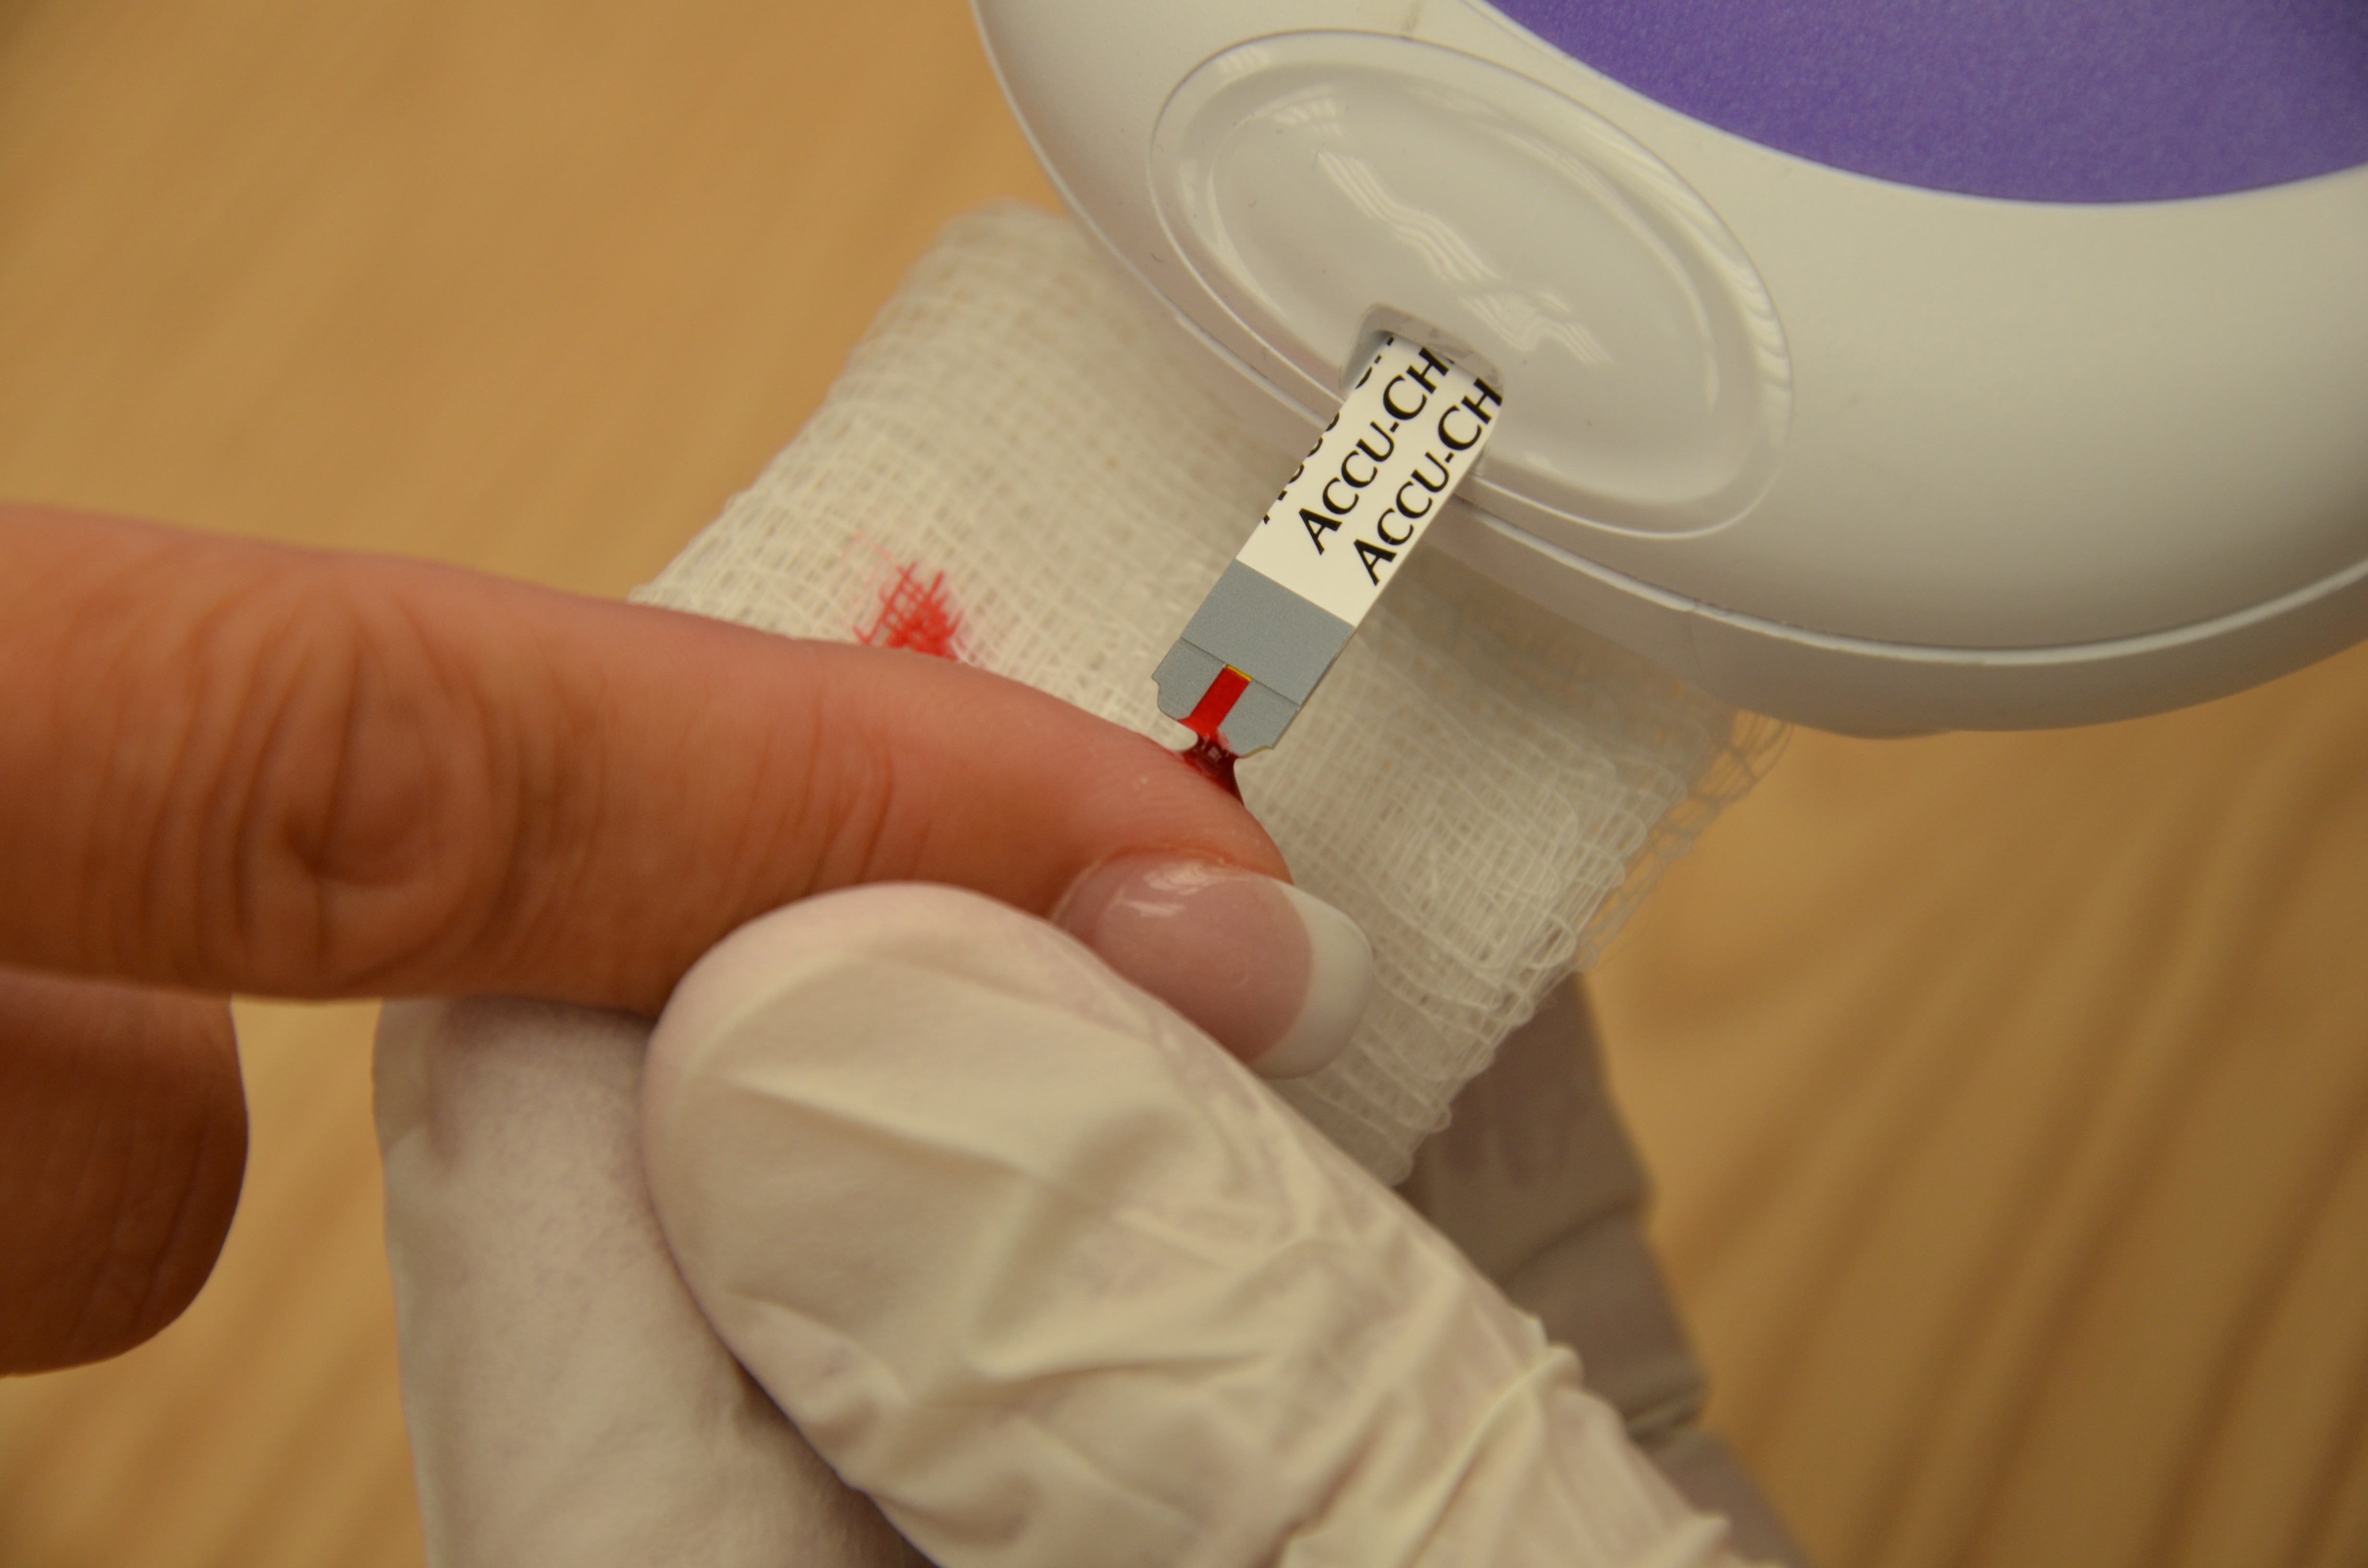 The timing and specific instructions for measurement will vary between blood glucose meters. Be sure to read the instructions carefully to ensure accurate readings. |
||
| 16. Immediately press the timer on the meter (unless it starts automatically with insertion of reagent strip). | Timing is critical to produce accurate results.
Always check the manufacturer’s instructions because the technique varies between meters. |
||
| 17. Apply pressure, or ask patient to apply pressure, to the puncture site using a 2 x 2 gauze pad or clean tissue. |
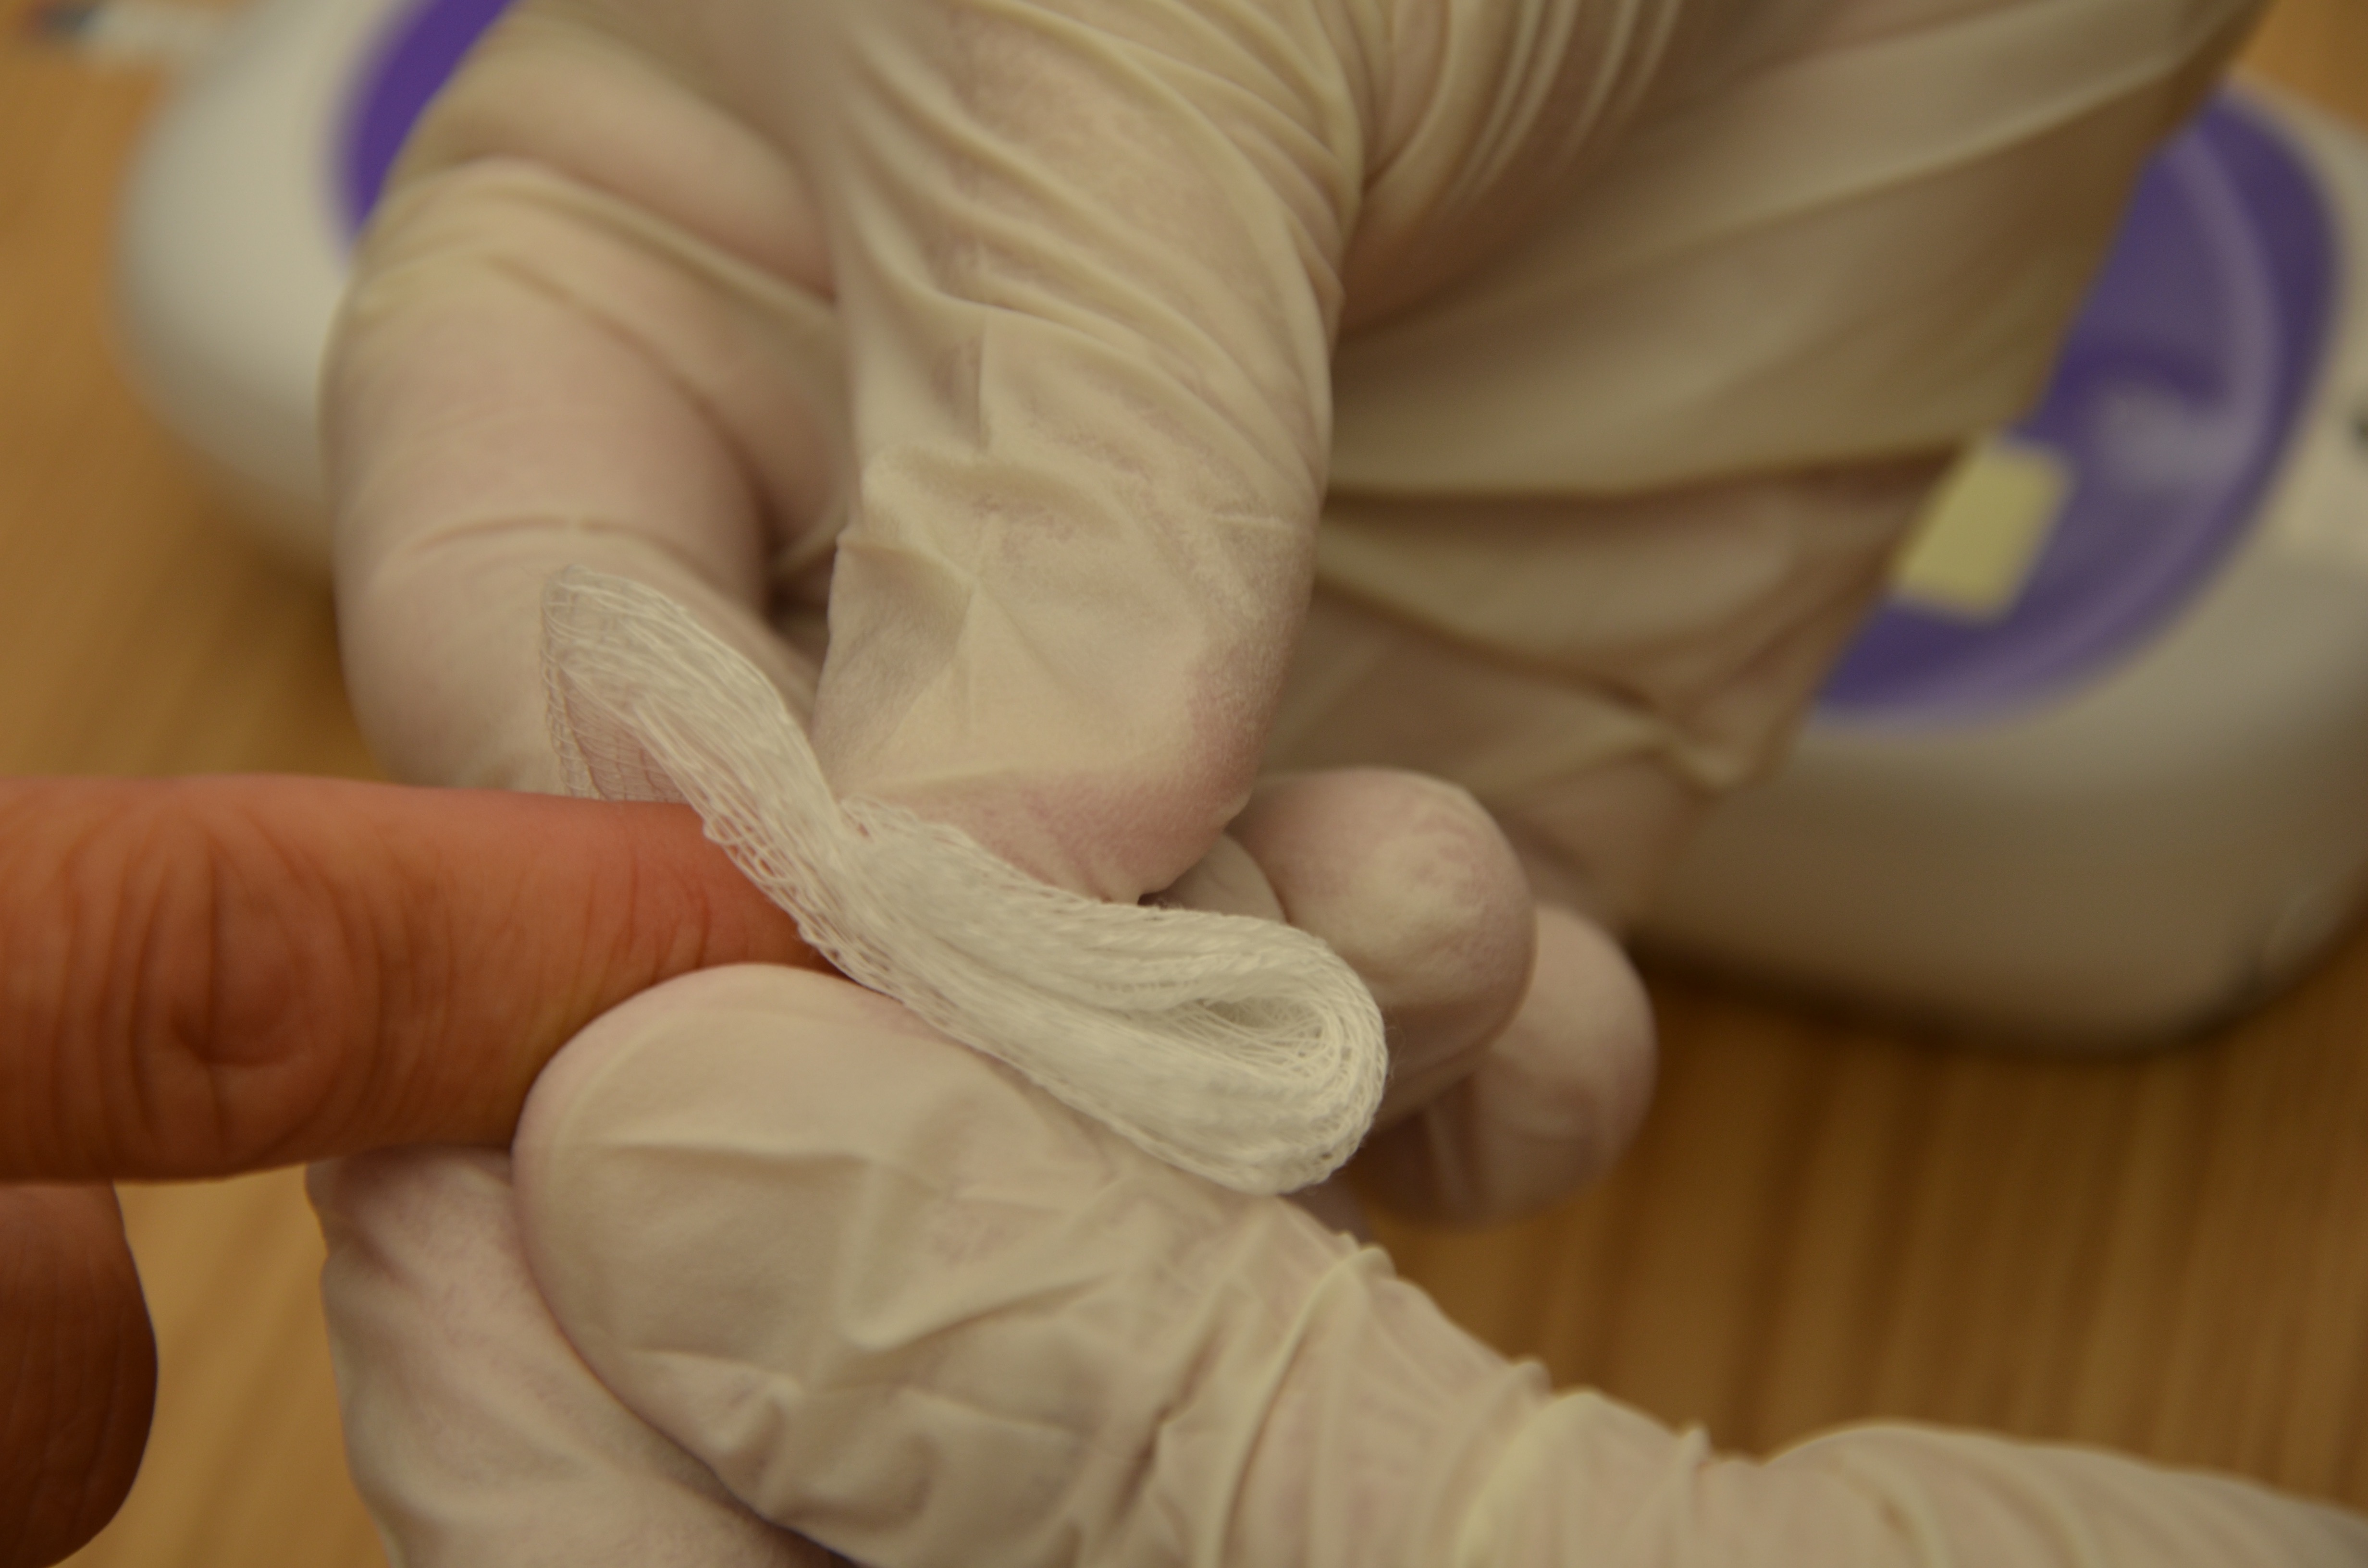 This will stop the bleeding at the site. |
||
| 18. Read the results on the unit display. | Each meter has a specified time for the reading to occur.
 |
||
| 19. Turn off the meter and dispose of the test strip, 2 x 2 gauze, and lancet according to agency policy. | This reduces contamination by blood to other individuals. | ||
| 20. Remove non-sterile gloves and place them in the appropriate receptacle. | This reduces transmission of microorganisms.
 |
||
| 21. Perform hand hygiene. | This reduces the transmission of microorganisms.
|
||
| 22. Review test results with the patient. | This promotes patient participation in health care. | ||
| 23. Document results according to agency policy. | Results will be used to determine the patient’s treatment plan. | ||
| Data source: BCIT, 2015; Hortensius et al., 2011; Pagana & Pagana, 2011; Perry, Potter, & Ostendorf, 2014; VCH & PHC Professional Practice, 2013; Weiss Behrend, Kelley, & Randoloph, 2004 | |||
Converting to Canadian (SI) measurements
Many nursing resources are from the United States, where glucose values are reported as mg/dl. Canadian laboratories use the international system of units (SI), which are mmol/L. Therefore, it is important to convert your patient’s laboratory values to SI units. For glucose, divide the mg/dl by 18 to find the comparable SI unit (e.g., 65 mg/dl = 3.61 mmol/L). This conversion chart shows specific conversions.
Blood Glucose Readings that Require Follow-up
The concerns listed in Table 9.1 must be attended to and reported immediately to the relevant health care provider. Please consult hospital/unit-specific recommendations for exact values. The concerns and actions in Table 9.1 are guidelines only.
| Table 9.1 Blood Glucose Readings that Require Follow-up | |
| Concern | Action |
|---|---|
| Blood sugar outside “acceptable range” (<2.2 mmol/L or >20 mmol/L) | Repeat capillary test to confirm, and report if reading remains out of range. |
| Blood sugar <2.2 mmol/L or >20 mmol/L | Order a stat blood glucose (venous sample) by laboratory staff and initiate hypoglycemia or hyperglycemia protocol according to agency policy. |
| Blood sugar <4 mmol/L | Initiate hypoglycemia protocol according to agency policy. |
| Preoperative blood sugar <4 mmol/L or >20 mmol/L | Call physician. |
| Post-operative blood sugar >13.5 mmol/L (acceptable post-operative range = 8-13 mmol/L) | Test urine for ketones. If positive, monitor urine ketones every 4 hours. |
| Data source: BCIT, 2015 | |
Critical Thinking Exercises
- Describe two methods for increasing blood flow to a patient’s finger prior to lancing the finger.
- What is one thing that you must wait for before administering rapid-acting insulin to a patient on your ward?
