Getting Started with WeVideo
Many different programs can be used to make a digital story. WeVideo is the program explained in this book because it is free and easy to learn. To use WeVideo, you’ll need to create an account. This requires you to have an email address, because your email address will be your log in name. (If you don’t have an email address, follow the steps in Appendix 5: Creating a Gmail Account.) Follow these steps to create a WeVideo account:
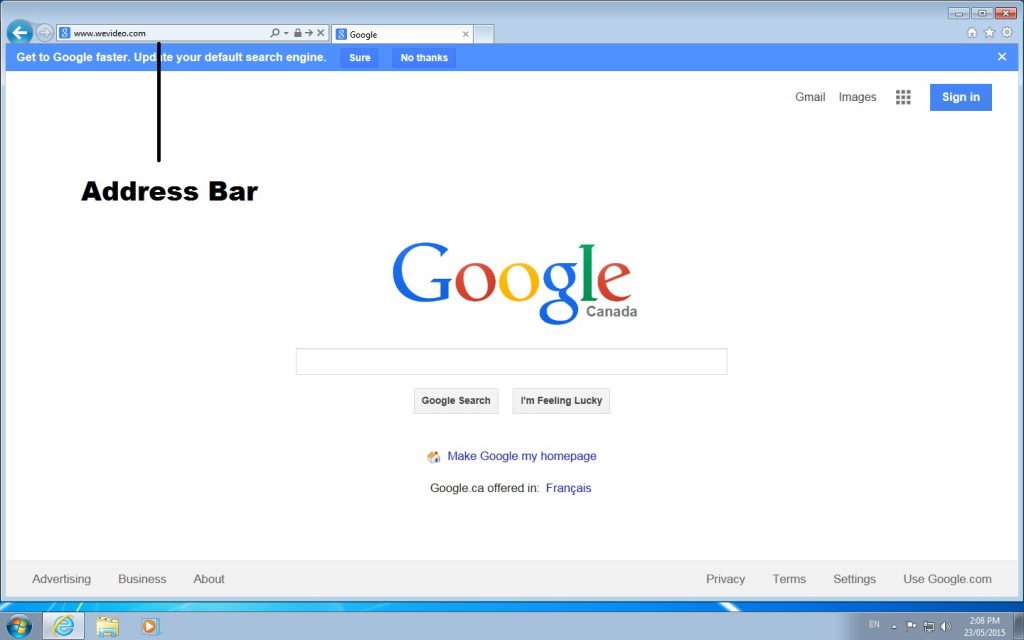
1. Open an Internet browser, like Explorer, Chrome, or Firefox.
2. Type www.wevideo.com in the address bar at the top. Press ENTER.
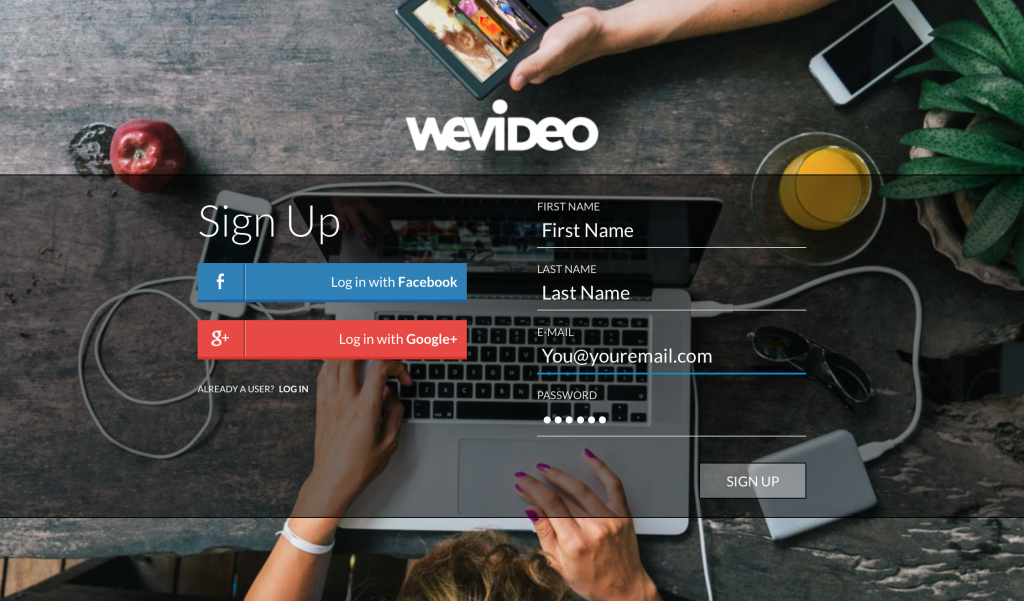
3. Click SIGN UP in the top right corner.
4. You’ll see three different options. Choose GET STARTED, under the word FREE.
5. Click FIRST NAME and type your first name.
6. Repeat step 5 for your last name, email, and password. Your password needs to have at least six letters. Write down your password and keep it somewhere safe.
7. Click SIGN UP.
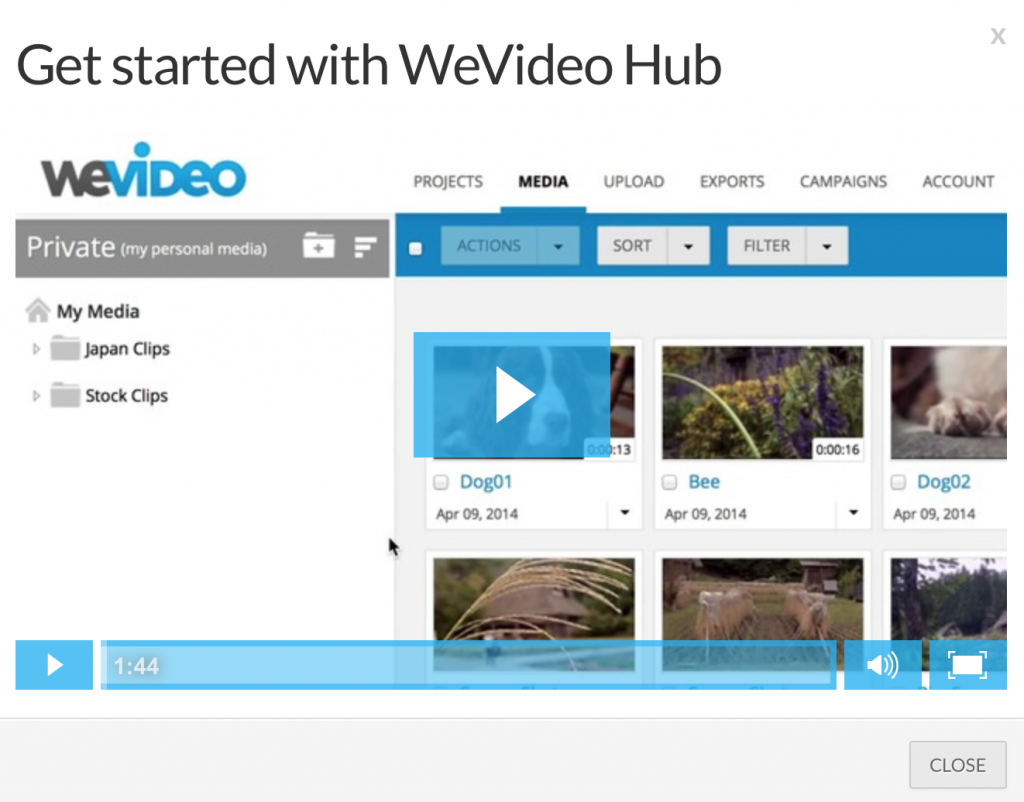
8. A video will pop up. Don’t watch it. Click CLOSE.
Now you have your own WeVideo account! You can access it from any computer that has Internet. Just remember, with your free account, you can only create five minutes of video each month. Don’t hit the PUBLISH button until you are sure you are finished.
1. Press the GET STARTED button.
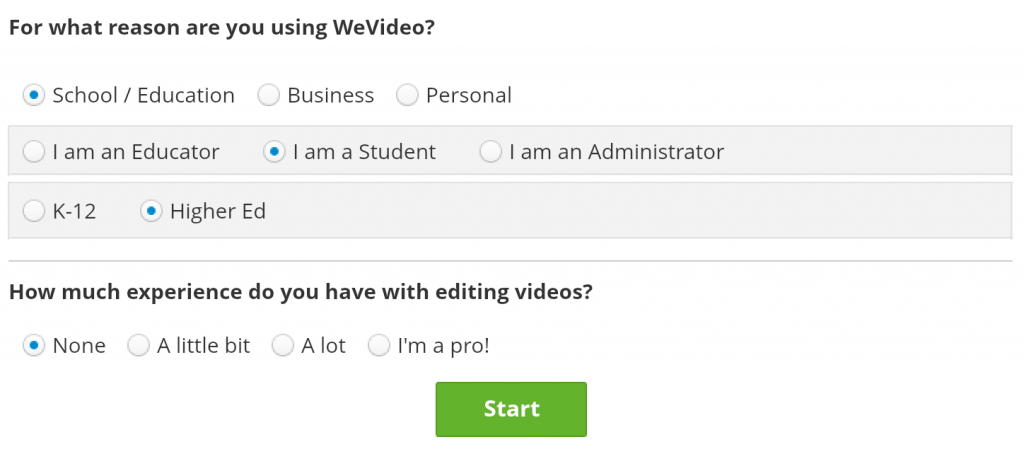
2. There is one more short form to fill out. Click the buttons beside the options that are true for you. Choose NONE for “editing experience,” even if you have done video editing before.
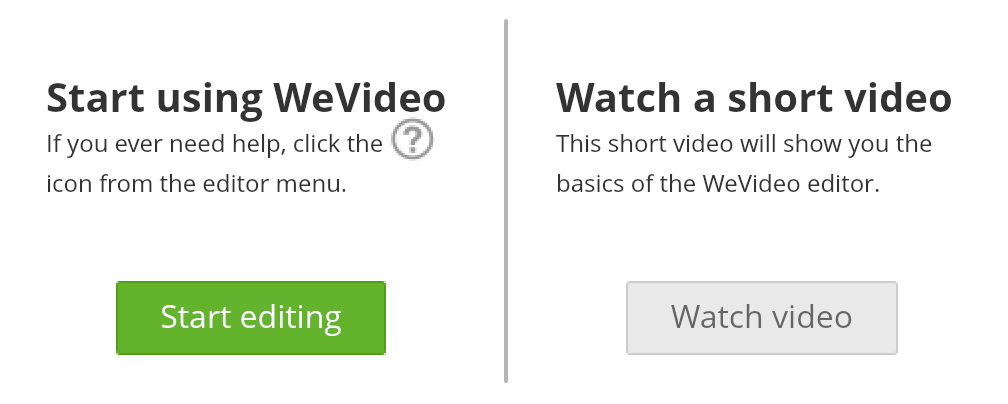
3. Click START EDITING. You will be taken to a screen called the Editor. This is where you combine all of your media into a film.
Let’s upload your visual media to the WeVideo Editor. Right now your files are on your computer, but they need to be saved to the MyMedia folder in WeVideo so that you can use them. Moving files from your computer to the Internet is called uploading. Here’s how to do it:
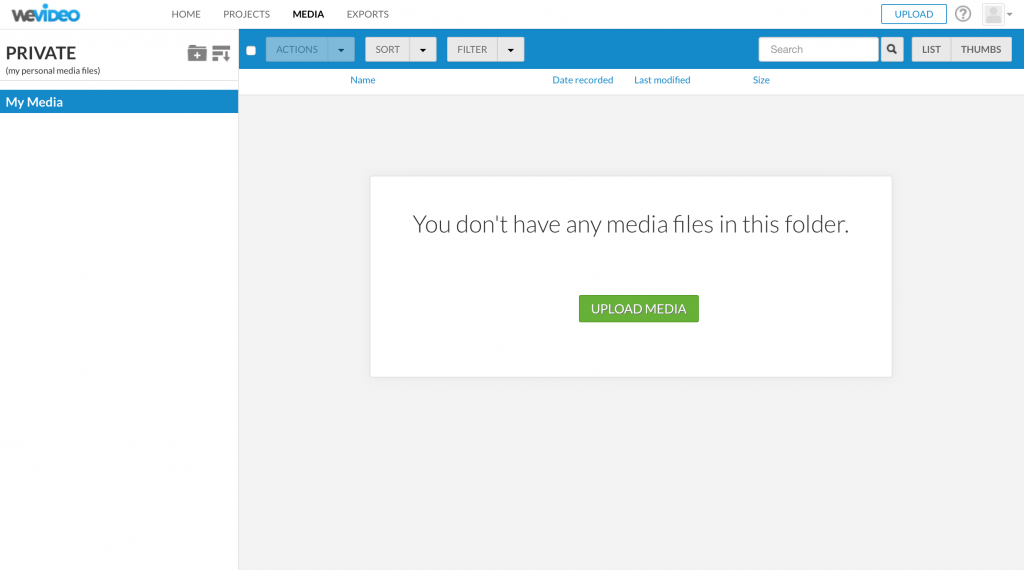
1. At the top of the Editor, there is a menu that says: Home, Projects, Media, and Exports. Click MEDIA.
2. Click the big green UPLOAD MEDIA button.
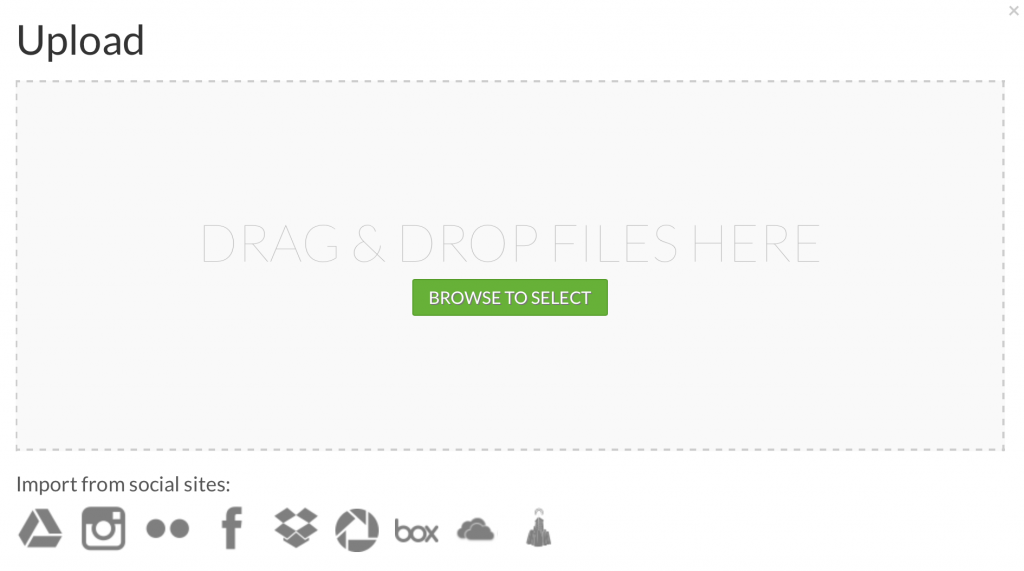
3. Click BROWSE TO SELECT
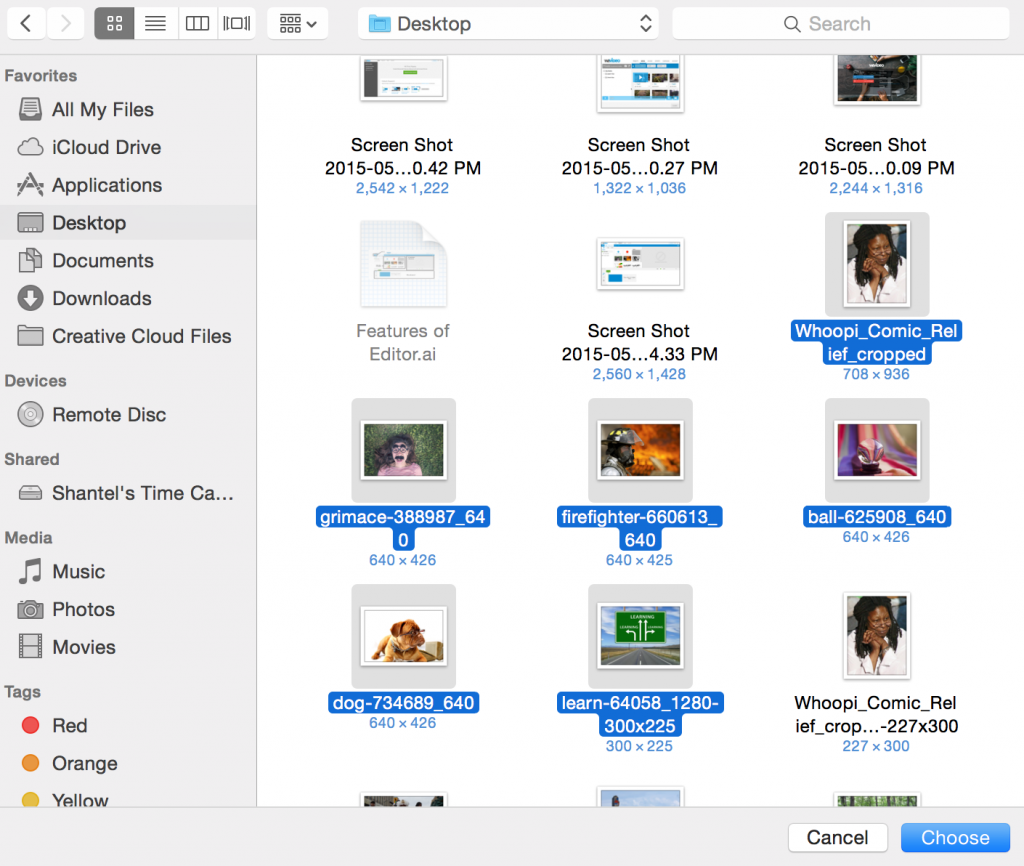
4. A window will pop up. Click DESKTOP from the list on the left.
5. Click your folder (the one named after you). Click CHOOSE.
6. Click EDIT from the menu at the top of the screen.
7. Click SELECT ALL. Now all of your images will be highlighted.
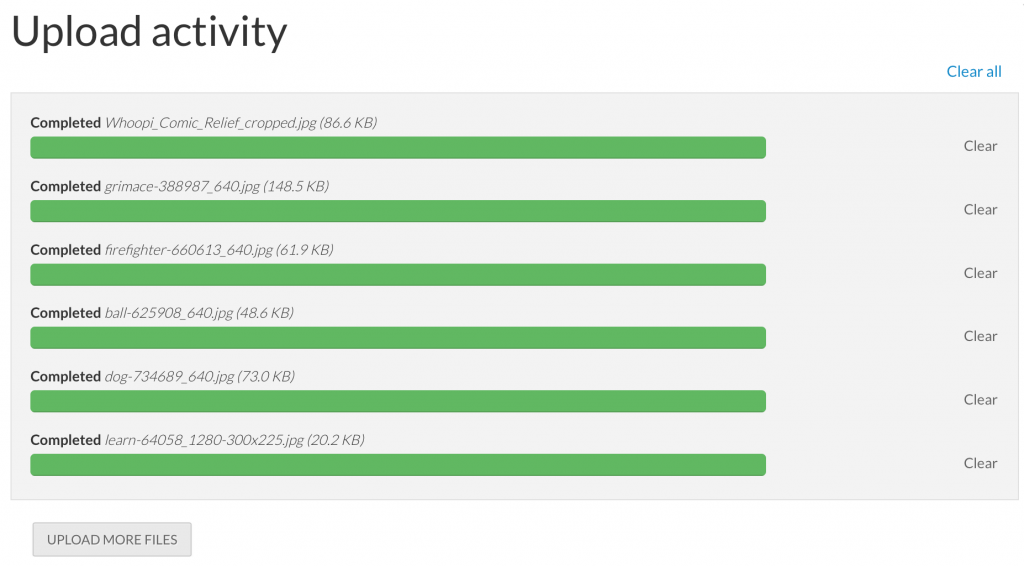
8. Click CHOOSE again. Now all of your images will be uploaded to the MyMedia folder in WeVideo. This may take some time. When all the bars are green, the images are done uploading. Click the X in the top right corner. This will close the Upload window.
9. To log out, click on the small picture of a grey person’s head and shoulders in the top right corner. Then click LOG OUT.
Digital Story Spotlight
Between 2006 and 2013, over 280 homeless people died on the streets of British Columbia. Homeless people tend to die much earlier than people who have housing. These deaths are often the result of having no protection from very hot or cold weather, illness, violence, and drug or alcohol poisoning. Very often, these deaths could be prevented. Many people are working to end homelessness and save lives.
Wayne Richard is a man from Chicago who grew up in foster care and then ended up living on the streets. In 2008, he made a digital story as part of a project with the Chicago Coalition for the Homeless. His story is called Sofas. As you watch it, think about how Wayne uses his voice:
- Notice where he pauses and what effect this has on you as a viewer.
- What else do you notice about how Wayne uses his voice to tell his story?
- How do you want to use your voice when you tell your story?
Watch Sofas.

