Chapter 1 – Introduction to Blockly with Zumis
1.1 – How to use Blockly
Overview
Blockly is a software tool designed to introduce individuals to the basics of programming using block based coding.
Through the drag and drop features available, students are able to learn about and apply fundamental programming concepts such as loops and conditional statements
Let’s take a look at how Blockly works!
Getting started
To create your blockly project, navigate to the Code Mode on your Zumi dashboard and click “Blockly”. Please enter the name of your project when prompted to do so here.
Coding Blocks
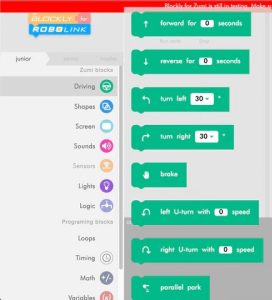
On the left hand side of the page, the you will find the blocks menu bar, which contains various types of instructional programming blocks that can be altered and combined together to write programming code.
Each group of blocks is color coded and is responsible for a seperate function as seen below.

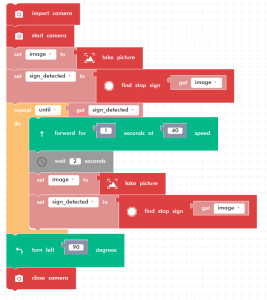
When writing your program, once you’ve decided what your program will allow Zumi to do, you can look through the menu bar and find the appropriate block and drag it to the blank workspace on the right.
Here, you can drag and drop multiple blocks and connect them together to create your program.

Saving your work
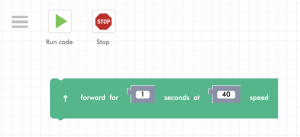
Make sure to always save your work so that you can come back to it later on. To do so, click the hamburger menu icon in the top left corner of the screen and select **Save** from the available dropdown. Your program file will be saved on the Code Mode page.
Running your work
In the top left corner of your screen, you will see the green **Run** button, used to run the program. When the run button is clicked, your program compiles and seen in the terminal window in the bottom half of the screen and then starts running from top to bottom.

Should there be any issues with your code, an error message will appear in the terminal window which can be used to debug and fix your program.
Conclusion
And that’s all! Get ready to use your new Blockly skills to create some incredible programs in the next couple of lessons!
