Creating a Rubric in BetterExaminations
Rubrics offer instructors the opportunity to provide students with more feedback on manually graded questions. They do not have an automatic grading function.
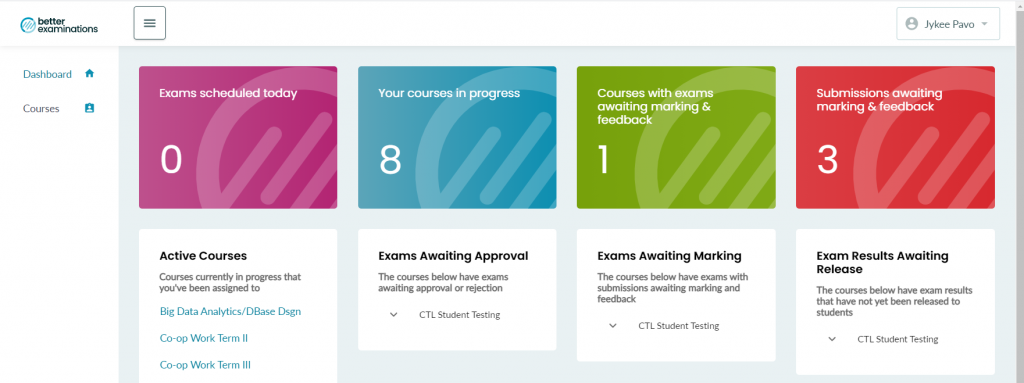
Step 1: Access the University of Windsor BetterExaminations ( opens new window ) from Blackboard as shown in the Sign-in chapter of this eBook. When successful, you will be greeted with your BetterExaminations (BE) dashboard.
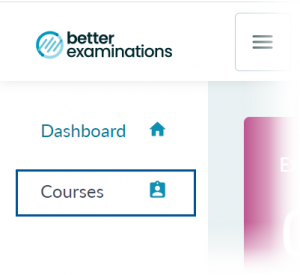
Step 2: Click the Courses tab on the left menu to view all courses associated with your account. (If you don’t see the left menu, select the![]() icon)
icon)
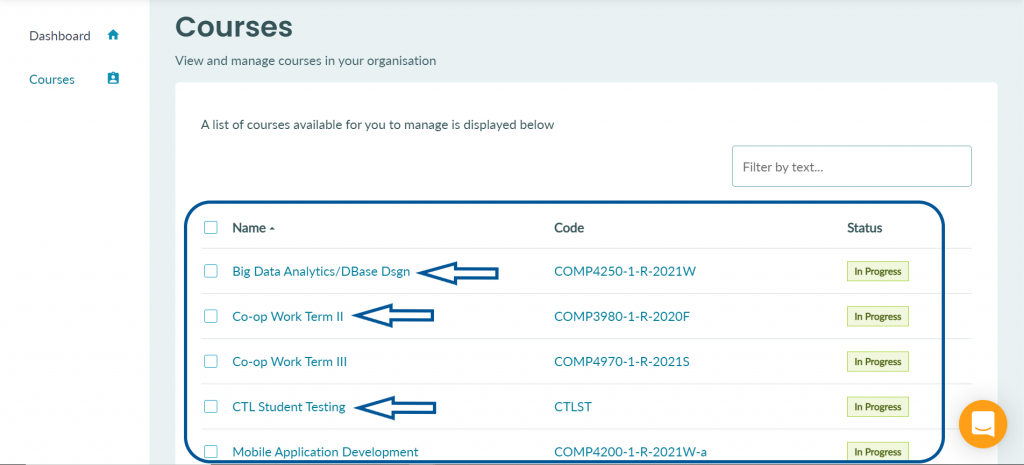
Step 3: Select the course that you want to create the rubric for.
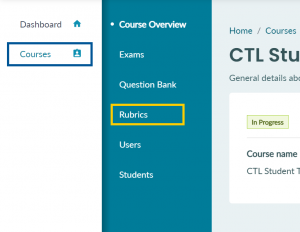
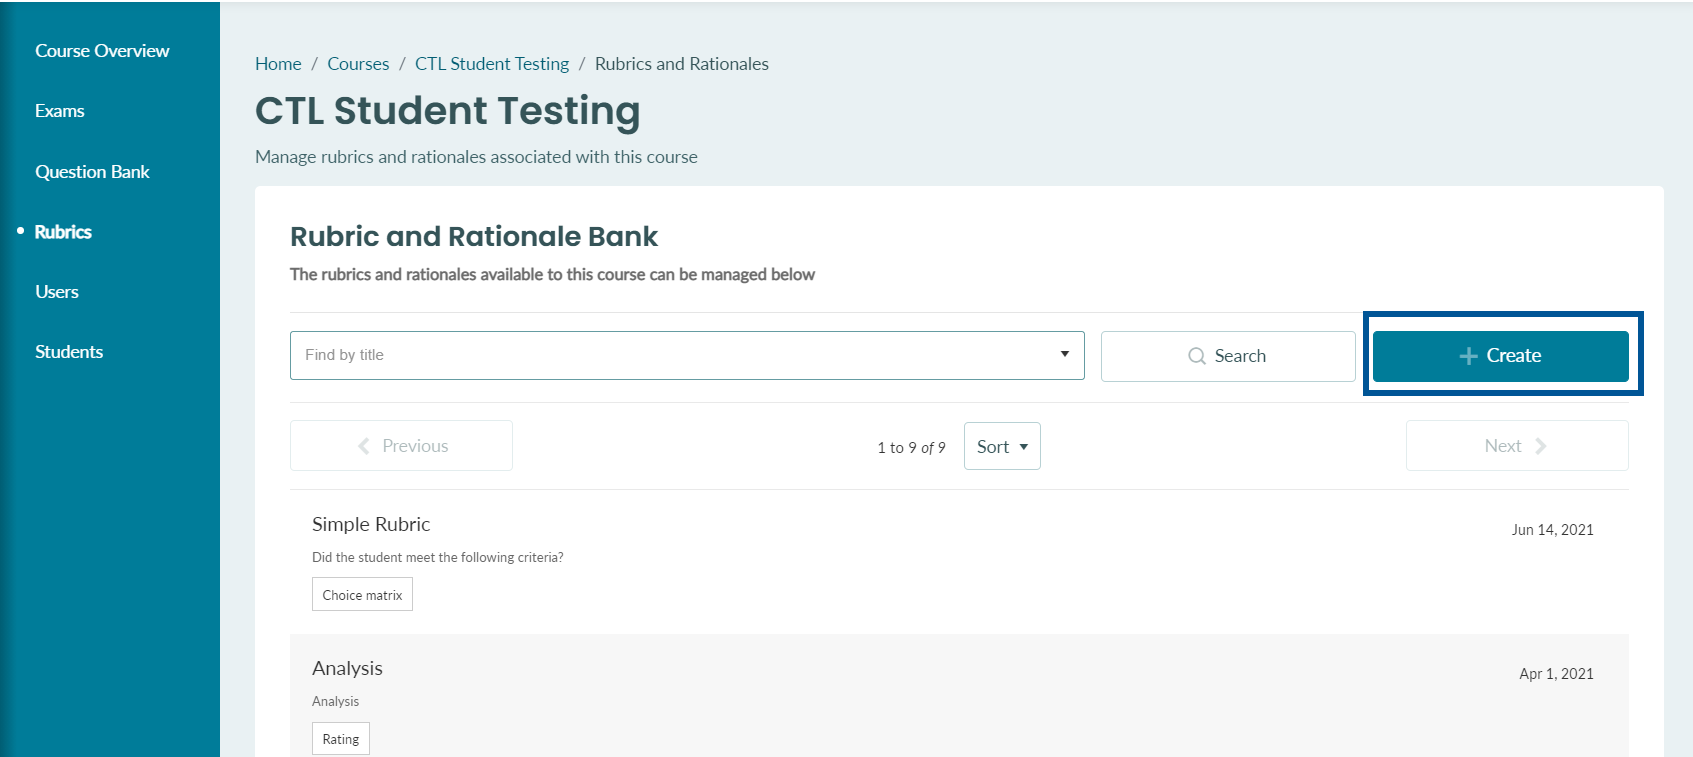
Step 4: Click the Rubrics option on the left menu with a blue background.
Step 5: Click the Create button on the right-hand side to start creating a rubric.
Note: You view or edit an existing rubric by selecting it from the Rubric and Rationale Bank.
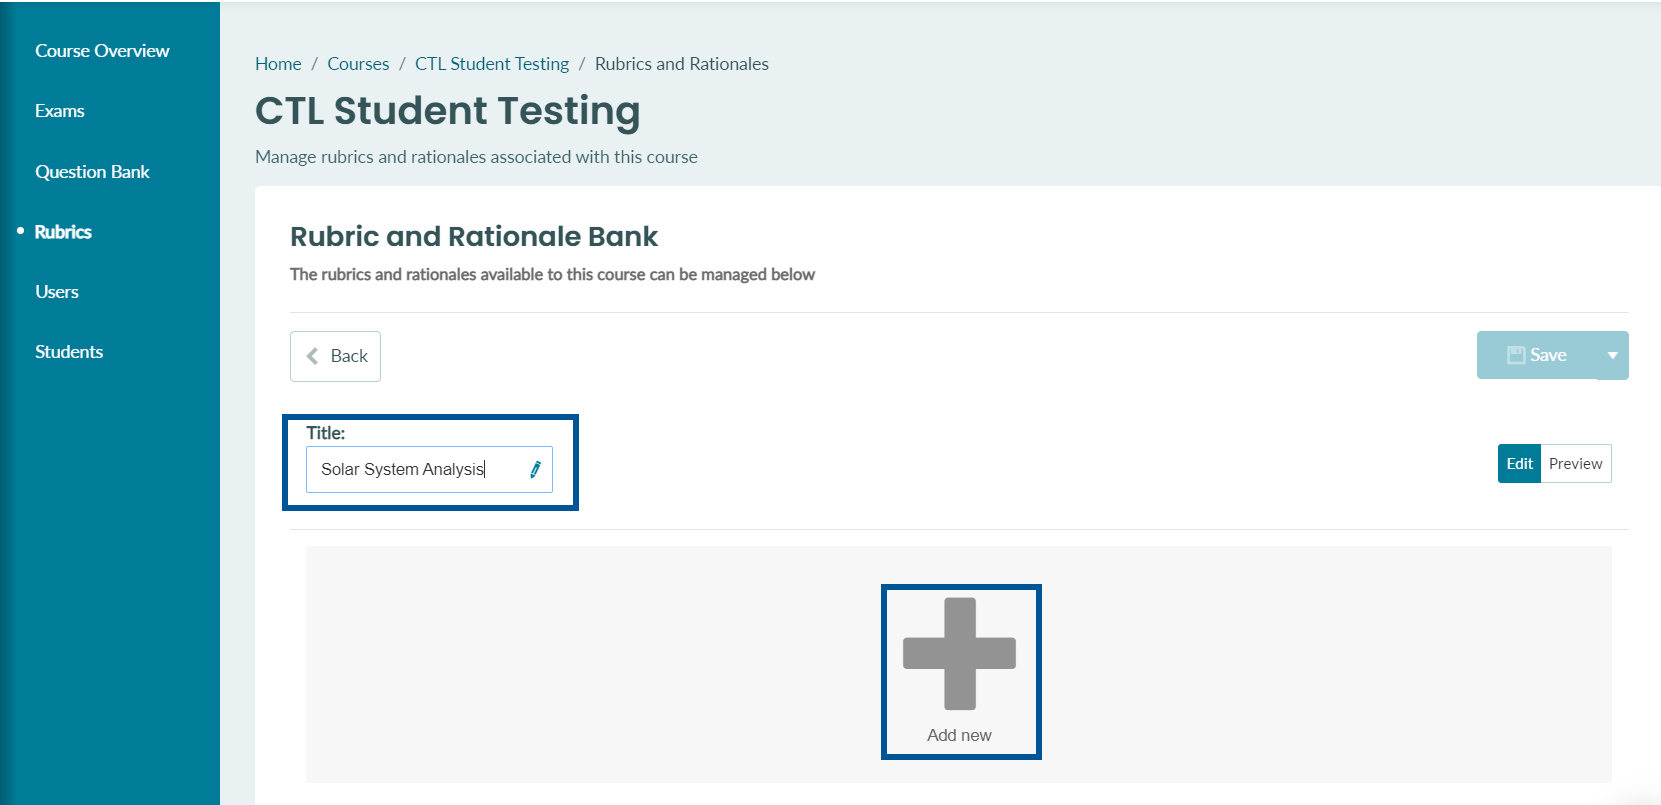
Step 6: Enter a Title for the rubric.
Step 7: Click the large Add new button to start adding a scoring guide into the rubric. There can be more than one scoring guide for the rubric, but they do not provide auto-calculation.
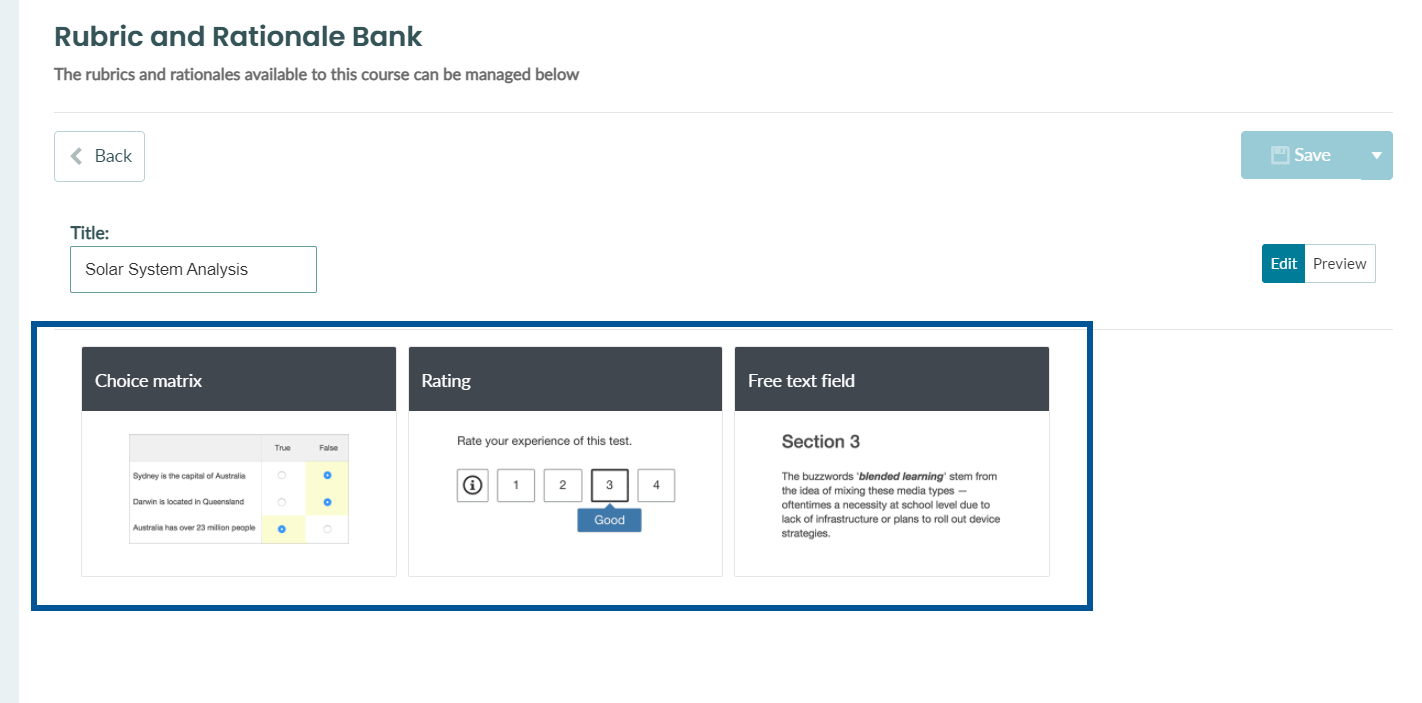
Step 8: Select the appropriate scoring guide template from the list.
The 3 rubric types in BetterExaminations are:
- Choice matrix – a table of criteria with corresponding option columns
- Rating – select a value from a range of pre-defined intervals
- Free text field – a highlightable text passage that can be used across multiple items.
Note: You can use the Preview button to view what the scoring guide currently looks like at this point of its development.
Step 9: Edit the selected scoring guide template as desired. Once you are done making changes, click the Save button to complete.
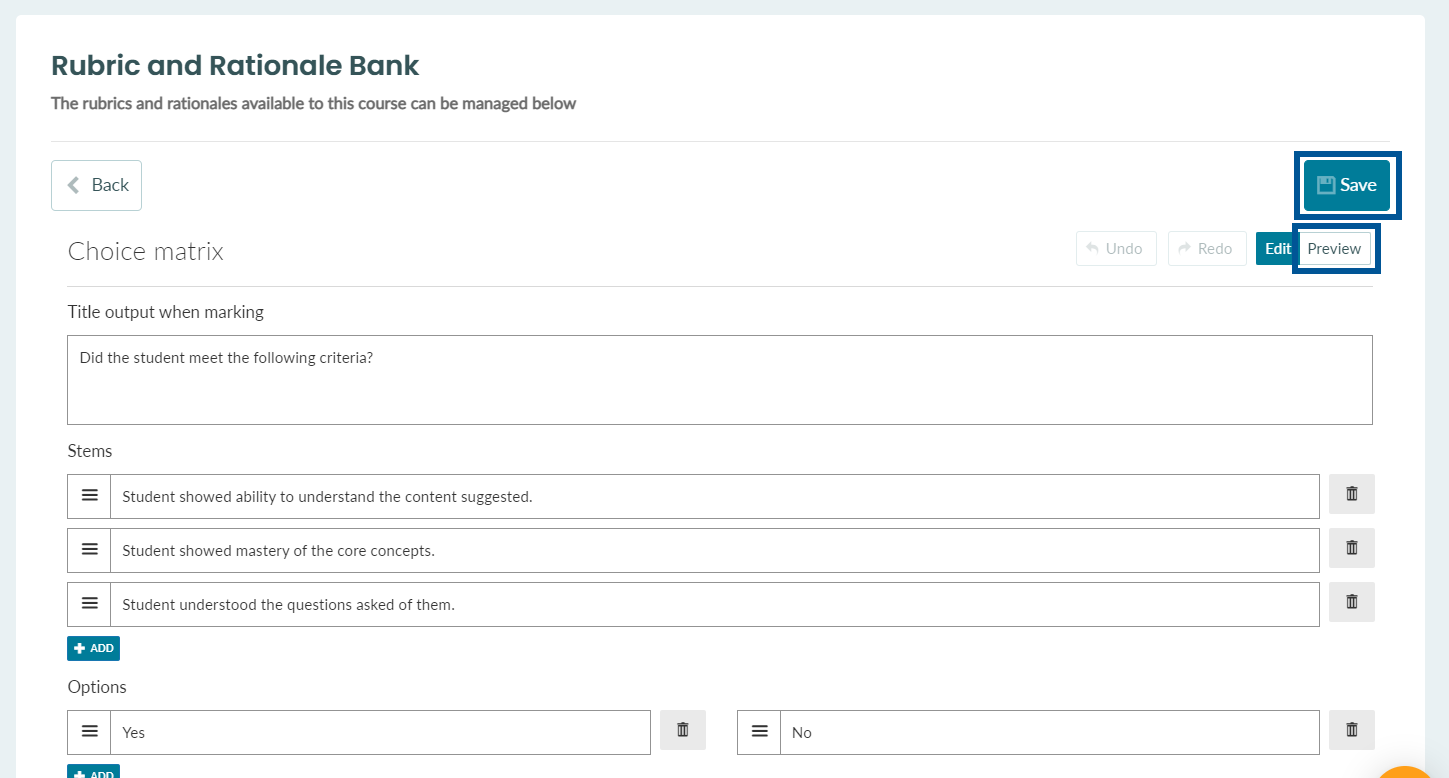
Step 10: You can add as many scoring guides as you want into the rubric by repeating steps 7 to 9. If you are satisfied with your rubric, click the Save button to complete it.
