7 Drawing Type: Location Map
michealg1
Introduction
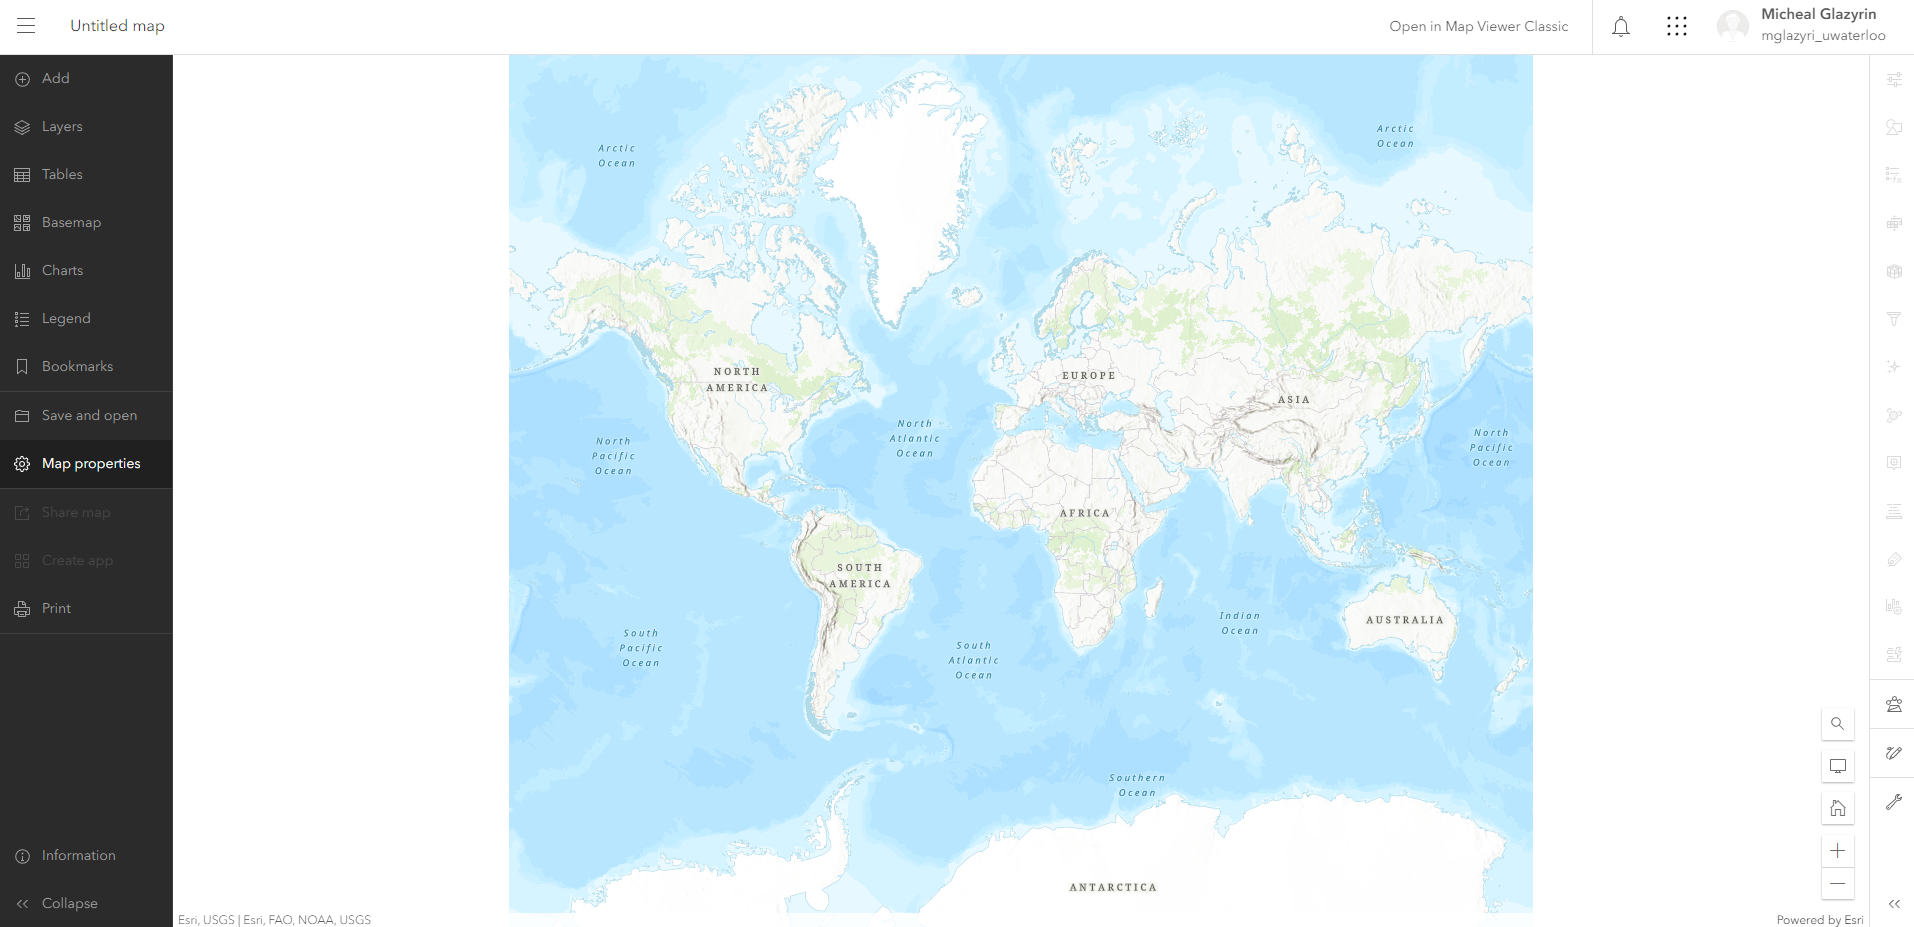
We will be using ArcGIS Online for the purpose of this tutorial. This program is hosted on the web and has all the built-in features that will be needed without having to manually add them in with editing software. ArcGIS Online is beginner-friendly and easy to work with when creating our location maps. Our default view should look like the following:
1. Saving our Map
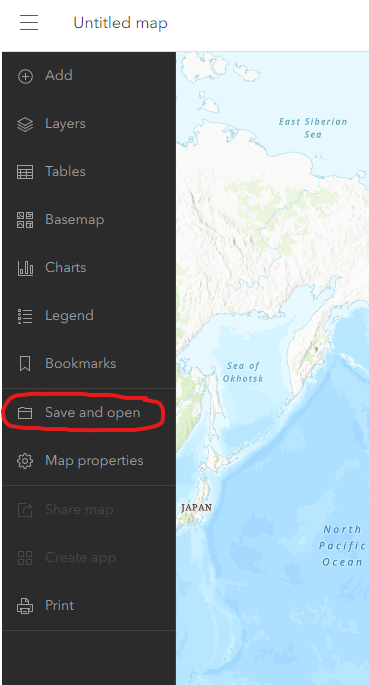
Before we can begin, we must first save our map. To do this, locate the “Save and open” option on the left side options bar and click it:
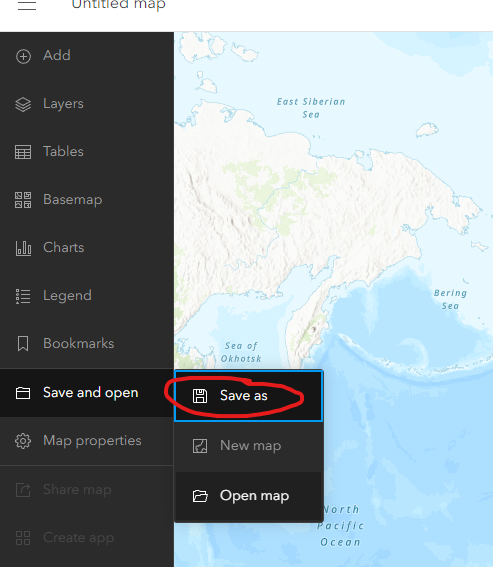
Next, click on “Save as”:
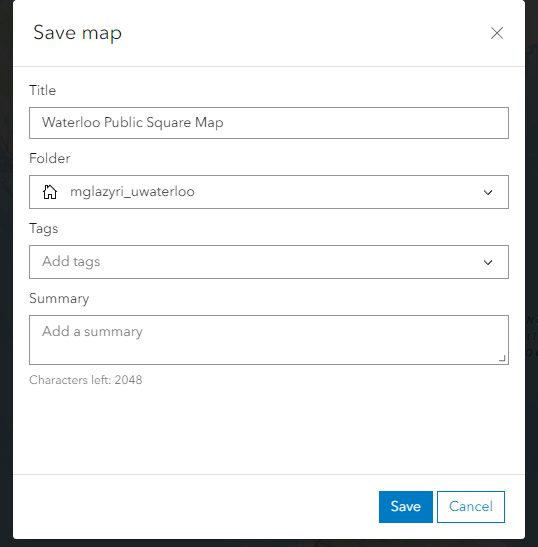
Next, type the title of your map within the “Title” bar and click “Save”:
2. Locating Our site
To search for our location, locate the magnifying glass at the bottom right corner and click it.

Type the location within the prompt that opened up on the left and click the magnifying glass within the prompt. For the purpose of this tutorial, we will be using the example of Waterloo Public Square as our site location.
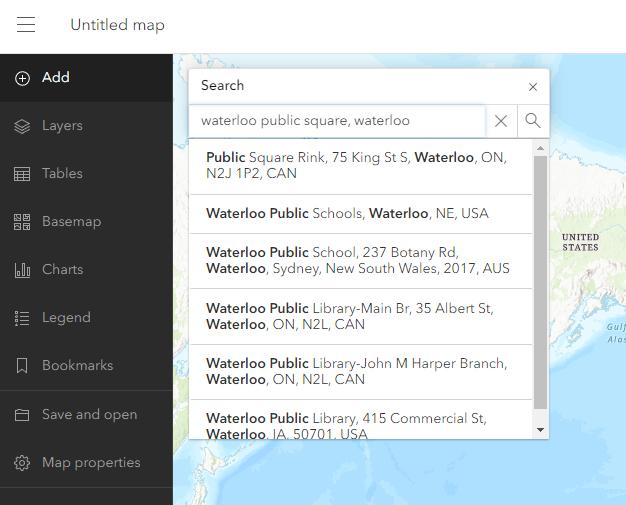
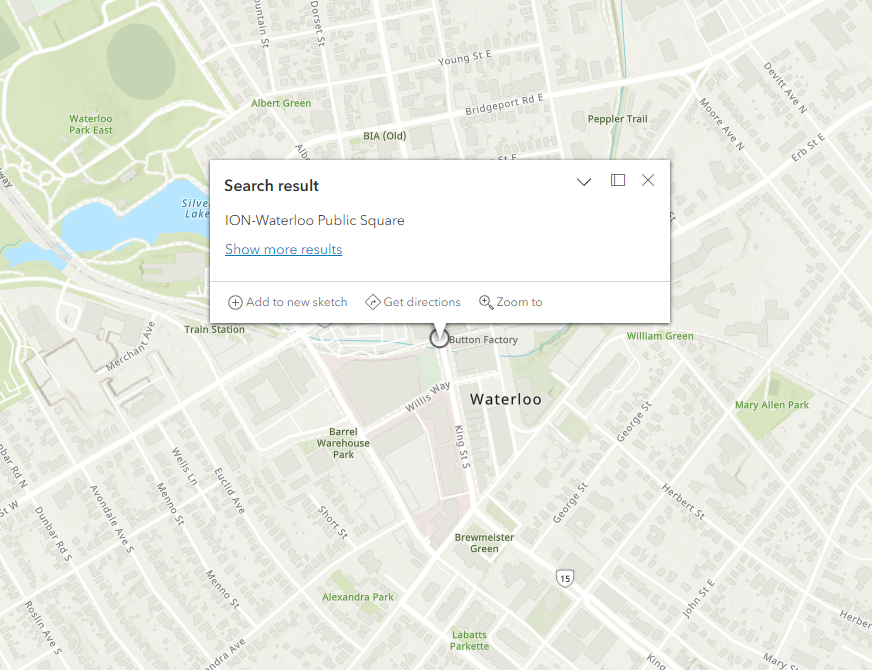
You Should have something that looks like this:
3. Themes
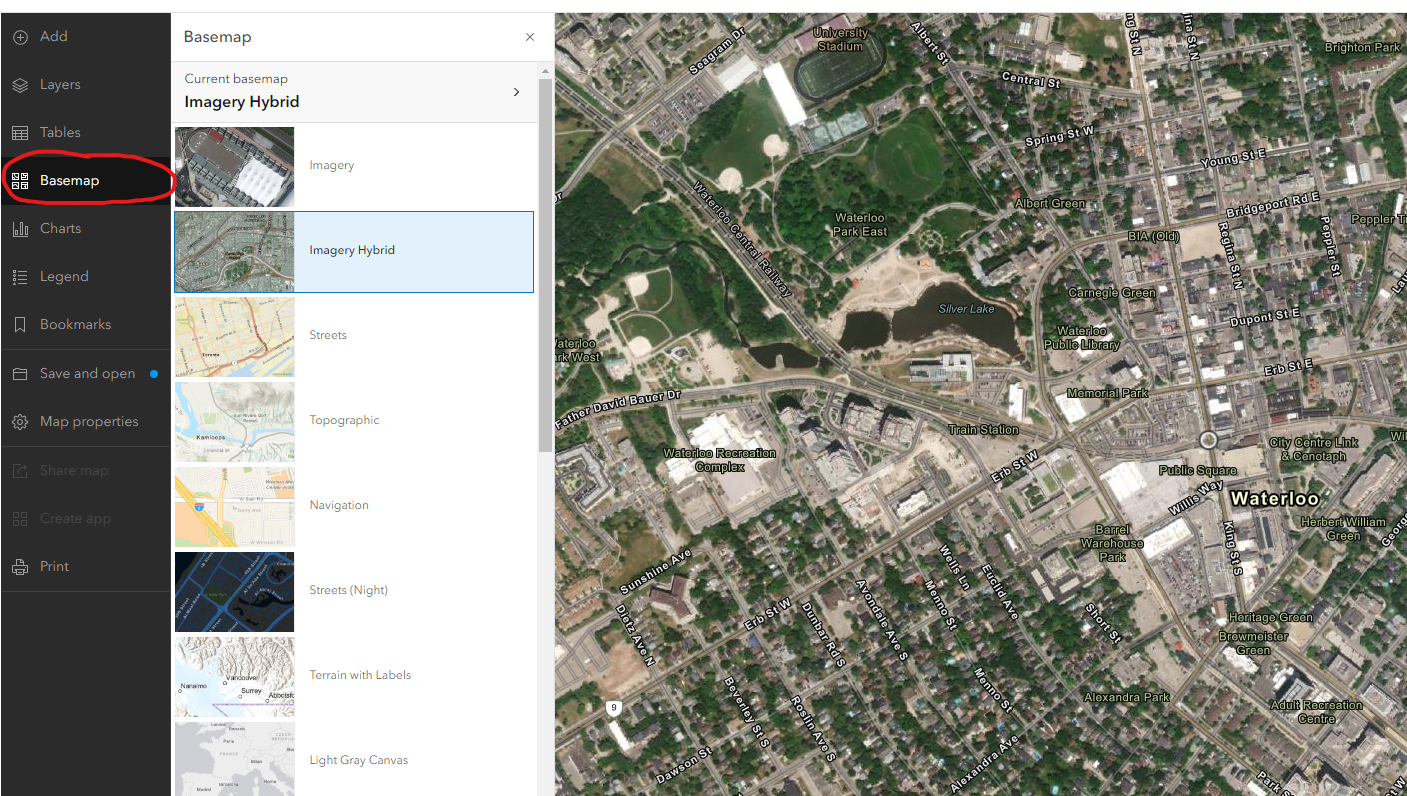
We are able to change the theme or style of our map to our liking. To do this open the “Basemap” option in our left sidebar and choose a theme. Keep in mind that the purpose of our map as the theme we will be choosing heavily emphasizes certain map aspects like streets or terrain. I will be choosing the “Imagery Hybrid”.
4. Scaling and Exporting
To scale and export our map to our liking, we need to select the “Print” option in the left sidebar.

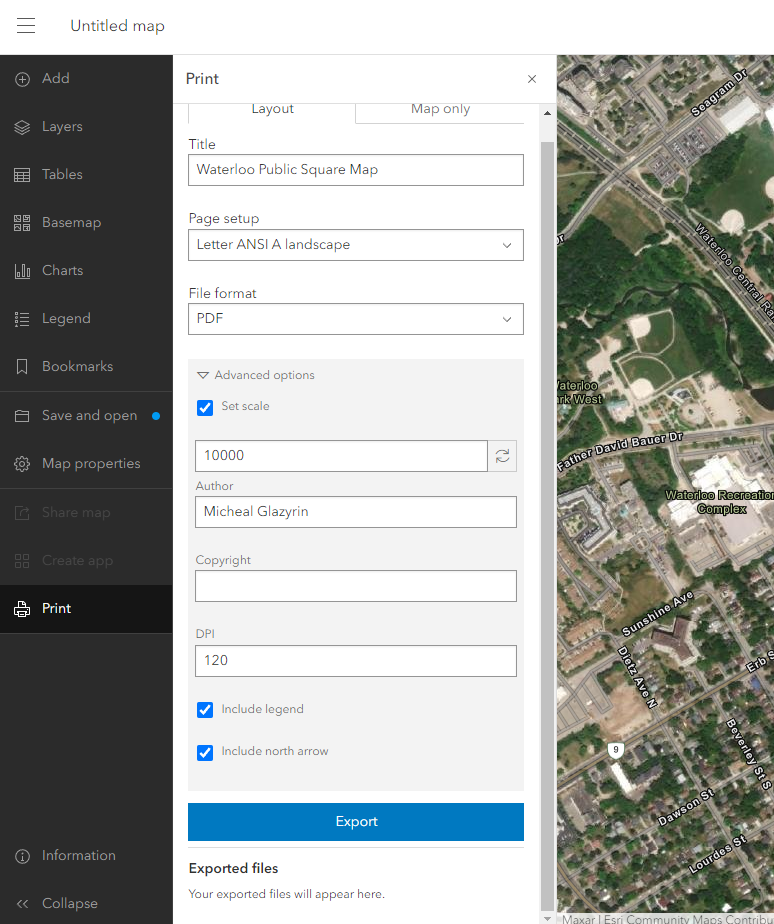
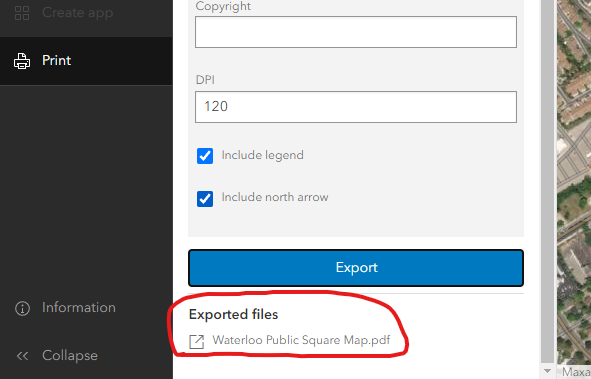
The “Print” window will open, prompting you to fill in your desired settings. The basic settings ask for you to fill in a title for your map, select a page setup, and a file format. For the purpose of this tutorial, select “Letter ANSI A Landscape” for the page setup and “PDF” for file format. If we click on the Advanced option, we can set the scale, authorship, and DPI of for our export map. When setting the scale, it is important to understand the purpose of the map that we are creating. A smaller scale will have a smaller focus area while a larger scale will have a larger focus area. Type your name as the author and set the DPI to 120. The DPI traditionally stands for “dips per inch” with 120 being a common value for a decent-quality image. In addition to these settings, make sure to checkmark the “Include legend” and “Include north arrow” options. These are standard features of any map and must be included. After finishing, click export.
Our exported file will appear as a link in the “Exported files” section:
Clicking the link will open up our map. The following should be what our export looks like:
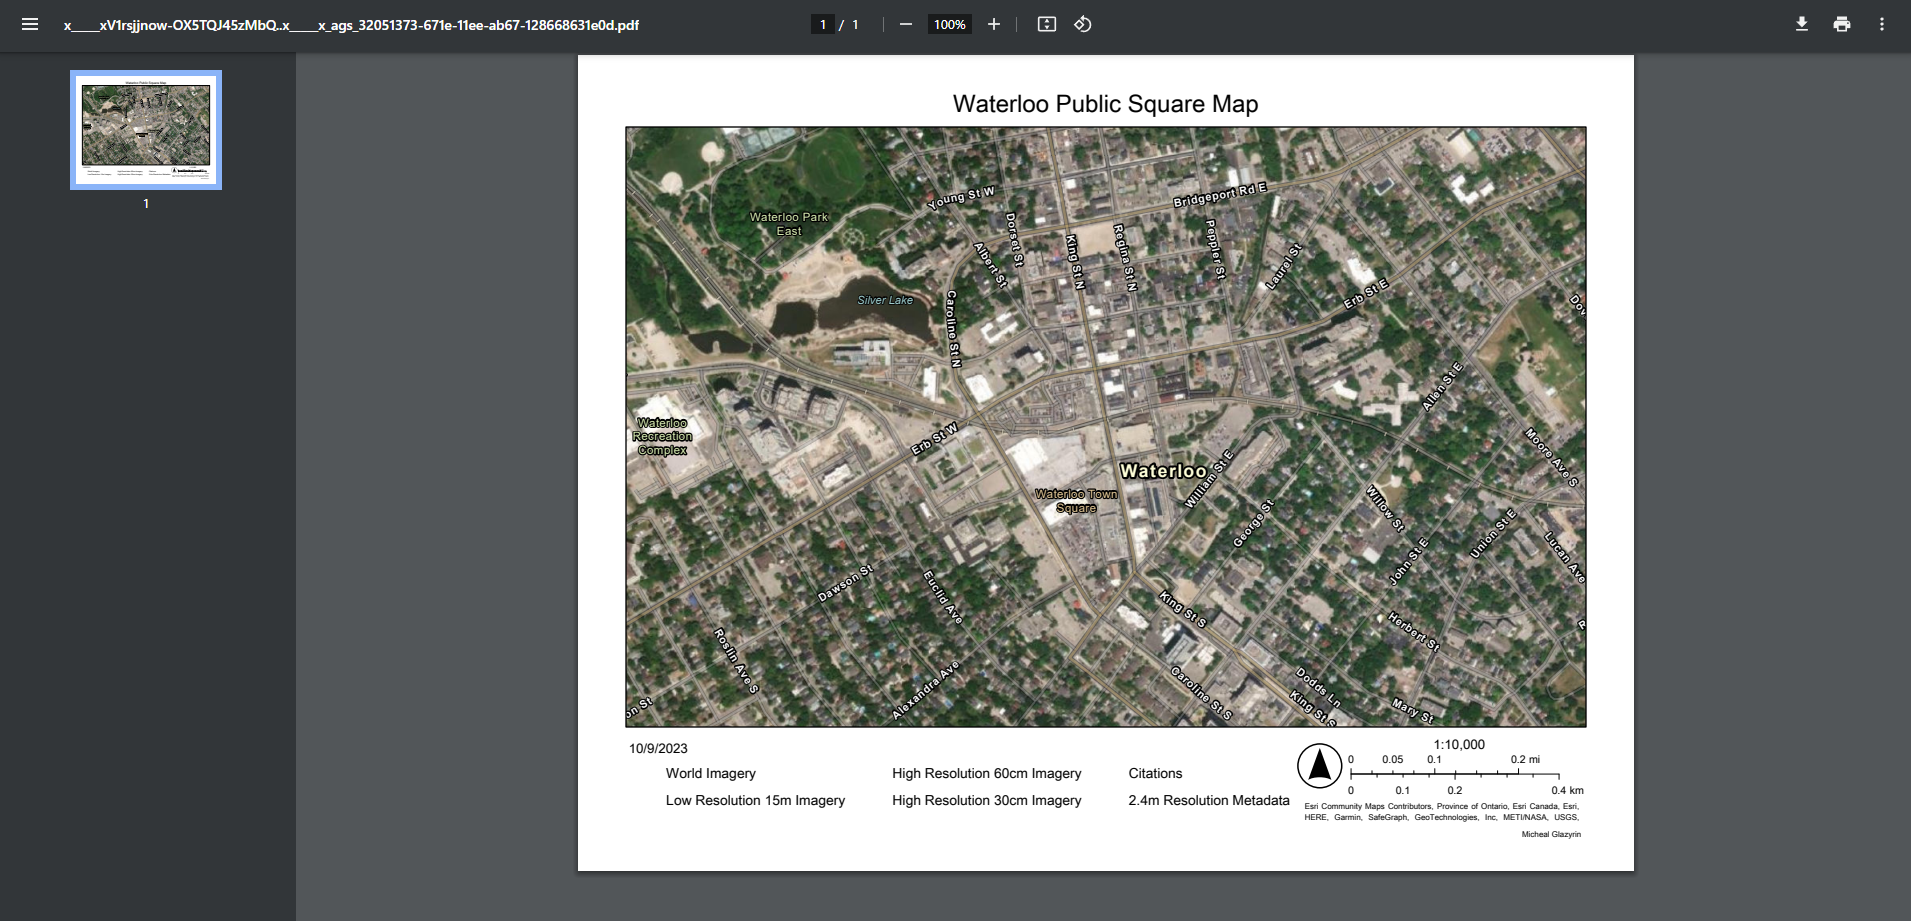 This is where we are able to finally download our map. To do this, click the printer icon on the top left.
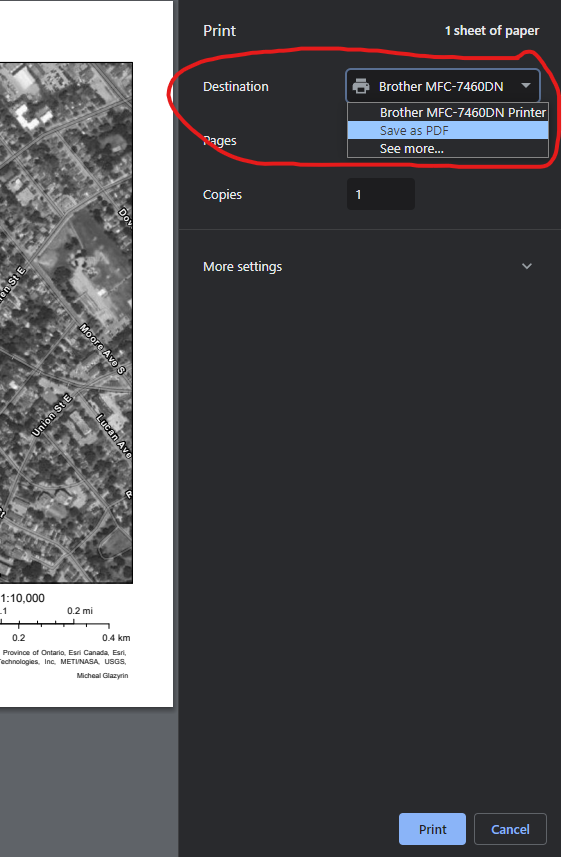
 Within our print menu, we want to save our file as a PDF. To do this change the destination to “Save as PDF” and hit save at the bottom of the prompt window.
Find a destination for your file within your device and hit “Save”
Author: Micheal Glazyrin
