5 Technique: Sketching with Pens and Fine-point Markers
michealg1
Overview
Sketching with pens and finepoint markers is a step up from drawing with pencils in the technical sense. They require more confidence and technical ability as it is more difficult to shade and you no longer have the ability to erase. Though you can use pens and markers independently, it is very effective to go over your pencil drawings with these materials.
Pens
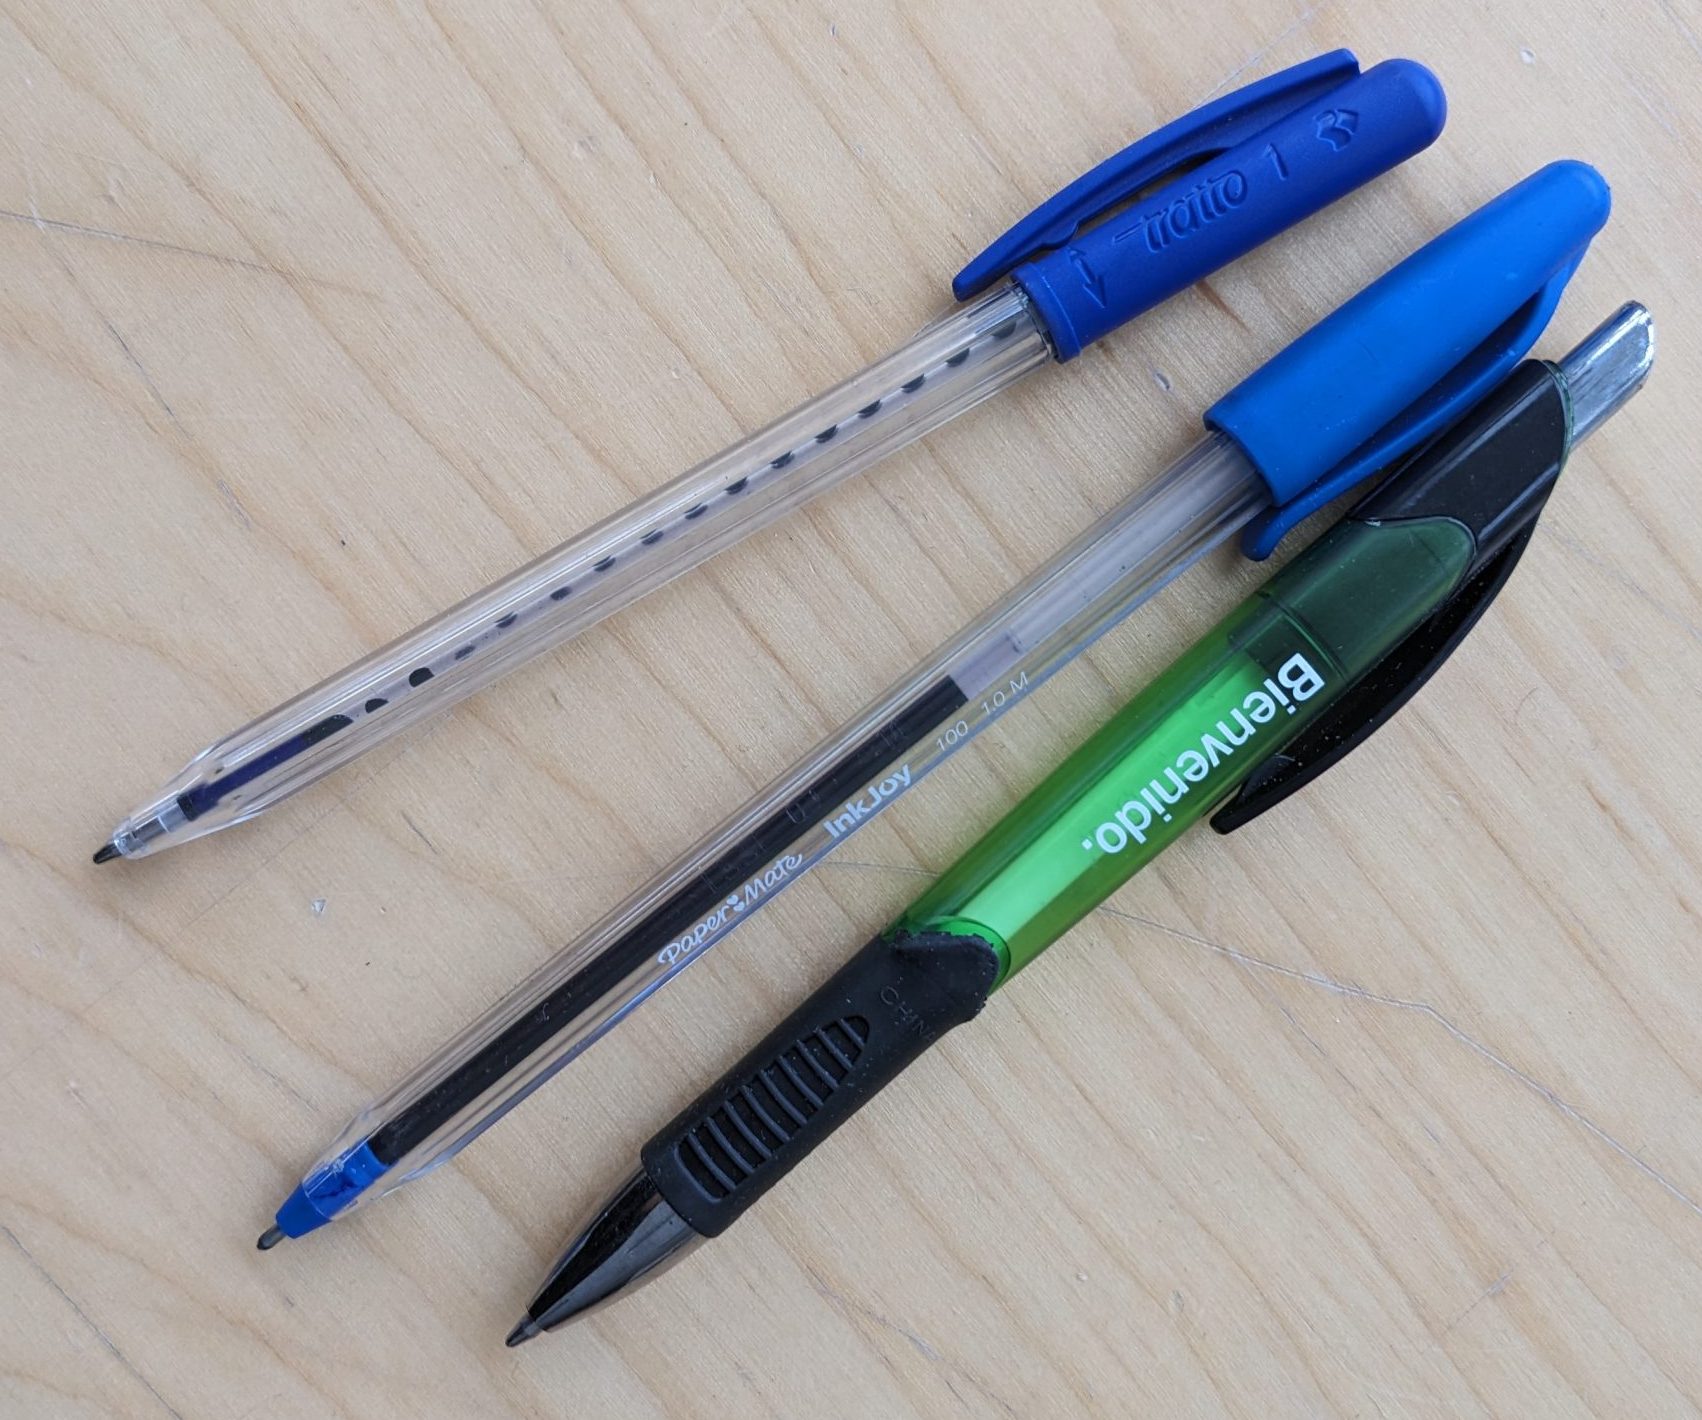
Pens are probably the more accessible option compared to fine-point markers since you can find them anywhere. They are also a lot cheaper since you could probably buy a whole pack for a few dollars. This should not deter you as they can be used to create very high-quality sketches. Pens come in all sorts of different colours but black pen sketches tend to be the easiest to work on for beginners.
Finepoint Markers
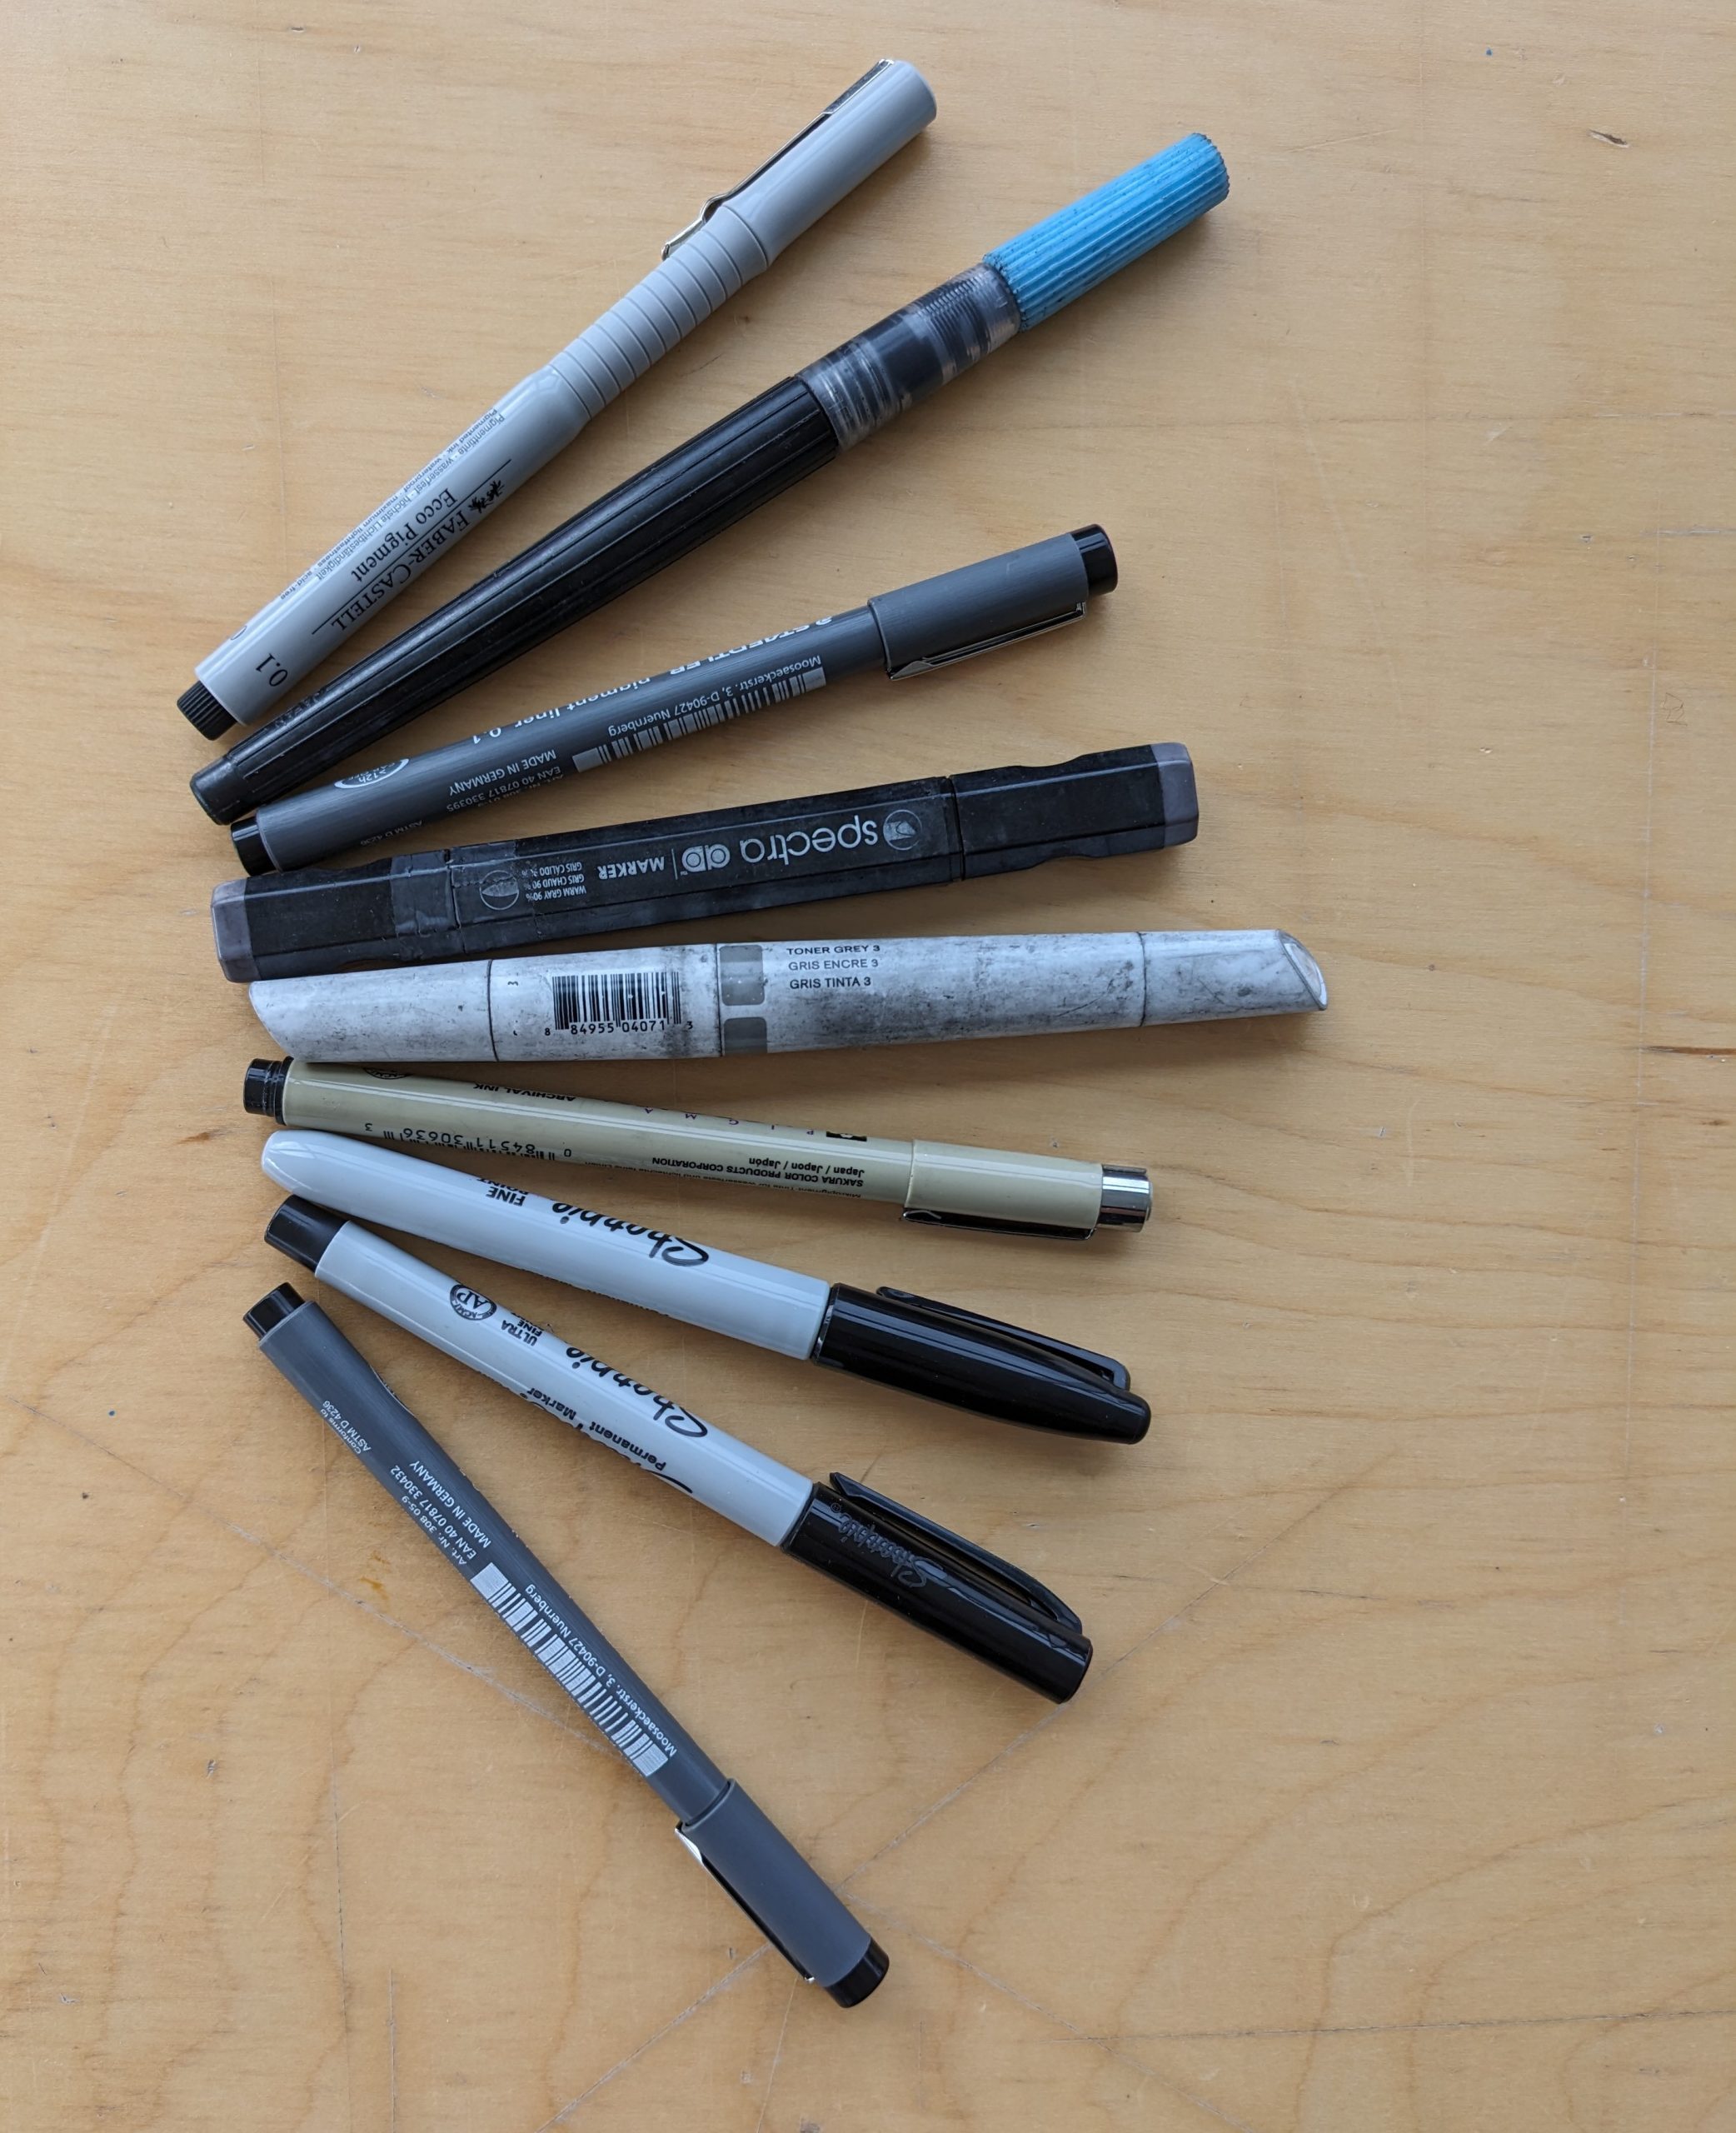
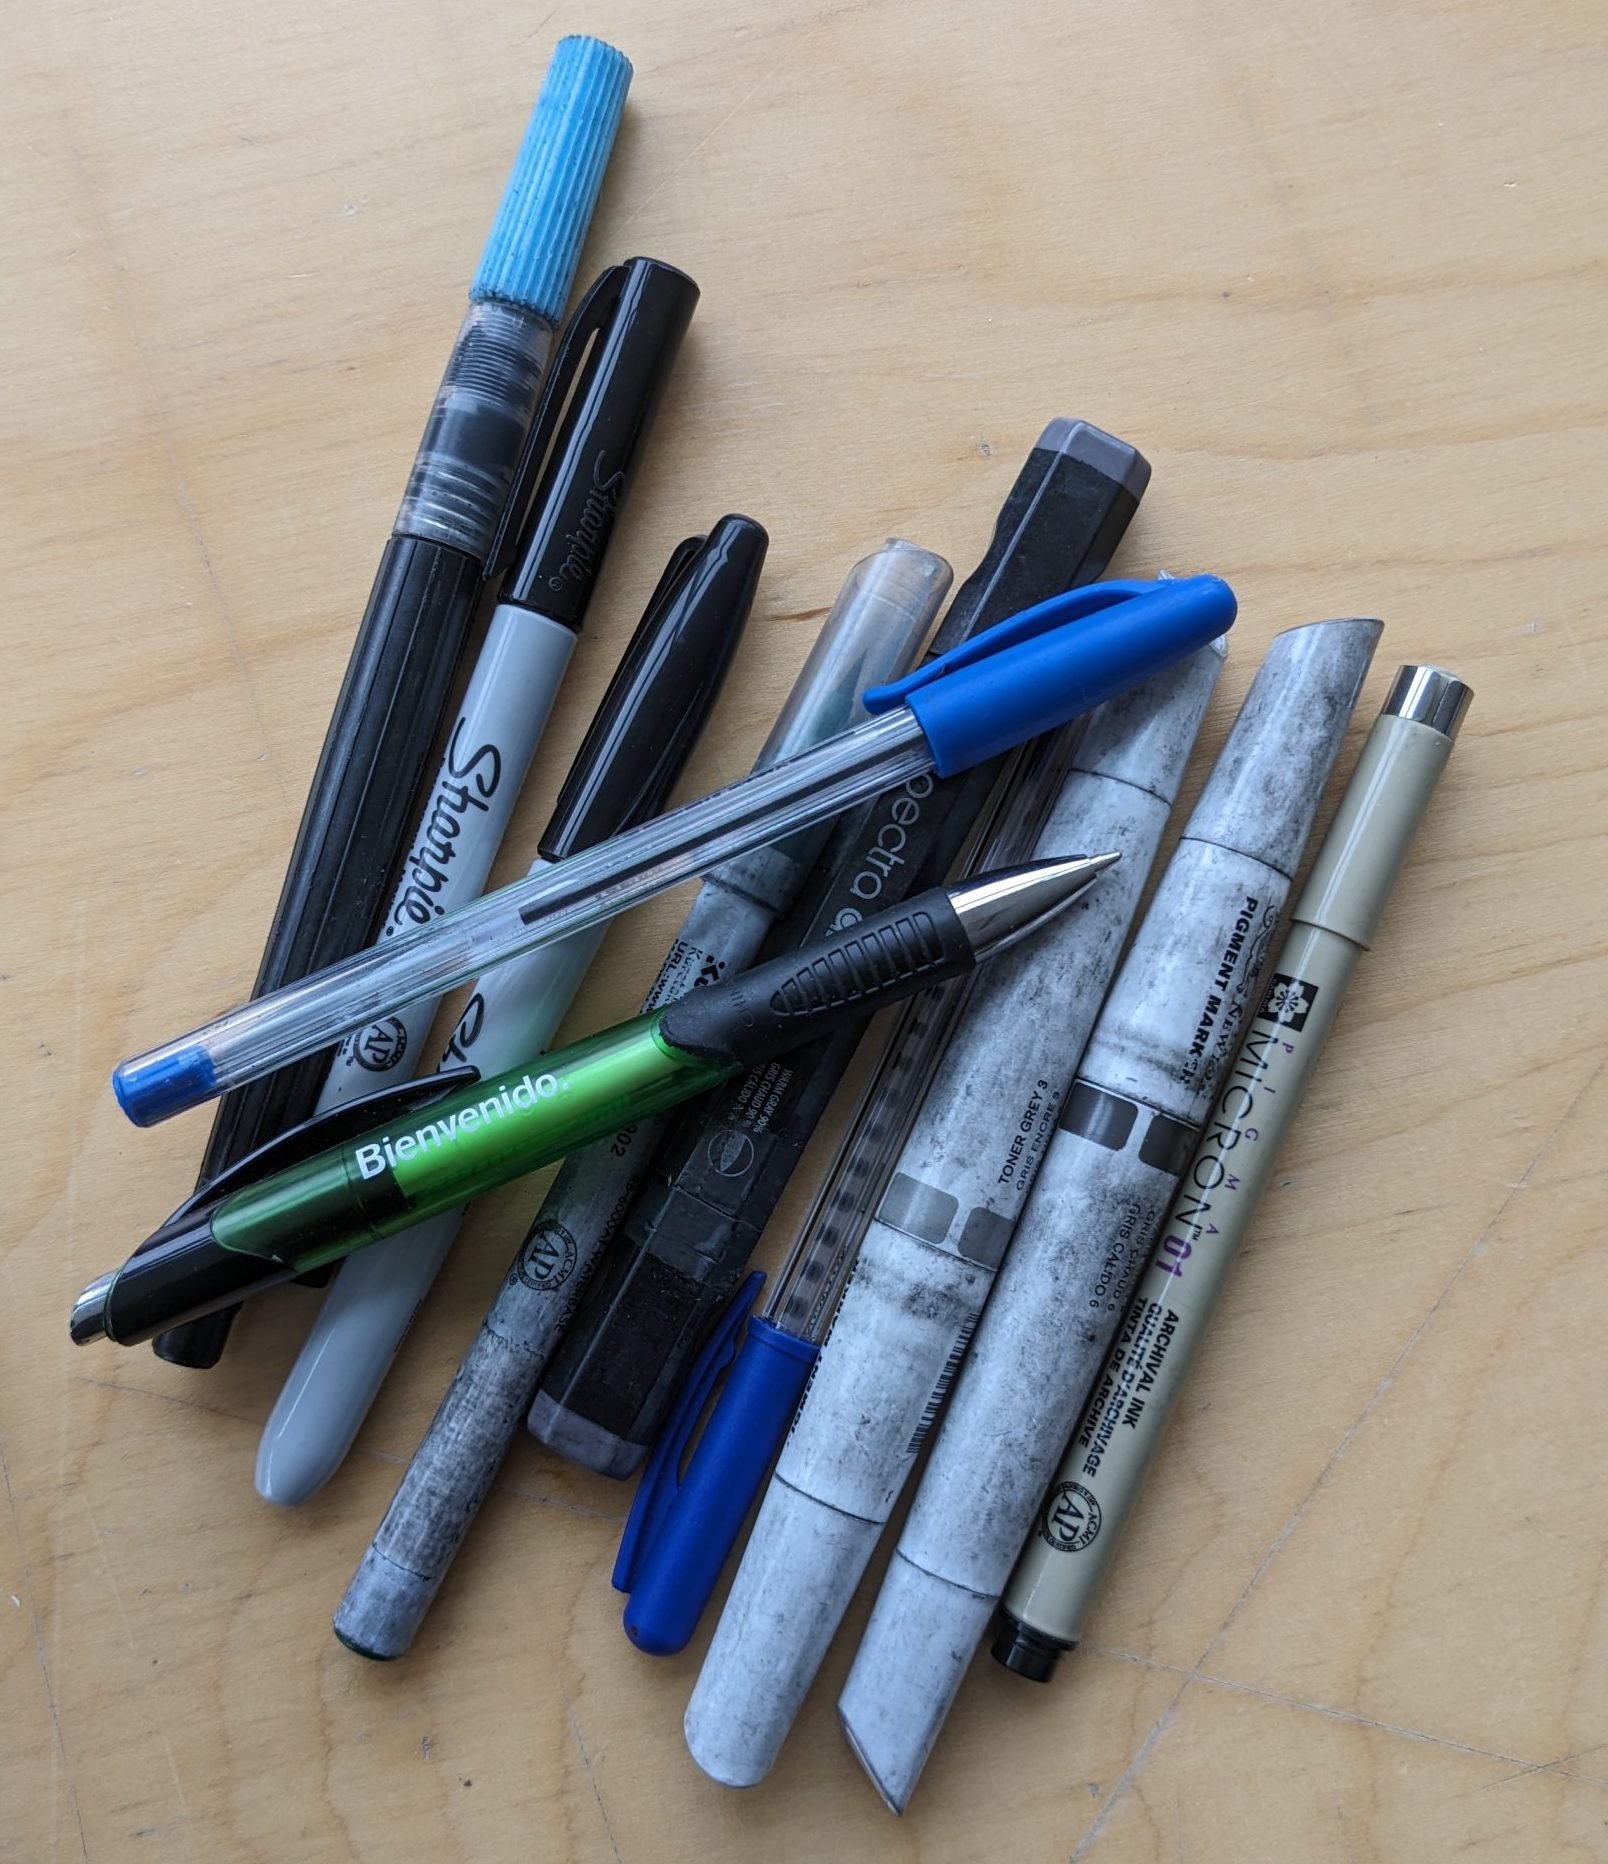
There is a greater amount of diversity with the sort of fine-point markers you can get your hands on. Fine-point markers are thin-tipped and expel black ink. The fine tip and ultra fine tip sharpies are the most common but an industry favourite are the Japanese microns which come in even smaller lineweights. I have also decided to include brush pens and alcohol markers in the image as they are related to the finepoint markers.
Pen and Finepoint Maker Techniques
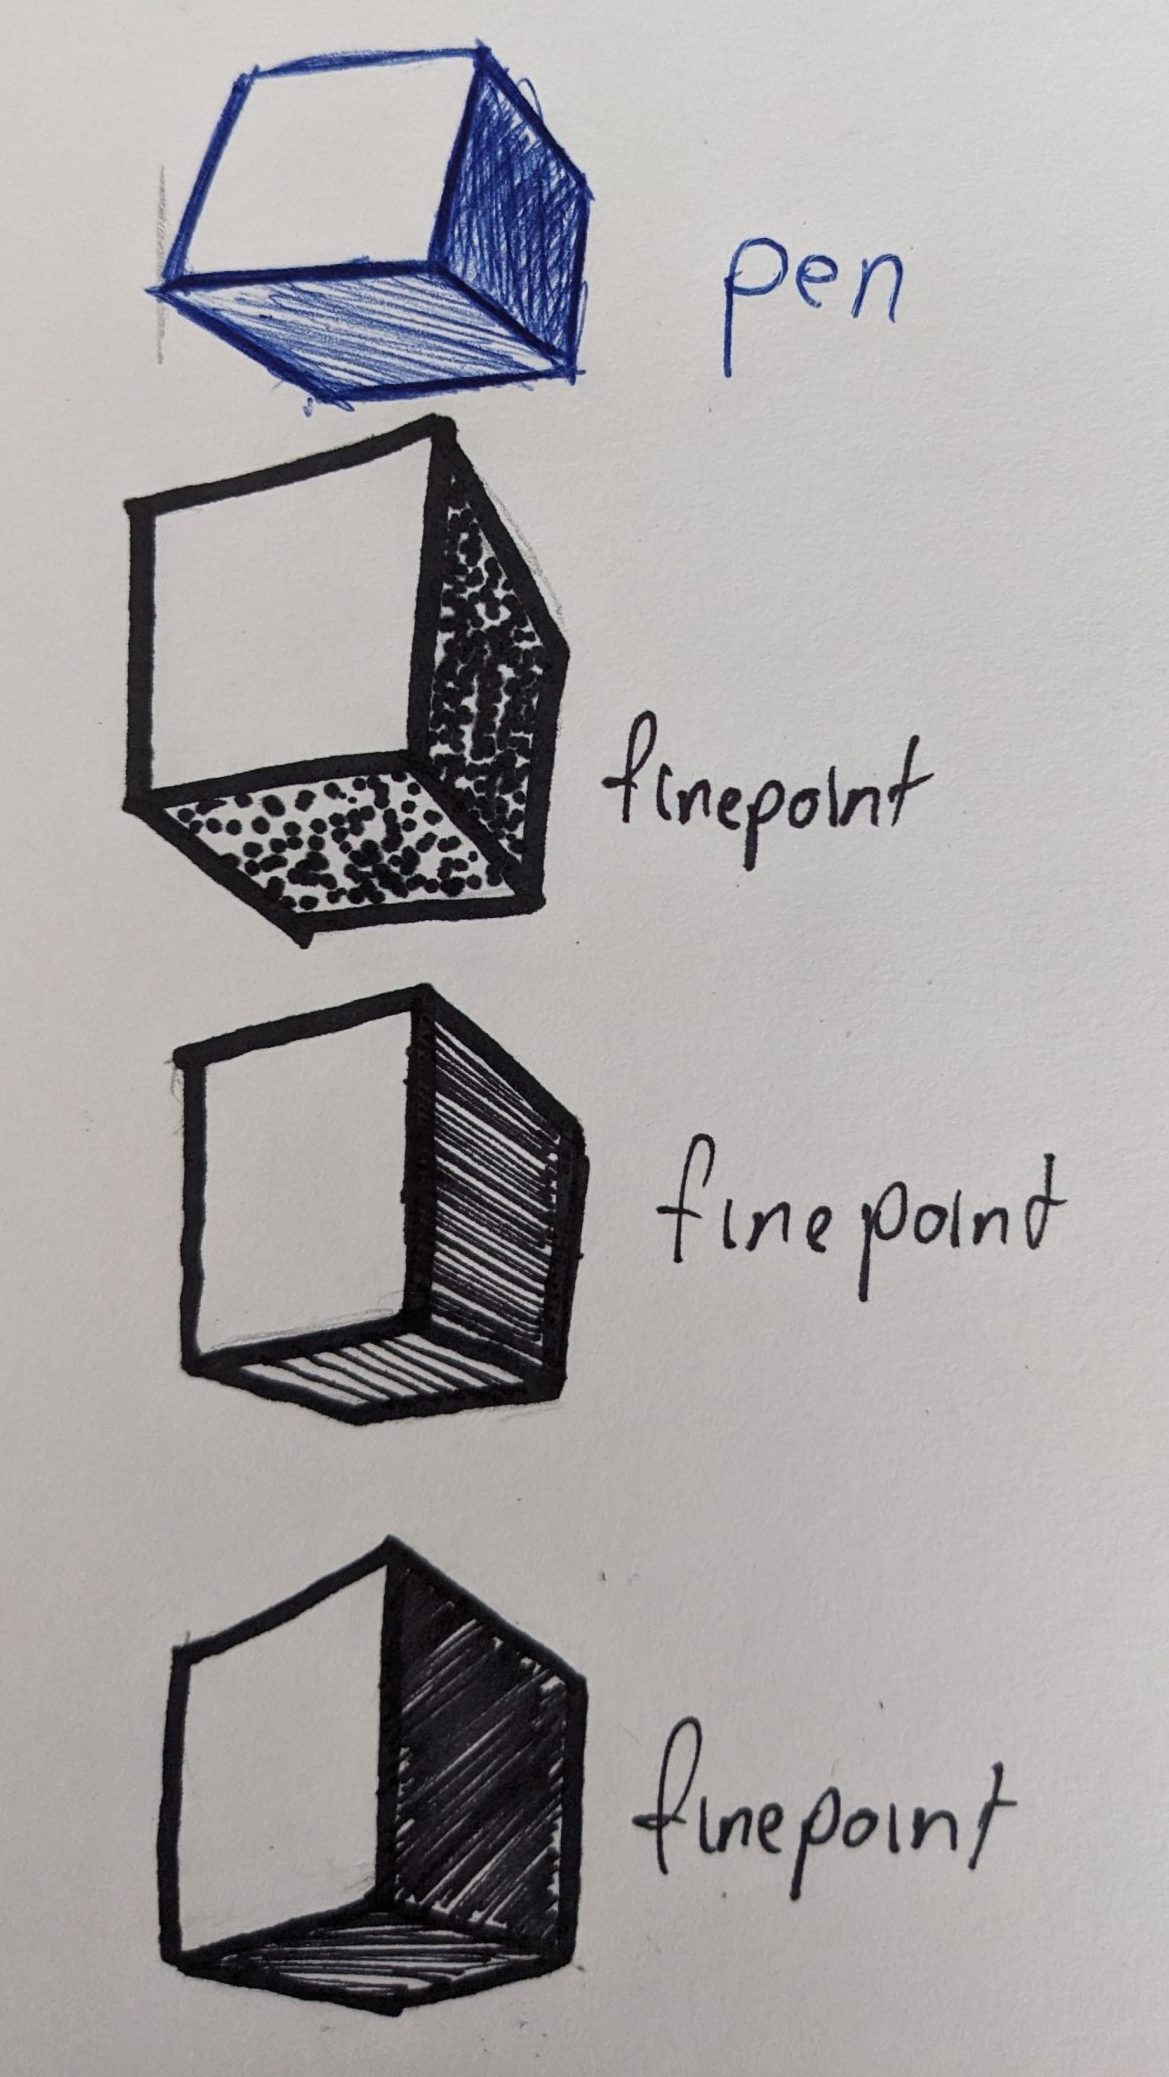
Pens and fine-point makers can be difficult to use as there is the obvious aspect of permanence and monotone compared to pencil sketching. Nonetheless, you can still use the same techniques. You are still able to stipple and cross-hatch to create tone and depth in your forms.
Pen Sketching
The following section is just a basic procedure for drawing. It is applicable to pens, markers, and pencils.
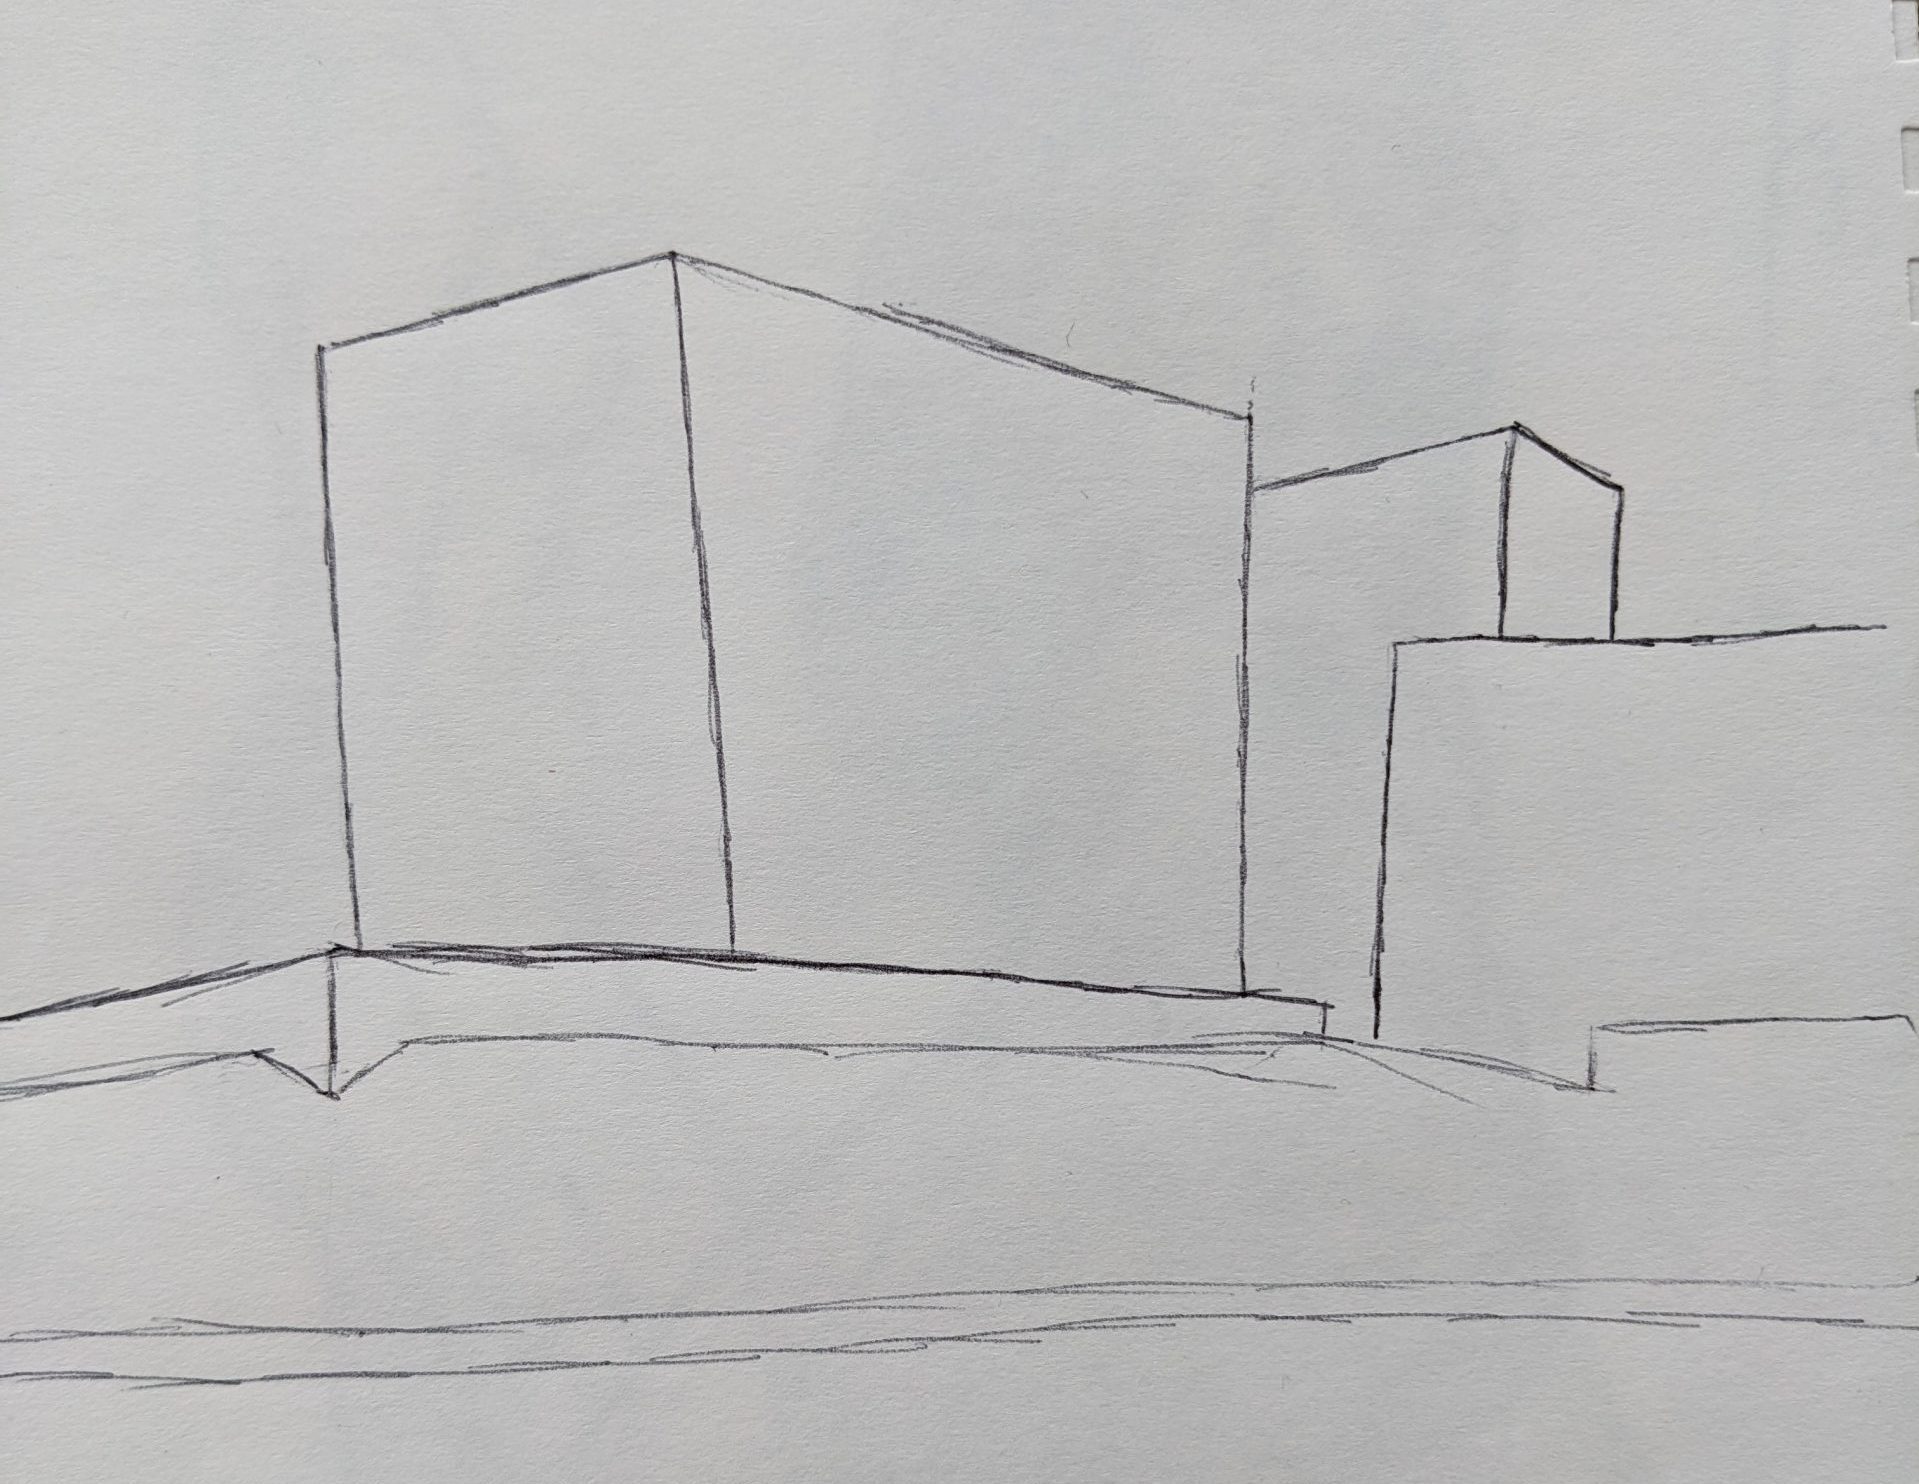
Step 1: Block in your Forms
By blocking in your major forms, you are able to get your proportions right before moving into detail. If we start with our details first, our final result will look wonky and not proportional. At this stage, we want to set our perspective for our major forms to make sure that it is consistent throughout our sketch.
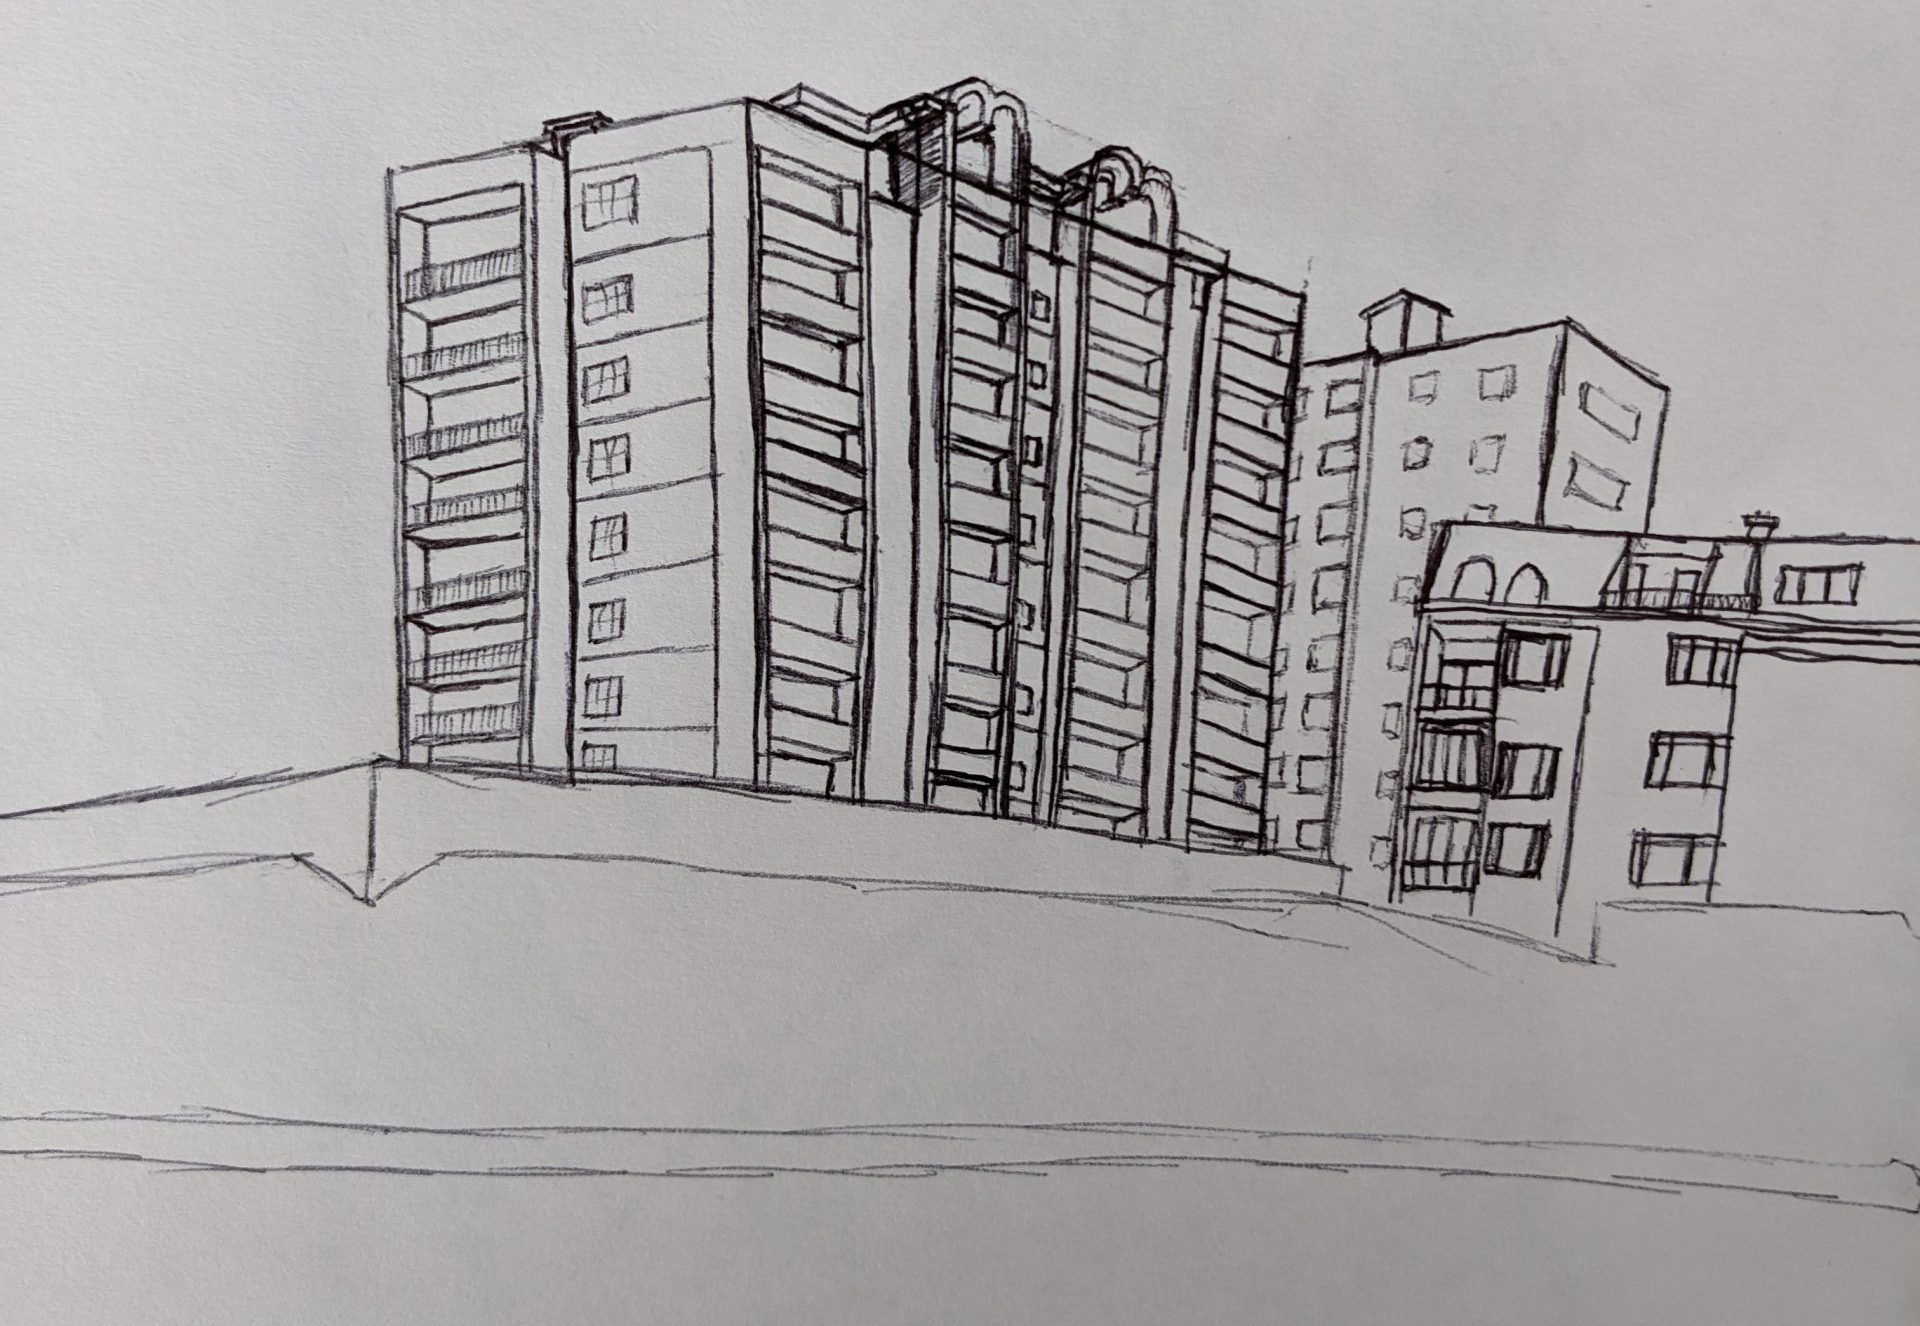
Step 2: Add details to the Main Subject
Next, we add in our details for our subject matter. As you get better, you will start to understand that not all details are important. For example, our main subject (the buildings in this example) requires the most detail because that is where we want to bring the viewer’s focus. The buildings behind our main one can lose detail as it is less important. Less detail in our less important subjects actually further brings attention to our main subject. When it comes to drawing detail, it is the same process as blocking in our forms but on a smaller scale. For example, the forms of the balconies is the same process as the massing of the building as a whole.
Step 3: Add Shading and Thicken your Primary Lines
Next, we need to bring more contrast between our main subjects and everything else. We can do this by bringing out our form by increasing the line widths of our primary lines and shading in our three-dimensional forms.
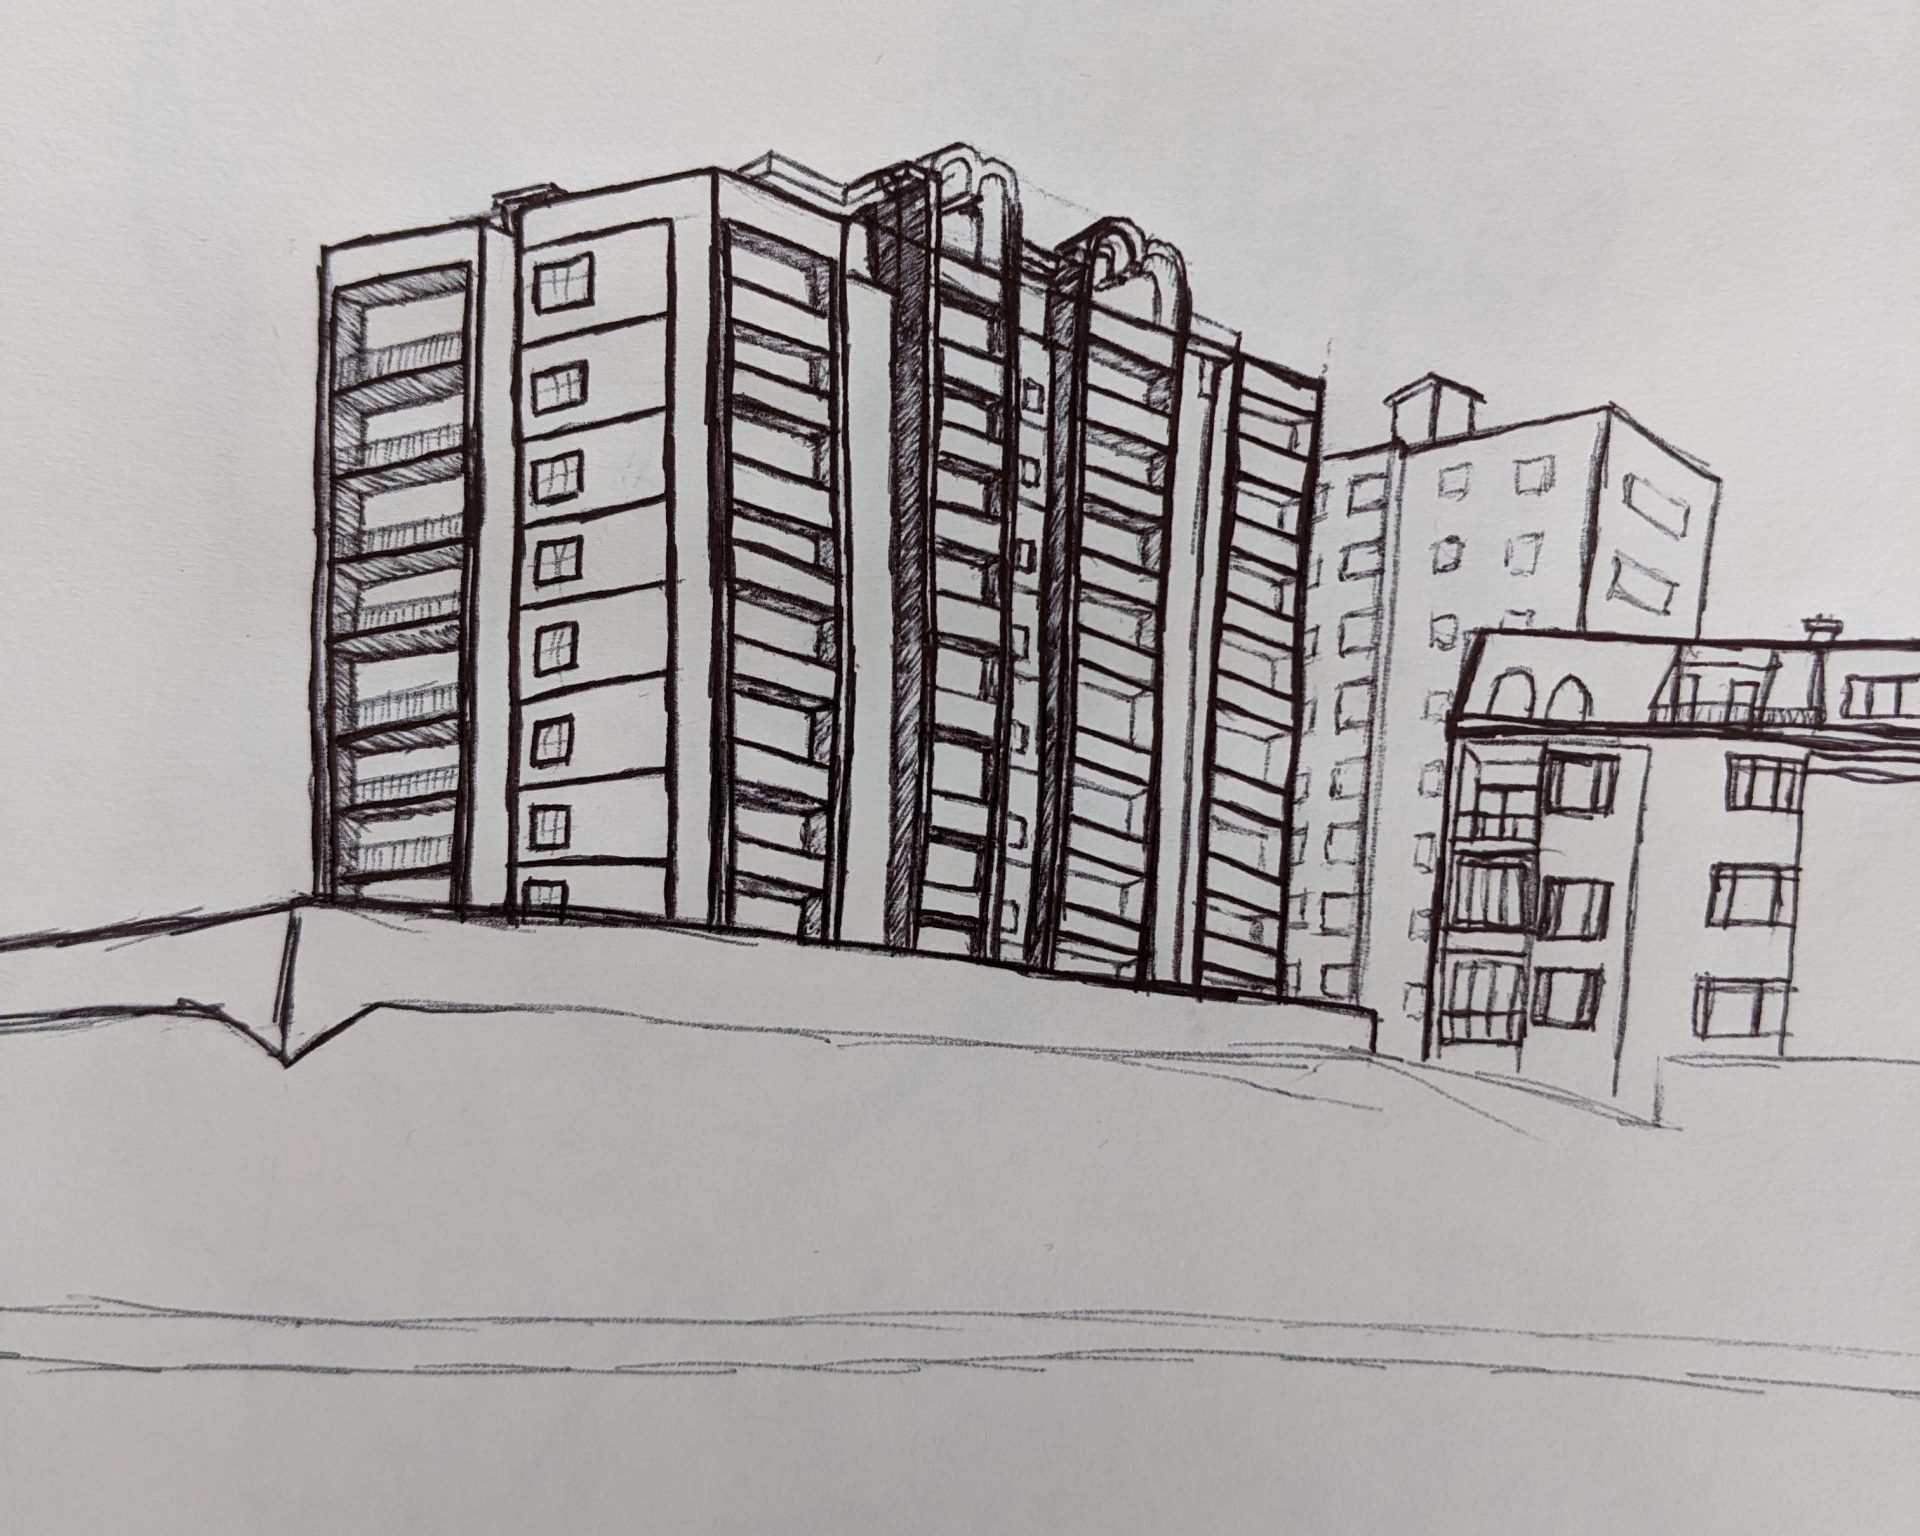
Step 4: Add Foliage and Additional Details
In our final step, we add in the foliage and our final details. Throughout the process, make sure to observe every detail. The more observational and consistent you are with your details, proportions, and shading, the more lifelike your sketches will be. Though I have not shown any pedestrians in my sketch (because there were not any in my reference) feel free to add them to your sketches if you see any walking around. Keep in mind that you can also pedestrians in or exclude them based on your preferences/objectives.

Finepoint Marker Sketching
I will not show you the entire process for fine point markers as it is nearly a carbon copy of the procedure outlined in the pen section. What I will show is the result you can achieve by building a pencil undercoat and then tracing it with markers. By doing an initial pencil sketch, you are able to make and erase mistakes and then have cleaner fine-point marker lines. If you want to get rid of your pencil sketch underneath, you can erase the lines after inking the drawing with your fine-point markers.
Example:

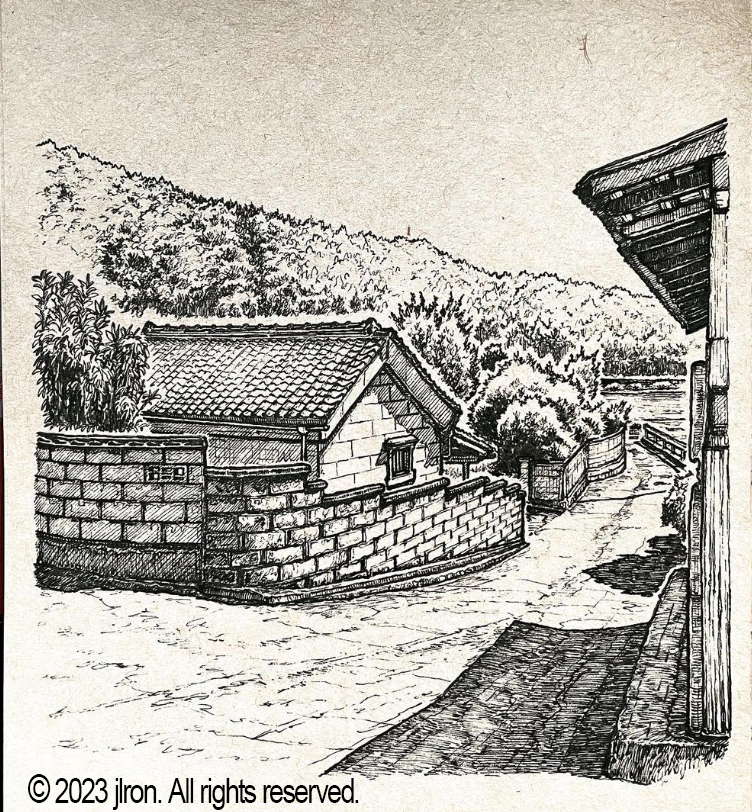
Professional Example
Though the examples that I have shown you above are only short sketches, it is beneficial to make your drawings the best that they can be. This includes spending more time on each drawing and developing your rendering skills. To give you an example of how far you can take your sketches, I wanted to introduce you to a professional in this medium. This artist goes by the name jlron and he creates urban sketches using pencils, pens, and finepoint markers. His drawing process usually starts off with a pencil undercoat which then gets inked with pens and markers. What makes jlron’s sketches pop is the clarity he creates by separating important elements with very subtle negative space (empty space). jlron can be found on Instagram here: @jlron and his LinkTree can be found here: linktr.ee/jlron
Author: Micheal Glazyrin
