19 Drawing Type | Design Concept: Lumion Perspective Rendering
michealg1
Intro
Lumion is a professionally used 3D rendering software for designers. The software does come with a cost but does have a student license for those enrolled in a recognized post-secondary institution. As a preface, this software does require appropriate hardware to support the capabilities of the software (you can check if your system is compatible within the launch menu under the “Benchmark” option). After signing up, you will receive a license key. Use this key to receive access to a download of the software. This is the home screen of the software:

Importing our Project
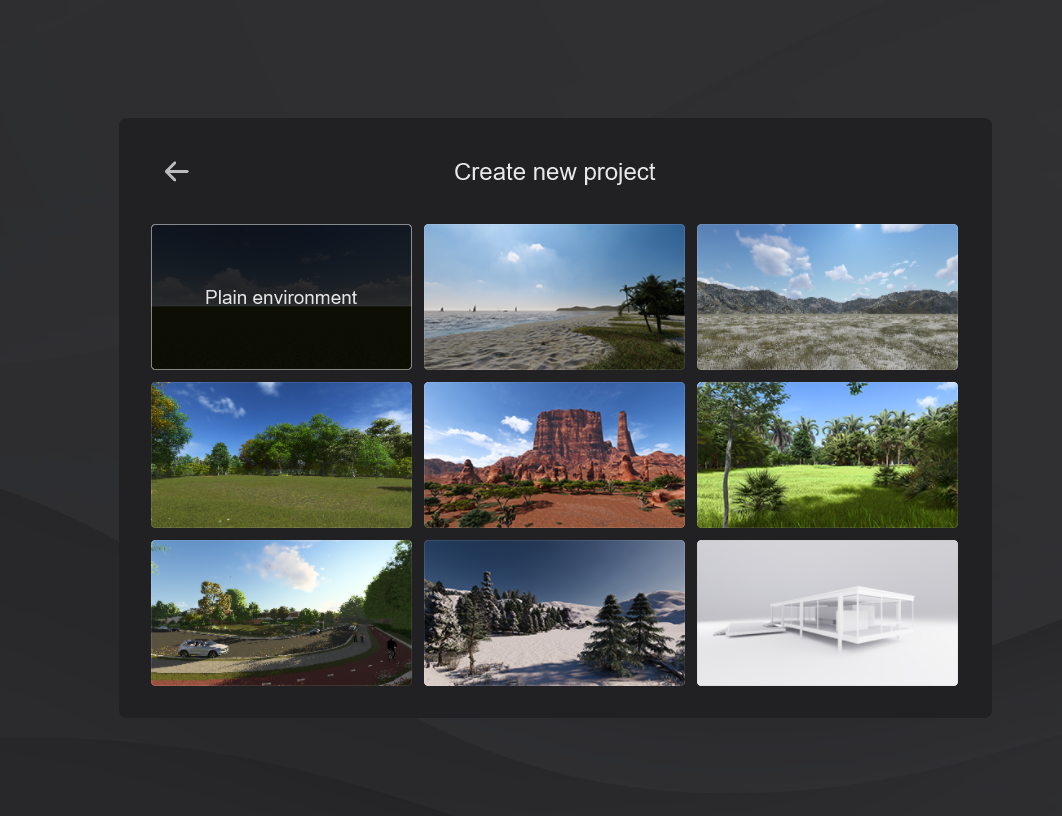
Within our home screen, select the “Create new” option. You will be prompted to choose a setting. For the purpose of this tutorial, I will be using the default “Plain environment” option. Example:
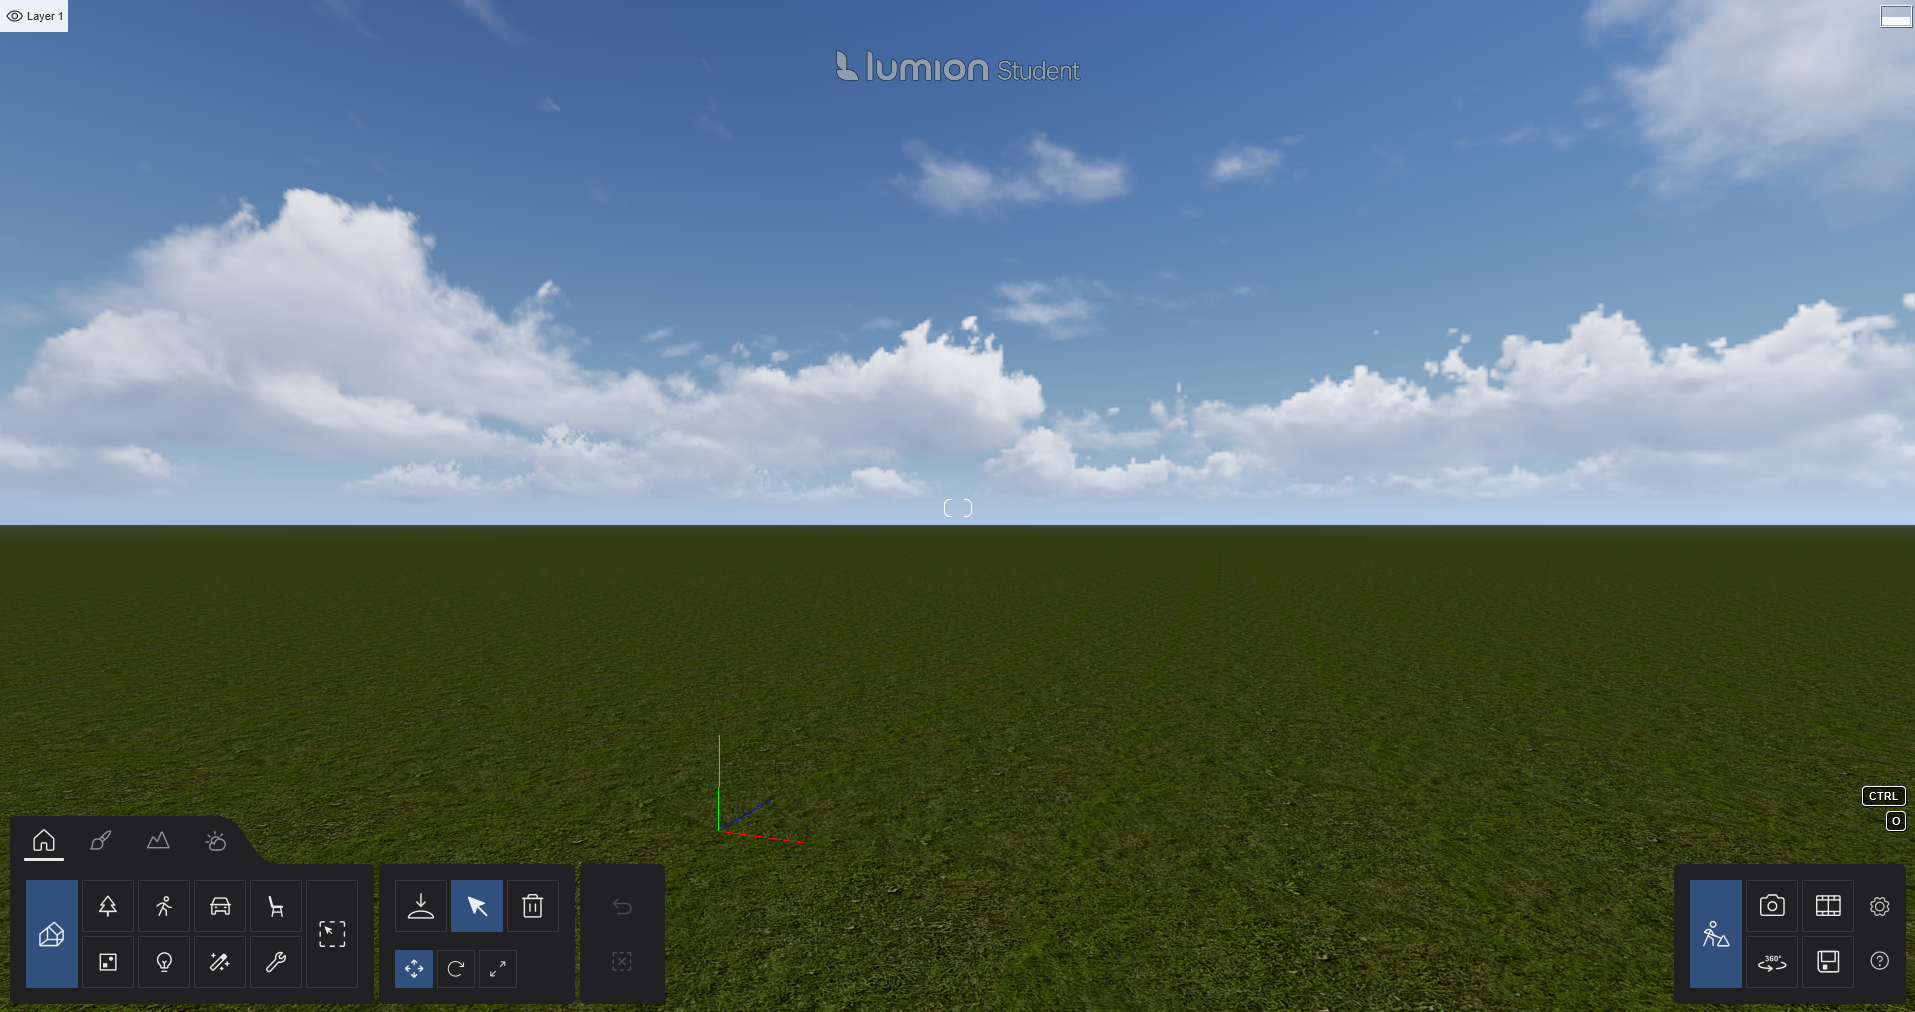
 This is what our default screen looks like:
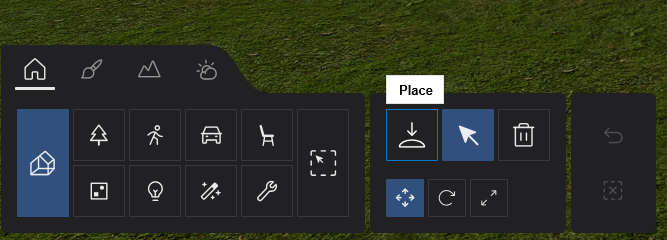
 To import our 3D model, we need to select the place option. This option is the second tab from the bottom left corner:
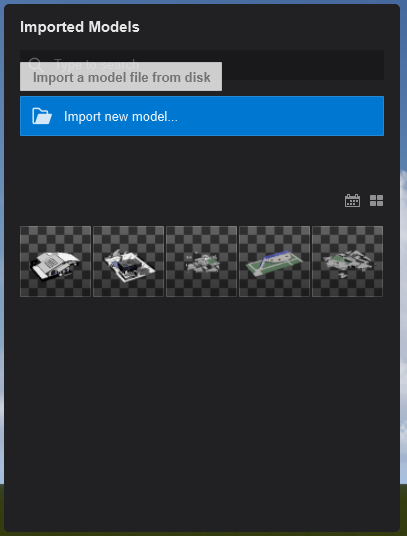
 You will be prompted with the following menu. Select the “Import new model” option. Select the SKP file that you wish to import into Lumion.
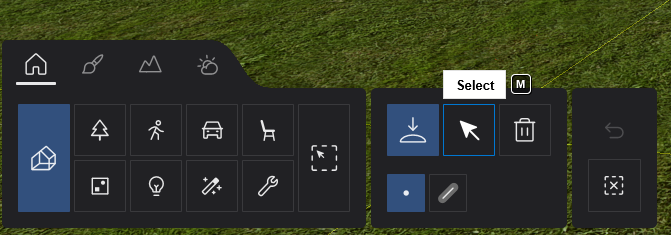
 I will be using a public model from Sketchup’s 3D Warehouse. The model is called “Solar House” by Paulwall (LINK). You will notice that the model is now tethered to your cursor. By clicking, you will place the building where the building is projected. Make sure to click once and switch to the “Select” option at the second bottom left panel to make sure you are not placing any duplicates.
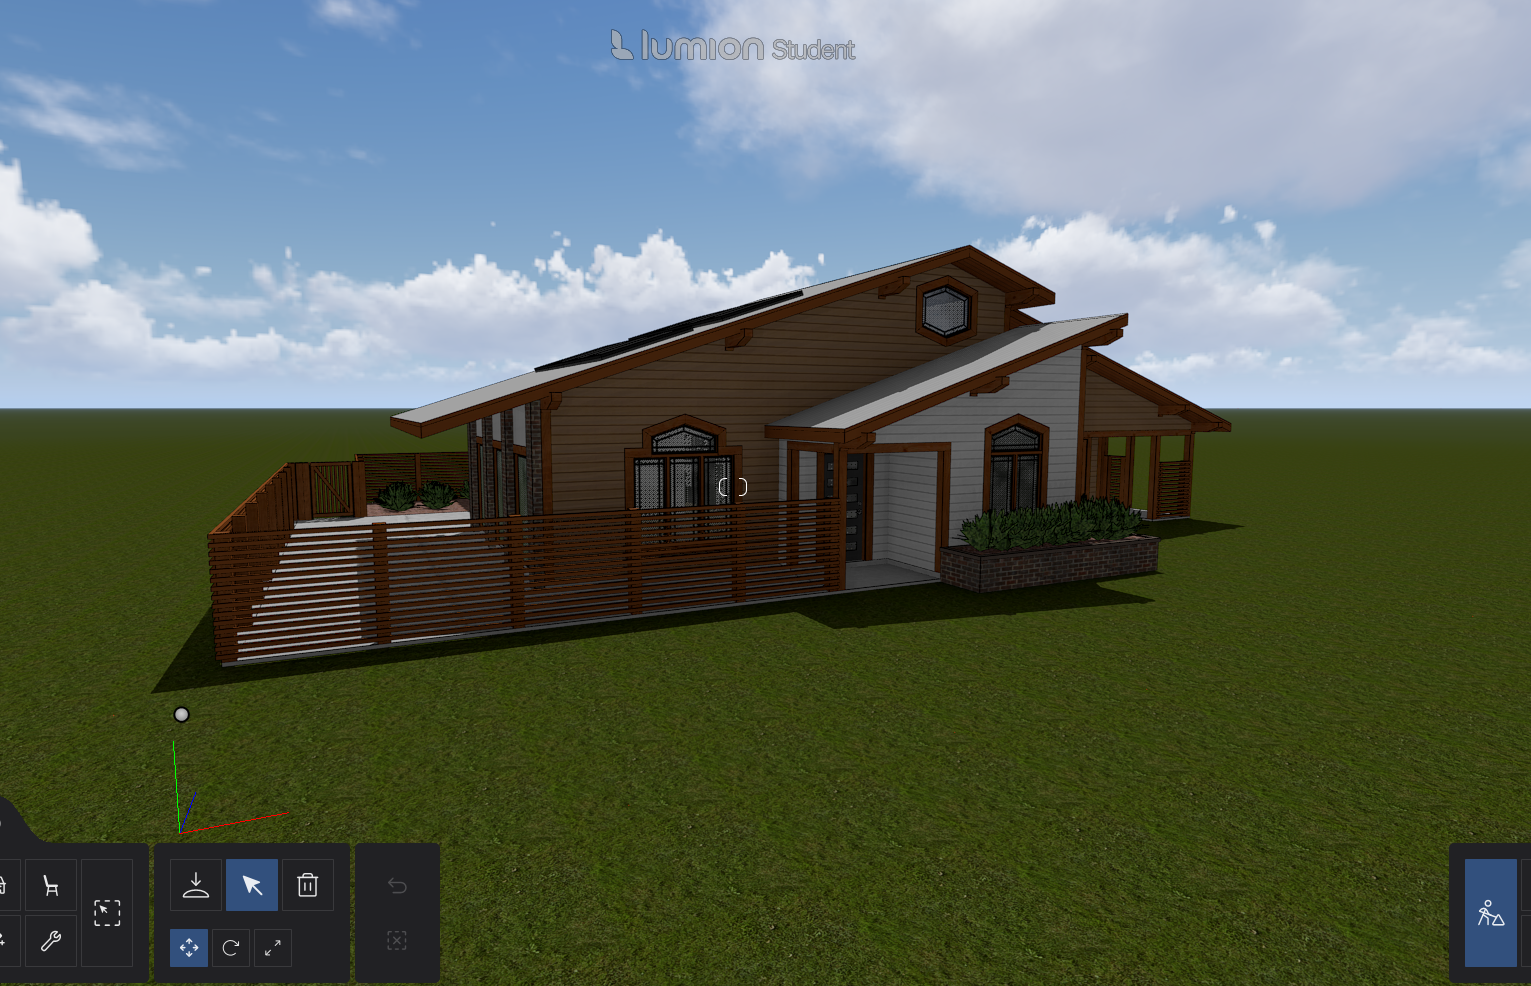
Using the WASD keys, you can move around your point of view. Using the WASD keys while holding SHIFT will make you move faster (in case you are working with a large site). Holding the cursor wheel while dragging will move your camera slightly but only up and down or side to side. Holding the left click will orbit the camera around your fixed position. Holding O will orbit your camera around whatever the center of your screen is looking at. This is what my imported model looks like:
Material Settings
Select the paintbrush icon to bring up the “Materials” settings and options.
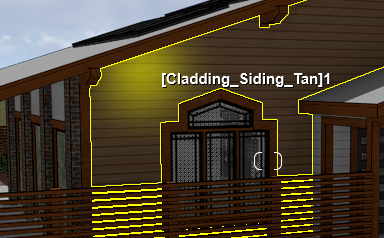
 With the “Material editor” selected, you will notice that as you scroll over a material in the model, it will become highlighted. Lumion will select every single surface with the same material irrespective of whether it is joined or not. To avoid issues at this stage, make sure that your model has all of its surfaces uniquely painted instead of the default SketchUp material.
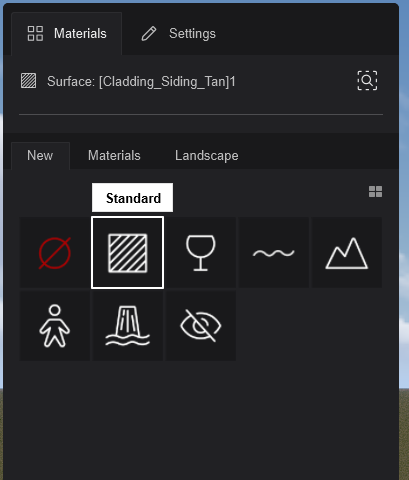
 By clicking on the material surface, a material settings tab will appear. This is where we can change the material from the one we used in Sketchup. Lumion offers a large catalogue of built-in material textures but also gives you the option to import your own if you so choose. For this tutorial, we are going to be using the materials offered by Lumion. Under the “New” tab in the “Materials” section, we have the option to use default materials, glass, or make the texture invisible. For now, select the “Standard” option.
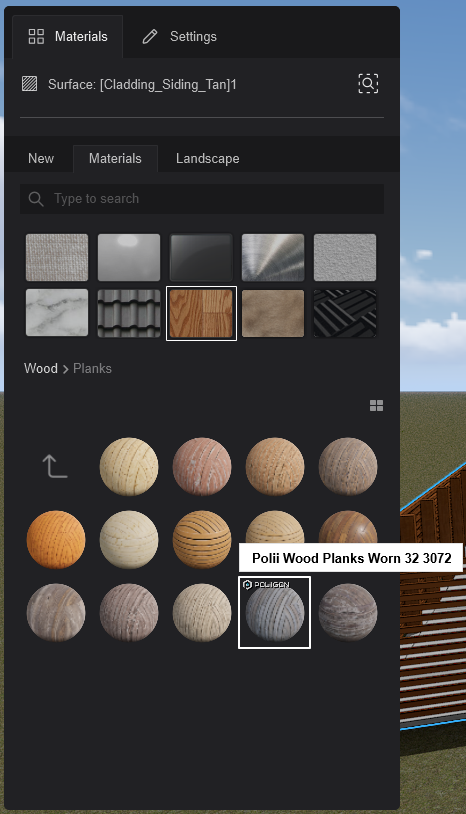
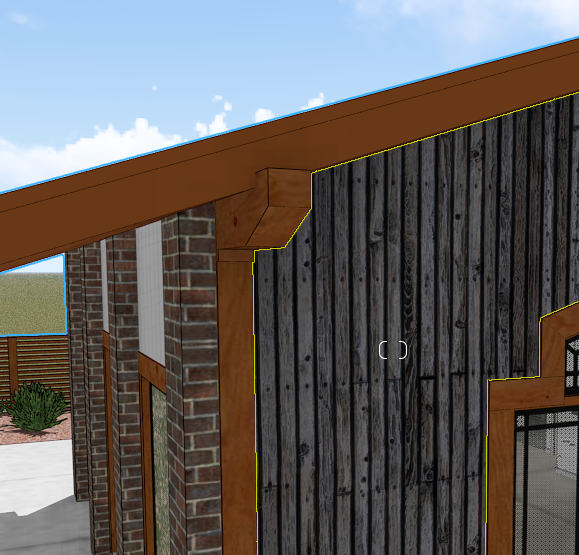
Within the “Materials” sub-tab is where we change the materials. I recommend sifting through the expansive library that is offered to get a gist of what is available for you to use. I will be changing the wood facade texture to the following material:
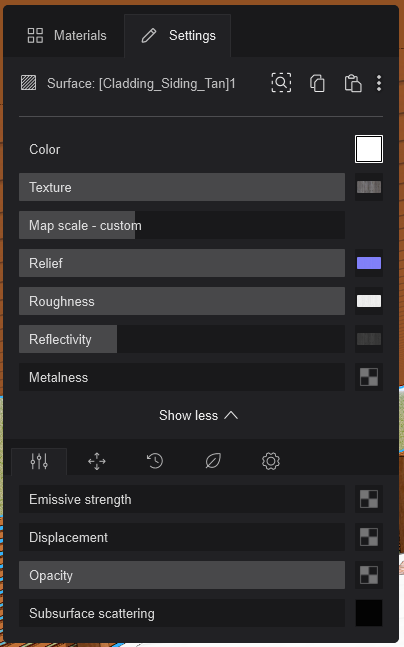
To give more life and detail to our textures, open the “Settings” tab from our materials menu.
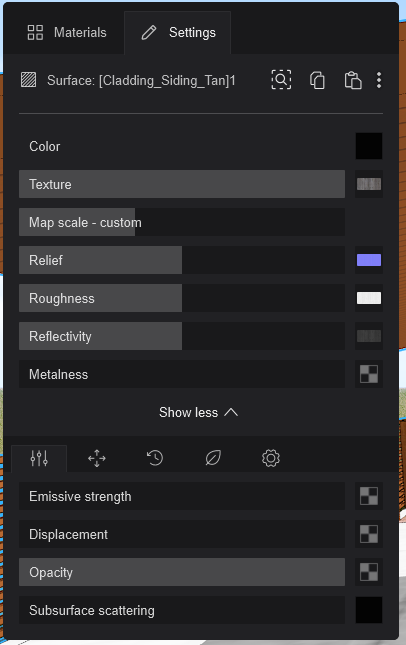 Texture: The basic colour image of the material. Uses the colour map.
Map Scale: The size of your texture as it appears on the surface on the model
Relief: The depth and height of your texture to give better texture and definition of your material.
Roughness: alters the sharpness or blurriness of the reflections emitting from your texture.
Use your intuition of how you might think the material acts like in real life when changing the settings. This is what my basic settings for the wood facade material look like:
 There are a lot of advanced options that are applicable in very specific use cases. For this tutorial, I will only be going over the “Weathering” options as they are the most applicable to most textures that you will be applying.
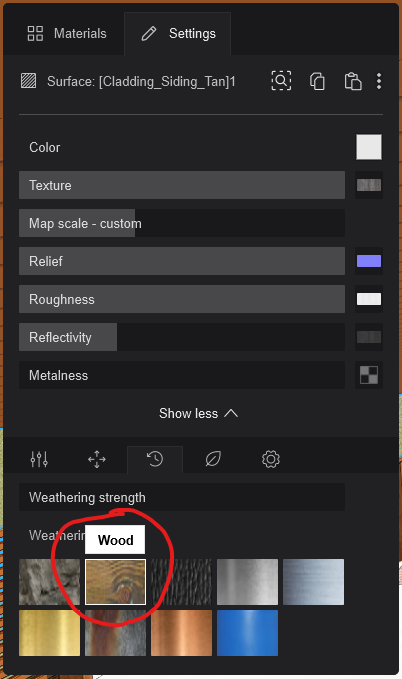
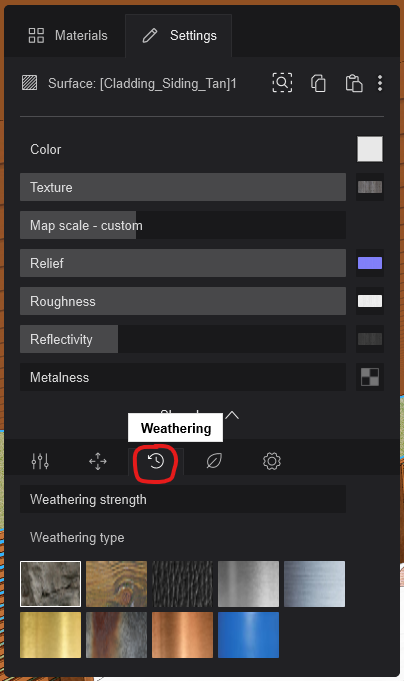 From these settings, select the weathering option that is the most applicable to the material that you are working with. Since I am working with wood right now, I will be selecting “Wood” from the “Weathering type” options.
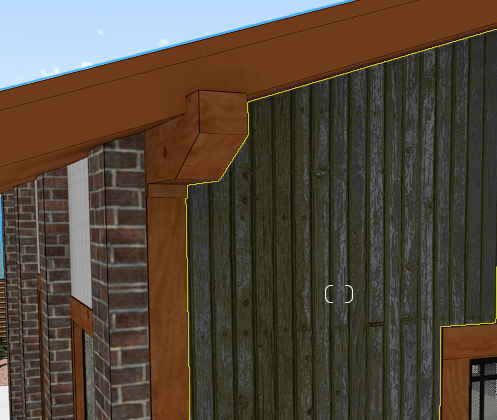
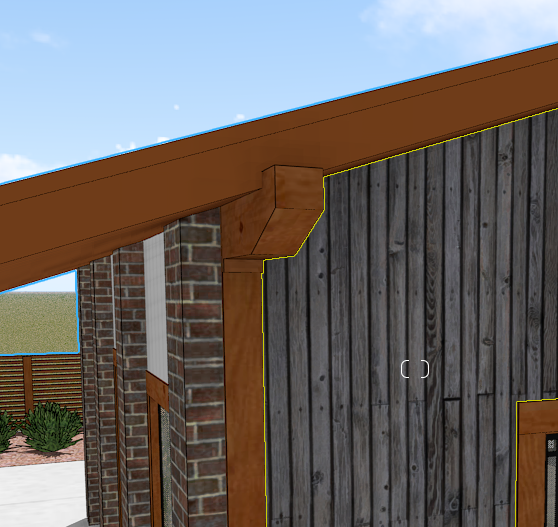
 This is what wood weathering looks like at maximum vs no weathering:
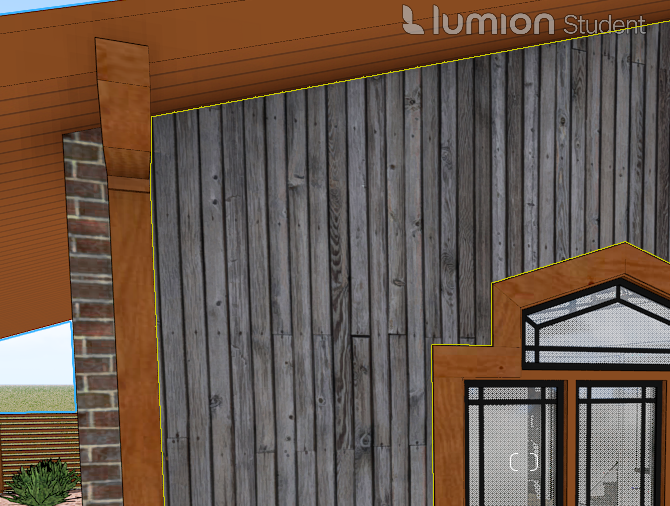
The maximum option is a bit too much and I will be selecting something more subtle. Adding a weathering option creates a more lived in and realistic texture. This is what my final texture looks like now:
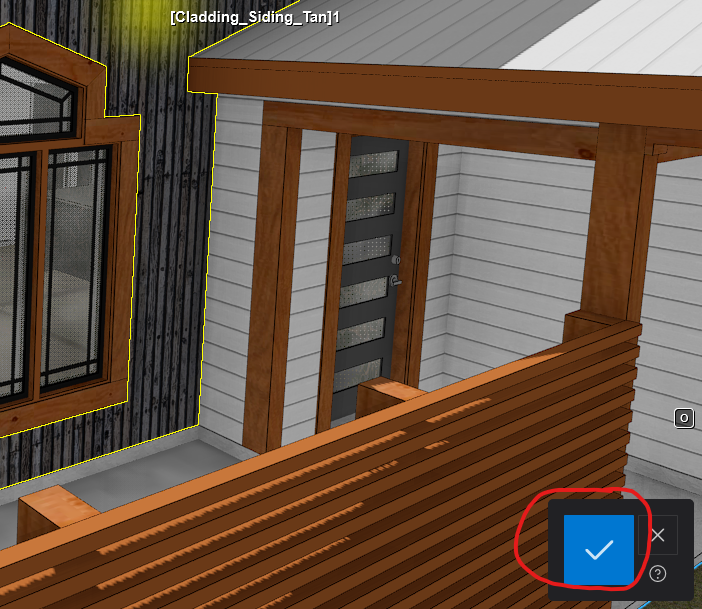
 Go through each one of your textures as they appear on your model and make sure to click the checkmark at the bottom right-hand corner to save your changes in materials. Otherwise, when switching between modes, your changes will not be saved.
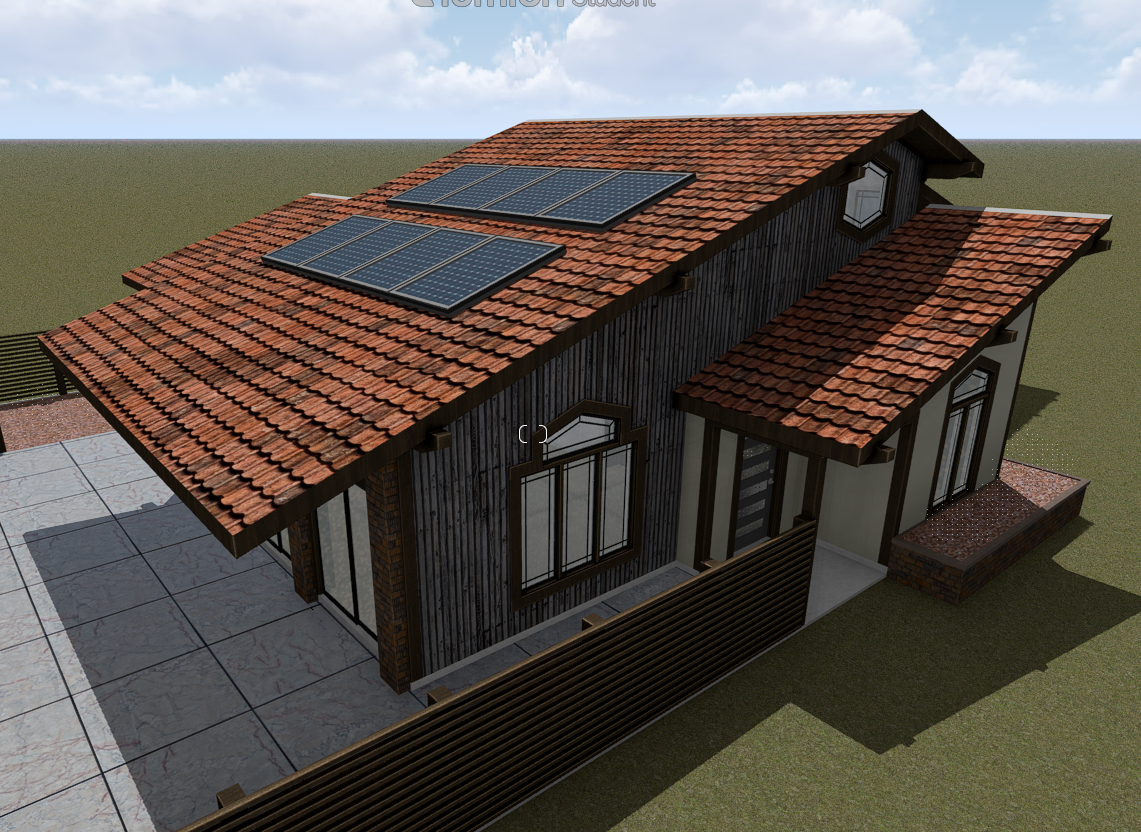
 This is what my building looks like with complete retexturing:
Object Placement
To place objects, we will be using options under the “Content library” tab:
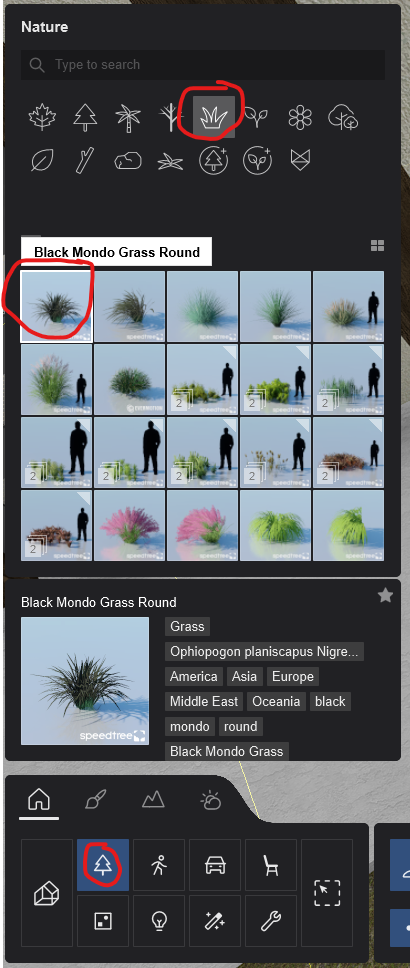
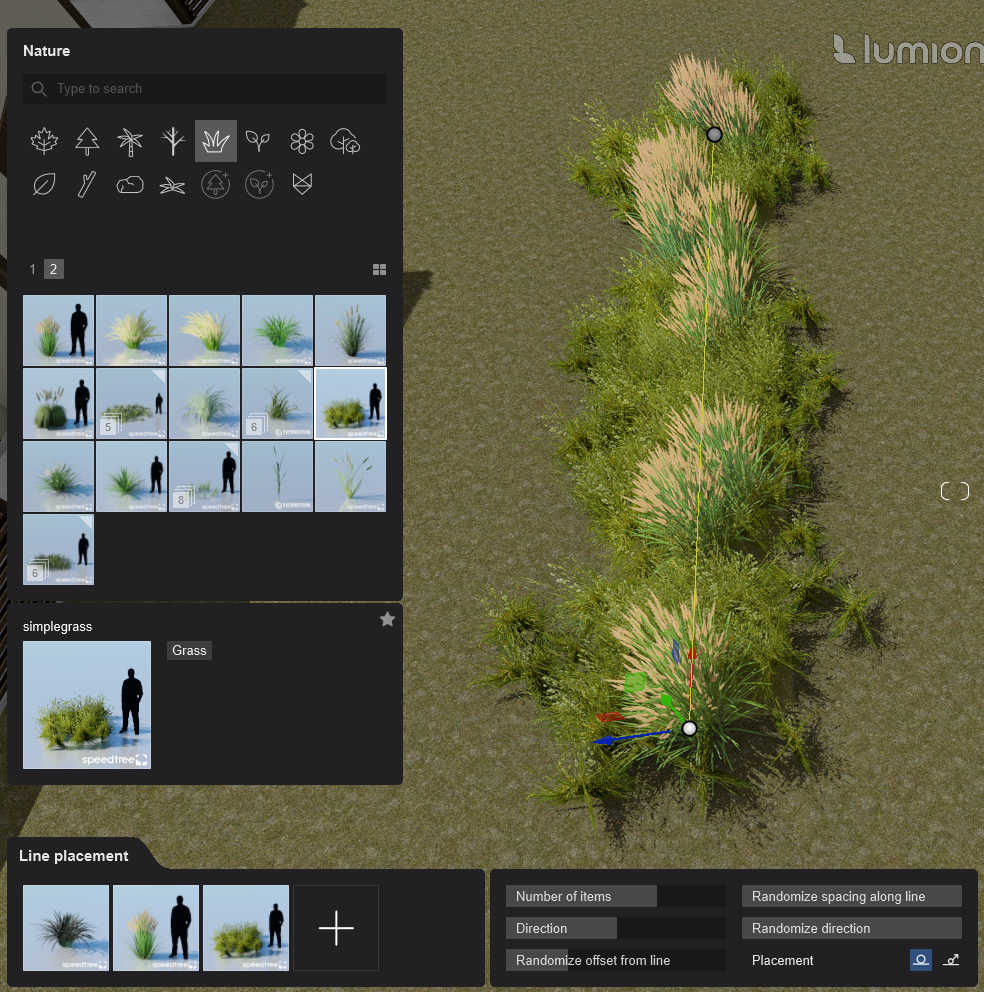
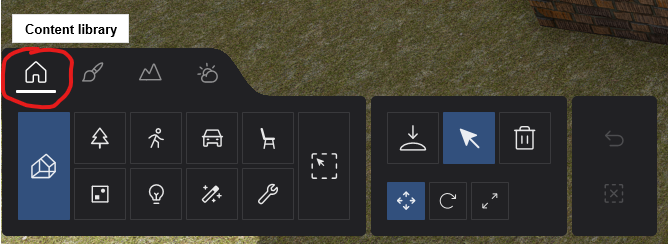 Under this tab, we can select the type of objects that we want to place. Our options range from people, nature, vehicles, and furniture pieces. I will be going over the vegetation as it is the same process for other types of objects. By double-clicking the “Nature” option, the objects associate with the library will open. I will be selecting the following grass option to place in the planter box:
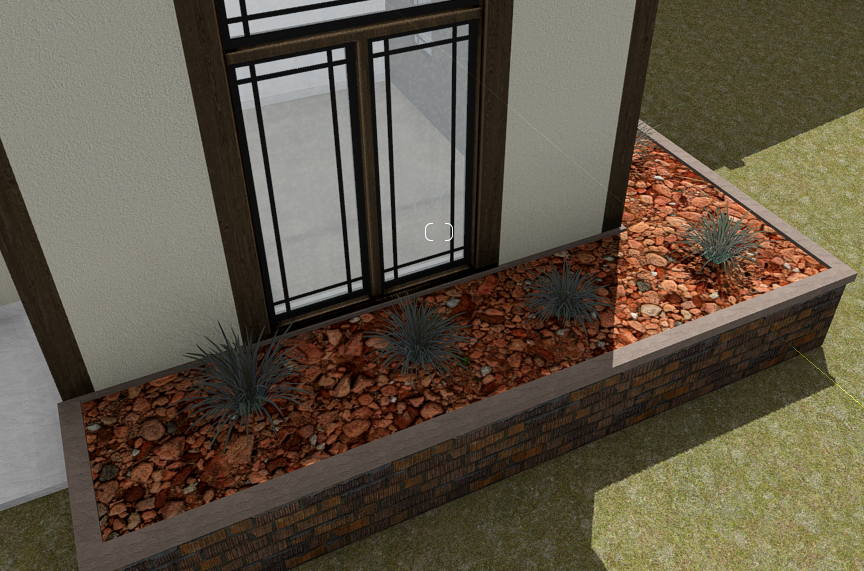
Similar to how we placed our SKP file, we can click to place the object. This is what my grass looks like in the planter box:
You can change the way that your objects are placed using the placement settings. You can choose from single, line, cluster, and paint placement.
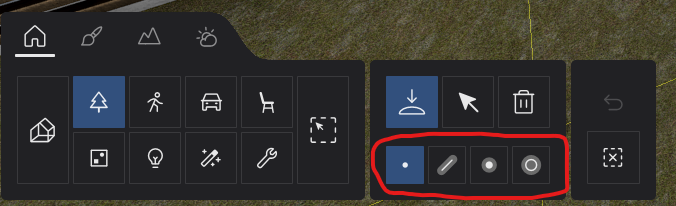 Example showing the differences between the tools:
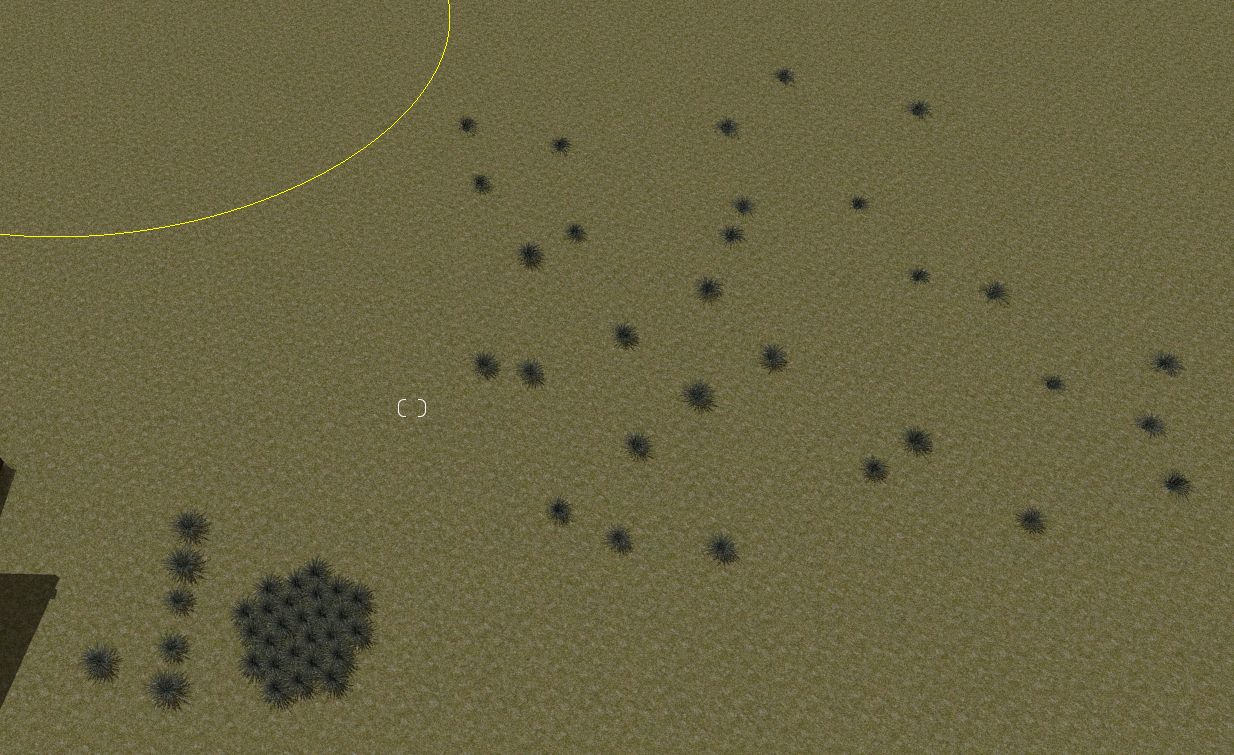 Settings within the tooling also allow you to control how many instances of an object are placed, which objects are placed (you can have a mix), the range that they are placed, and the randomness in orientation or position that they are placed in. The following is what you can easily achieve with a quick change in the settings:
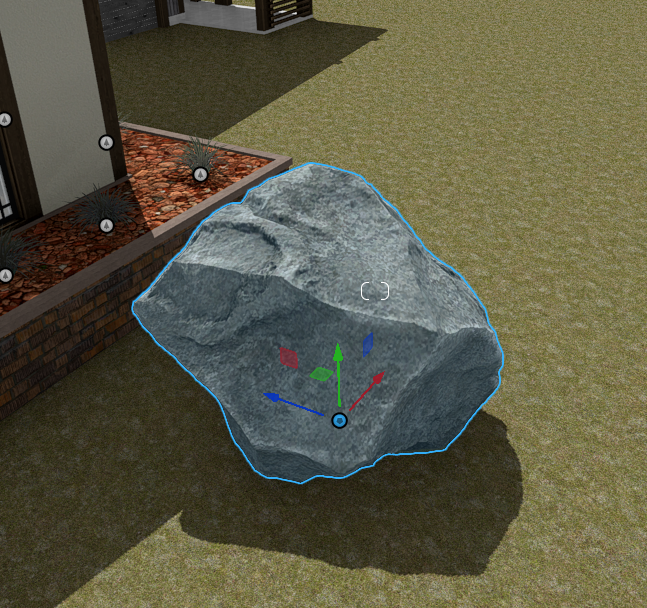
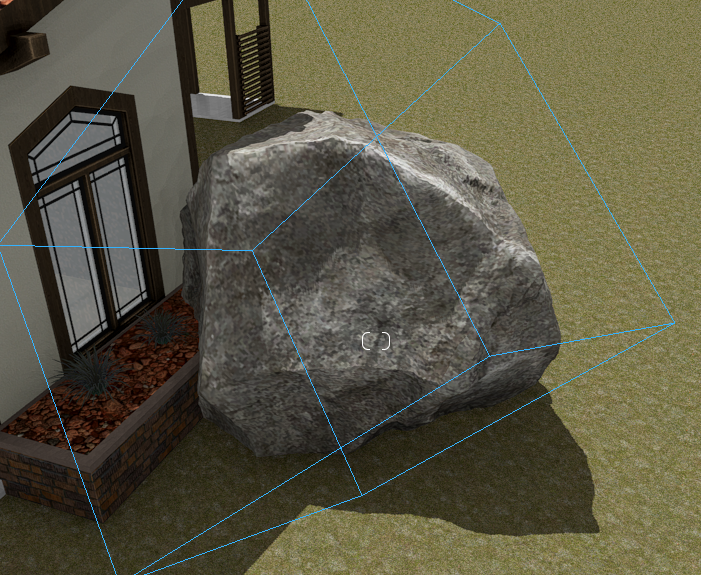
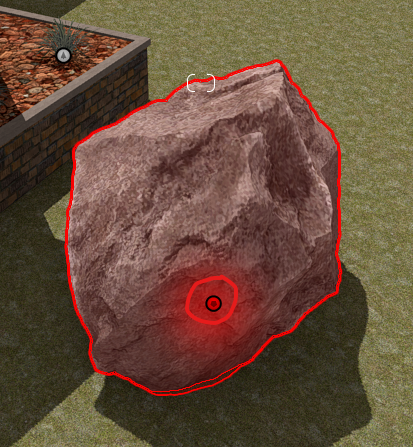
 Using the “Select” tool, you can change the characteristics of the model. You can reposition the model, change its orientation, pitch, and scale. The following is an example of what you can do with a change in settings:
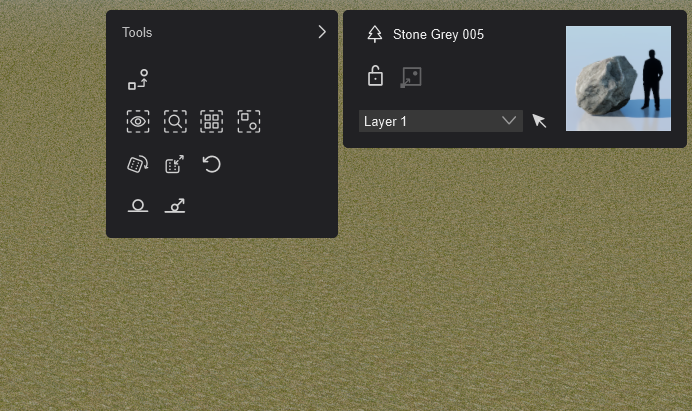
While selecting an object the following options menu also appears. This tab provides shortcuts for randomizing the objects size and orientation as well as a quick way to select all identical objects.
 We also have the option to delete our placed objects using the “Delete” option:
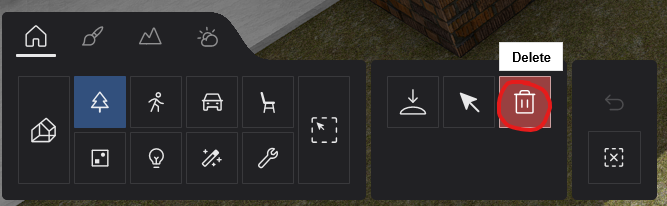 We can select multiple objects to delete while holding down shift and clicking the garbage can on the top right corner or by double clicking on the object icon that appears below every placed object:
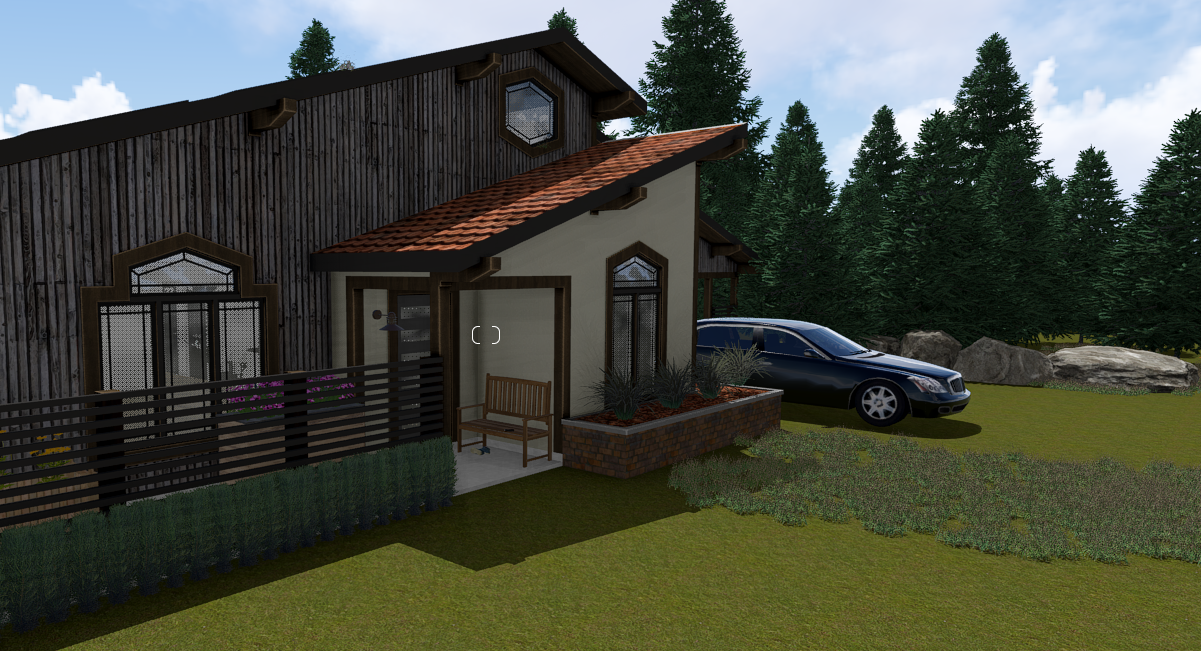
 Using these tools, place objects in your scene to make it come alive. Think about what you wish to see in both your background and foreground and remember not to leave any empty space. This is what my scene looks like now:
Landscaping
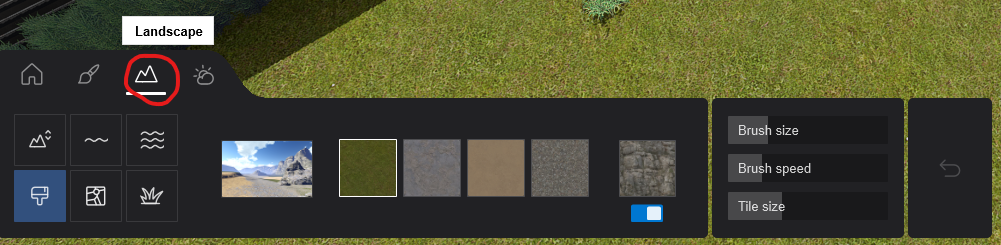
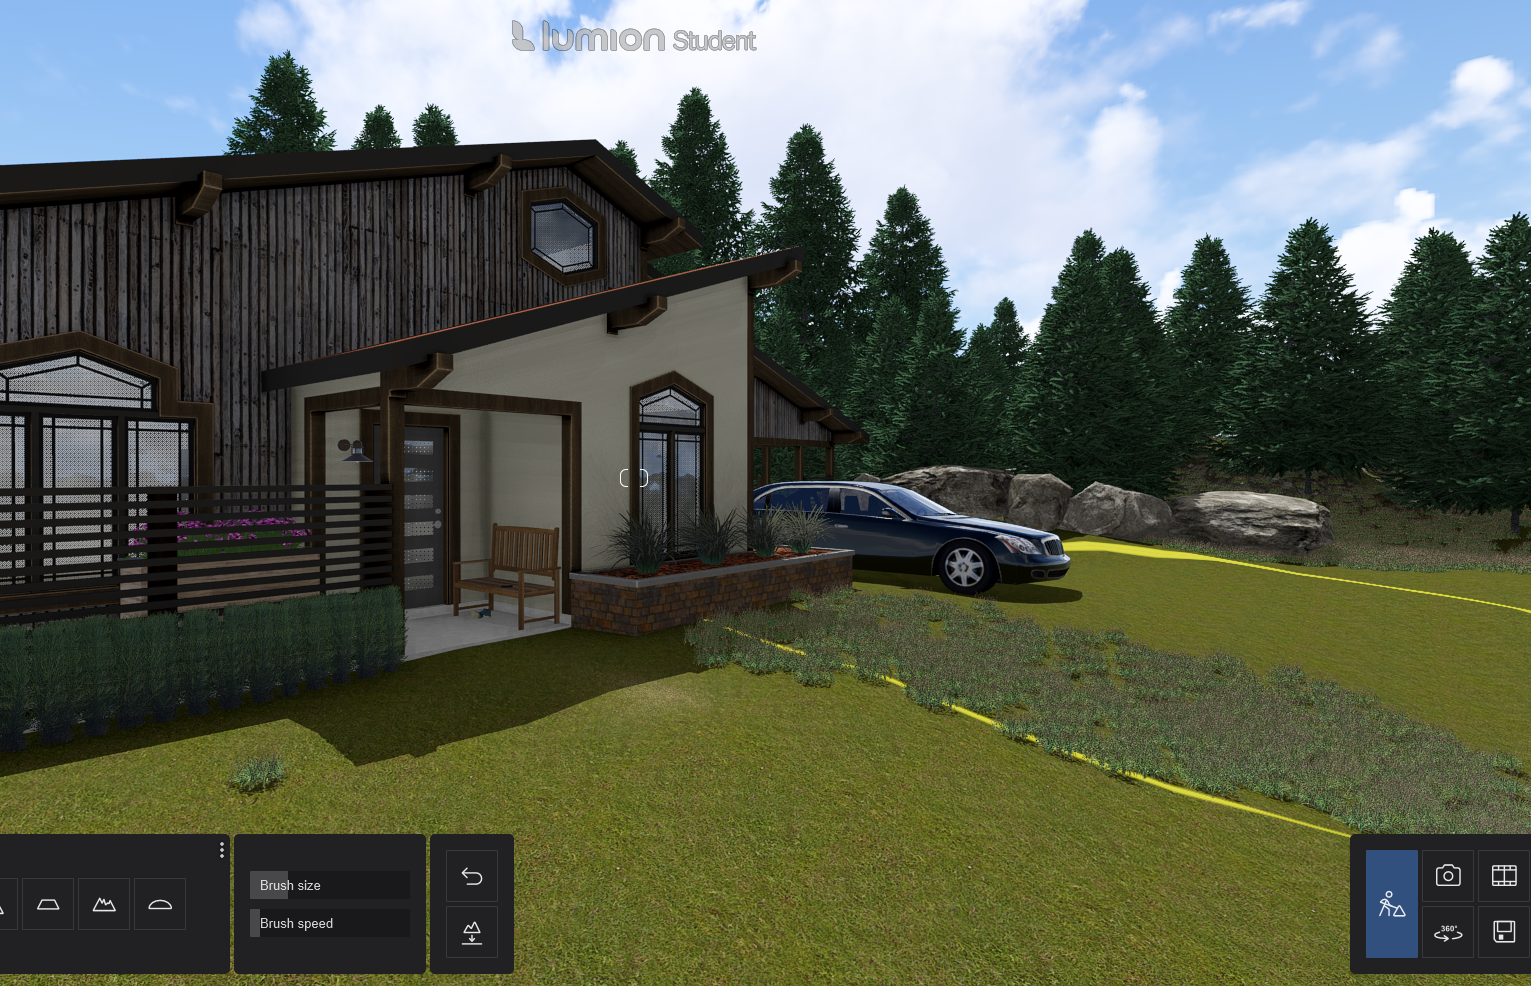
To make a more naturalized and realistic render, we need to terraform the features of our natural landscape. To begin, select the “Landscape” options from the tool menu located at the bottom left-hand side:
Using the “Height” tool, we can push and pull the currently very flat surface. This tool also allows for the surface to be more jagged or smooth depending on which option you have selected for this tool. If you wish to reset the ground to its original state, choose the flatten option. The changes that you make during this step may seem subtle but they are impactful when giving the illusion or realism to the viewer.

This is what my terraformed ground now looks like:
The next “Landscape” tool we will be using is the paint option. This tool allows us to paint a different landscape texture onto our ground. To paint with the tool, begin by selecting from one of the default options selected for you based on your default landscape. I recommend increasing the “Brush speed” to the maximum so that it is easier to paint. To apply the texture to the landscape, simply click on the ground surface. Example:
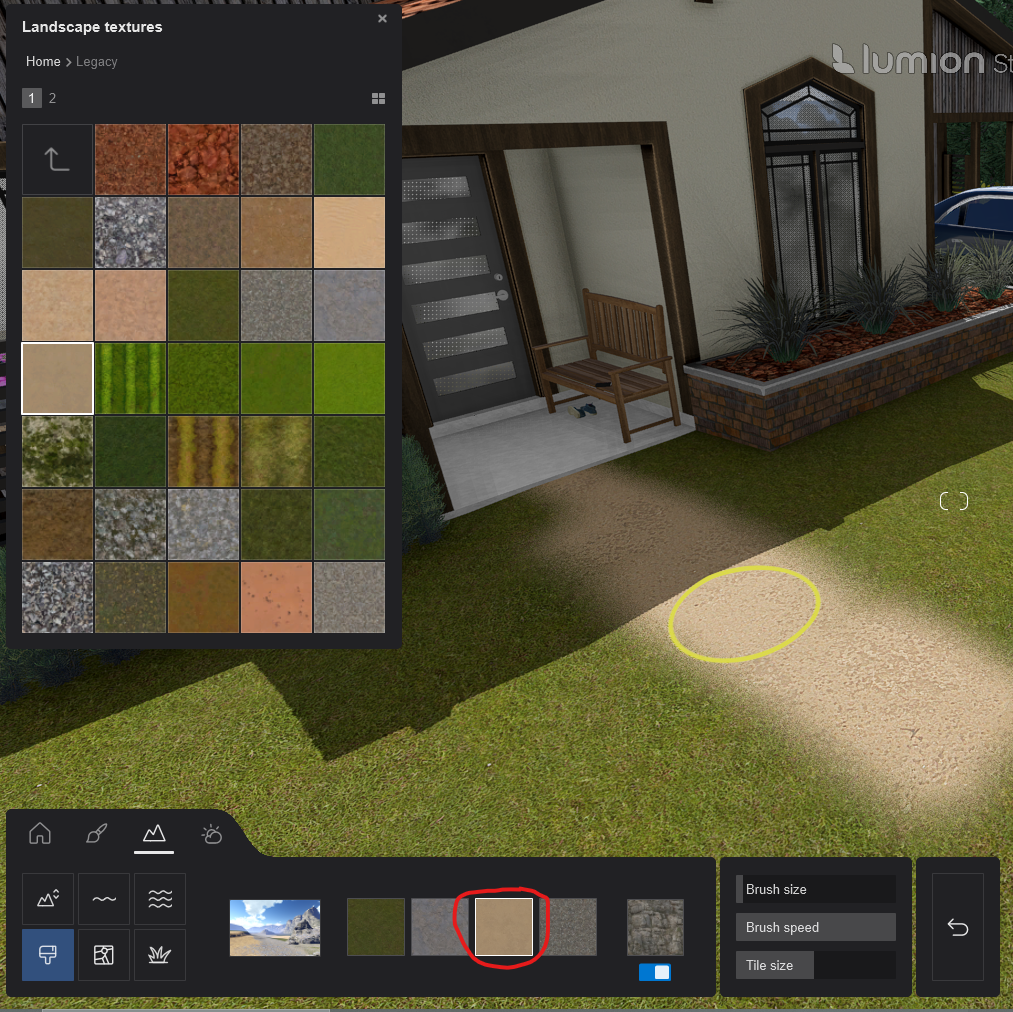 Swapping the selected textures in your bottom panel with those from the “Landscape textures” replaces your painted textures with the new texture. This is what my scene looks like now with new landscape textures:
 The next most useful option to look at from our “Landscape” tools is the “Landscape grass” option. This allows Lumion to give your grass texture form. You can change the grass’s size, height, and wildness as well as add miscellaneous debris and weeds if you so choose. This is what my scene looks like now with this option turned on:
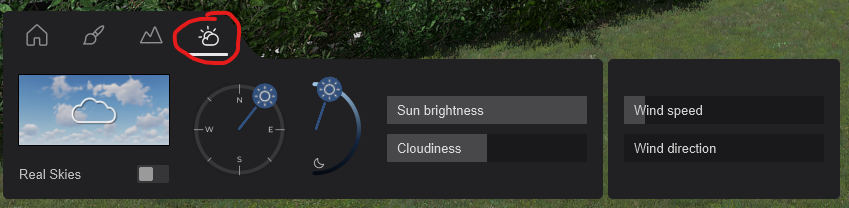
 The final tool that we will be going over is the weather tab. Here you can change the direction of the sun, the time of day, the brightness, and the cloudiness.
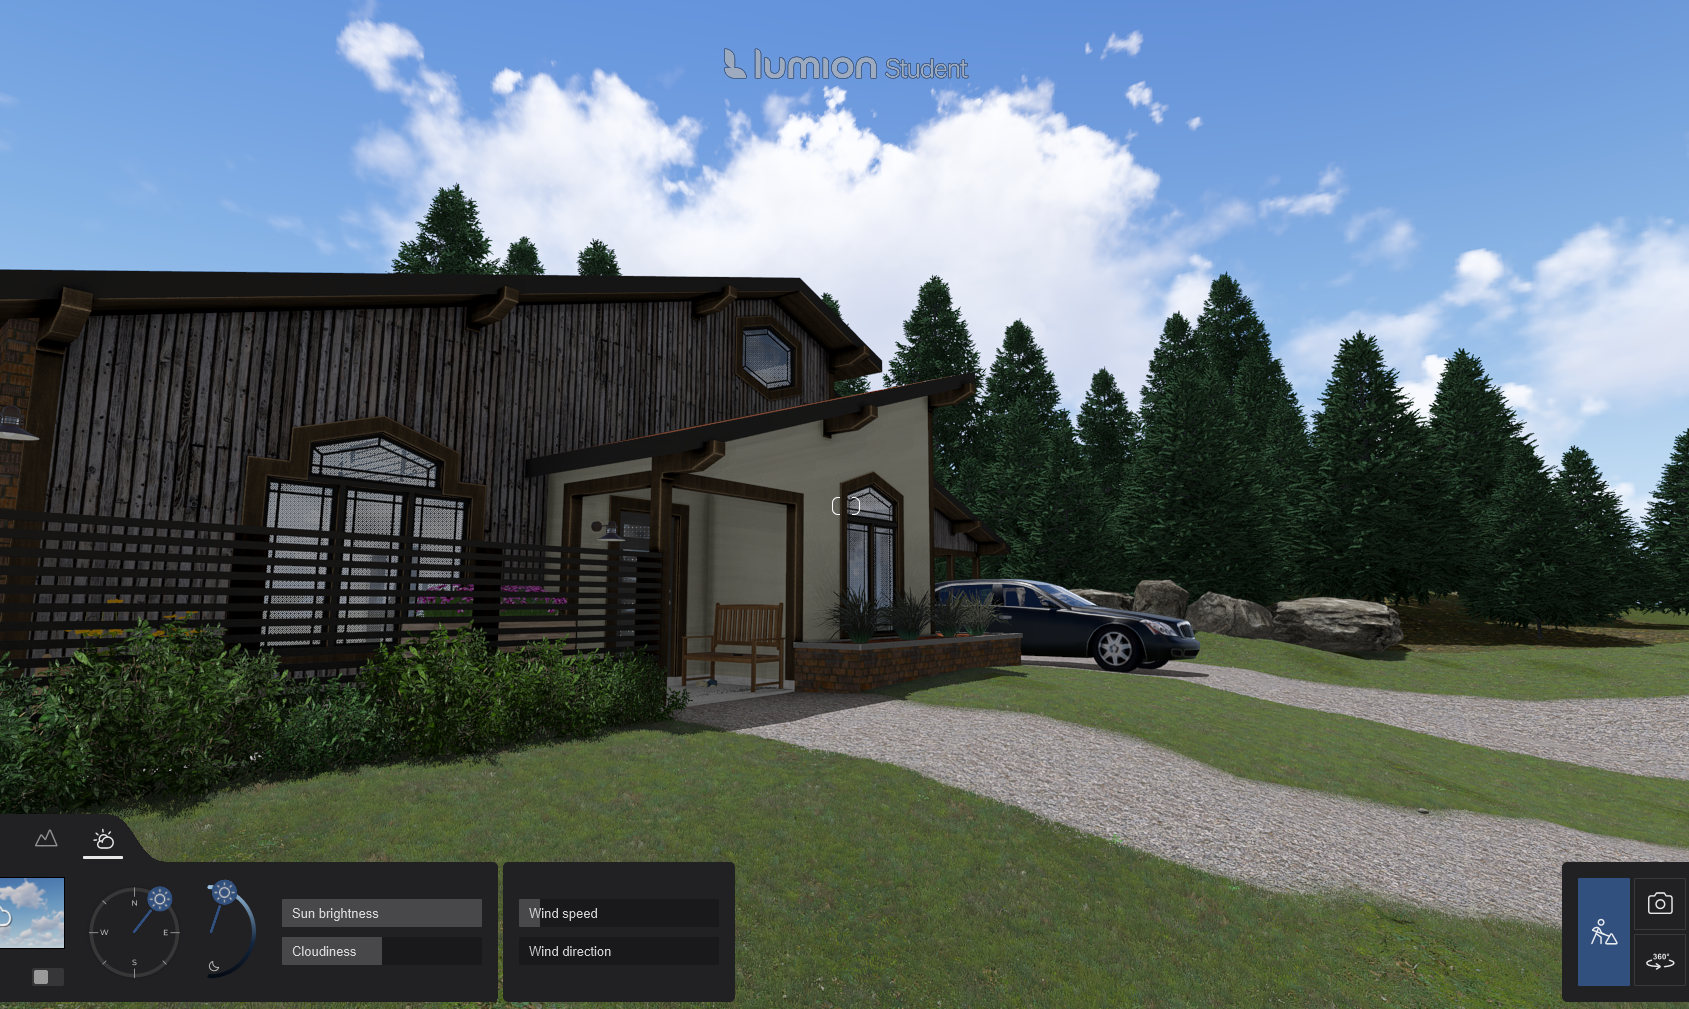
 This is what our final model looks like before going into rendering options:
Rendering Options
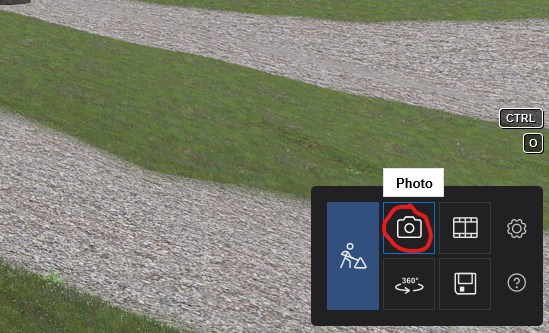
To open the rendering options, select the “Photo” mode from the bottom right-hand side panel:
 You will be presented with a screen that looks like the following:
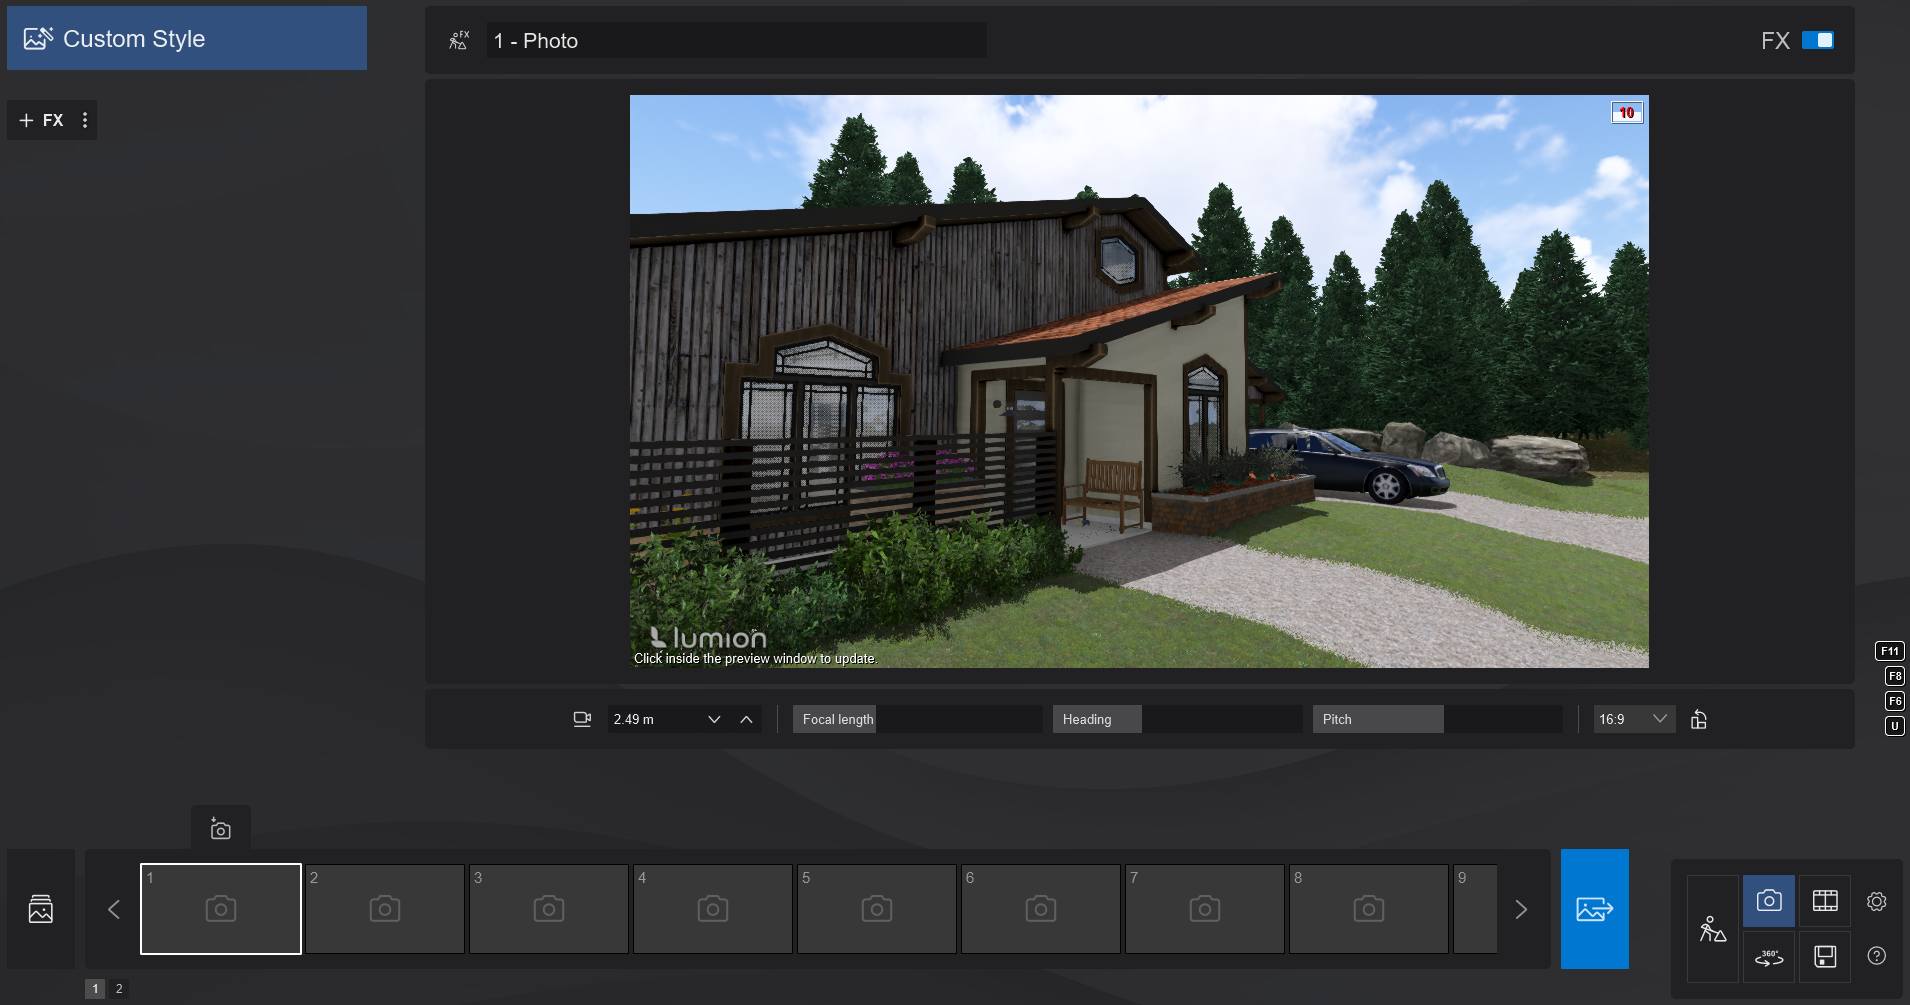
The main view sets the position of our camera. Under the view you will find the settings of the camera where you can change the height, focal length, heading, pitch, and ratio of the frame. You can also click on the view to move the camera around how you would normally in the “Build” mode.
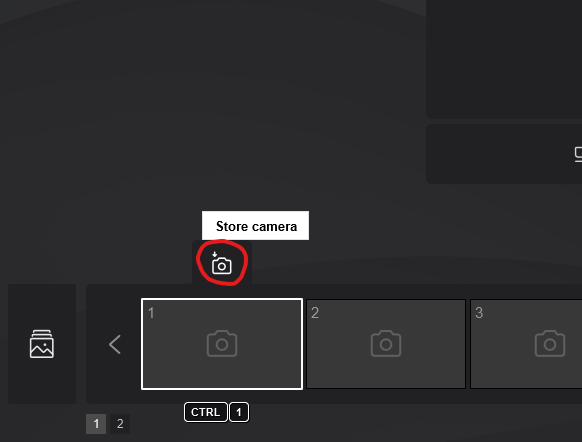
 Once you are happy with the positioning of your camera, save the by clicking the “Store camera” option that comes up when hovering over the photo slots at the bottom.
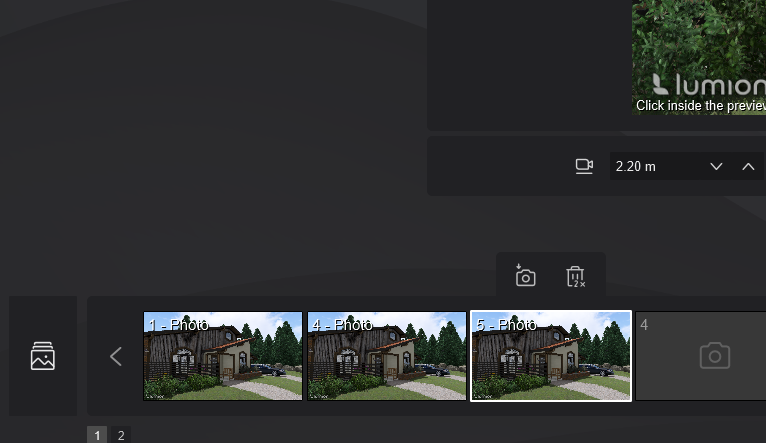
 You will notice that the exact positioning of the camera will be stored in that slot. If you double-click it, you can restore your main view to that exact positioning. I will be making three copies of the same position to give a variety of rendering stylization options.
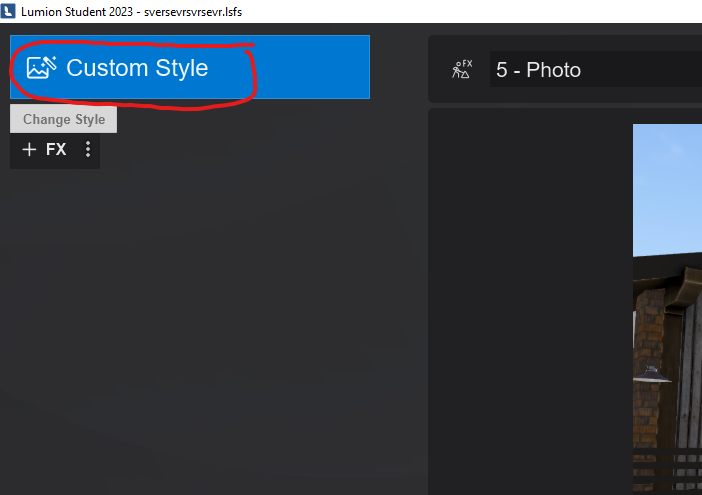
For beginners, I recommend only sticking to the preset “Custom Style” options available. You can select from the options available by clicking the “Custom Style” button on the top left-hand corner.
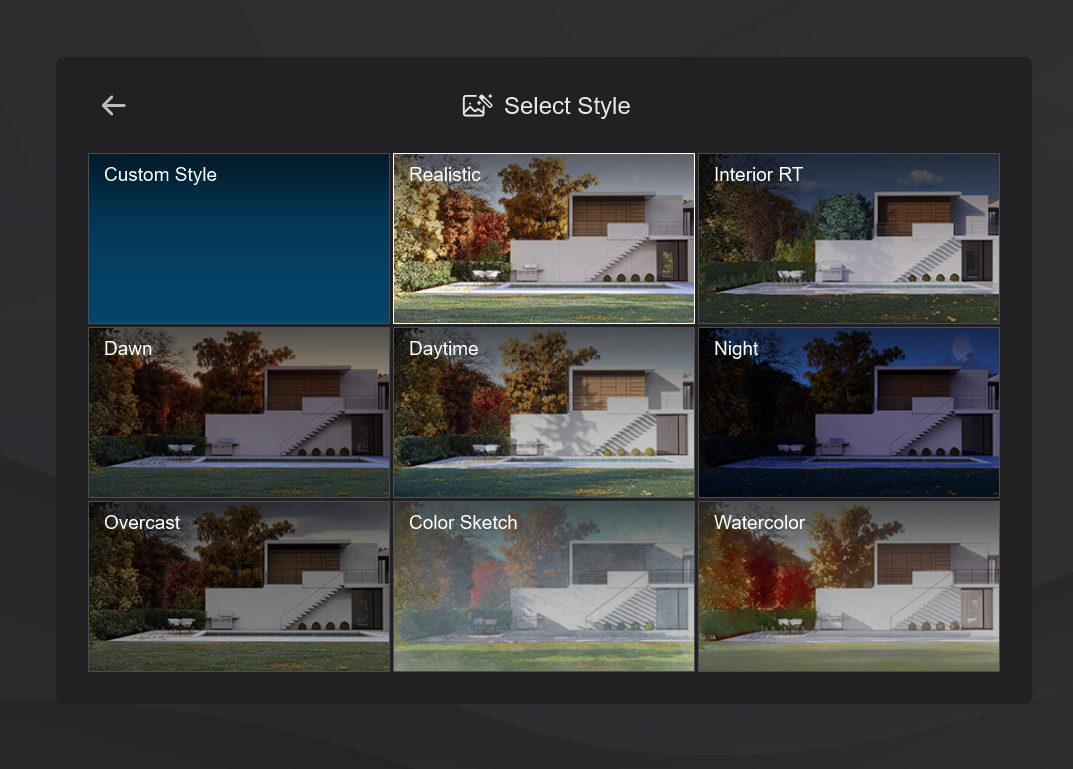
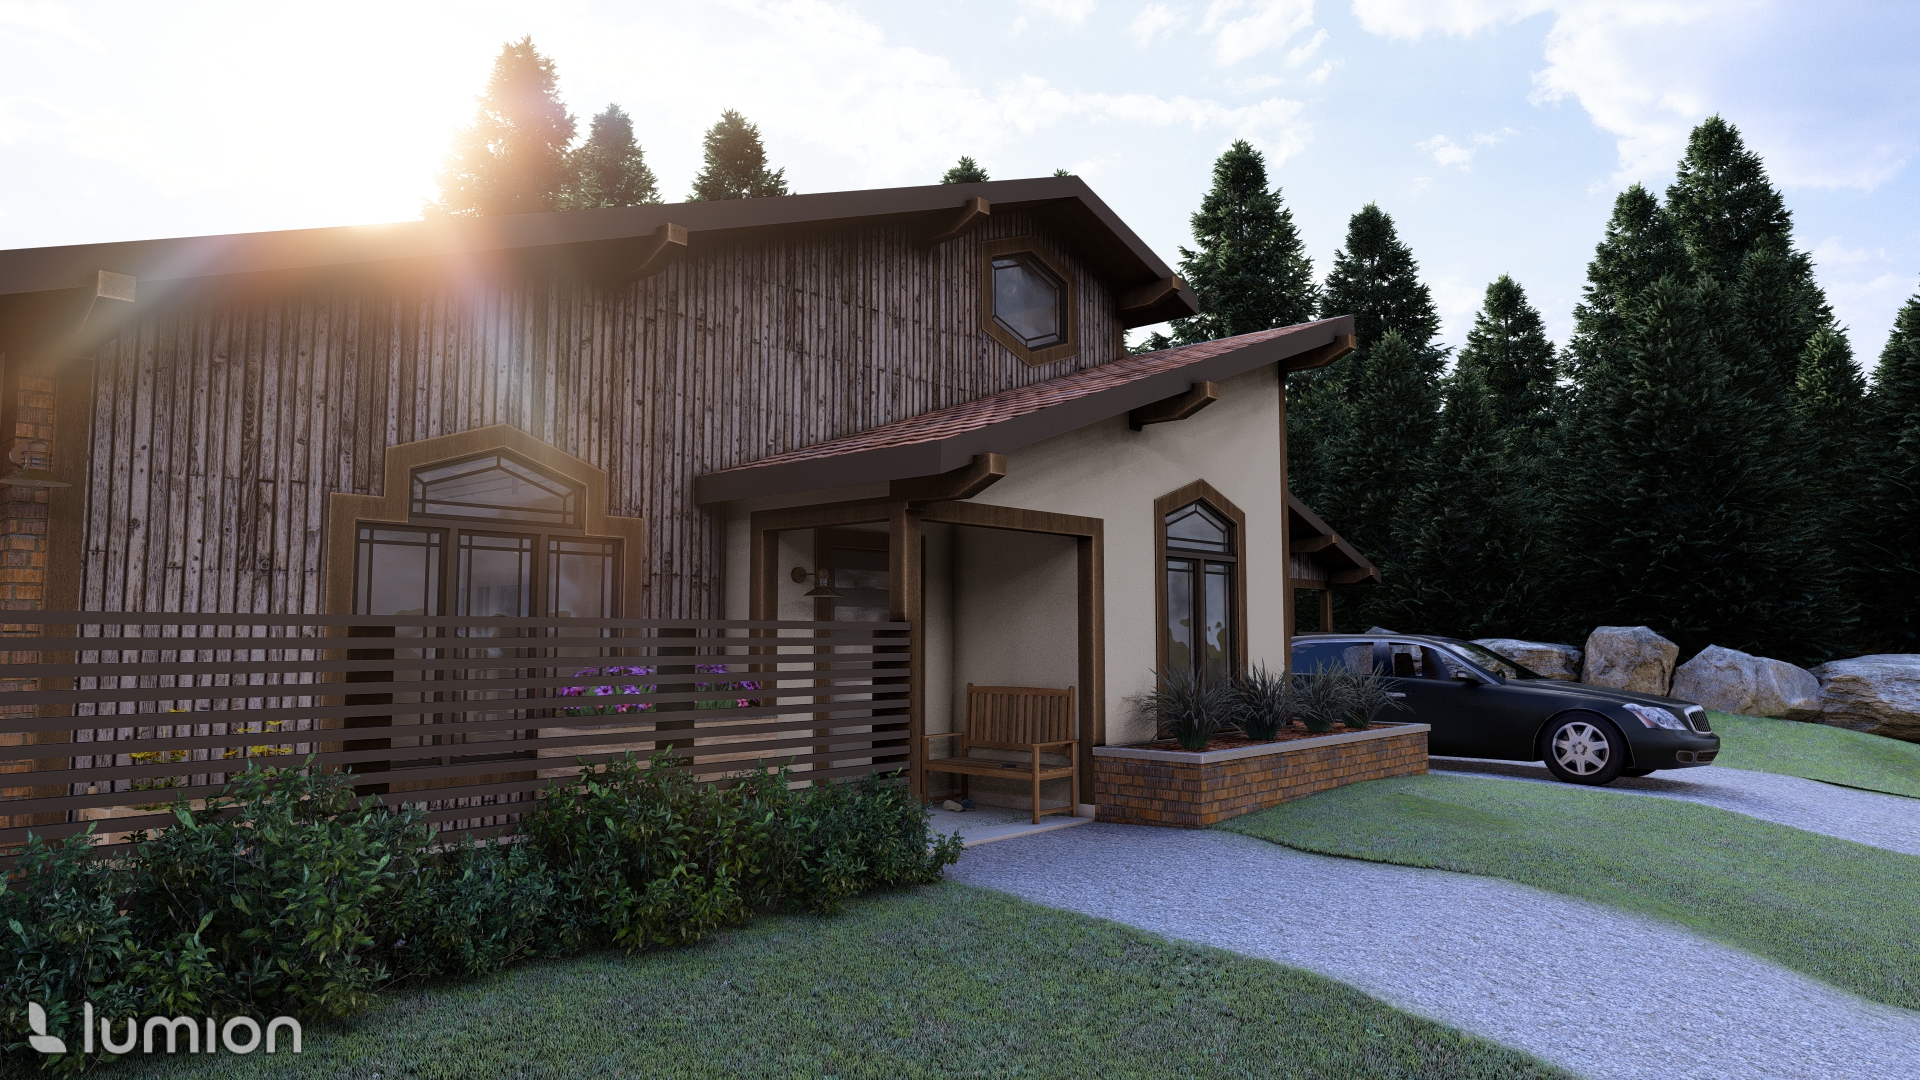
 You will be presented with 8 presets to choose from. For our first rendering, we will be choosing the “Realistic” option.
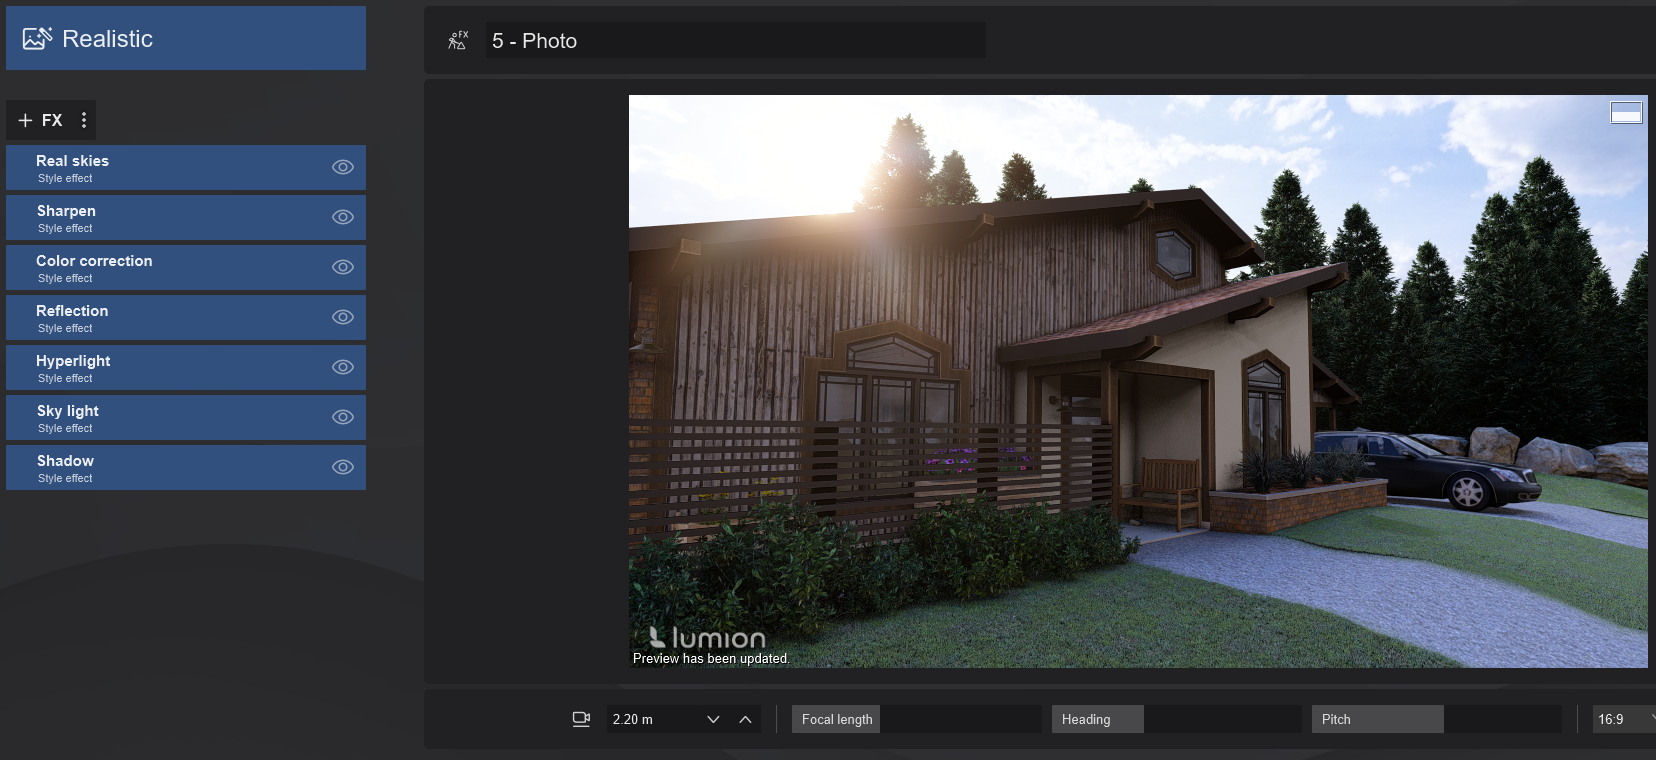
 This is what our preview updates to:
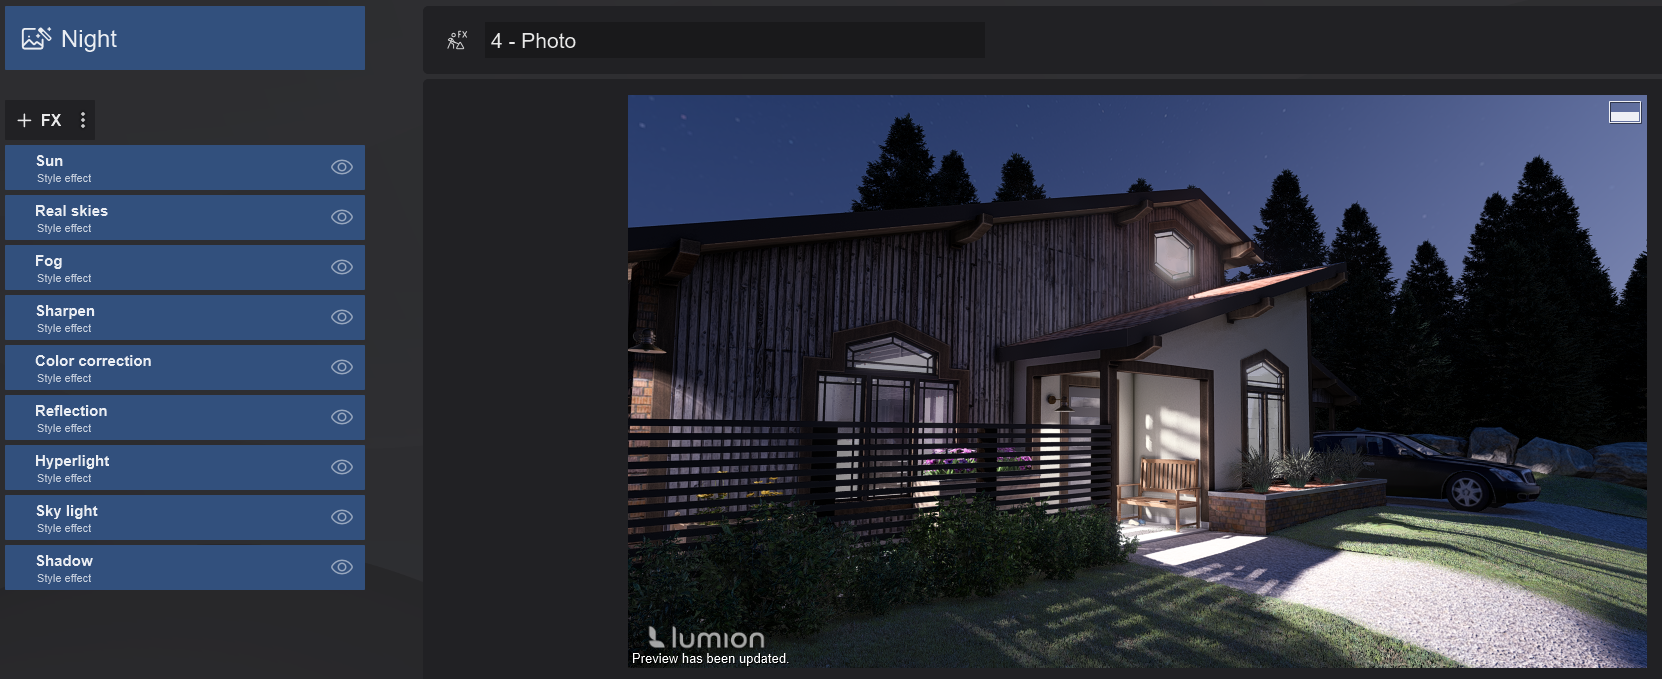
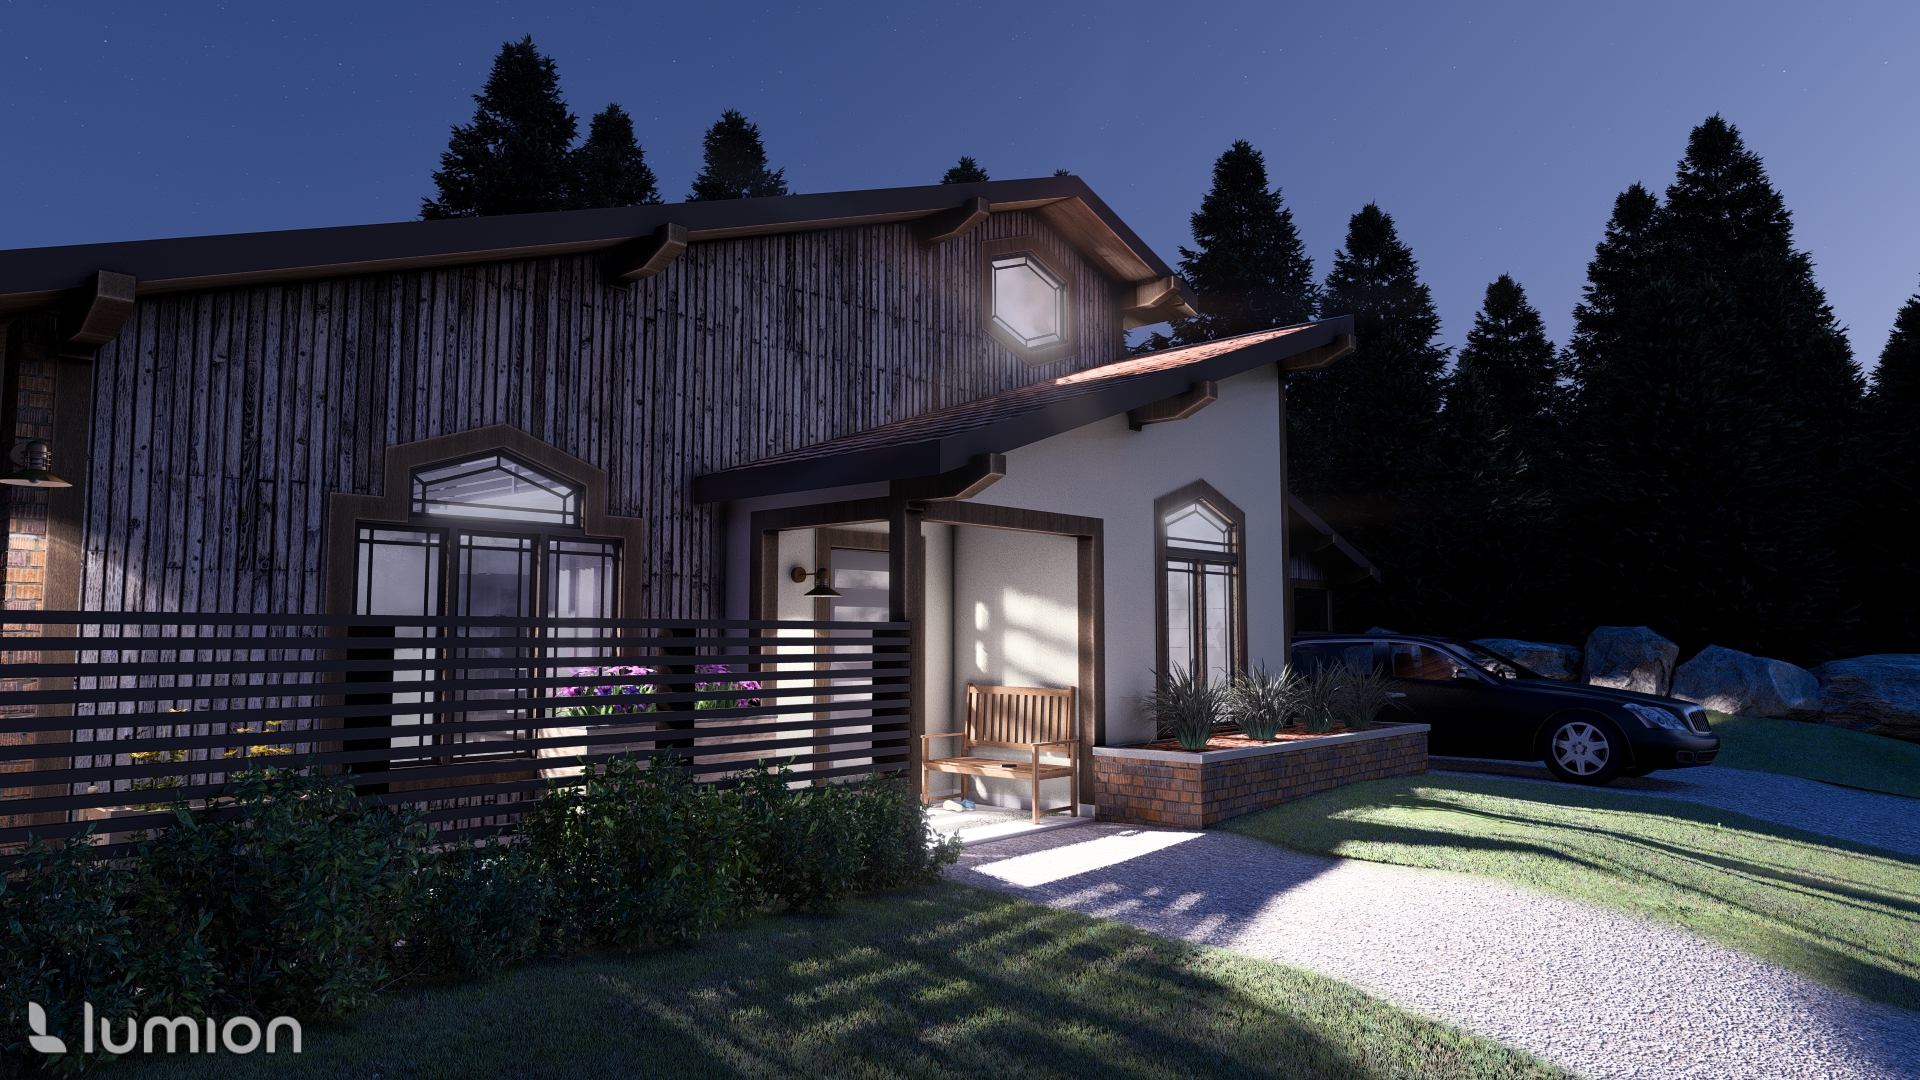
 For our next view, we will be doing a night scene using the same process. I will be making sure to select a different stored view to make sure that I am not overriding any work that I have already done. To achieve this, I added light effects in the “Build” mode. To update the preview, simply click on the preview window. “This is what preview updates to:
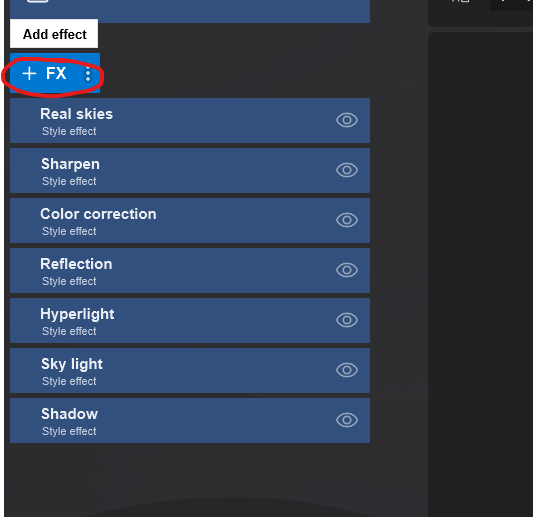
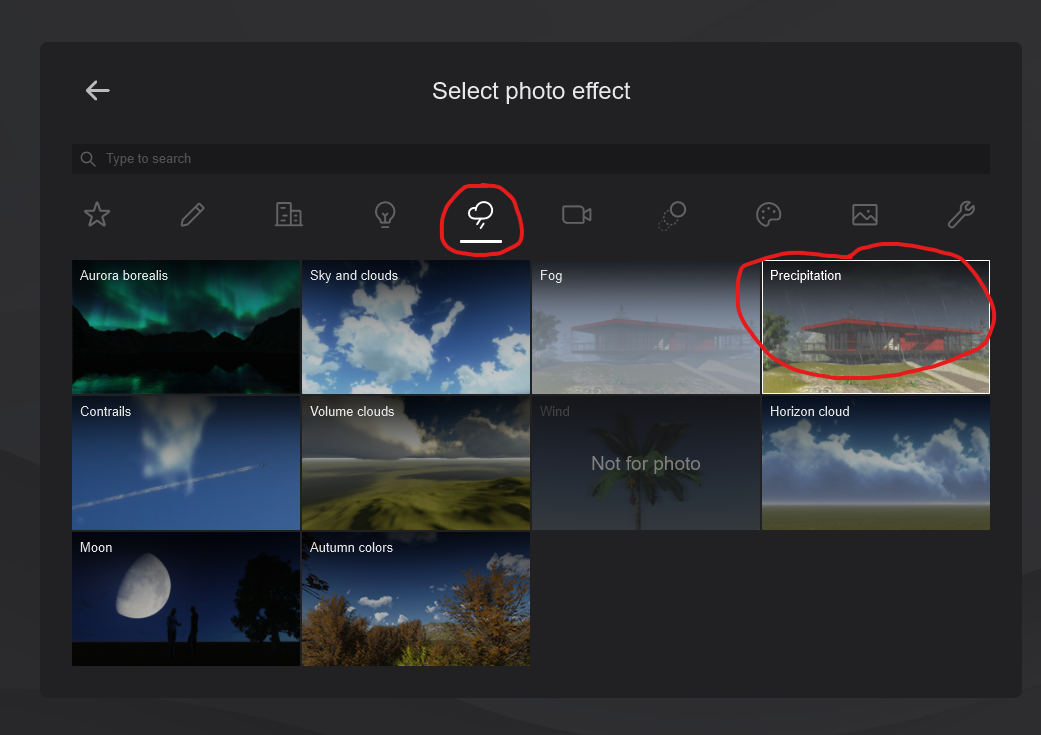
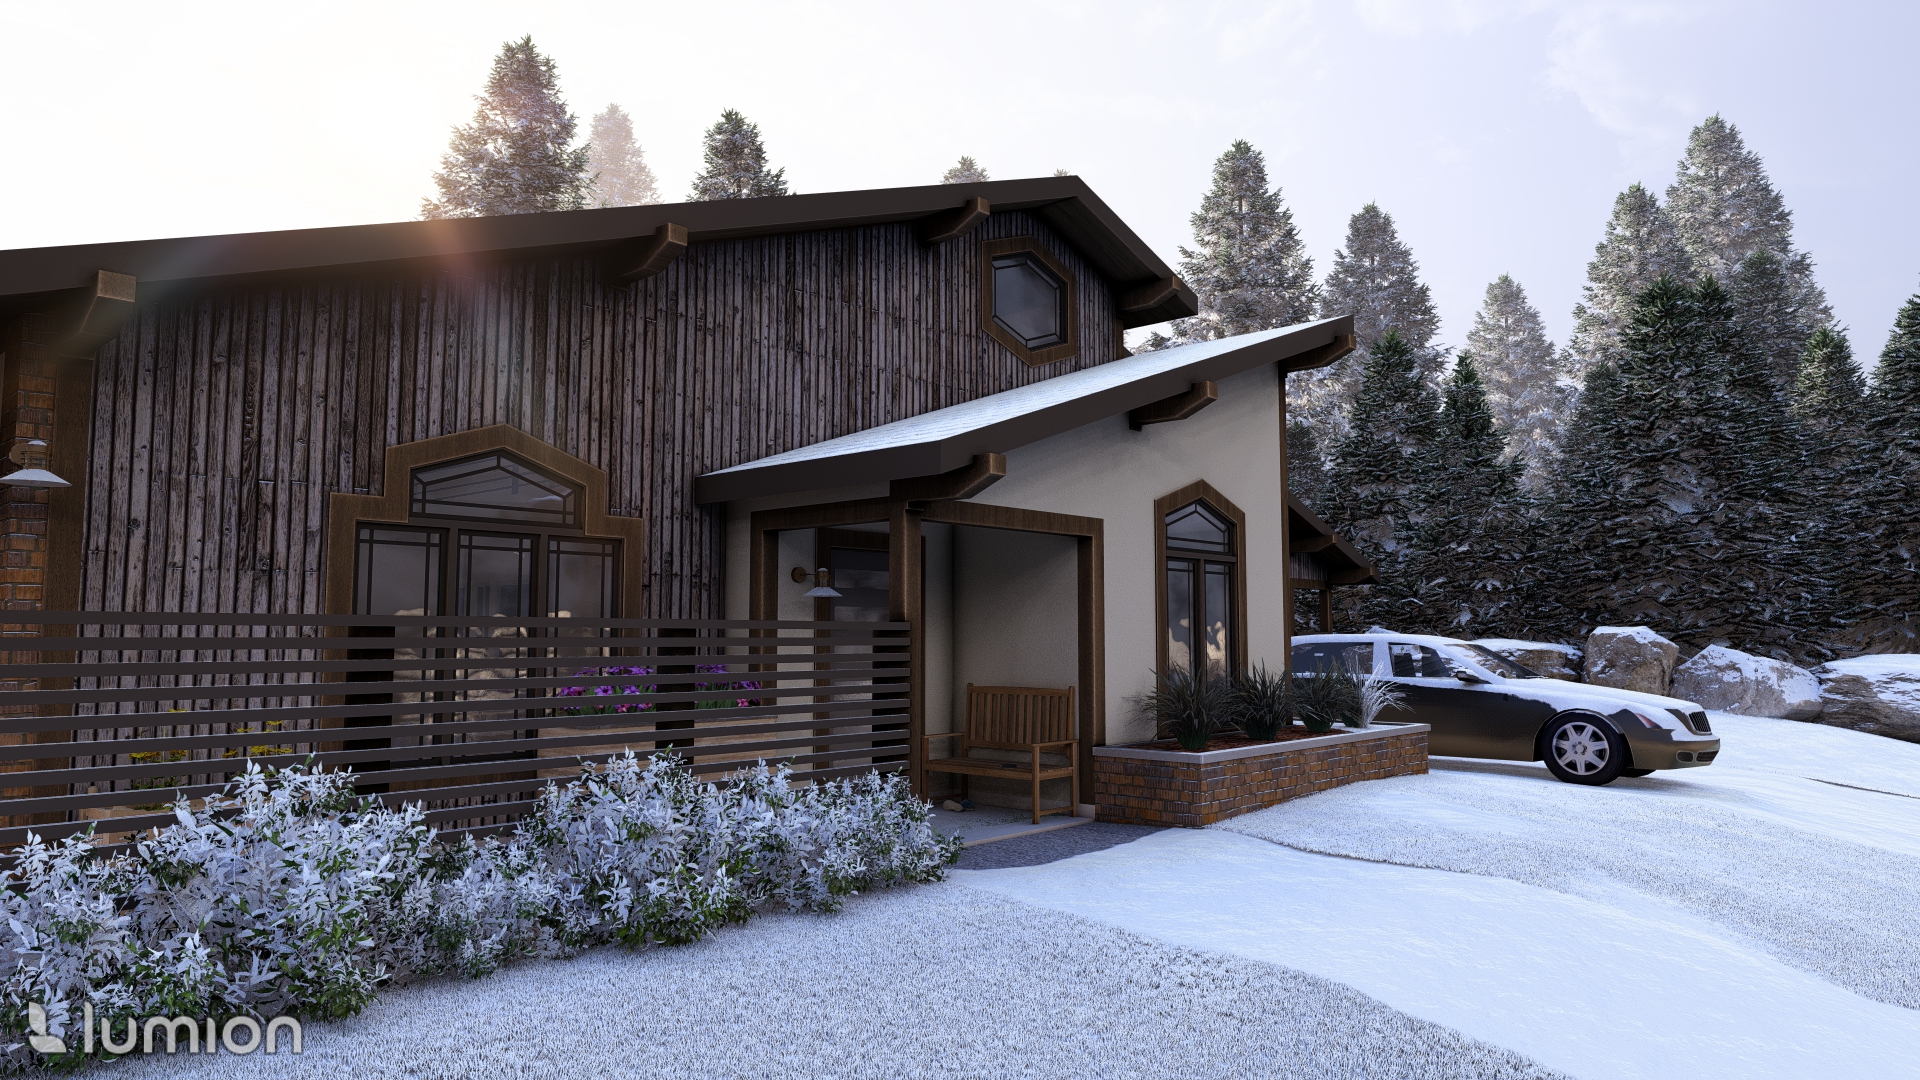
 Finally, I want to create a snowy winter scene. To accomplish this, select the realistic option from “Custom Style”. Next, create a new effect by clicking the “Add effect” option and select the “Precipitation” option from the “Sky/Weather” tab:
We can change the settings within this effect. These are the settings that I chose for a snow effect and the updated preview:
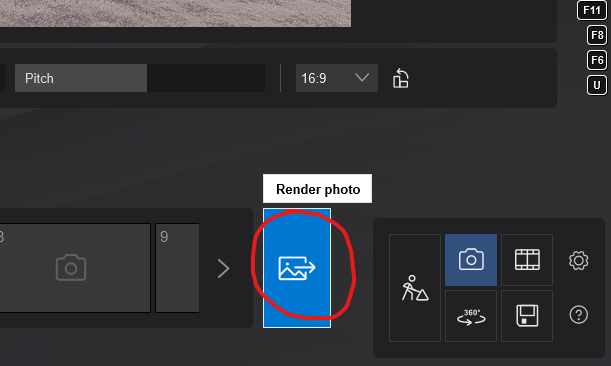
 To export our renders, select the “Render photo” option beside our mode panel.
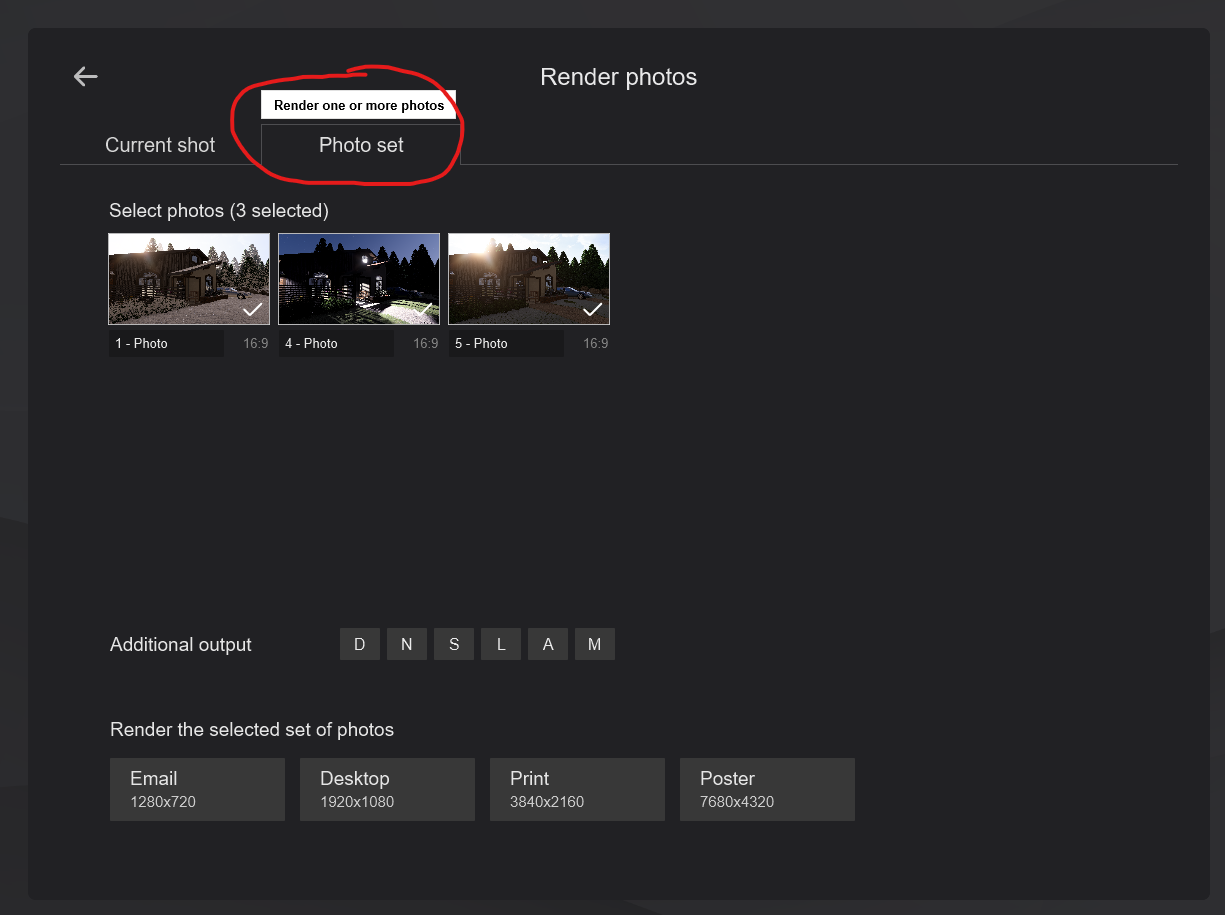
 Within this new menu, we will be selecting the “Photo set” option to render all of our renderings. We also have the option to choose from the size of our render. Pick appropriately as the bigger the render, the longer it will take. Keep in mind what you will be using the rendering for (poster displays need bigger image files to not look pixelated). I will be selecting the “Desktop” option.
Results
Author: Micheal Glazyrin
