17 Image Display and File Size
Image display size plays a crucial role in enhancing the overall learning experience for your students. It directly impacts how quickly images load and how accessible your course materials are, especially for students with limited internet access.
Why Image Size Matters
Before we delve into the how-to, let’s reiterate why image size is so important. When you upload images to the internet, the platform needs to load and display them efficiently. A large image can be a burden on slower internet connections, causing frustration for students trying to access your materials. To ensure a seamless learning experience, it’s essential to optimize your images.
In short, an image that is a JPG, 400 pixels wide, and less than 500 KB is the better choice.

What If Your Image Is Too Large?
If you’ve found the perfect image but it exceeds the recommended size, don’t worry – you can easily resize it. Here’s a step-by-step guide on how to do it:
Assess Your Image Size
Start by checking the current dimensions and file size of your image:
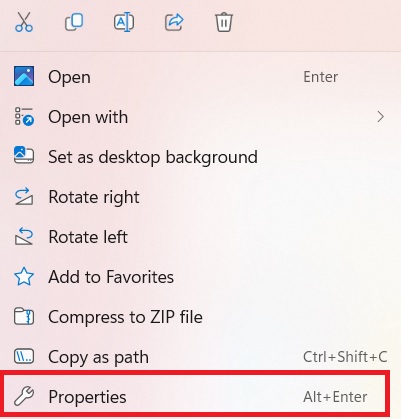
- Select the image file with the right-click and choose “Properties”
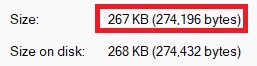
- Make a note of the image’s file size in the “General” tab. As you can see below, the regular size and size on disk are different. We only need to consider the “Size” field. “Size on disk” includes file system metadata which will be excluded from the image once the image is uploaded to the website.
- Navigate to the “details” tab
![]()
- Scroll down until you see the “Image” section
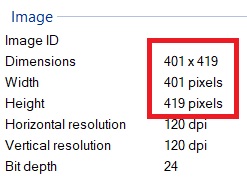
- Make a note of the image’s dimension.
Option 1: Resizing Using Built-in Software
- Open the image using the built-in Photos app.
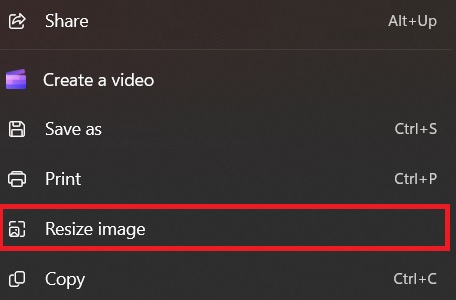
- Expand the three-dot menu at the top of the screen.

- Select the “Resize image” button from the drop-down menu.
- Choose the option for “Pixels” dimensions and enter a width of 400 pixels. The height will adjust automatically to maintain the aspect ratio. You can also adjust the image quality and file type here. This will allow you to achieve the right file size for your image.
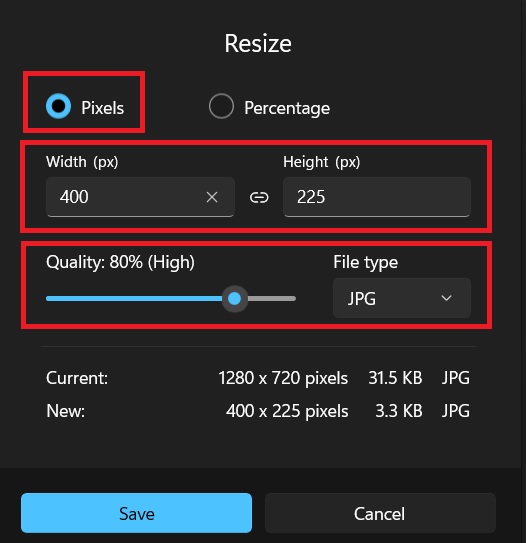
- Save the resized image by selecting the “Save” button.
