12 Adding Alt-tags in MS 365 and Blackboard
MS 365
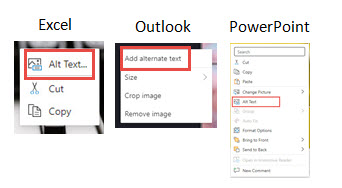
The process for adding Alt-tags in Microsoft products such as Excel, Outlook, and PowerPoint is similar.
Right-Click on the Object
If you have included an image, chart, or other visual object,
- Right-click on the object, this will open a drop-down menu.
- Select Add Alternate Text or Edit Alt text from the menu
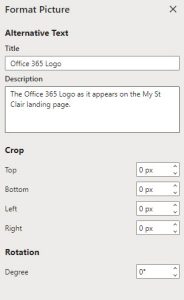
- In the new dialog box that appears, type a description into the box or, in some cases, you will be asked for a Title and a description. The Title can be a short phrase or identifying word, but the description should be 1 – 2 sentences.
- If the image or object is purely decorative, you denote this by adding “” – these two quote marks will signal a decorative image.
Three Right-click menus
Use Picture Tools
For Word and PowerPoint, you have the ability to use the Picture Tools menu:
Word Picture Menu

PowerPoint Picture Menu

- Click on the first visual object.
- Using the main menu at the top of the window, locate and click on the Picture menu.
- On the Picture ribbon menu, select Alt Text
- A panel will appear on the right with a space to enter your description for PowerPoint, and a space for both a Title and a description for Word.
- Clicking on the next object with this panel open will allow you to continue to add Alt text for all the visual objects in your document quickly.
- If the image or object is purely decorative, you denote this by adding “” – these two quote marks will signal a decorative image.
Microsoft Guides
Adding Alternative Text in Microsoft 365
Everything you need to know to write effective alt text
Blackboard Images
The process for adding Alt Tags for images in Blackboard Learn Original is straightforward:
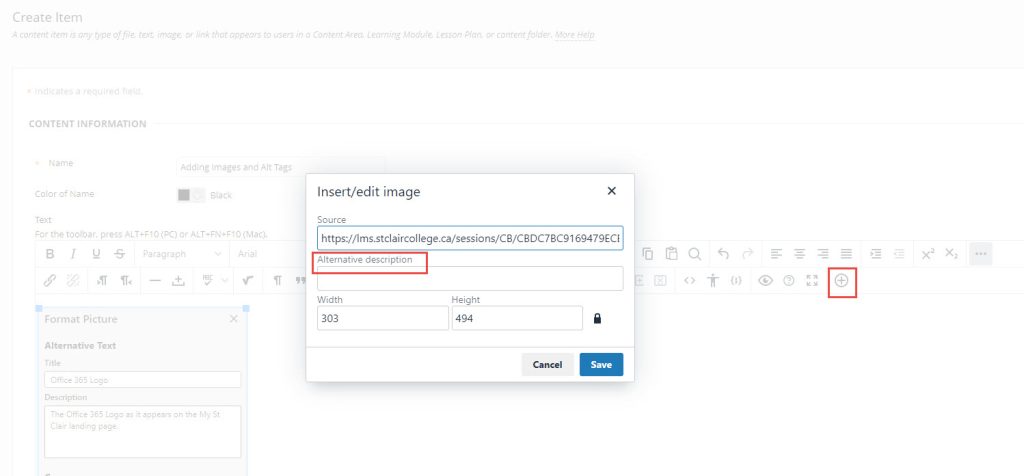
1. Create or edit your Item.
2. From the edit menu, select + navigate to and select the image you want to insert.
3. Once the image appears in the edit window, right click and select Image from the drop down menu
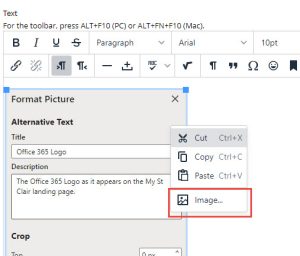
4. In the Image menu, add your alt tag to the box marked Alternative Text.
5. Click Save.
Blackboard Videos
1. Open your web browser and go to your Blackboard course.
2. Log in to your Blackboard course.
3. Select course tools from the quick-access menu on the left side of the website.
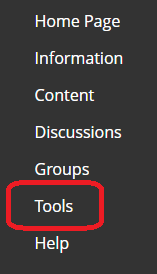
4. Scroll down until you notice “Class Collaborate Ultra” link in the left column of the “Tools” menu and select this link.
![]()
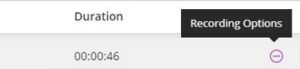
5. Locate the recording you want to caption from the Collaborate Dashboard. The recording name always begins with the session name unless you changed it.
6. Select three-dots menu on the right side of your recording.
7. Select “Add caption source” from the list of Recording options.
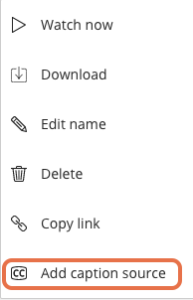
8. Choose whether you want to create the captions manually or have Collaborate generate them for you using speech recognition technology from the menu.
9. Select the “Enable captions” option first and then select “Create auto-caption” or “Upload/Overwrite captions” link depending on whether you need automatic captions or manually created captions.
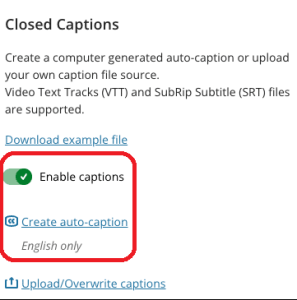
10. Browse for the SRT or VTT file and upload it if you decided to add manual captions.
11. Select the “Submit” button at the bottom of the screen to save and submit the changes.
Blackboard Guides
Insert Images in the Editor, Blackboard Help File
Adding Images to Blackboard Video
