5 Testing your plan with a first episode creation
Different options to produce your masterpiece
As with almost every creative endeavor, there is more than one way to do things. When setting out to create an audio recording, being aware of the technological requirements can help determine the scope and quality of your project. Using higher quality, professional gear, will obviously help elevate your final project, but if time and expertise are an issue, knowing that there are more accessible ways to create can be helpful!
Each example provided below uses the same script, tested to assure an appropriate length of time, and recorded using a low-med-high tech set of steps/equipment. Please feel free use the Teachable Moments Trailer Script
Low-Tech option
An example using an iOS smart phone and its pre-installed (free) ‘voice memo’ app at my office desk. Exported as .m4a
Steps used to create the recording and add to the course
- Find a quiet spot, and make sure my phone has a good amount of battery.
- Make sure I have earbuds for ease of recording and playing back my recording to hear how it sounds
- Have my script ready, and a surface it can be placed on so that the recording does not pick up any ‘crinkling’ sounds. Start recording my read of the script so that I can play back and listen for ambient noise.
- Redo or ‘share’ to my desktop, so that I can listen again (to assure sound good enough on multiple devices)
- Post to My Files in my D2L course so that it is available for when I want to share it with my students (maybe embedded in tomorrows announcement!).
Mid-Tech option
An example using an iOS iPad device and its pre-installed (free) ‘voice memo’ app outside in the garden. Exported as .m4a
Steps used to create the recording and add to the course
Step to produce remain the same for both the low-and the mid tech option with only the hardware device and recording location changing.
High-Tech option
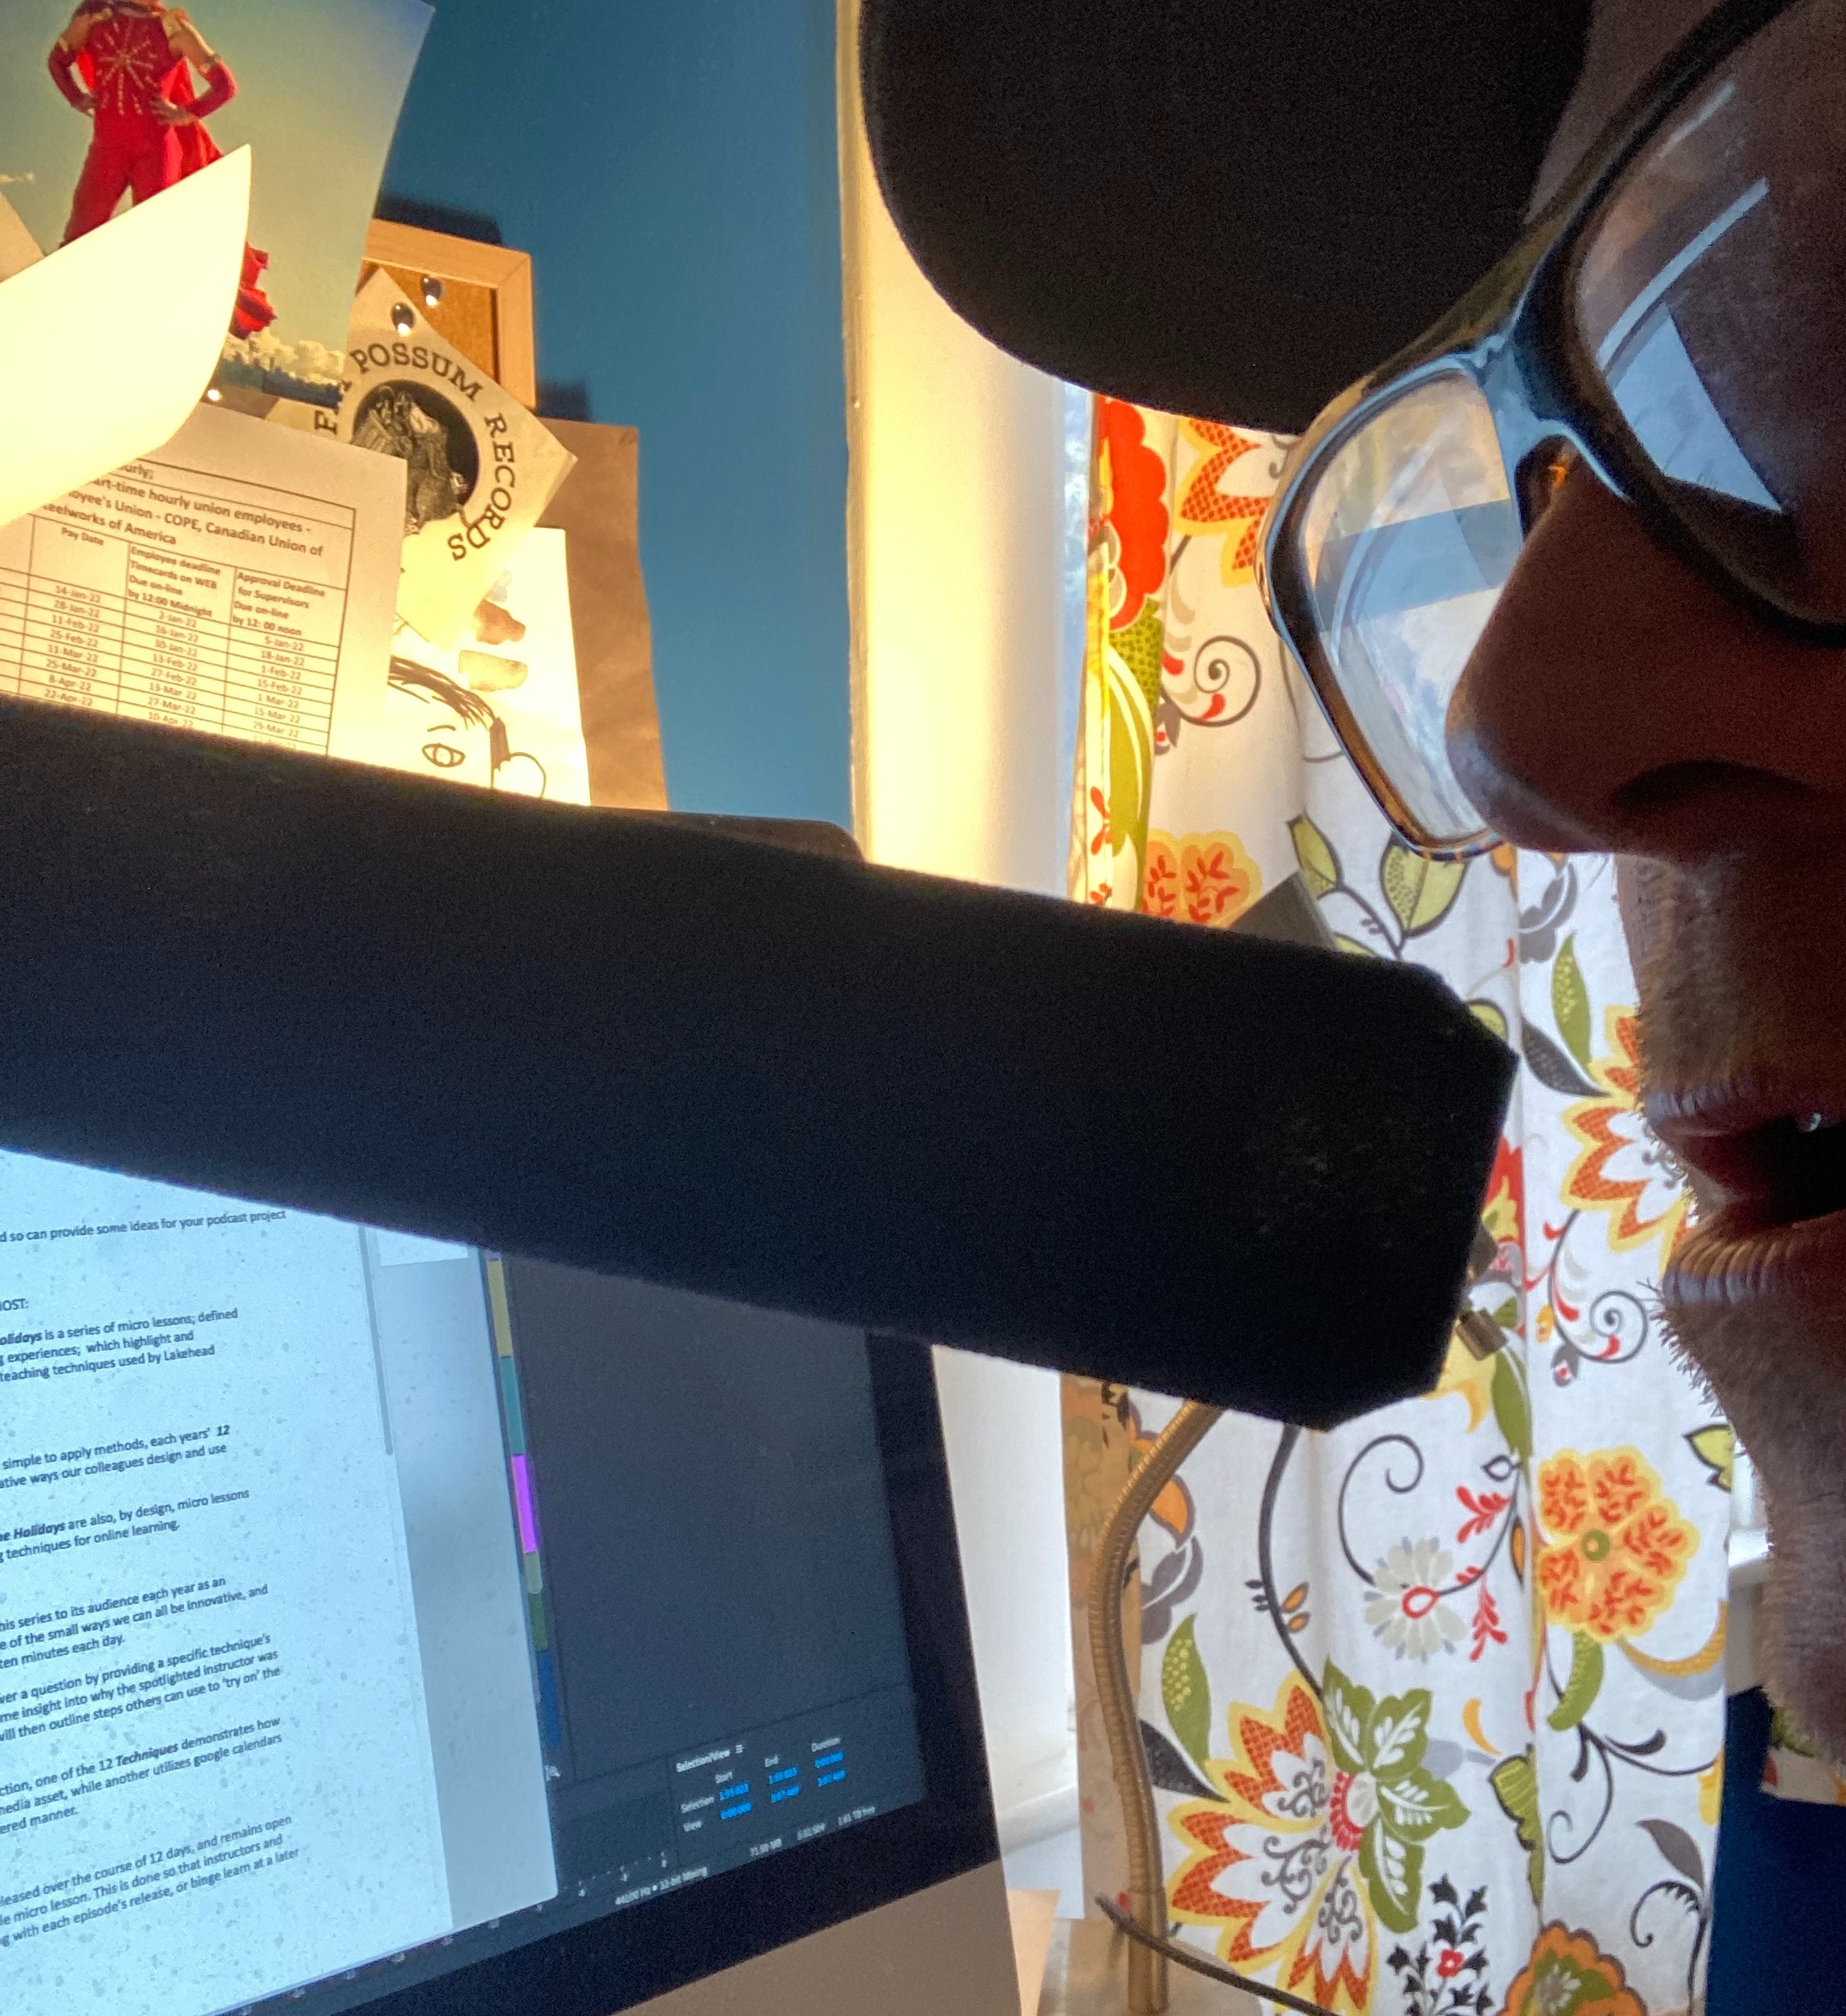
An example using a computer, a directional microphone connected to a USB digital recorder with added music and sound effects and edited on Adobe Audition (PAID). Exported as .mp3
Steps used to create the recording and add to the course
- The first step, after developing an outline was to prepare a script.
- Knowing I wanted to make a “high” quality recording, I connected an external professional microphone to a ZOOM H4N digital audio recorder, and connected that via USB to my computer.
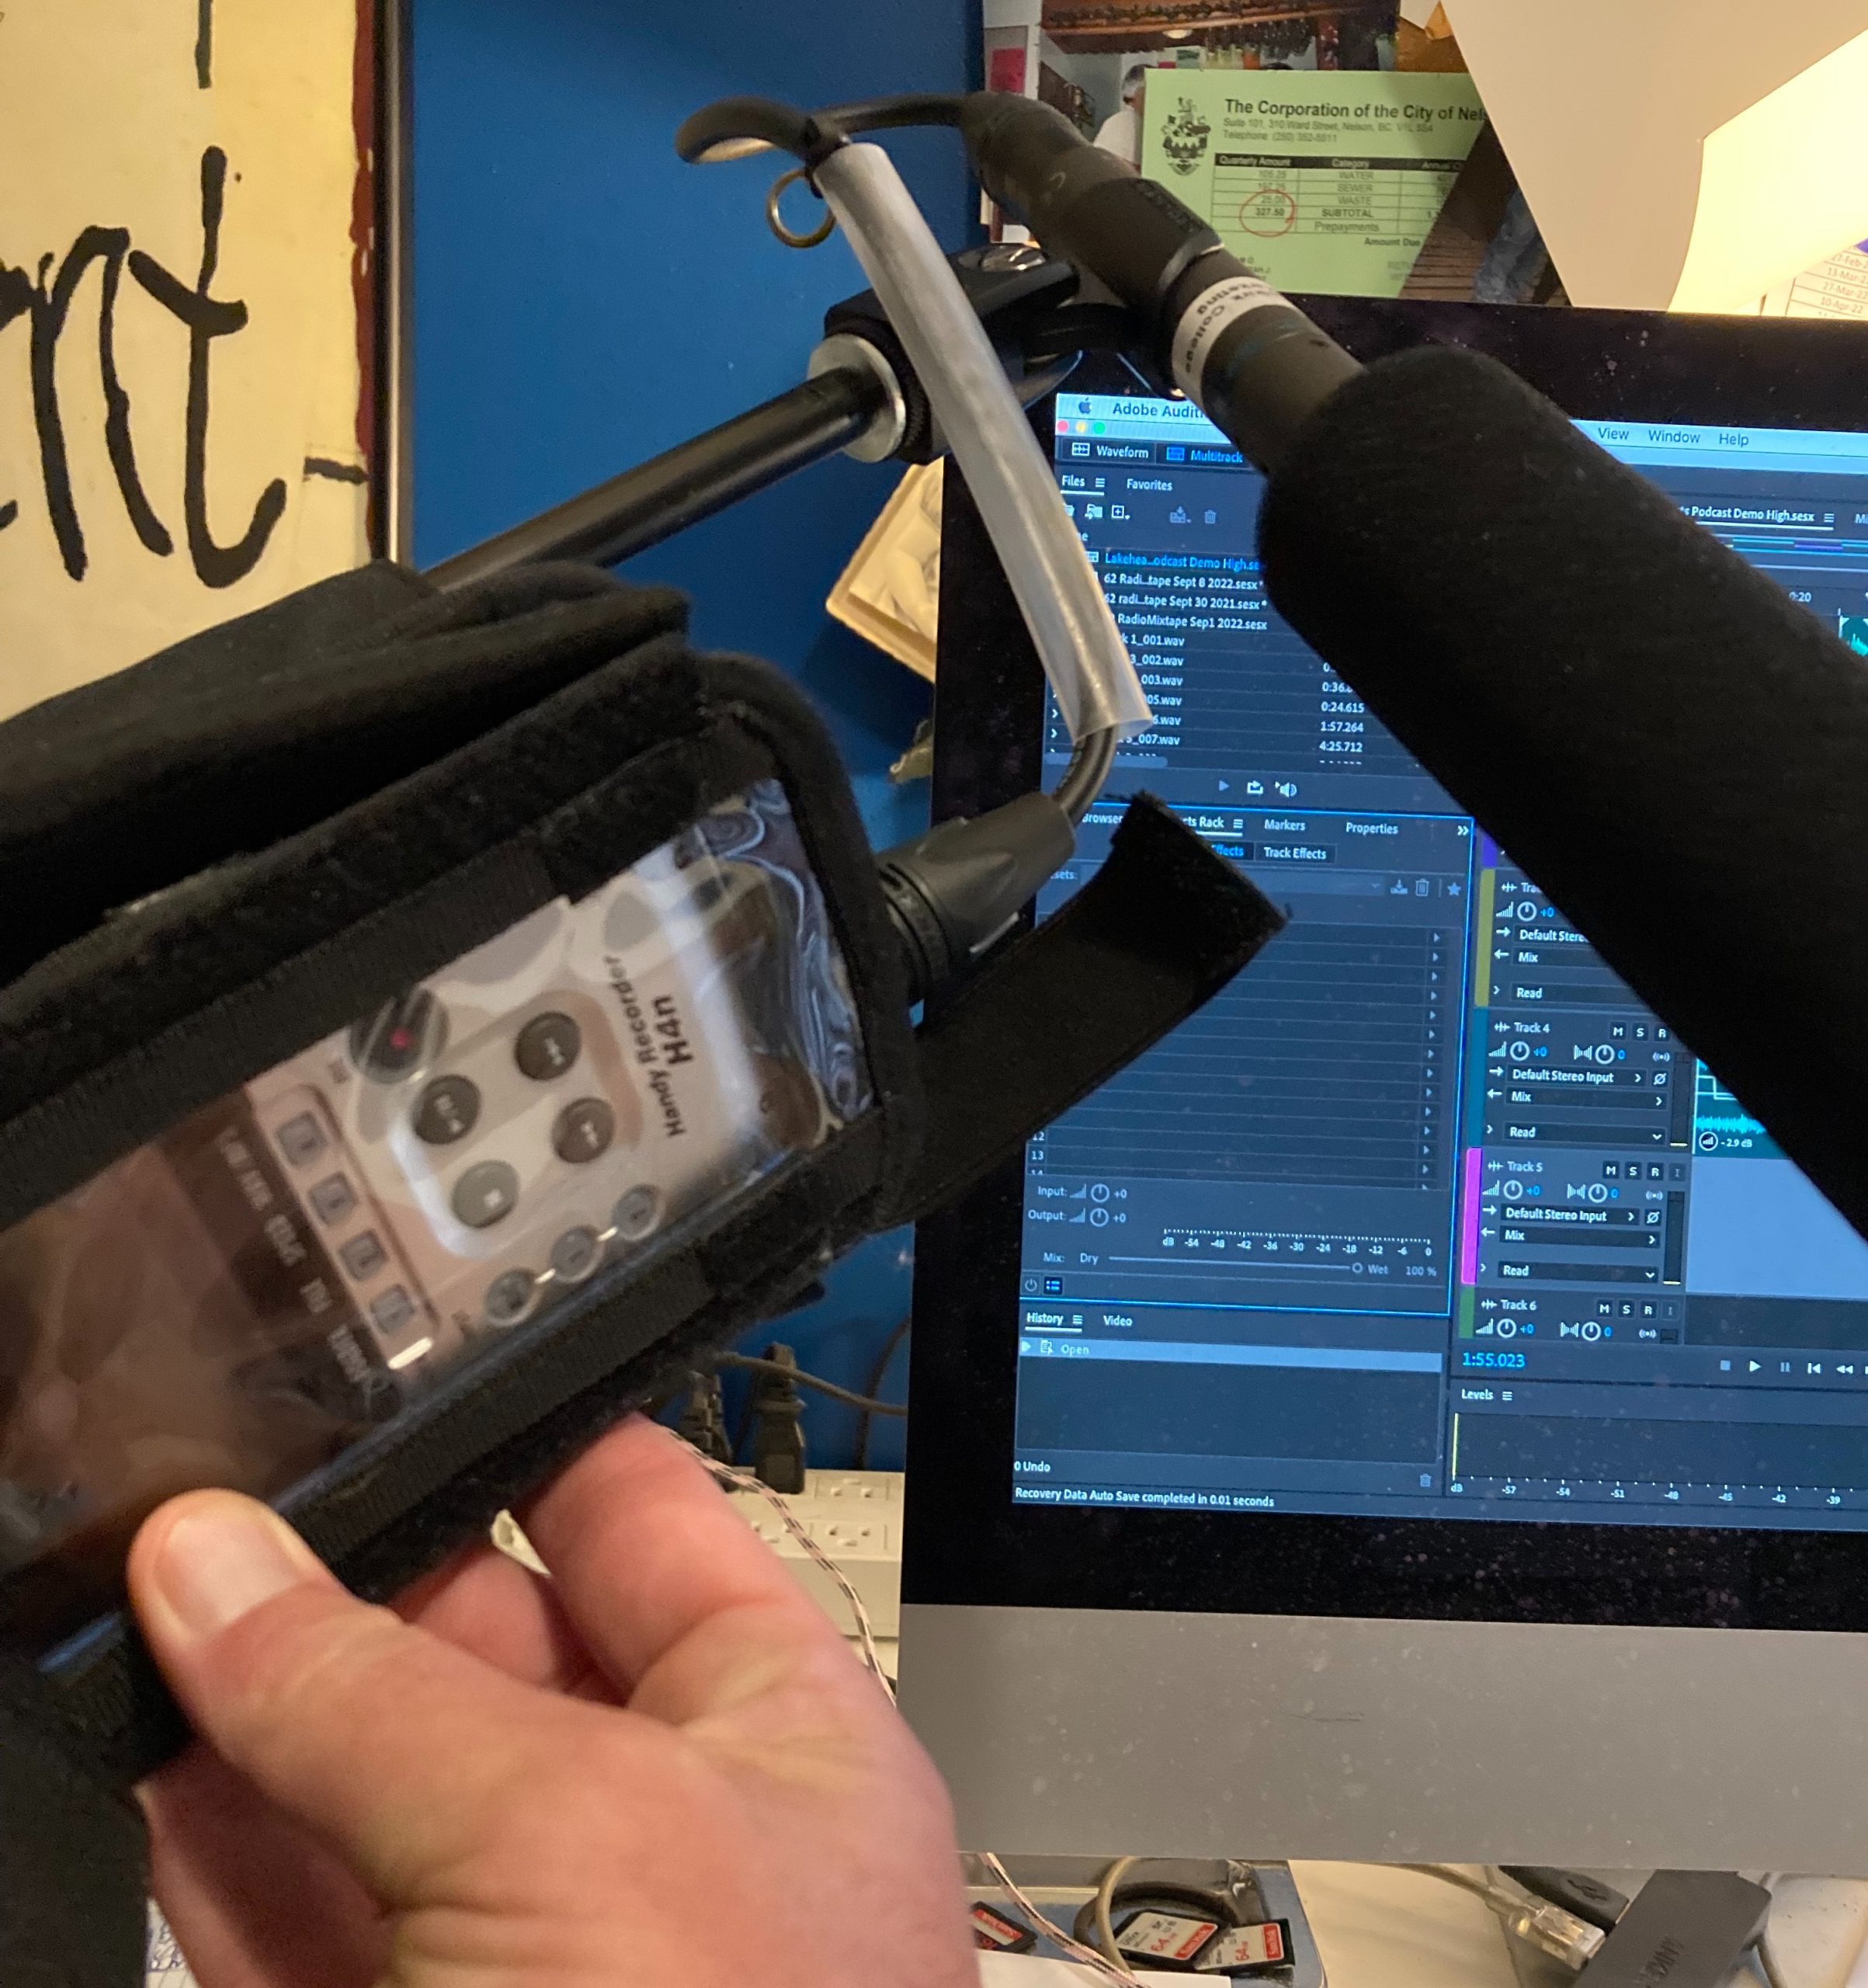
- Next I configured my system preferences to use the H4N instead of the built-in microphone.
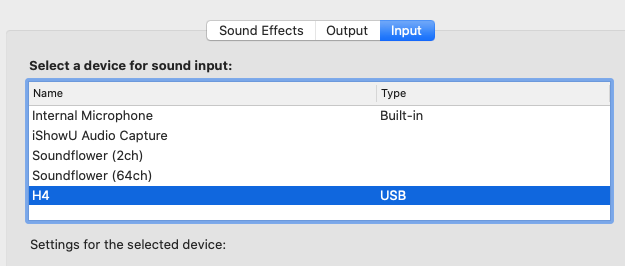
- Once I set this, I opened my audio recording/editing program (Adobe Audition) – but you could use Audacity, which is free – and set it to use my microphone as an input.
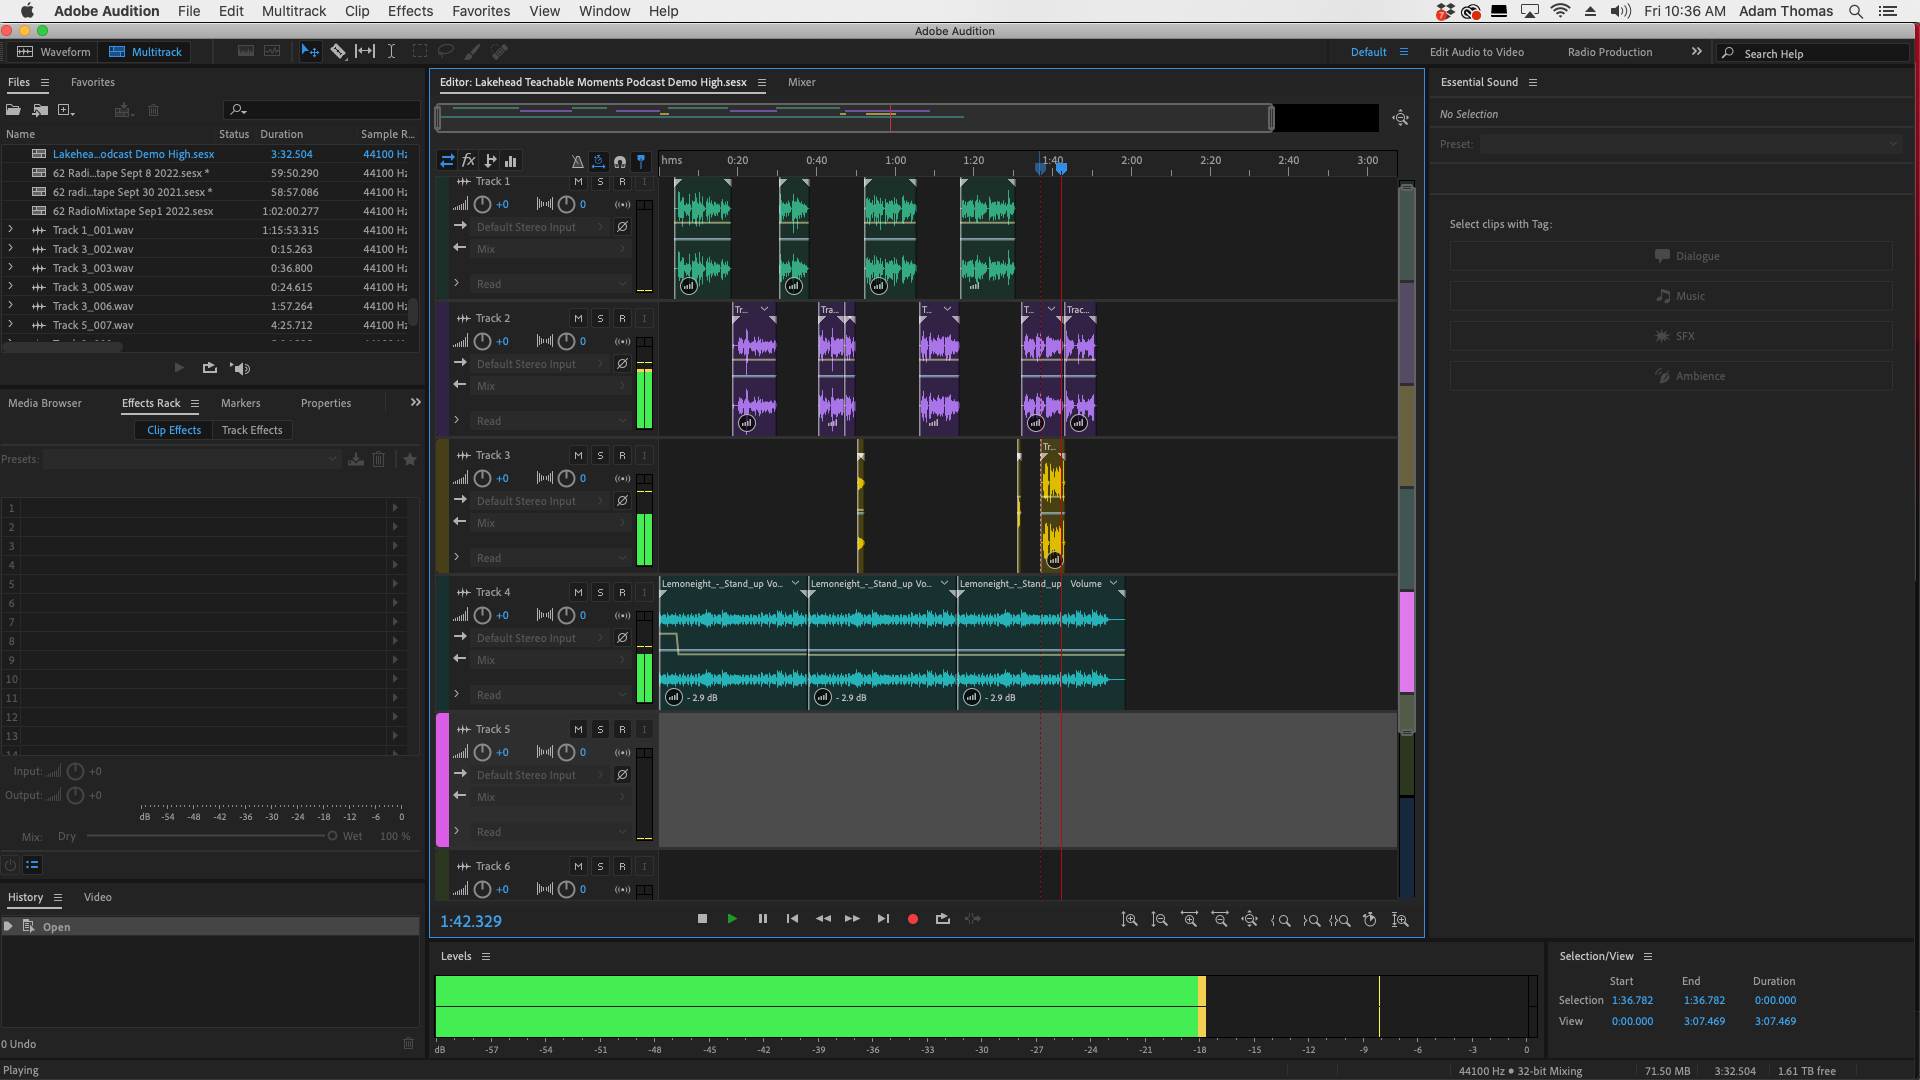
- Knowing I wanted to add music and sound effects, I created a new multitrack project for this recording session. A multitrack is what it sounds like. It had 6 individual tracks to allow you to layer sounds. I keep my voice recording on tracks 1 & 2, my sound effects on track 3 and my music on track 4.
- Next I opened my script, started recording and read the script. Even after practicing, it still took me a few tries to be satisfied.
- Here is a screen shot of the final project in my recording/editing program. Notice I have my voice on 2 different tracks (tracks 1& 2). This is because I recorded my script in sections. I made mistakes and had false starts or stumbled over words, but I just edited these out. Finally I added sound effects (track 3) and music (track 4).
- Happy with the recording, I exported it as an .mp3 file.
A last task for today
Share your first attempt/draft with the rest of us so that we can learn from you, and see all of the ways that podcasting is possible in teaching and learning by posting to the discussion topic. Share detail about the device/tool/app you used to create your masterpiece.
