6 Build a Course Site in Blackboard
Blackboard course shells are created automatically when you are officially listed as the instructor on the system, you do not need to request a course site, unless you are trying to prepare for future semesters. In that case, you should submit a ticket through TeamDynamix to request a “development template” for your course. This template will not become your course site, but you can develop everything within the template and then copy it over to your course site when it is created (hint: you can also copy your existing courses over to new ones; instructions for that are below).
You’ll also want to check your browser for compatibility. We recommend Google Chrome, as it is fully compatible with all components of Blackboard, but if you are using another browser, you can use the compatibility checker.
Building your Course Menu and Homepage
The first thing you probably think when you get a blank course template is “whoa, what are all of these things?” You’re not alone. Blackboard has a lot of tools, and you do not need to use or learn all of them!
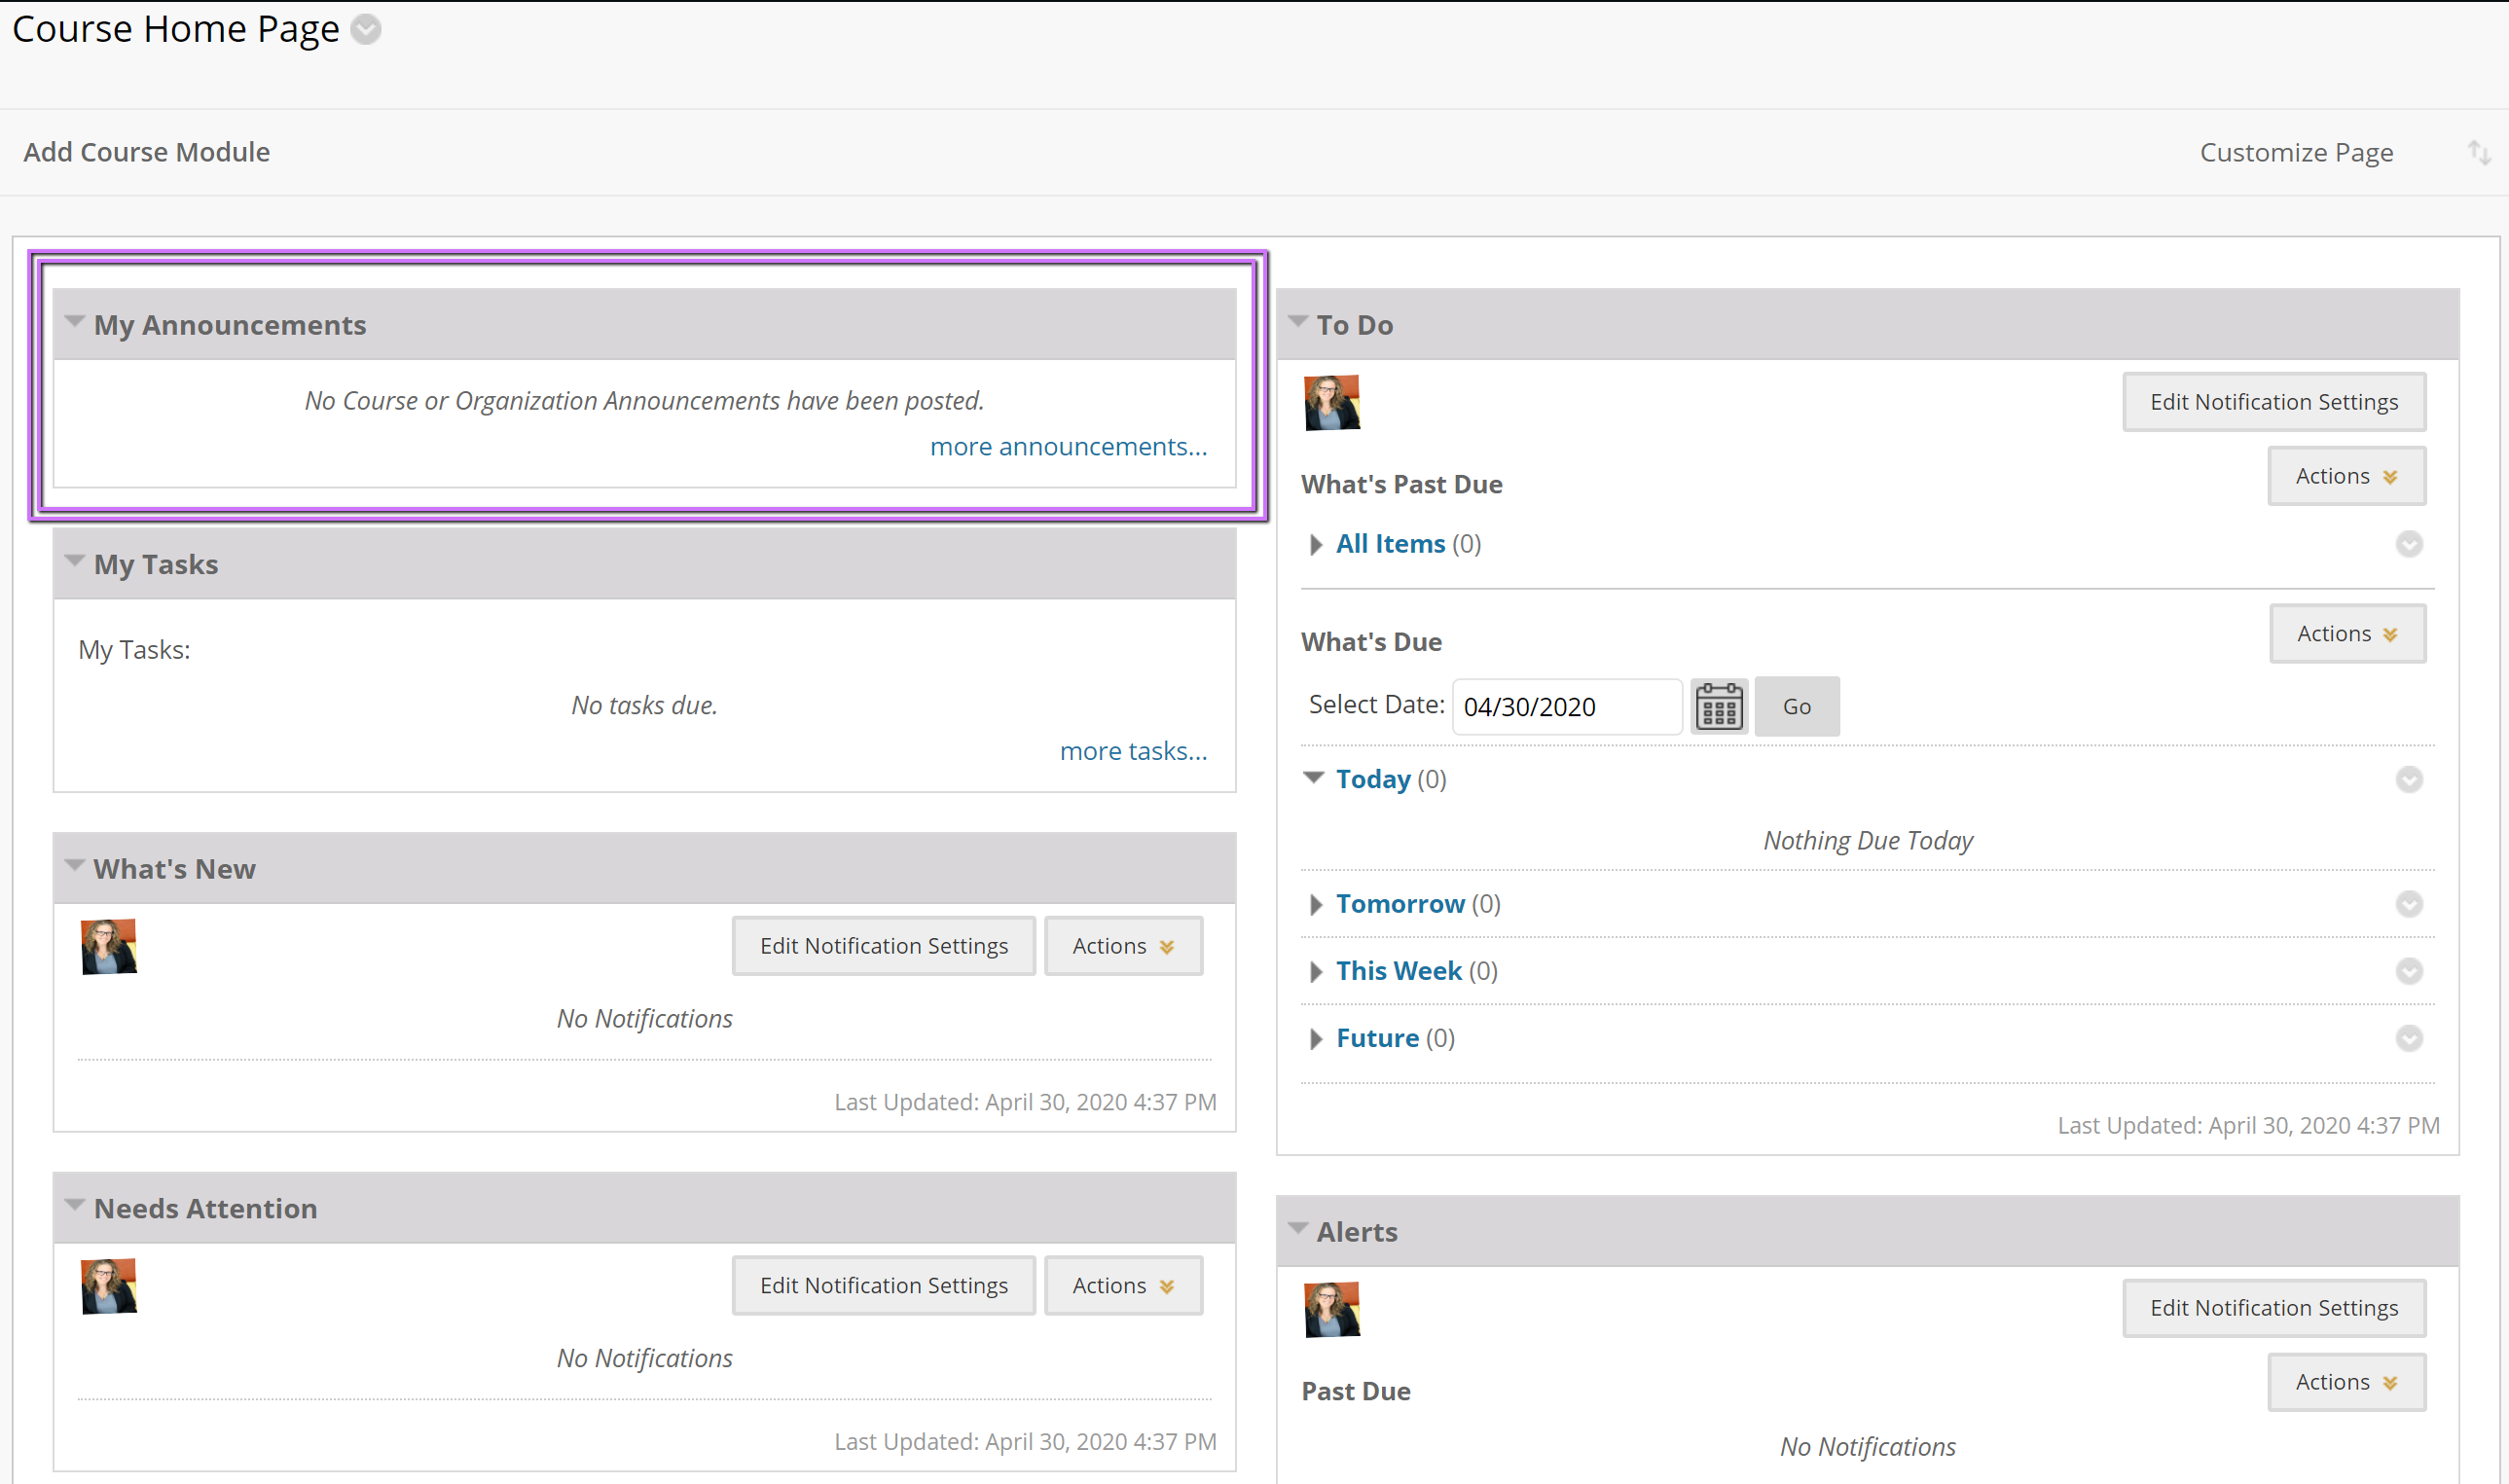
For starters, this is what the template for the homepage looks like:

Yes, it’s a lot. But you can remove any of these boxes by hovering over the top right corner and clicking the (x) icon. We recommend that the “My Announcements” section is the most important. If you have a lot of assignments with due dates, you may also choose to keep “To Do” since it will show students what’s coming up.
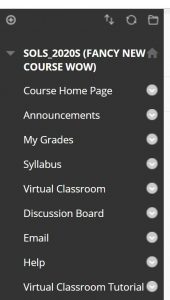
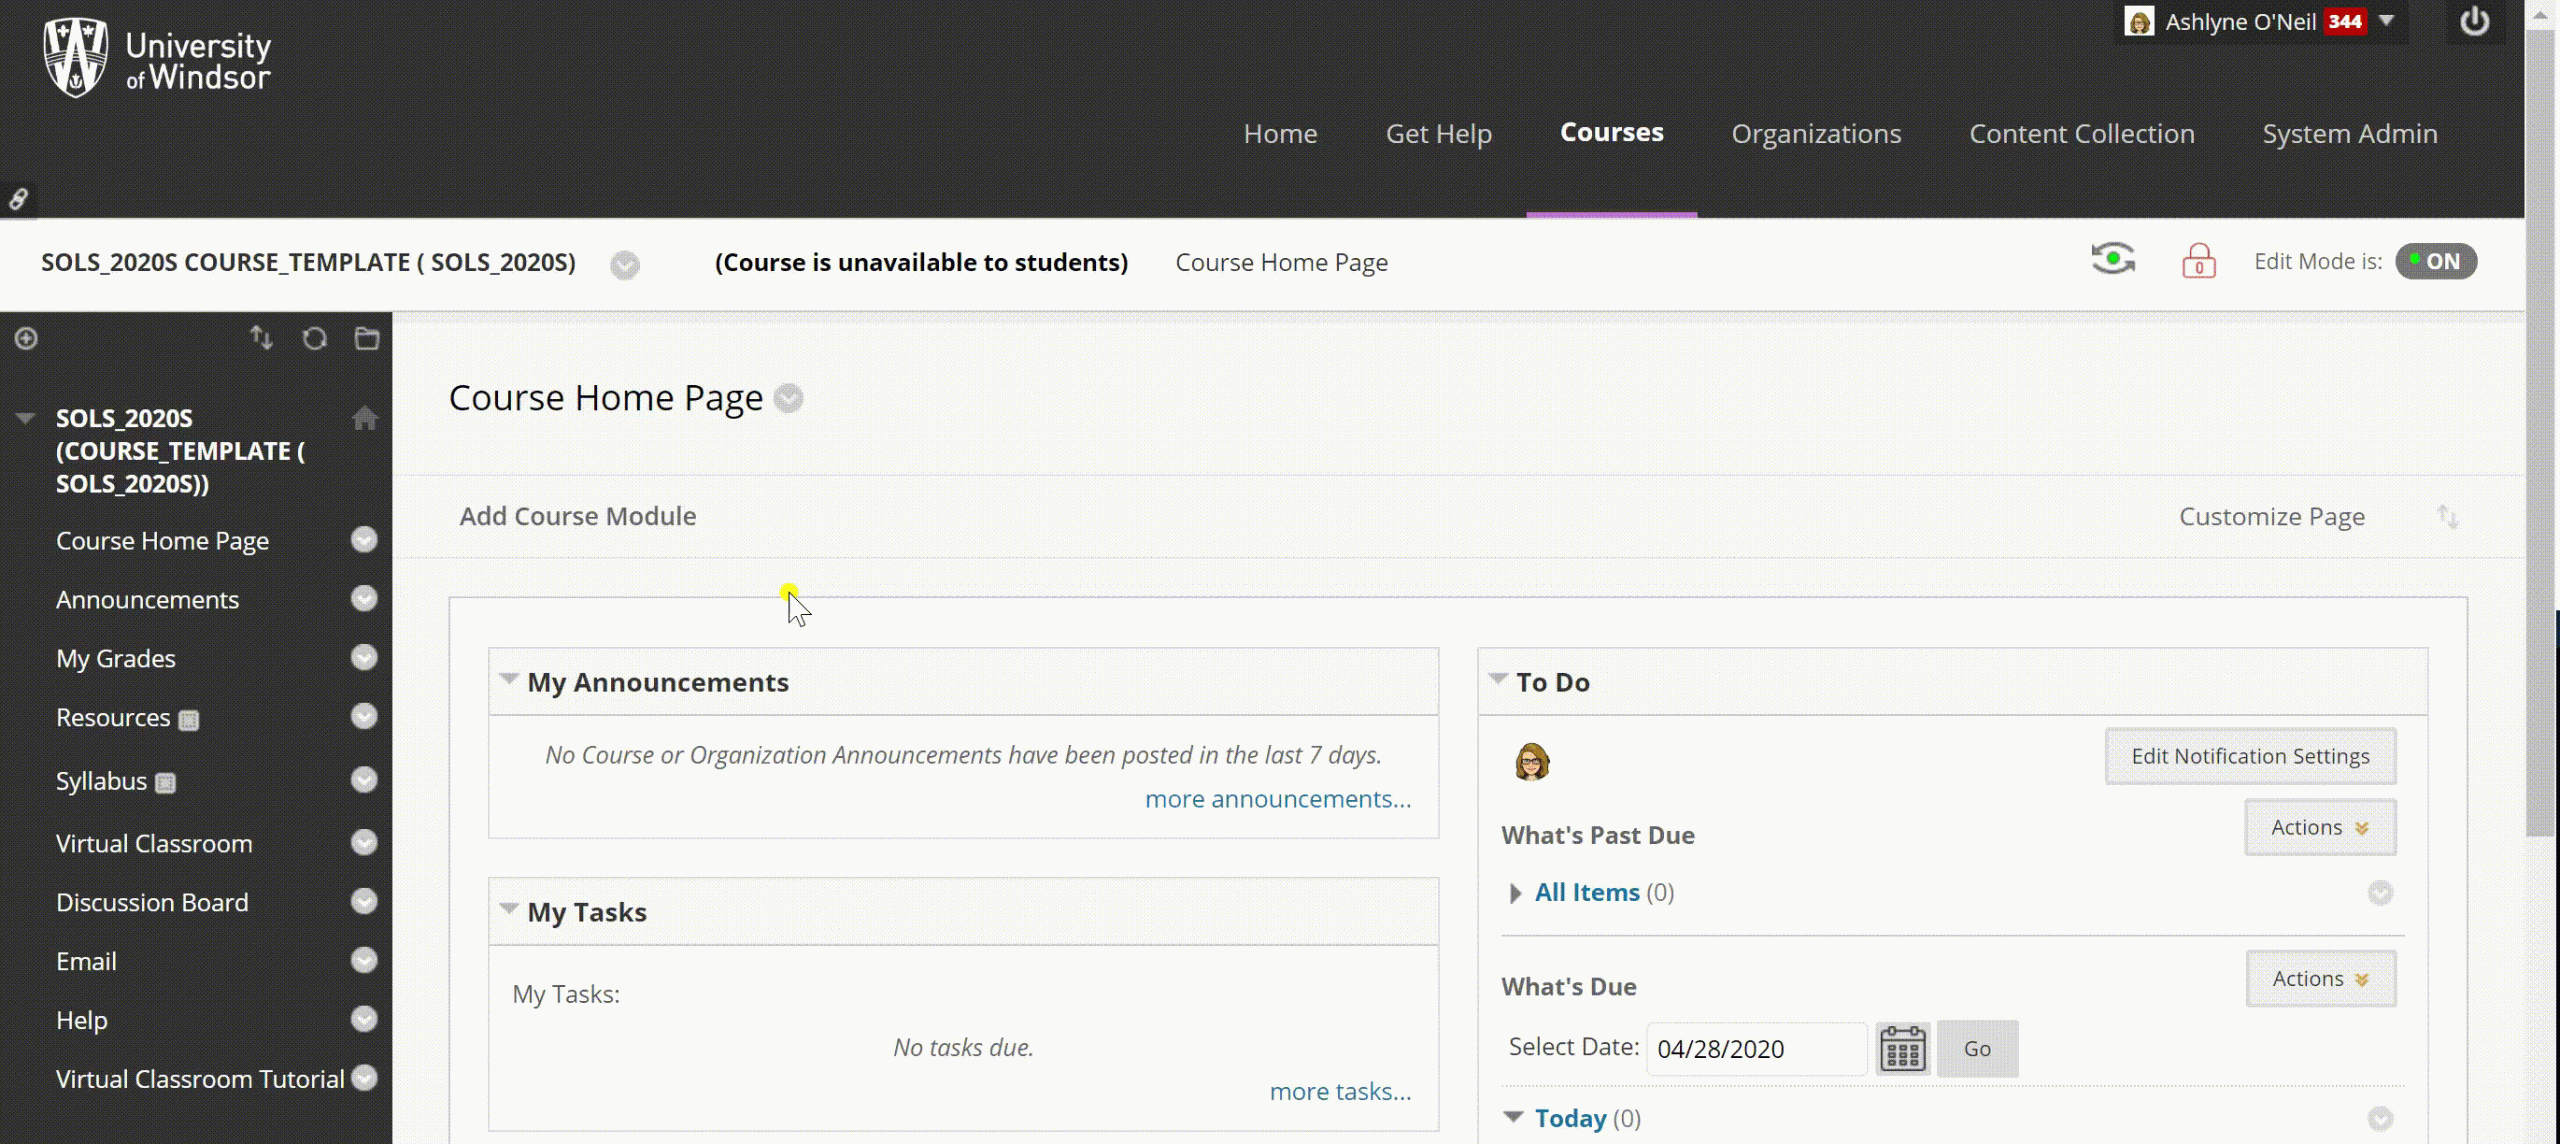
Now, let’s turn our attention to the course menu. You will see this on the left side when you first enter your course. If you do not see a menu on the left side, you may have to hover over the left side of your browser screen, and click to pop it out (this is especially the case for small or narrow screens). Below is a screenshot of what the typical menu looks like. If your headings appear differently, it’s probably because your course has been set up using a ‘development template’ from a preexisting course.
 The main components of a course site menu, as it is (typically) created, are:
- Course Home Page
- Announcements
- My Grades
- Resources
- Syllabus
- Virtual Classroom
- Discussion Board
- Help
- Virtual Classroom Tutorial

Now, please note that you can change these! Don’t like the titles? Don’t like their order? Notice there isn’t an area for assessments? Want to add or remove certain aspects? Go ahead.
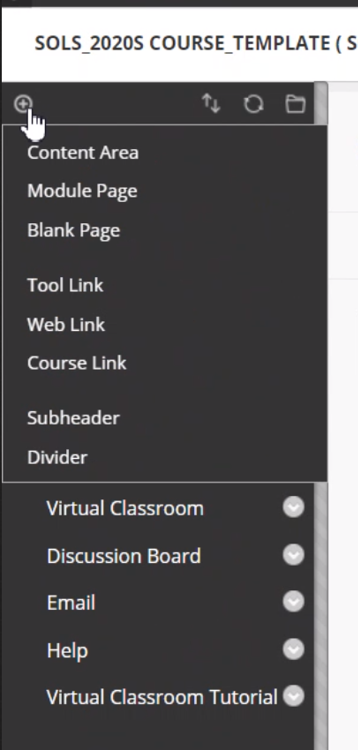
In order to edit your menu, start by click on the (+) button at the top left. This will give you several options, all of which will add headings/links to your course menu.
You are mostly likely to use Content Area to add your lessons, resources, etc.
Adding subheaders and dividers can greatly improve the look and the user experience of your course menu. Subheaders will always appear as bold and white, and will not link out to anything, but can help organize your menu.
Course Management Tools

