H5P Attributions
H5P is like an open textbook: it is often composed of multiple works from distinct creators using distinct licensing arrangements. Due to this, it is important to capture this information when creating an H5P for the same reasons that it is important for an OER.
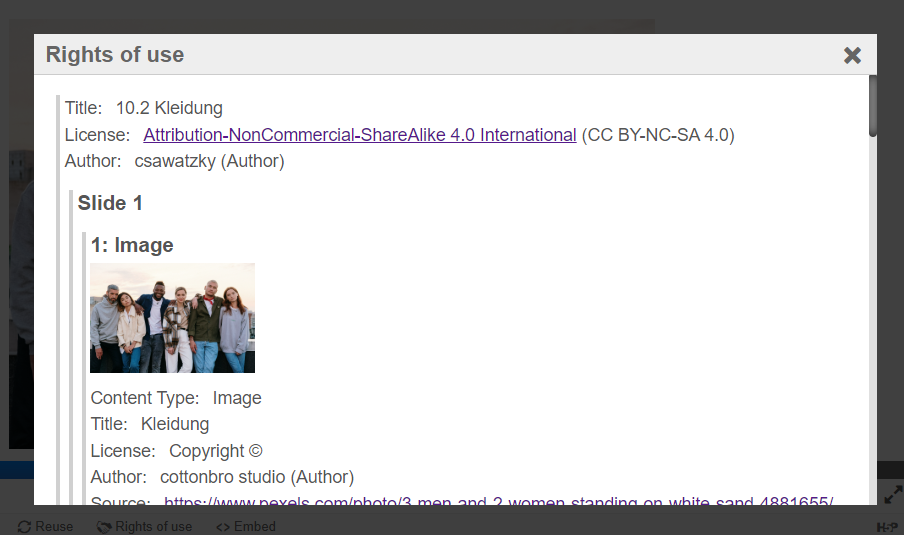
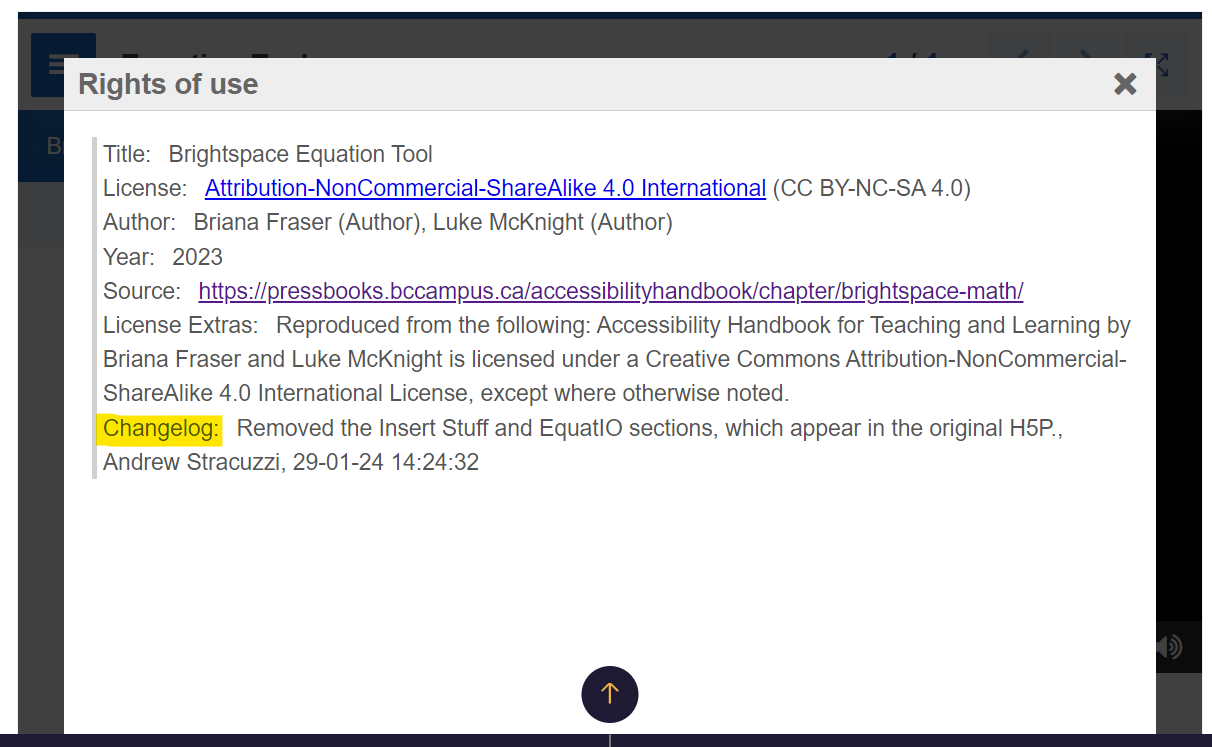
It is generally acceptable to create an attribution using whatever method is reasonable for the medium. H5P is equipped with a metadata editor for every item included in a module. If used correctly, the H5P will generate accurate attributions for the works we have used under the Rights of Use tab.
The types of metadata you can add to an H5P can be grouped into two main sections:
- Overall metadata for the H5P itself.
- Specific metadata for any images, videos, graphics, or audio that is added.
Accessing and Inputting Metadata
To begin, click Edit on the relevant H5P module.
- Step 1: Access and input the overall metadata for the H5P.
- Step 2: Select and input the specific metadata for an embedded element. Please note: This step is only required when photos, videos, graphics or audio are embedded into a H5P.
Step 1: Access and input the overall metadata for the H5P
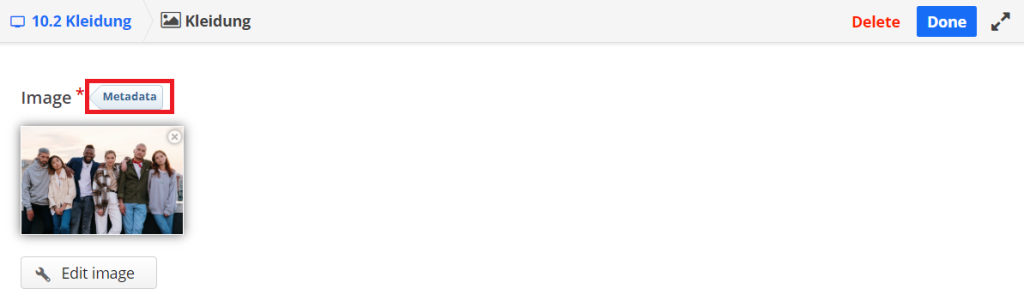
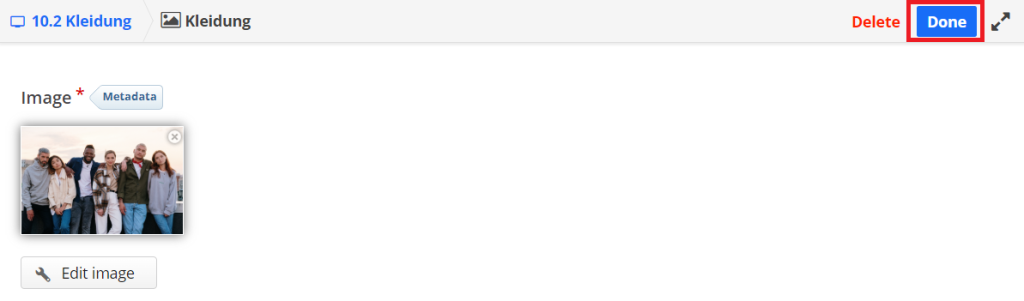
At the top of the editing page there is a button that says Metadata. Click it to access the H5P’s overall metadata.
Complete the fields in the pop-up window: The metadata editor provides a number of fields that can be edited to describe the element. Those most relevant to attribution are Title, License, Source, Author’s name (and Author’s role), License Extras, and the Changelog. Use the information below to fill these fields with accurate information.
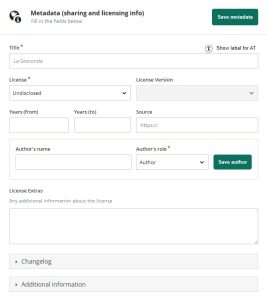
- Title: Use the title of the work if it was provided at its source. Leave this unfilled if there is no title included at the source.
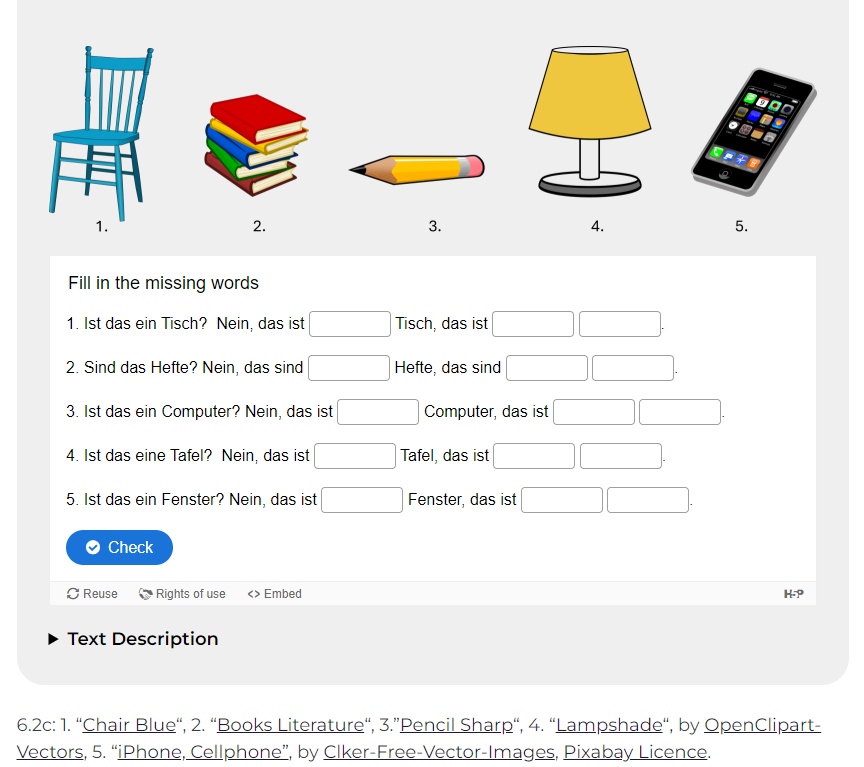
- Example: Clothing Vocabulary Exercise
- License: The values of this field are limited by a dropdown selector. If the licence for the work appears there, you may use it. For Creative Commons licences, the licence version field will be exposed once the licence is selected. Please select the correct version of the licence from this field. Important: If the licence you are using does not appear, or if you are using an exception to copyright, please select the value “Copyright”. You will specify the licence or exception in the License Extras field.
- Example: Attribution-NonCommercial-ShareAlike 4.0 International (CC BY-NC-SA 4.0)
- Source: Use the URL of the source of the work.
- Example: https://openoregon.pressbooks.pub/mhccmajorsbio/chapter/the-nature-of-science/
- Author’s name (and Author’s role): Input the full name of the author in the Author’s Name field. From the dropdown options of author, editor, licensee, and originator, select the most suitable value for the Author’s role field. Click Save author. You may add multiple authors.
- Example: csawatzky (author)
- License Extras: If the relevant licence or exception does not appear, please complete the field using the format below: Licensed under the [Licence Name]: [Licence URL]
- Example: Image licensed under the Pixabay Licence: https://pixabay.com/service/license-summary/
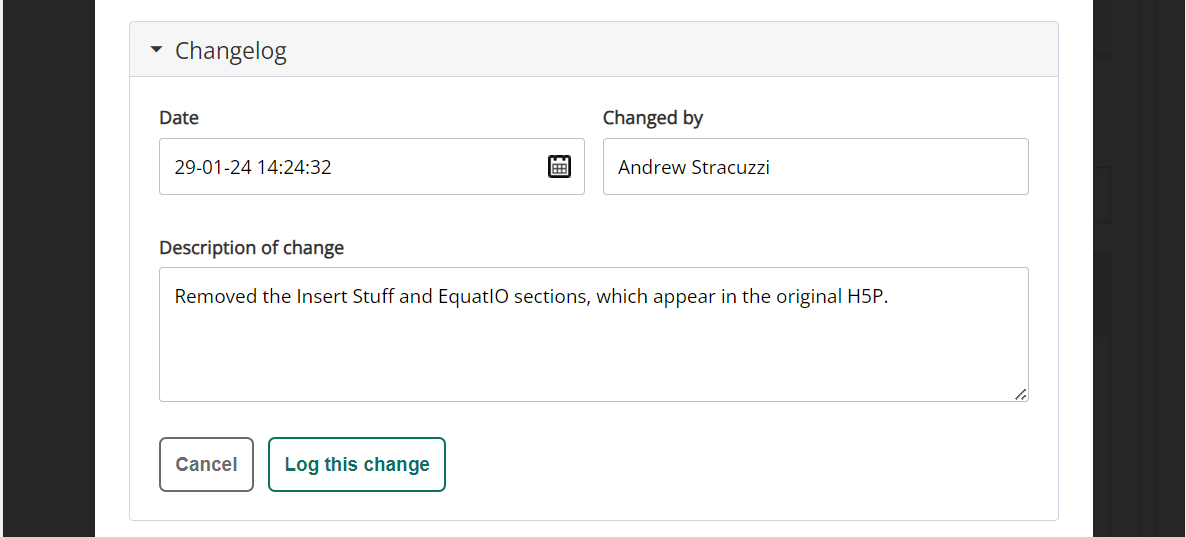
- Changelog: If you have made changes to the element, please log them here. Select “Add New Changelog.” Fill in the “Date”, “Changed by,” and “Description of Changes” text fields. Select “Log this Change” to exit. Be sure to save the overall H5P metadata before you exit the metadata section. Remember to also select “Update” to save the entire H5P element you have changed. See example below:
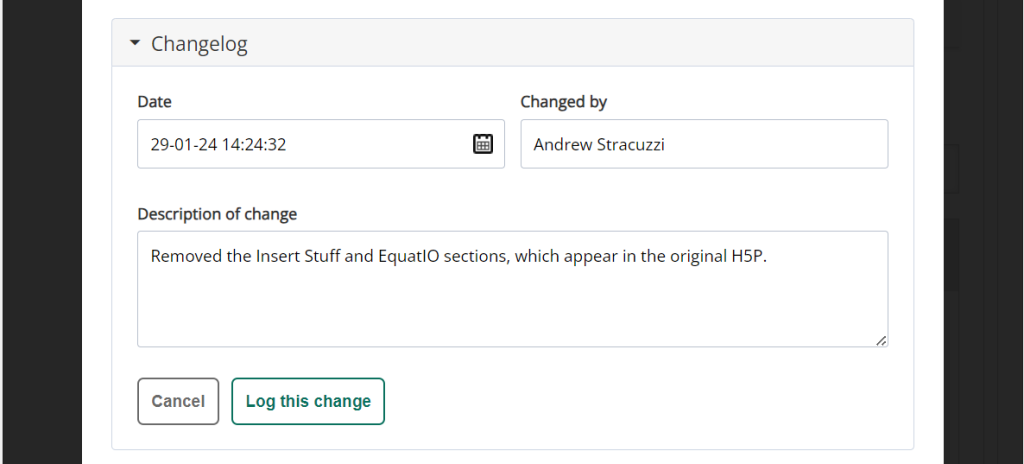
Changelog screen
Click Done and if required move to step 2 to continue editing other parts of the H5P.
Step 2: Select and Input the Specific Metadata for an Embedded Element
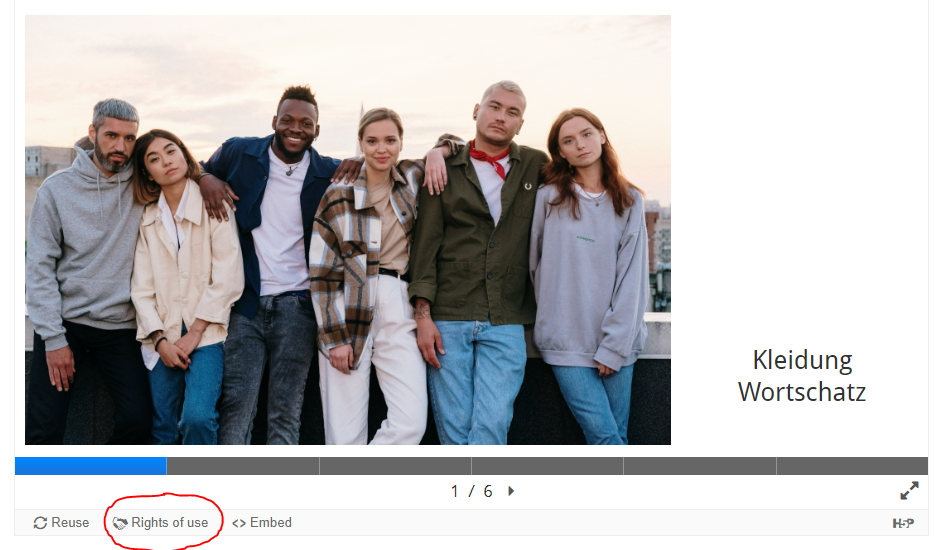
Locate the element within the H5P. Once found, click on it to reveal a toolbar of actions that can be applied to the element. Select the Pencil icon in the toolbar to edit the element, including its metadata.

Click the button that says Metadata at the top of the editing page to access the element’s specific metadata.
Just like in step 1, the metadata editor provides a number of fields that can be edited to describe the element. Those most relevant to attribution are Title, License, Source, Author’s name (and Author’s role), License Extras, and the Changelog. Use the information below to fill these fields with accurate information.
Exceptions
Now, let’s look at the exceptions for remixing H5P content, editing H5P’s that use a different metadata interface for photos, and how to reference outside content that sits within an H5P.
Exception #1: Remixing Content
If you have created new H5P content based old content, you may wish to retitle and re-licence (if applicable) your new work. This will always be necessary when remixing two or more distinct works together into a single element. Use the metadata fields as described above for your new content. Then, use a new line in the License Extras field to create attribution statements for each adapted work using the following format:
Adapted from: [Title], [Creator(s)], [Licence Abbreviation]. Source: [Source URL]. Licence: [Licence URL].
Example: Adapted from: Principles of Biology, Catherine Creech, CC BY 4.0. Source: https://openoregon.pressbooks.pub/mhccmajorsbio/chapter/the-scientific-process/. License: https://creativecommons.org/licenses/by/4.0/
Exception #2: Special Images
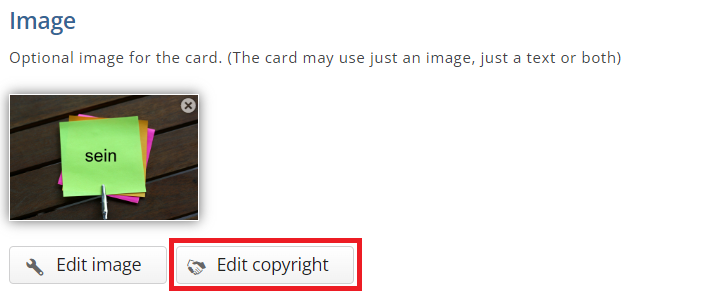
Depending on the H5P you use, some images are not granted the same metadata interface as shown in step 2. Instead, they have an Edit Copyright panel, which can be accessed by clicking the highlighted button below.
Complete the fields in this editing pane as you would with the basic metadata, with the exception of the Author, License Extras, and Changelog fields.
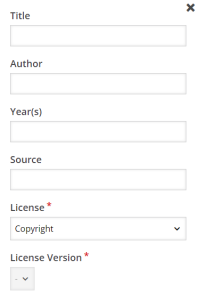
- Author: Unlike the standard metadata editor, this field can only contain a single value and there is no associated role. In this case, list all authors as you would for a text attribution.
- Example: Capaldi, C. A., Dopko, R. L., & Zelenski, J. M.
- License Extras: There is no License Extras field in the edit copyright field. Therefore, if your licence or exception does not appear in the dropdowns in the License field, please add this information to the License Extras fields in the metadata of the H5P module (see step 1). On its own line in this field, use the format below. If the image was not given a title, then use a generic name here and in the image’s metadata. If you follow this step, ensure that the generic in the Title field of the image matches the generic name used in the H5P metadata. You should also ensure that the titles are unique to avoid downstream confusion. Use this format: [Image Title] is licensed under the [Licence Name]: [Licence URL]
- Example: Image licensed under the Pixabay Licence: https://pixabay.com/service/license-summary/
- Changelog: If you have made changes to the element, please log them in the Changelog of the H5P module (see step 1) in a new entry with reference to the title of the image. If the image was not given a title, then use a generic name here and in the image’s metadata. If you follow this step, ensure that the generic in the Title field of the image matches the generic name used in the H5P metadata. You should also ensure that the titles are unique to avoid downstream confusion. Use this format: [Image Title]: [description of changes]
- Example: Sticky Notes: Added the word “Sein”
Exception #3: Content Outside H5P
- Attribute content that is separate from the H5P module as you would typically, even if content in the H5P references this outside content. See the section on Attributions for more information on attribution in general. See example below.