Slide Decks
Development Steps
Make sure to use the desktop version of Microsoft PowerPoint. It can be downloaded from the Fanshawe IT Connected website .
- Download the OER Design Studio template (.potx) to work from. Do not change the design of the template, as this has been set up to meet accessibility requirements.
- Note: The above link to the template may open in PowerPoint 365 online. When designing slides, it’s always best to work from the desktop version of PowerPoint. In the “Viewing” tab, select “Open in Desktop” and then save a copy to your desktop. Alternatively, you can select “File,” then “Save As,” and “Download a Copy.”
- Export the OER Design Studio template as a standard PowerPoint presentation (.pptx file). This is required for ChatGPT to interpret the file.
- Use ChatGPT using the prompt below (edit the details according to your specific needs). Download and edit the generated PowerPoint presentation.
- You can add any images from the text or those that are openly licensed. See below for sites to use.
- Once a chapter is completed, share it with the faculty member for feedback.
- Complete an accessibility review. See the next page of this guide for more information.
- Upload to the project’s folder in the ODS Team site.
- Upload to the open textbook’s media library. Link the slide decks in the book’s back matter.
AI Prompt
You are an expert in PowerPoint instructional design. Please create a slide deck (downloadable PowerPoint presentation) using the attached PowerPoint template from the following textbook chapter content. The first slide after the title slide must list the Learning Objectives for the chapter, and the final slide must summarize the content into key takeaways. Ensure that each content slide (ie not learning objectives, title slide, or key takeaways) includes the relevant chapter subsection number in its title (example: “1.3 Founder Effect”). Here is the textbook chapter content: [Insert chapter content here, make sure to include page titles]
The chapter consists of 5 sections, so there should be enough content on each slide section to summarize the content fully (at least 5 to 7 bullet points per slide). Clarify any content that may be unclear for a college-level student, such as concepts or key terms. Be sure to include a description of all 8 Critical Standards in section 3.1. The PowerPoint slides should act as a study guide for the learner. The textbook content chapter is also attached in MS Word.
Slide Deck Structure
The slide deck follows this structure:
- Title slide (includes the name of the book and the chapter name and number)
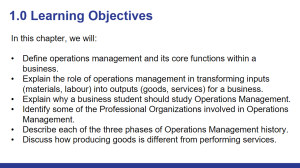
- Learning Objectives slide
- Thrilled
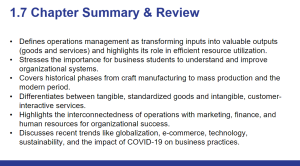
- Summary or Key Takeaways Slide
Information for the Title Slide
- Title: Name of the Book. The title font size should be around 42pt.
- Subtitle: Name of Chapter. Subtitle font size should be around 32pt.
- Include the CC license on the title slide
Design Tips
- Keep text on each slide minimal, and highlight key points.
- Incorporate images mixed with text to maintain visual interest.
- Ensure that images used have Creative Commons (CC) licenses for appropriate attribution, and provide captions with attribution.
- All images must have alternative text. If the image is purely decorative, mark it as decorative ( see the Slide Deck Accessibility page for tips ).
- If you plan to include an image containing a table, it’s often better to create it directly in PowerPoint. Additionally, remember to include a caption to provide context.
- For content with extensive definitions or heavy text, consider adding it to the presenter’s notes section.
- Aim for 10-20 slides, touching on main concepts or topics.
Consistency
- Headings, subheadings and logos should be in the same spot on all slides where possible.
- Ensure margins, fonts, font sizes, and colours remain consistent throughout.
- Maintain consistency in the use of lines, boxes, and borders.
- The title font size should be around 30pt.
- Text size should be 20pt.
- Use Arial, Tahoma, or Verdana fonts.
