H5P
Creating H5P Content
When you have registered for an account, you can get started by creating some H5P content. In this next section we’ll:
- Create H5P Content
- Question Sets
- Optional – Course Presentation or Interactive Video
- Reuse H5P
- Save your faves
- Steps to reuse/adapt
 Activity: Question Set
The best way to learn about H5P is to create a content type yourself! This activity will provide you with a chance to explore different content types.
-
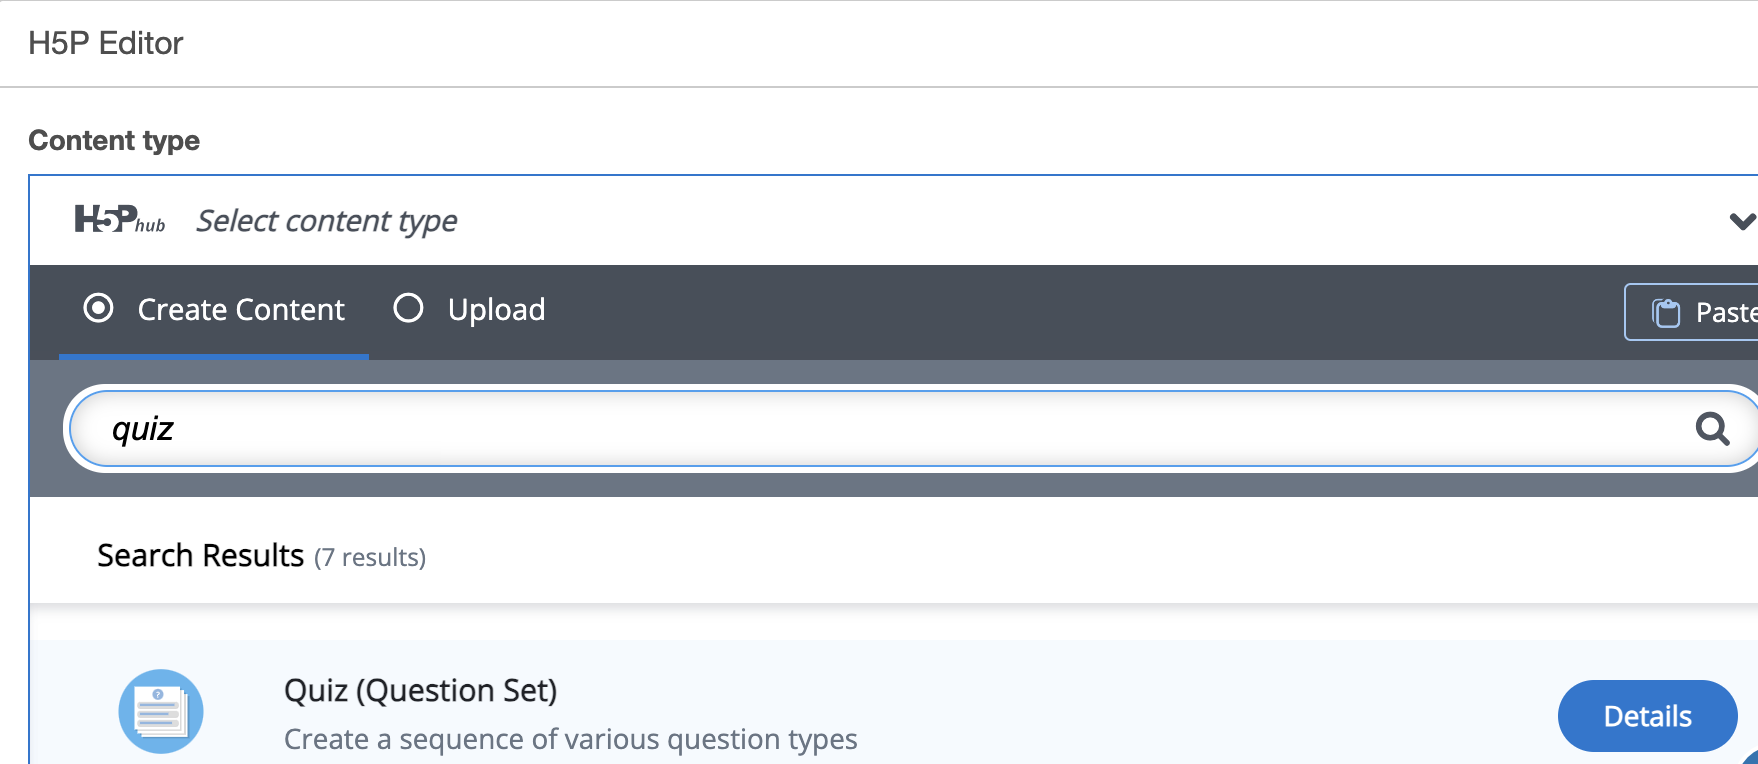
- Login to the H5P studio and click “Create”
- Select “Quiz: Question Set”
- Add a Title: For this test we will develop a question set based on coffee – so enter “Coffee Time Quiz.”
- You can add a background image for your question set. We added an image from Unsplash in our example. Don’t forget to add licensing information by completing the ‘Copyright Information” field.
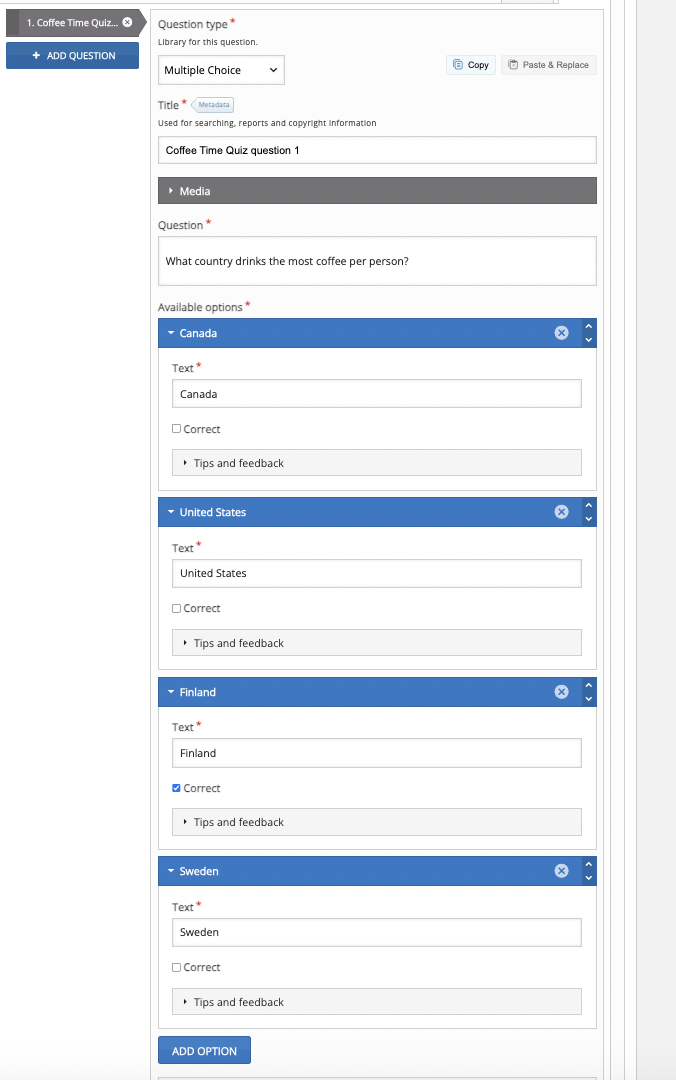
- Add your first question.
- Select “Multiple Choice” and provide options for answers.
- You can select “Add Option” to expand beyond the default two.
- Mark the Correct Answer by checking the box next to “Correct.” In our example, Finland is the most caffeinated country!
- We’ll keep the “Tips and Feedback” sections blank for now but you might want to try them out!
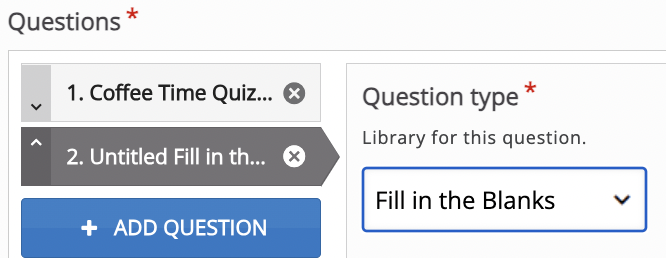
- Add another question. Click “Add Question” and this time choose “Fill in the Blanks” from the drop-down menu
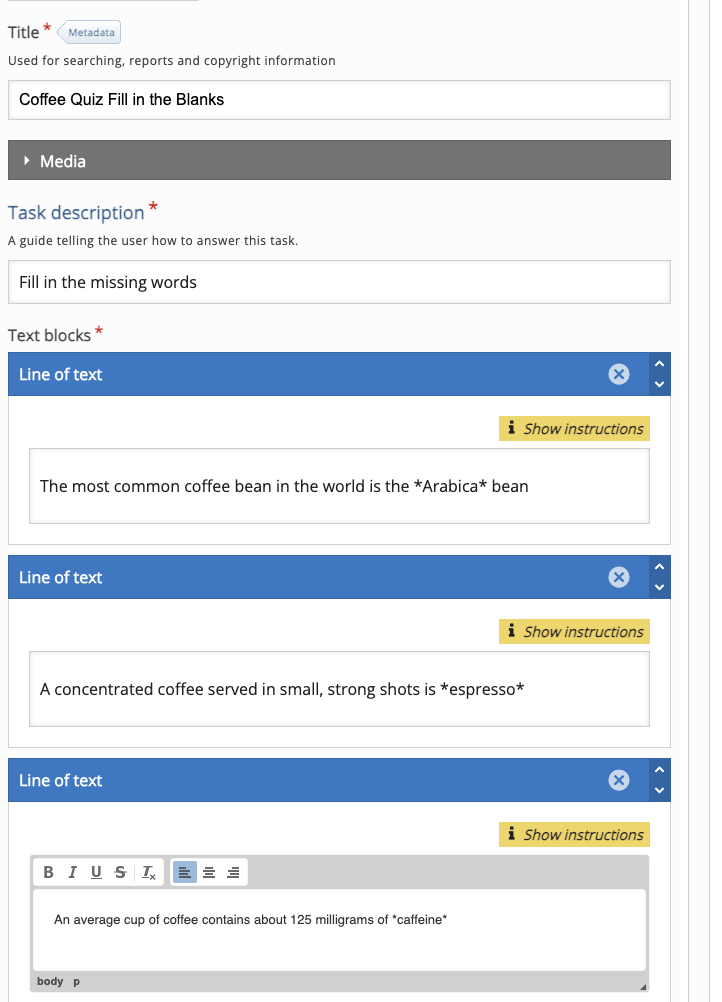
- Add your Text Blocks.
- The correct fill in the blank answer must be contained within two asterisks.
- Click on “Show Instructions” to see additional support on providing alternative responses and hints.
- Note: You can add more text blocks by selecting “Add Text Block”
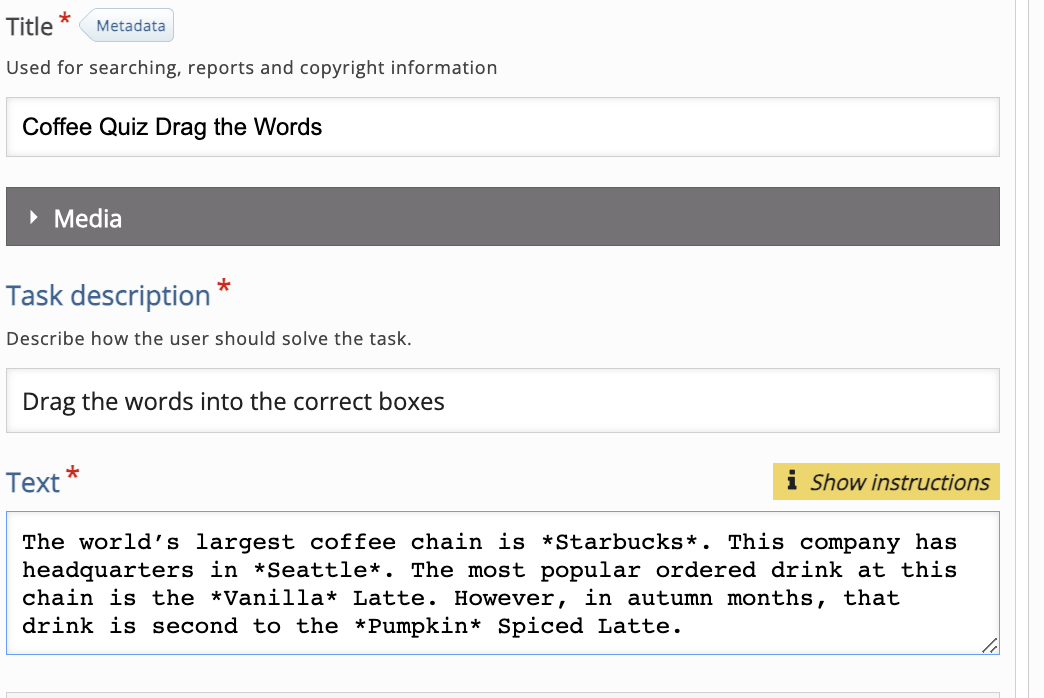
- Now let’s try one more. The “Drag the Words” option
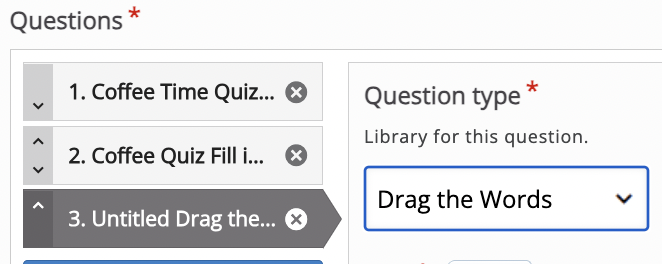
- Similar to Fill in the Blanks, you insert text into the Text Block and identify the correct ‘draggable’ words by placing them within two asterisks. Check out “Show Instructions” for advanced features.
- Click Save and Preview your new Question Set!
Optional Activities
To expand your knowledge of H5P, we encourage you to try to build two of the more popular content types on H5P Studio.

Course Presentation is a slideshow of content that you can strategically pepper with reflective questions and prompts.
The interactive video content type adds engaging features to your videos by integrating checkpoint questions and prompts that the user engages with as they are watching a video. Here is an example using the openly-licensed “World of Amphibians” video from YouTube. Note the circles that appear on the timeline indicate a new checkpoint. Try the Interactive Video Tutorial.
Reusing H5P Content
One of the ‘open’ benefits of H5P is the ability to easily reuse and adapt content that others have created if they have licensed it for re-use. If, for example, someone has already created a Branching Scenario on conflict resolution and you are looking to create the same – you can download the .h5p file, upload to your account, and adapt it for your context – saving you time and tapping into what others have openly shared.
Save your Faves!
A good way to get started with reusing H5P is to take some time to explore eCampusOntario’s H5P Studio and save your favourites. To do this, you:
- Log in to the H5P Studio
- Click on Catalogue
- Use the various search fields to find H5P interactives for your context
- Click the little heart icon next to “Save to My Favourites
- Your Favourite H5P’s will now appear in your Dashboard under the (appropriately!) “My Favourites” tab.
Steps to Reuse/Adapt
Now that you’ve found an H5P that you would like to reuse, you can decide whether you want to retain and embed it as is or adapt it for context. Embedding it as is, is as easy as clicking on the “Embed” option in the bottom left corner, and copying and pasting the code into whatever platform you would like it to appear in (e.g., LMS, Pressbooks, WordPress). We’ll talk more about those steps in the next section.
Activity: Reuse and Adapt H5P
To reuse and adapt the H5P, let’s try the following steps:
- In the H5P you have found, select “Reuse” which should appear at the bottom left corner of the interaction. You will be prompted to download the h5p file.
- While logged into the H5P studio, select “Create”
- This time, instead of selecting “Create Content” – select “Upload”
- Grab the .h5p file from your downloads folder and upload
- Now you can edit and adapt!
