Pressbooks
Getting Started
Create an Account
Pressbooks is a centrally managed network of books hosted by eCampusOntario and available for free to educators, students, and staff at Ontario colleges, universities, and Indigenous institutes.
If you don’t already have an account, there are two pathways to get one. Either way, start by:
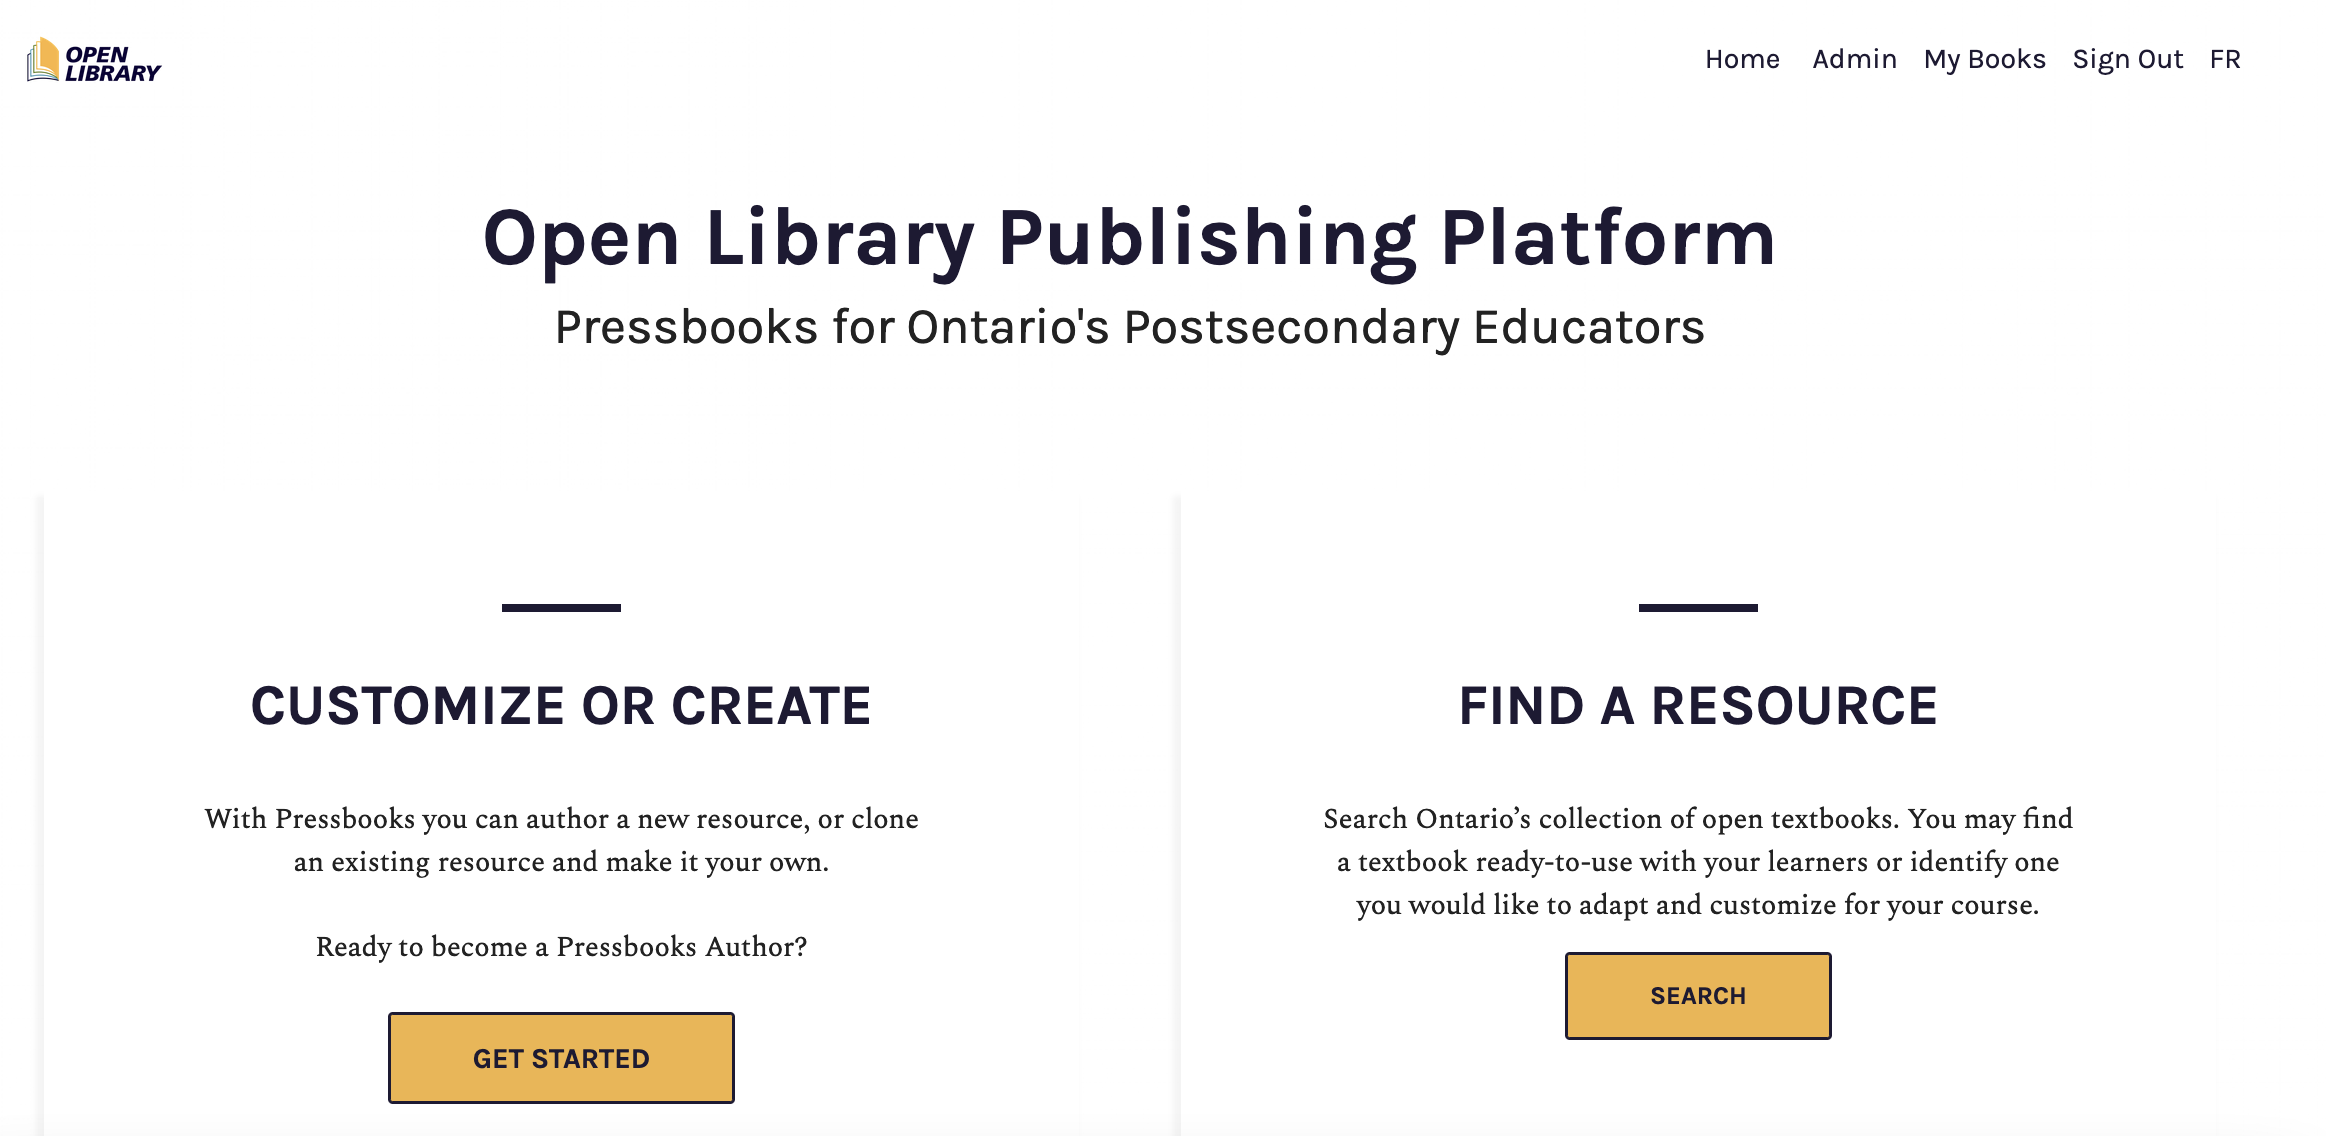
- Going to the Open Library Publishing Platform
- Click on “Get Started” under “Customize or create”
- Select McMaster University from the drop-down list
- As McMaster University has enabled single sign on, you will be prompted to select the “INSTITUTIONAL LOGIN” option to log in with your McMaster email address (your MacID@mcmaster.ca).
OR:
- You will be prompted to complete a form.
- A member of the Open Library team will review your request and confirm within 2 business days.
Once you’ve created your account and have successfully logged in, you’ll be presented with a page like the one you started with, but with “Admin” and “My Books” options.
Overview of the Pressbooks Interface

When you create your own resource, it will be called a “webbook” whether you’re creating an actual ‘book’ or not. The “webbook” is the book’s home page, will resemble the image below, and will have its own distinct URL.
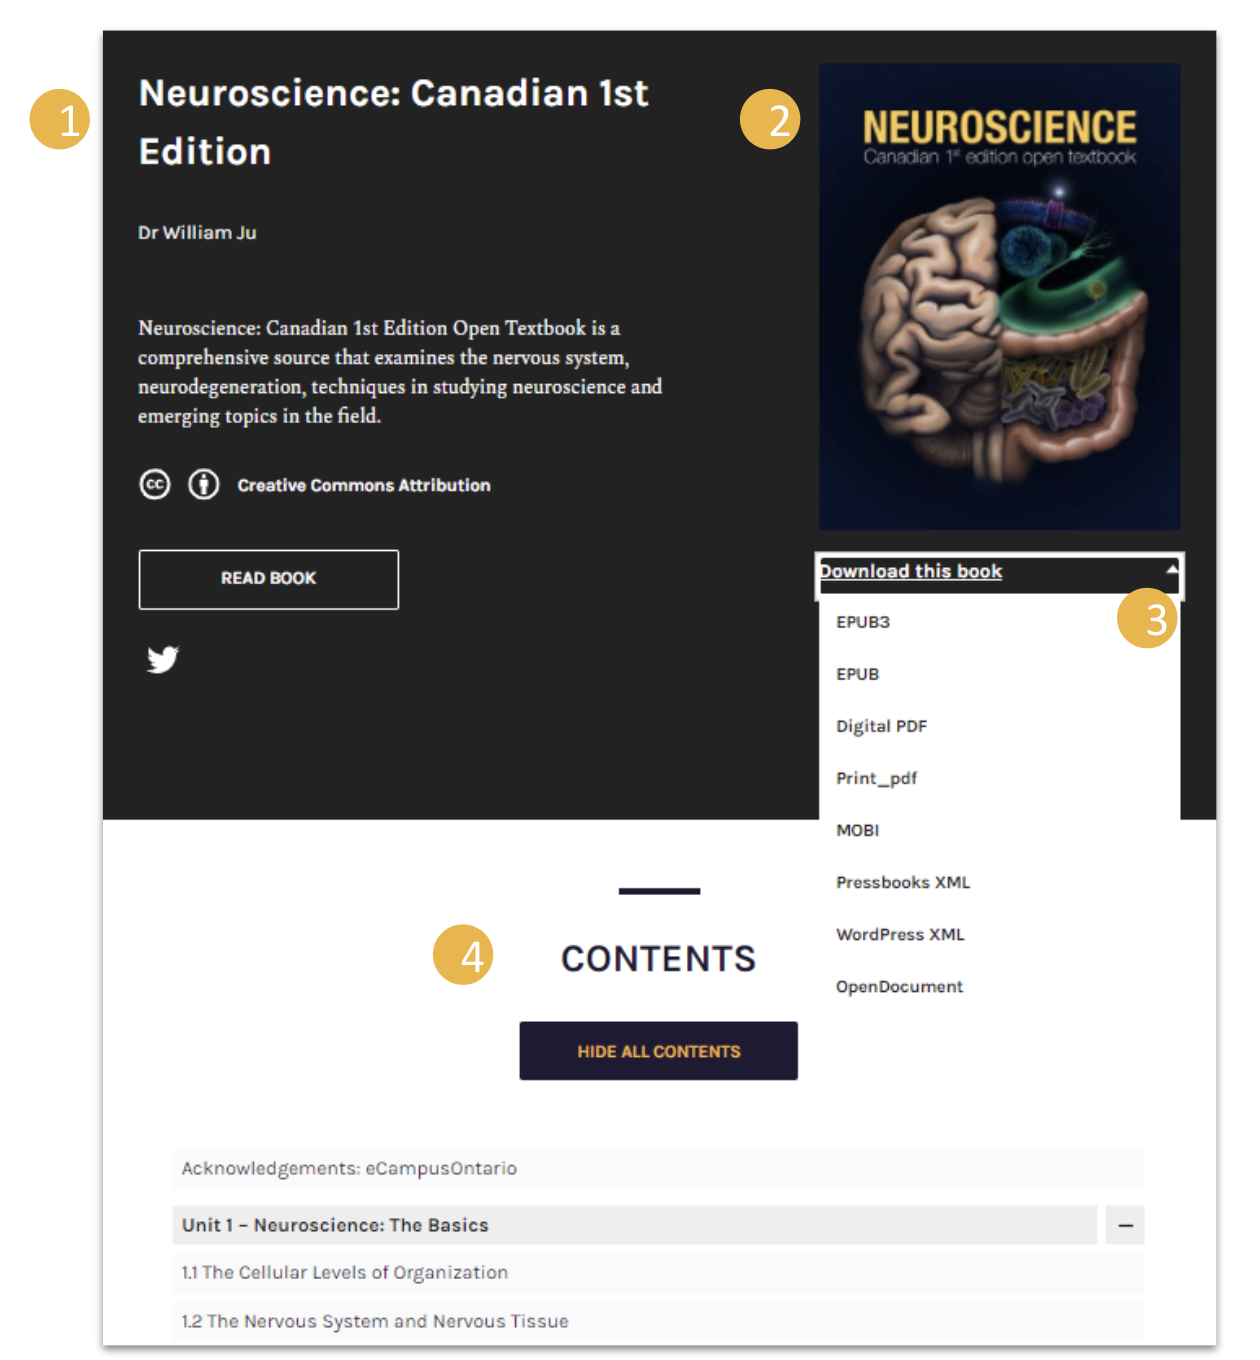
Typical webbook homepage contents include:
- Title, author, licensing information
- Cover image
- Download options
- Table of contents
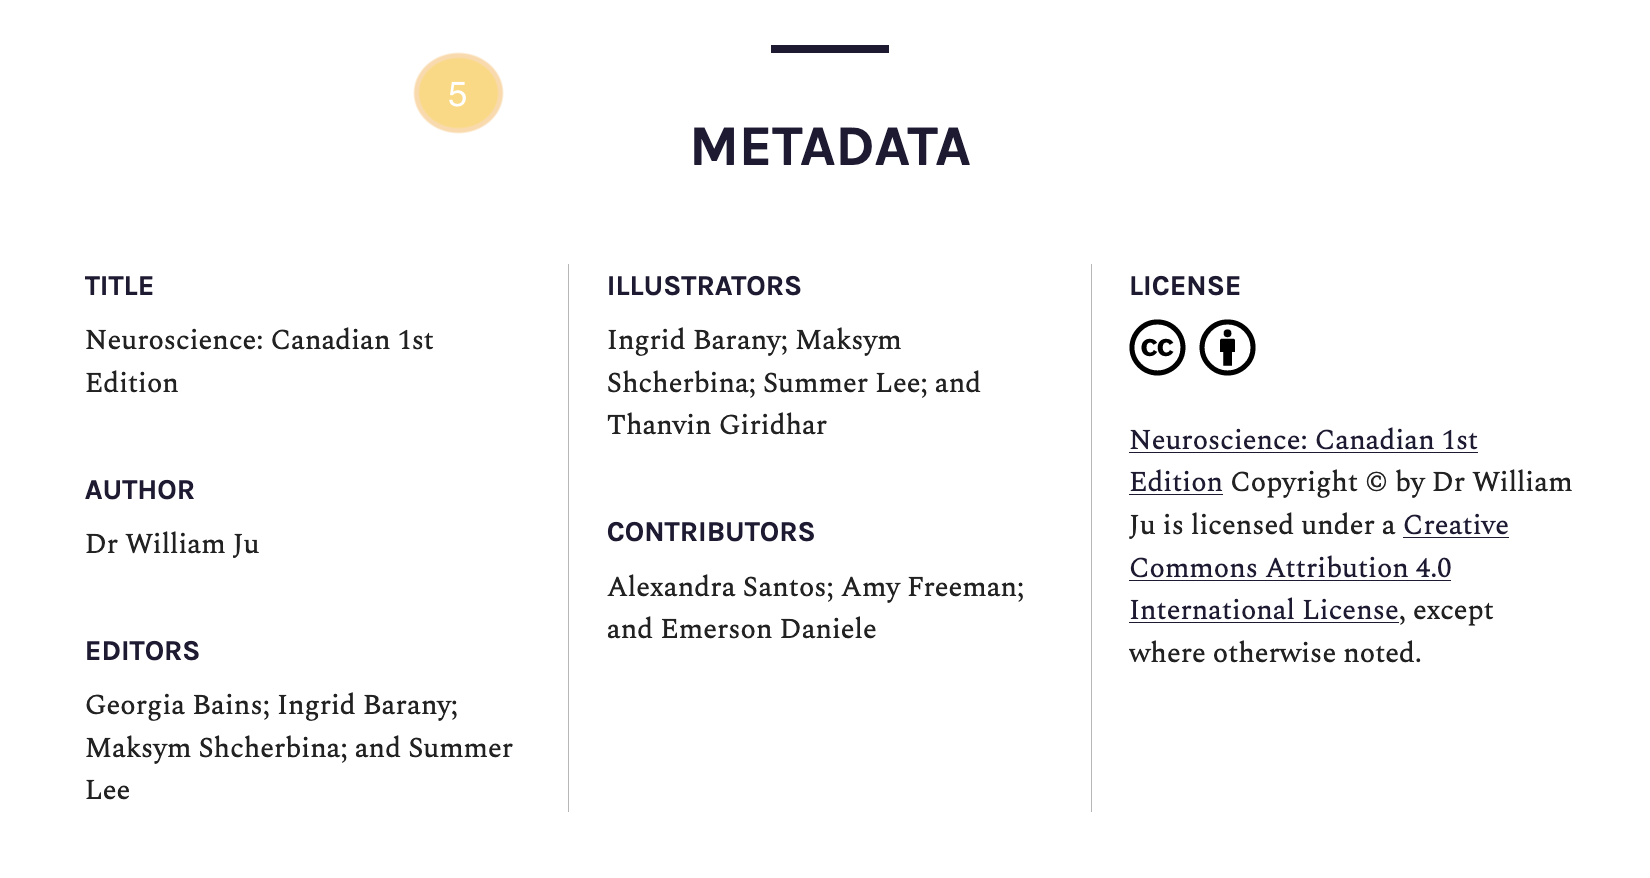
- Metadata
- (often) A description of the book
Create a Book
There are three ways you can create a new book in Pressbooks:
- Create a new book from scratch
- Clone an existing book and adapt it
- Import an existing resource to create a new book
 Activity: Create a Pressbook
Complete the steps below to create a Pressbook from scratch.
- Click on “Create a New Book”.
- All URLs start with ecampusontario.pressbooks.pub/ and you can create a custom URL ending. Choose wisely because you won’t be able to change it later. For this activity let’s call it “My Sandbox”.
- Add a title: We suggest “My Sandbox”.
- Choose the language of the book.
- Set Privacy: Choose “No” as your sandbox book should be private to you.
Clone a Book
You can clone any book in a Pressbooks network, provided it is licensed under an open license that allows adaptation.
Activity: Clone a Book
Complete the steps below to clone a book in Pressbooks.
- Search the Pressbooks Directory for a Pressbooks resource that has a license that allows for adaptation.
- Copy the URL.
- Log into your Pressbooks instance.
- This time choose “Clone a Book”.
- Paste in the Pressbooks URL link of the original book.
- Create a link for the new book.
- Add your own title to your cloned book.
A cloned copy of the original resource will now be listed in your books (under “My Books”). You can now edit the Parts and Chapters to accommodate own teaching and learning purposes.
If you clone a book, it will always feature a tag at the bottom of the page indicating the book’s original source a link to it. You can even activate a side-by-side source comparison to show readers what has changed in your version.
Import an Existing Resource

Best practices for importing .DOCX files – Importing from one format to another never goes smoothly, so you’ll need to do a bit of clean-up. You can prepare your Word document to expediate this process:
- Ensure that the file name does not contain any special characters
- Check your file size (maximum 25M)
- Mark new chapter titles as “Heading 1.” (Pressbooks recognizes “Heading 1” as the title of a new chapter.)
- Use the style panel. Basic markers will be transferred (e.g. bold, italic, etc.), but special fonts and colors will not
- Make sure your images include alternative text
Activity: Import Existing Resource
Complete the steps below to import an existing resource into Pressbooks.
- Find an existing Word Document resource that you have created and/or used in a course.
- Log into Pressbooks and go to the “My Sandbox” book you created earlier.
- On the tool list (normally in the Dashboard on the left) select “Import”.
- Choose the type of file to import – in this case, Microsoft Word (docx).
- Select your file and click “Begin Import”.
When you import content, a list of all “chapters” are displayed. You can choose which chapters to import, and where in your webbook you would like those chapters to appear. Chapters can be reorganized using the “Organize” menu.
