1 The Basics
Setting Up Roblox Studios and Learning About Print Statements
Kyra Ma; Hasan Malik; and Rutwa Engineer
Learning Objectives
- Download Roblox Studios and sign in
- Understand the basic interface of Roblox Studios
- Create your first script
- Run your first script
- Learn how to save your scripts
- Learn about Print Statements
Introduction
This module explains, step-by-step, how to download Roblox Studios and set it up to follow along with the rest of the course. We will also introduce you to Scripts and File Saving in Roblox Studios.
In any computer program, communication between the computer system and the end-user is key. This interaction is fundamentally divided into two categories: inputs and outputs.
Any information that the user enters—e.g. a person entering their name, a user entering their password, a student entering their answer to a question—is an input. Any information displayed to the user—a congratulations screen, an error message, the results of their examination displayed on the monitor—is an output.
In this module, you will be introduced to one of the core instruments of outputting text in Lua, called Print Statements.
Setting Up Roblox Studios
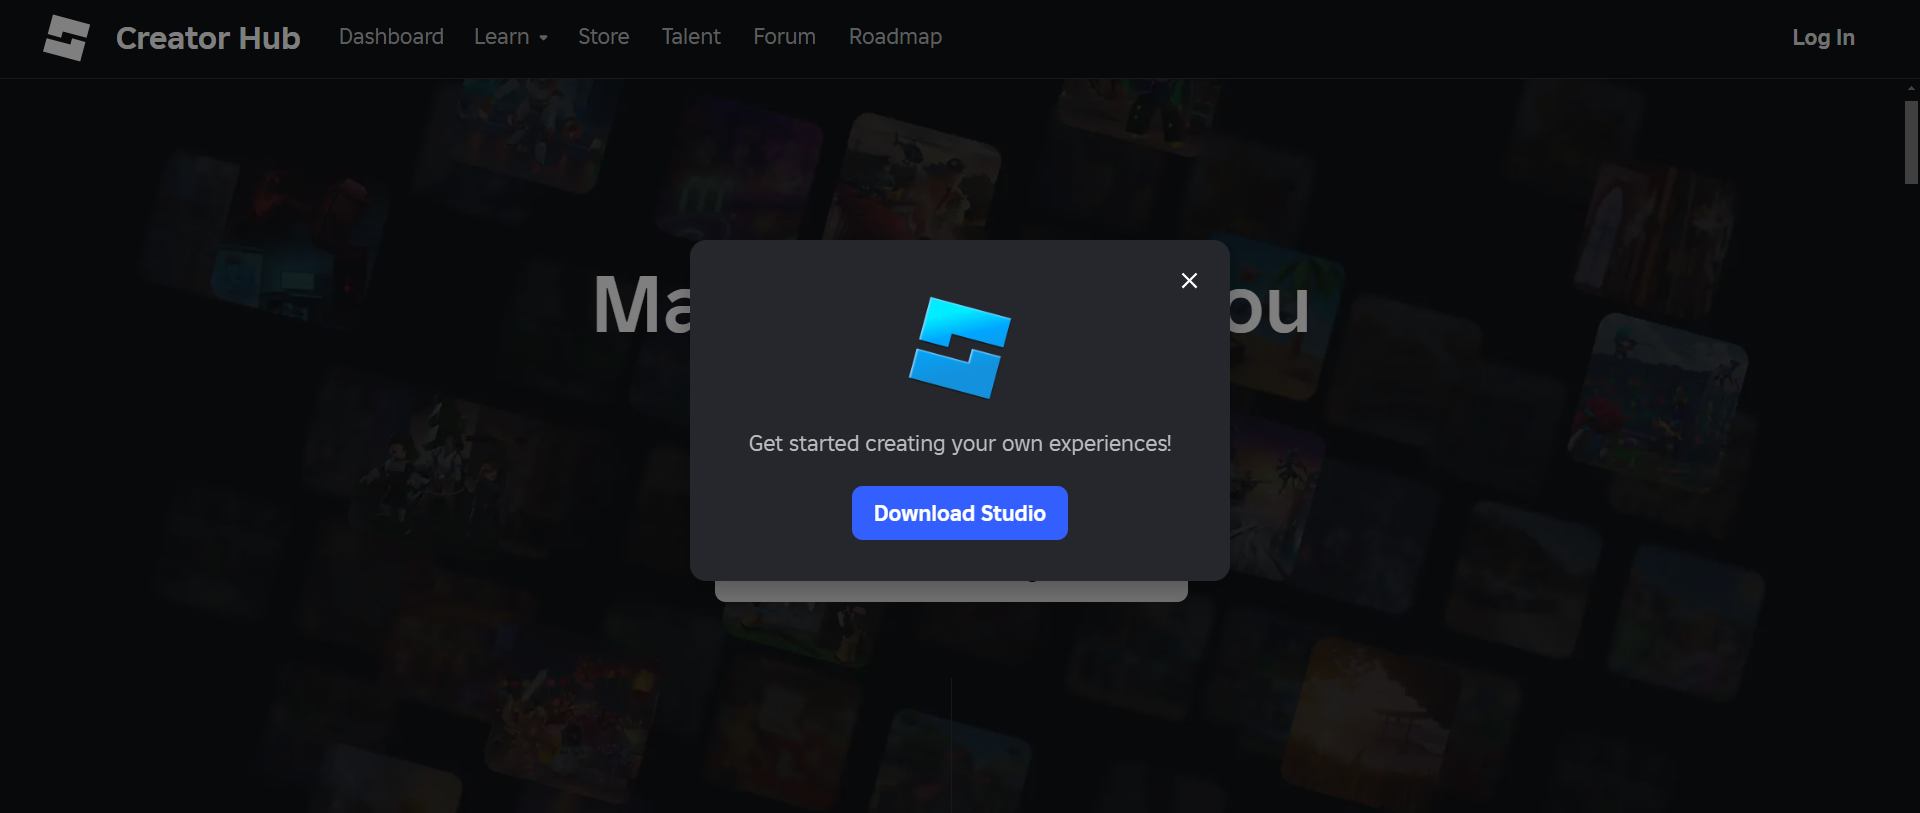
- Go to https://create.roblox.com/
- Press on Start Creating
- Press on Download Studio

- Find the Studio installer in your browser’s download history and double-click the file
→ On Windows, the file is RobloxStudio.exe.
→ On Mac, the file is RobloxStudio.dmg.
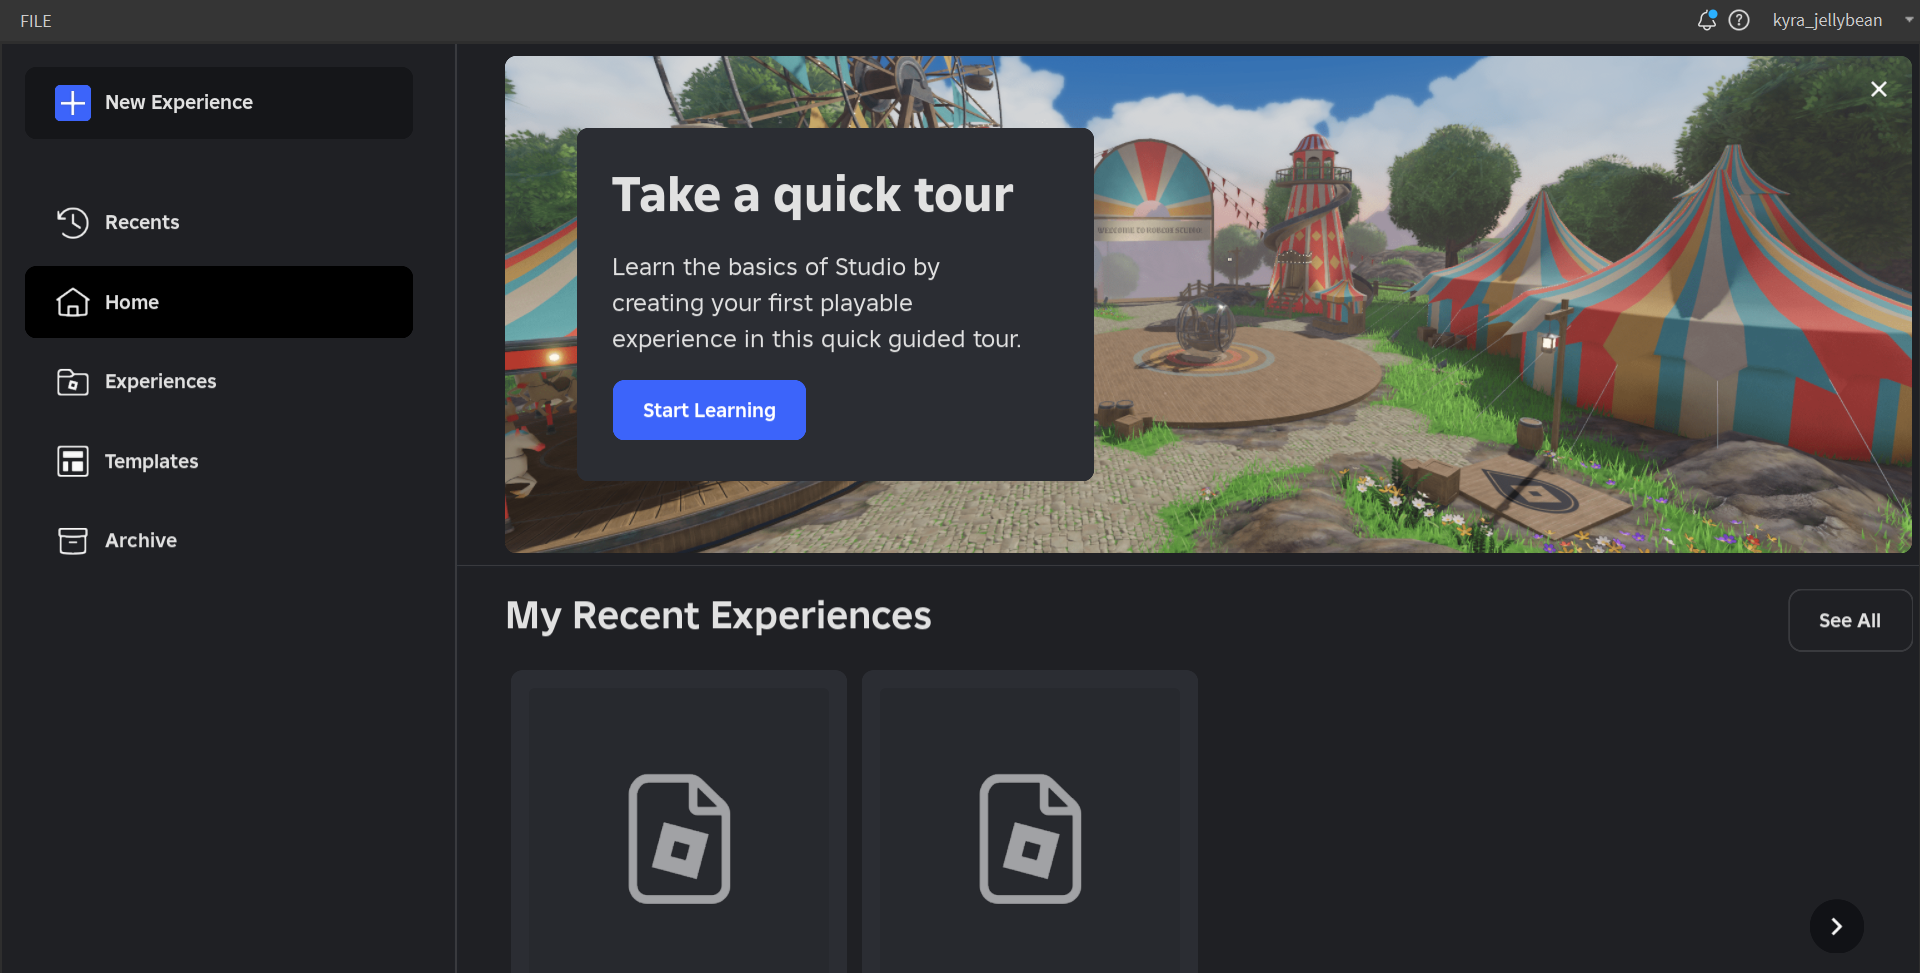
- After Studio finishes installing, a pop-up confirmation displays. Click the Launch Studio button.
- Sign in to Studio with your Roblox account (or, create an account at http://roblox.com).
Roblox Studios Interface Basics
At first glance, the Roblox Studios interface can seem intimidating—no need to break a sweat, though, because we’re here to walk with you every step of the way!
Firstly, watch this short YouTube Video (11 minutes) by RoBuilder to familiarize yourself with the main features of Roblox Studio: https://youtu.be/UMmZMPYAzZs?si=m2MXURcknpKVQSz9
Now, what are Scripts in Roblox Studio?
So how and where do we actually write our code in Roblox? That’s where scripts come in.
Scripts are special objects we add into our game (usually inside the Workspace or ServerScriptService) that open up a code editor where we can start typing our Lua code. Once a script is added, Roblox Studio gives us a space to write instructions that control how things behave in the game.
It’s basically our way of talking to the game and telling it exactly what to do!
Now, how do we make scripts inside Roblox Studio?
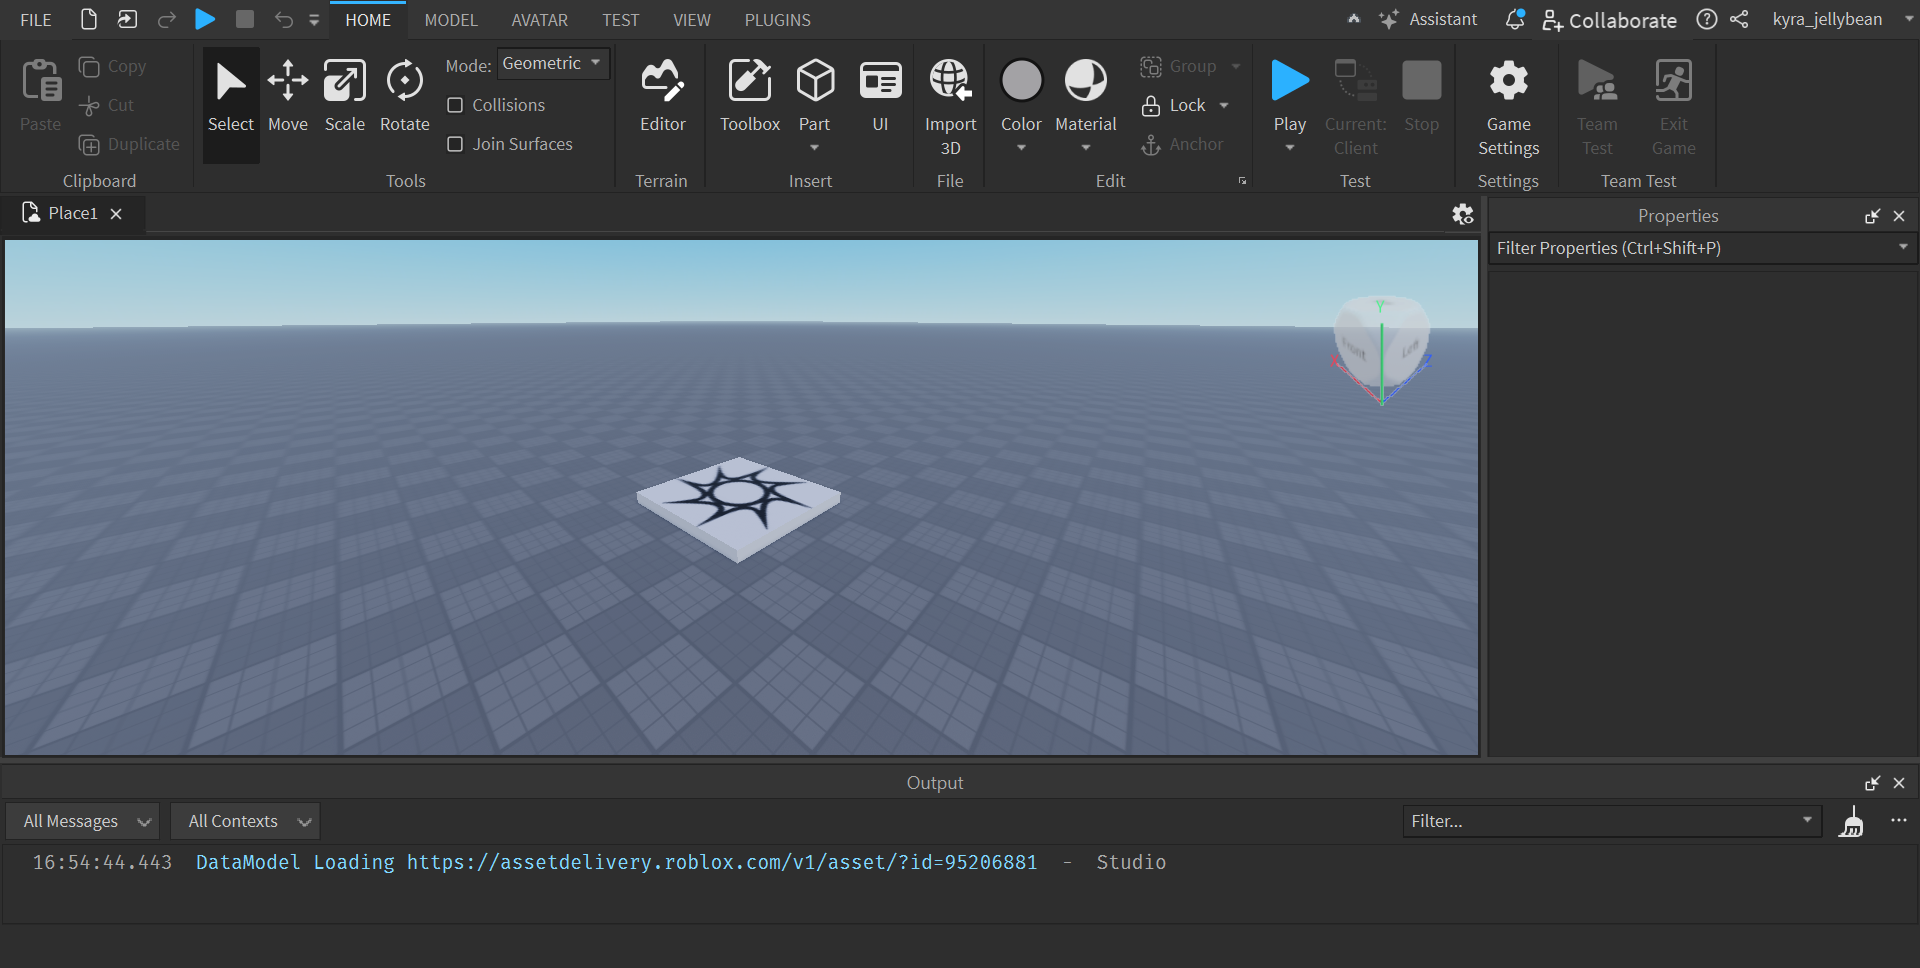
- Open Roblox Studio and press New Experience on the top left corner
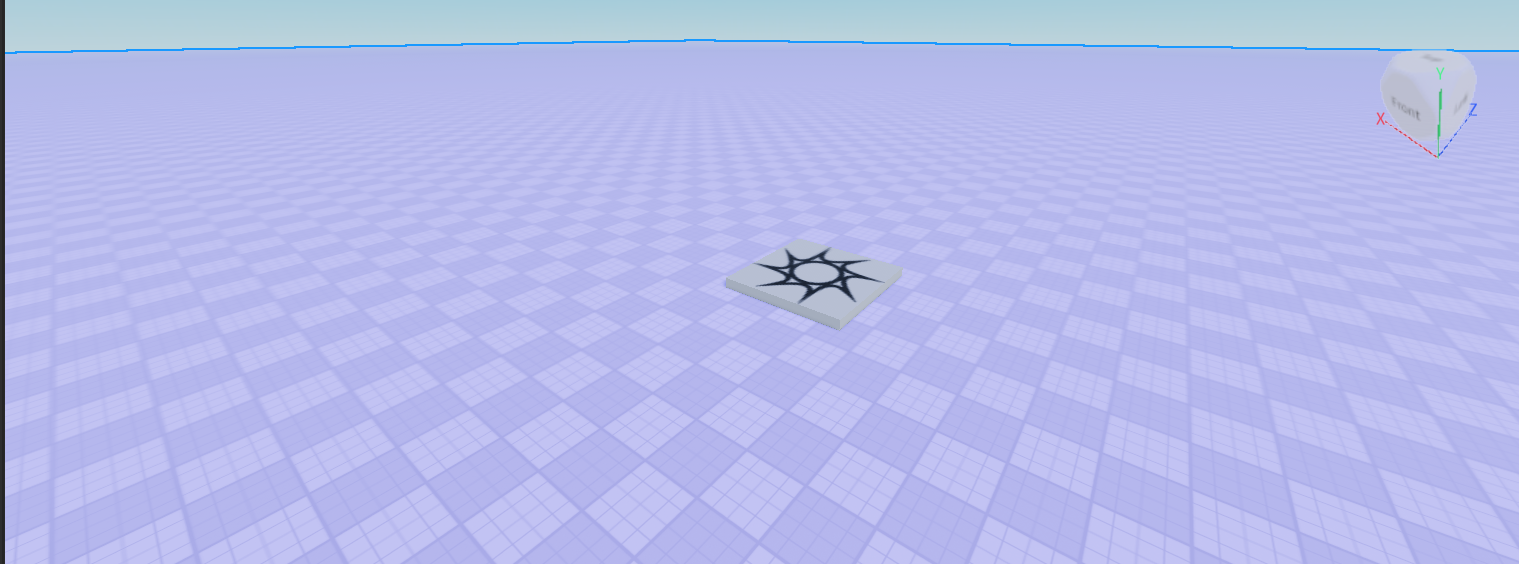
- This is what your Roblox world looks like:
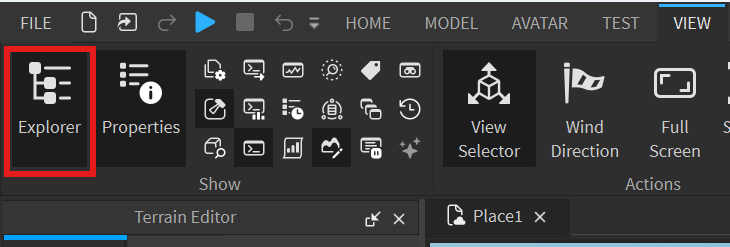
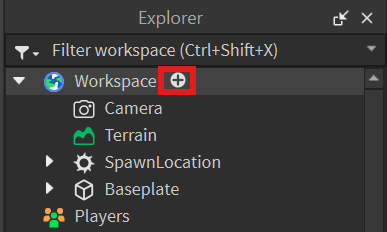
- Locate the View tab at the top of your screen, and open the Explorer Window, which should open up on the right side of your screen.
Explorer is a very important window that serves as a directory of folders and the structure for every Roblox game. Each folder in the directory corresponds to a different element of your Roblox game!
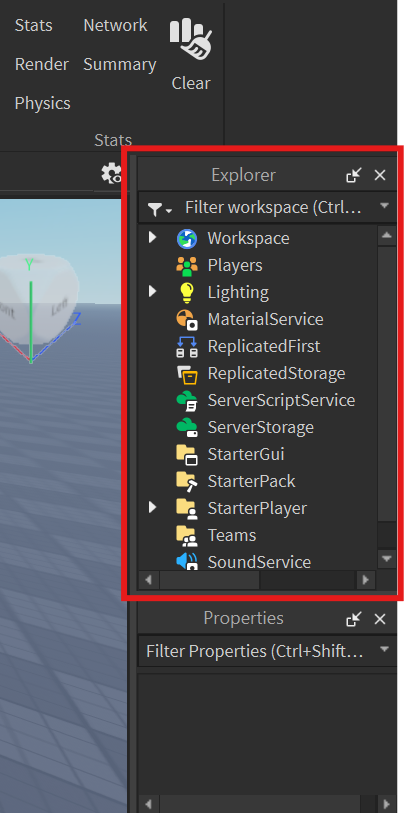
For example, the Workspace folder is one of the most important folders in your game. It contains all the physical objects and parts that exist in the actual game world. This includes buildings, models, terrain, NPCs, or interactive objects. If something is stored outside the Workspace folder, it still exists in the game, but won’t be visible or interactable until it is moved into the Workspace through scripting.
Let’s press on Workspace. Look! There’s even more folders nested inside—Camera, Terrain, Spawn Location, and Baseplate—that are each responsible for an individual element of our world.

We’ll talk more about this hierarchical structure later on.
Another important window to understand is Properties, located underneath the Explorer window.
Let’s select one of the objects inside the Workspace window. If we click on Baseplate, we can see a few tables of information appear inside the Properties window. These include all the properties, attributes, and settings associated with the Baseplate (or whichever object you selected), that we are able to change ourselves.
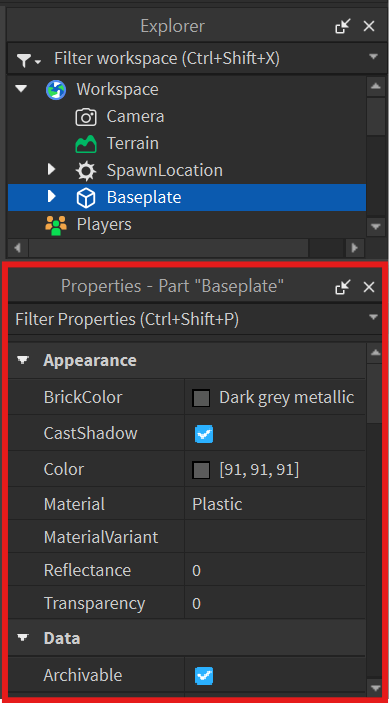
For example, the first property inside the Appearance table is BrickColor. Once clicked, a wheel of color options to change the baseplate (floor) appears.
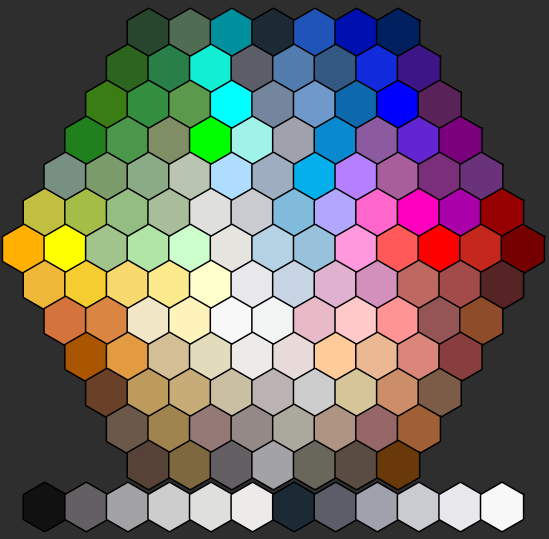
Let’s change it to Pastel violet.
Before: Dark grey metallic
After: Pastel violet
Try to click on different objects inside the Explorer and play around with some of their properties!
Creating a Script
Now, you’re ready to create your first script!
There are 2 main places where you can add scripts inside Roblox Studio: Workspace and ServerScriptService. For now, we will focus primarily on using the workspace.
To add a script to Workspace, click on the plus button beside it. A list of objects should appear. Simply click on the Script, and you’re done. You can also search for it using the search bar on top.
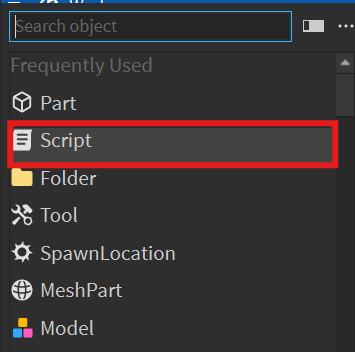
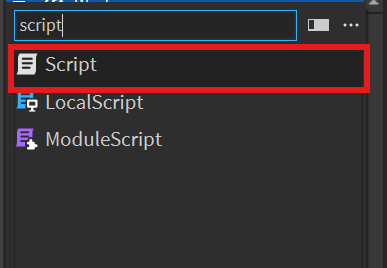
Note: There are 2 other types of scripts in Roblox Studio, LocalScript and ModuleScript, as shown above, but we will use the normal script for now.
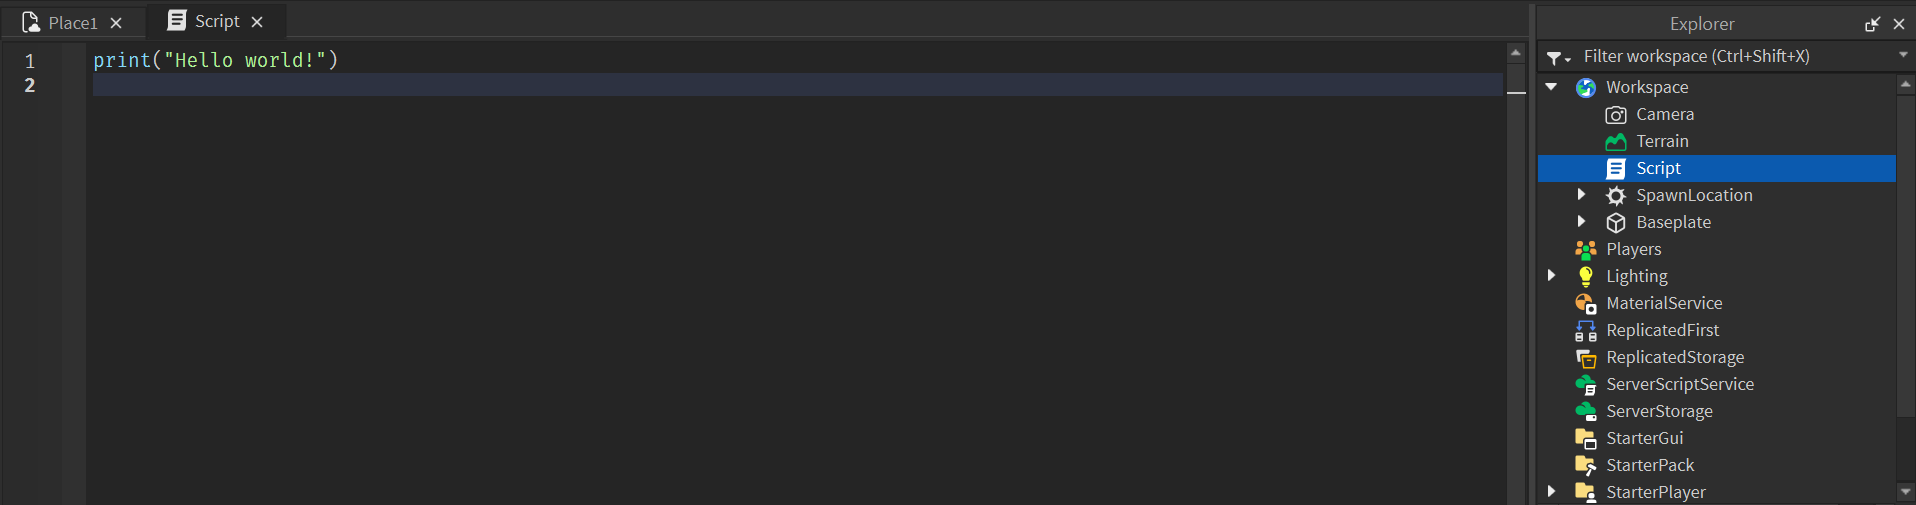
Finally, we have inserted a script inside the Workspace.
As shown below, this brings us to a code editor tab that allows us to develop full programs. We can use the tabs at the top to toggle between scripting and the graphical game world. The default code is a print statement — we will discuss this in the next section.
Running your Script
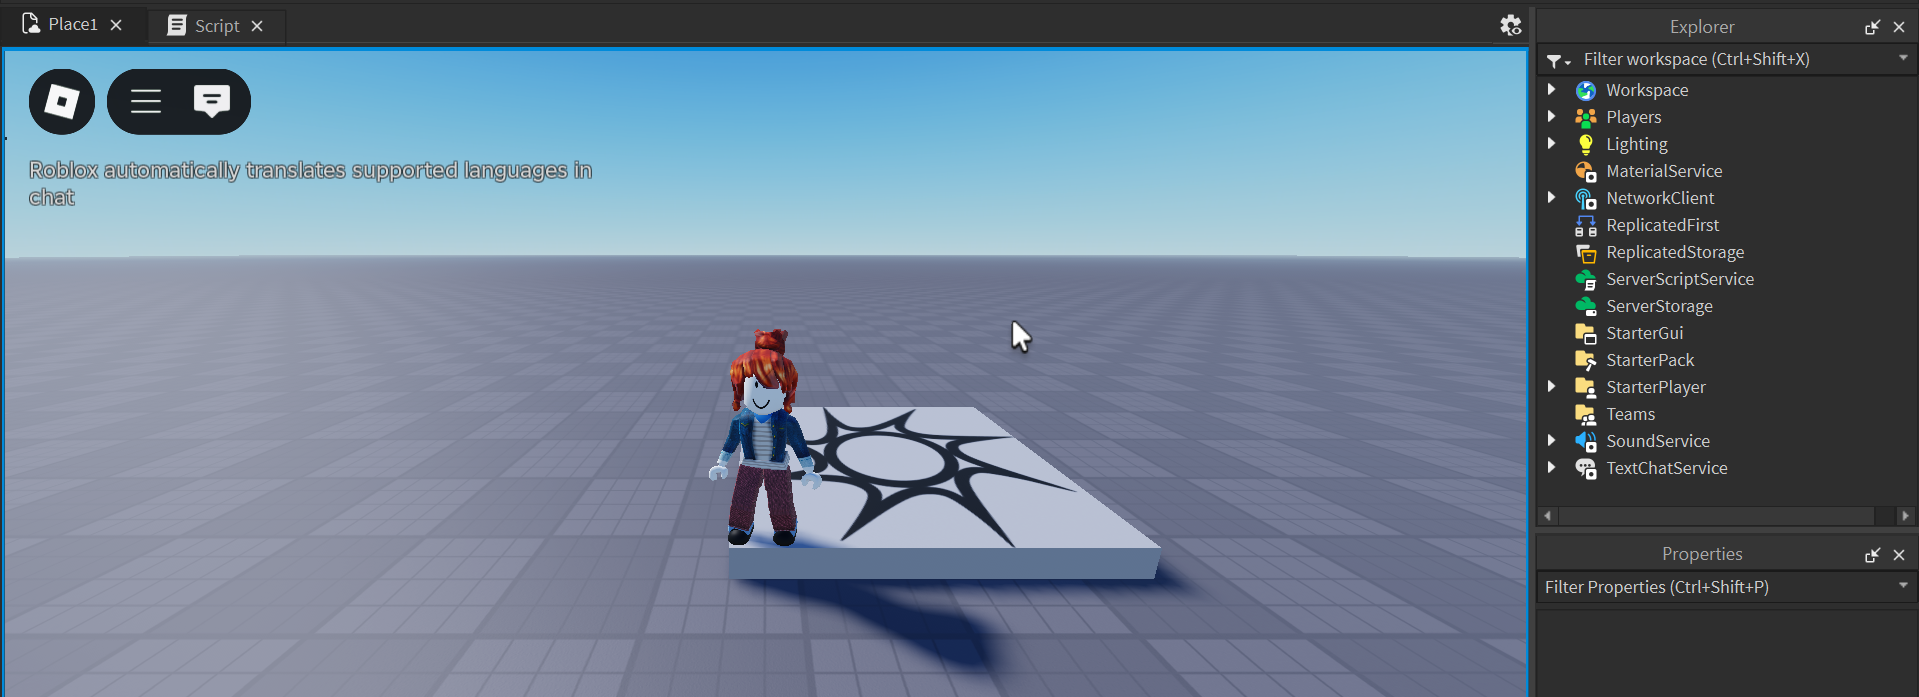
To run the default code inside our Script file, locate the Test tab, and click on the Play button.

When the game starts running, our Roblox character will load inside our game (how cool is that?!), and we are able to navigate and play around the game world, just as in a real Roblox game. Similarly, we can click on the Stop button to stop the game from running and make changes to our game.
Additional Notes about Adding Scripts
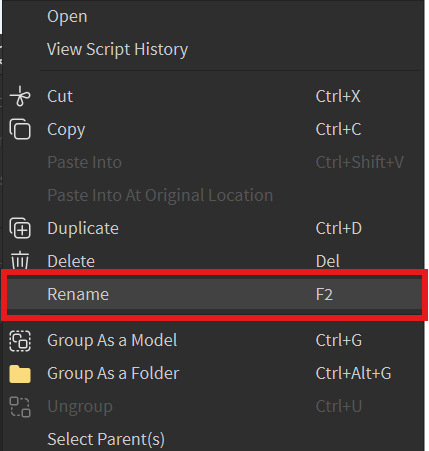
As we add more script files to the Workspace, it is best practice to rename our files to avoid confusion. To do this, right-click on our Script file, and click rename.
Additionally, as we move onto more complex programs, it’s best to save our files to avoid losing our work. Although Roblox Studio has an autosave feature, it may not always be reliable.
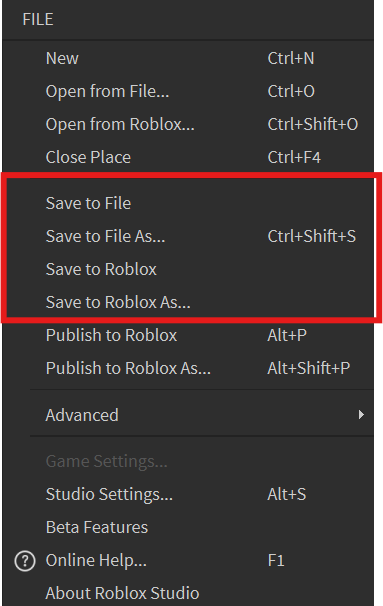
To do this, click File in the top-left corner of the menu bar. There are 2 options to choose from:
- Save to File (Local Desktop)
- Save to Roblox (Roblox Server)
Save to File (Local Desktop) saves your game to your own computer as a .rbxl file. It’s good if:
- You want to keep a personal backup
- You are working offline
- You want to send your project file to a friend or classmate
Save to Roblox (Roblox Server) saves your game directly to your Roblox account so you can access it from any computer where you log into Roblox Studio. This is best if:
- You are collaborating with others
- You want to publish the game later
- You want to work across different devices
Print Statements
What is print()?
In programming, the print() function is how we ask the computer to display messages on the screen, just like giving it instructions to follow. In Lua, when you use print(), you’ll see the text appear in Roblox Studio inside a special area called the Output window when the game runs.
Function Names:
- print() is a function.
- Function names are followed by a pair of round brackets ().
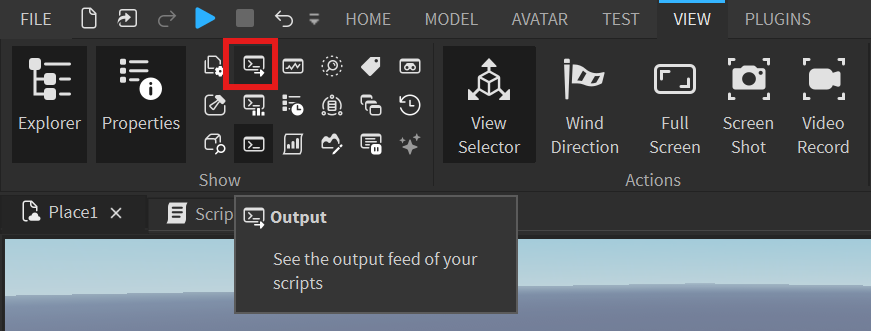
Navigate the View menu tab at the top of the Roblox Studio interface. Click on the second icon to access the Output window, as shown below.
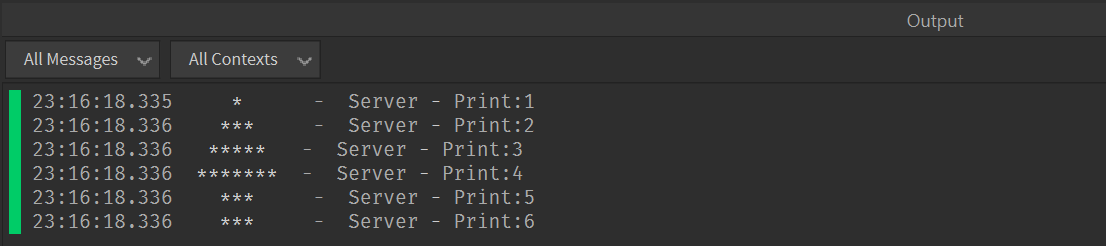
Example: Printing Text

Output window:

This line—the statement print("Hello, world!")— is made up of a few key parts.
print→ This is a built-in command to display something inside the output window."Hello, world!"→ This is called an argument (or sometimes called a parameter). The argument lets the computer know what exactly to display onto the screen.()→ Parentheses are used to wrap the argument, indicating where the string begins and ends.
Here are some more key things to note:
- Lua, like most programming languages, is case-sensitive. This means it treats uppercase and lowercase letters as different characters. For example, Lua recognizes print as a built-in function, but if you type Print or PRINT, your code will not work and it will display an error. Try it out yourself in Roblox Studio!
- You must only use round brackets when calling functions like print. Square brackets [] and Curly braces {} have different usages that we will discuss in later modules.
- Notice how the text is wrapped within quotation marks (“ ”). This lets the computer know we are dealing with text (called a string – we will revisit this term in the next module). For example, if you typed print(Hello, world!), the computer would get confused because it doesn’t know whether you’re trying to say a word or use it as a command. Thus, you will see an error message inside the Output window. See the demonstration below:


Exercises
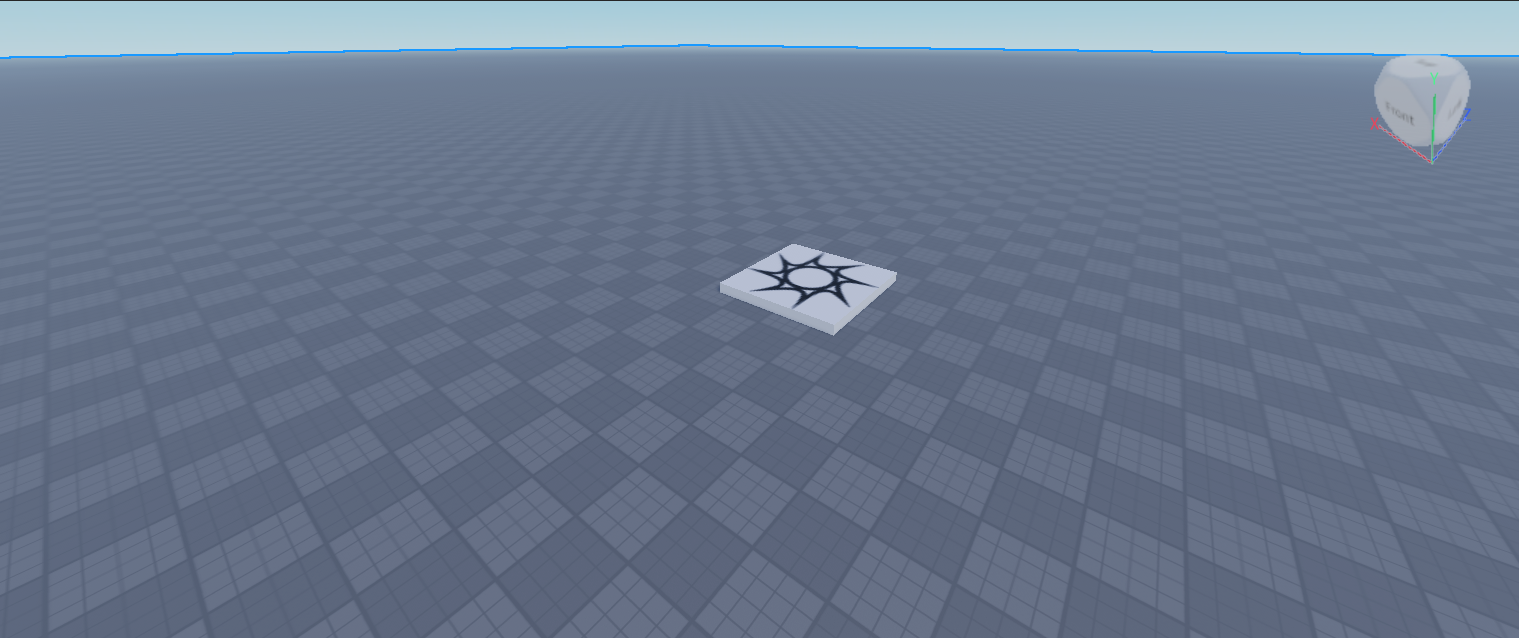
Additional Challenge:
Use the print function to display this shape:
Congratulations—you have now familiarized yourself with the basic tools of Lua!
