2 Google Calendar
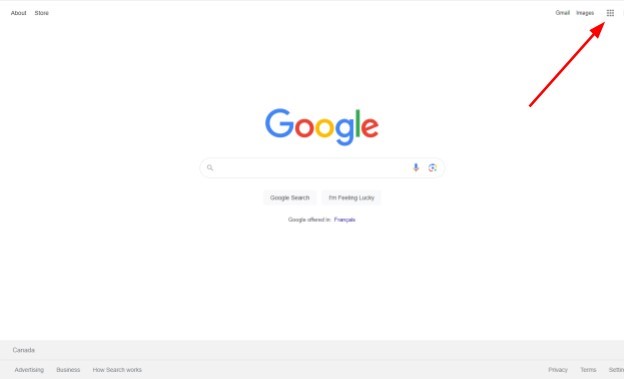
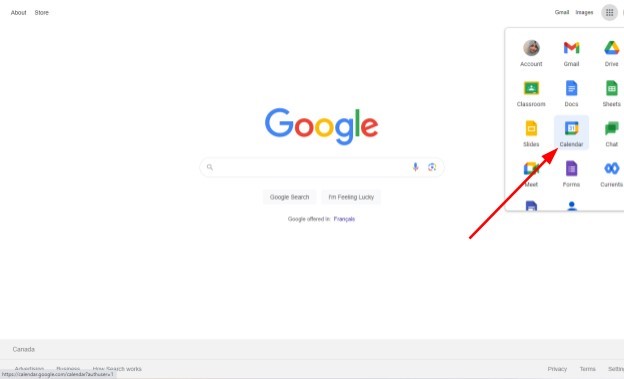
Welcome to the Google Calendar tutorial. To locate the Calendar icon, move your cursor to the top right corner to find the Google Apps icon. You can see the Calendar icon once you click on the Google Apps icon. Click on the icon.
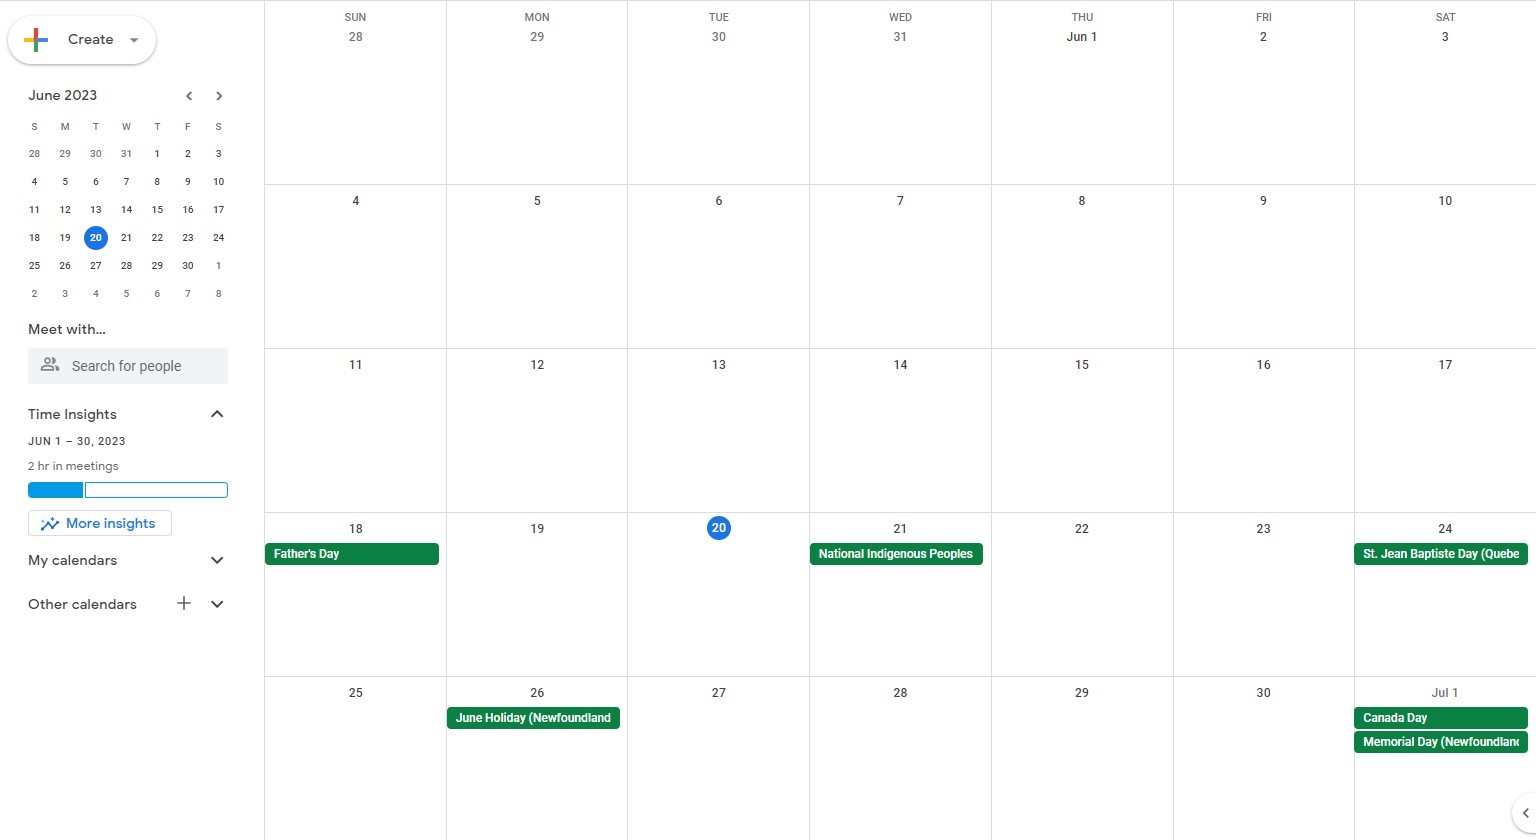
Once you open Google Calendar you will see this display.
Create an Event
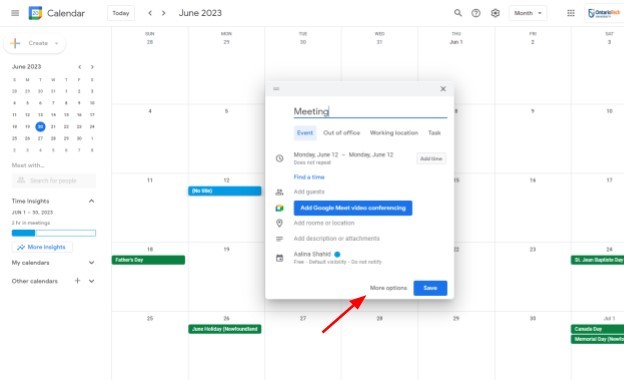
To create an event, click on the date that you would like for the event to appear. Add a title by changing the name as shown, Or click on more options to add a title.

Changing the Date
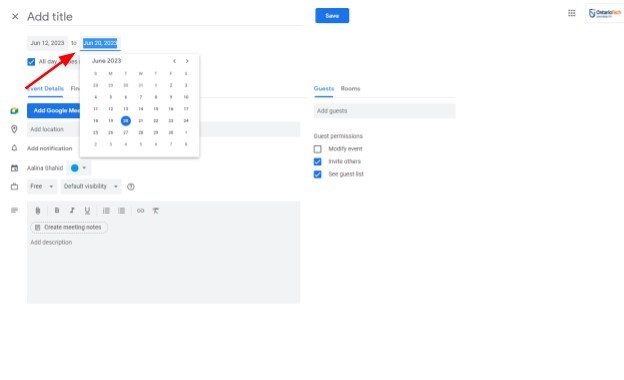
Below the “Add title” you will see a date range. Click on the dates to modify how long you want the event to take.
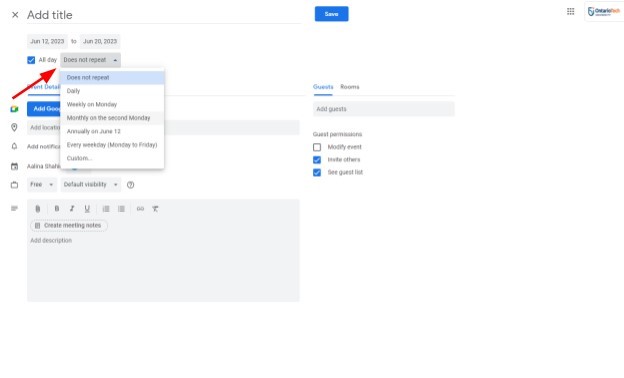
Below the dates, you can modify the number of times you would like to receive the event reminder. Click on the drop-down menu next to All day.
Sharing with Others
Below the event details, copy the conference information to invite people on Google Meet.
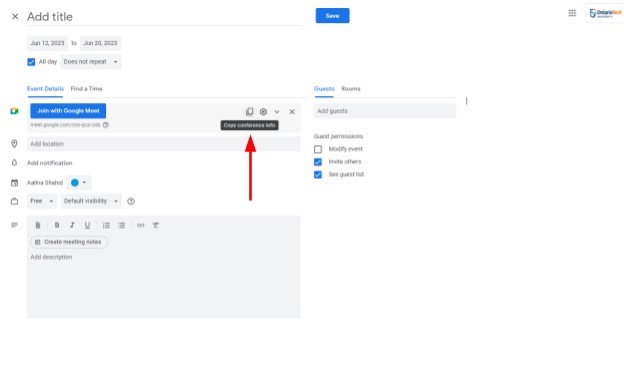
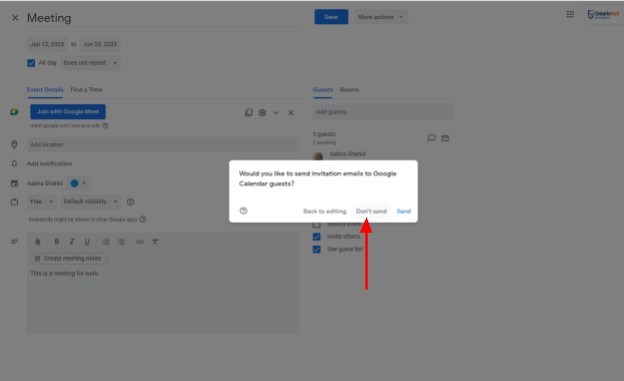
Or on the right side of the screen, you will see Add guests. This will allow you to invite people to the event by notifying them through Gmail.
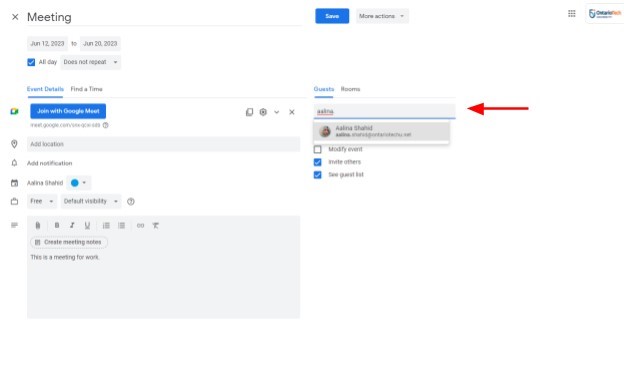
Click on Send.
Viewing the Calendar
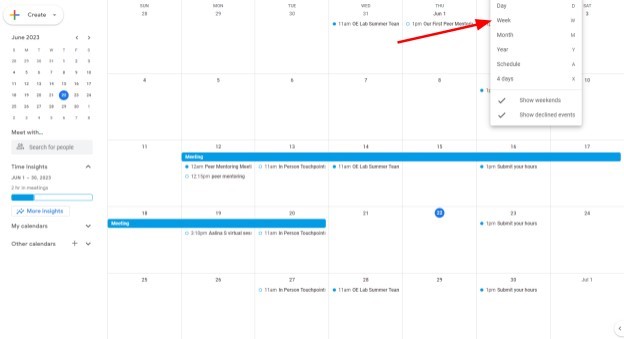
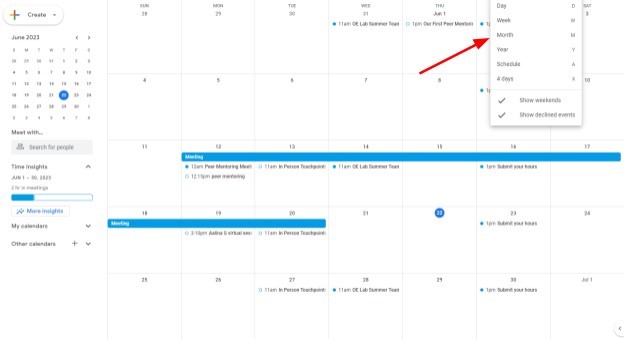
On the top right corner, you will see a drop-down menu called Months. Click on the drop-down menu to select the view type you want to see.
Weekly –

Monthly –
Yearly –
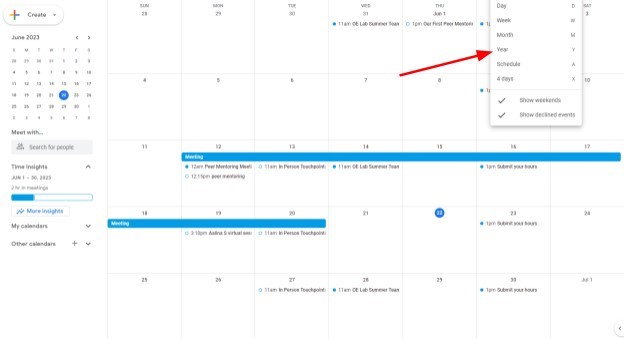

Schedule –
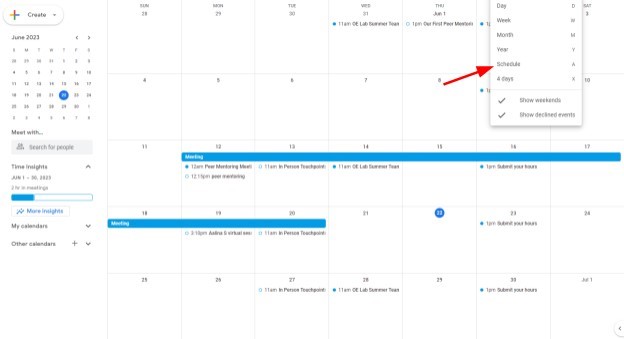

You can change between the months by clicking on the arrow in the top left corner.
Edit and Delete an Event
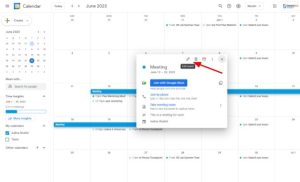
Click on your Event. On the top right, you will see a pencil icon that allows you to edit the event. Or you can double-click on the event. In the top right corner, you will see a drop-down menu with the option of Delete.
Create a New Calendar
On the bottom left corner, there will be a “+” button. Click on the + button and there will be an option called “Create new Calendar”.
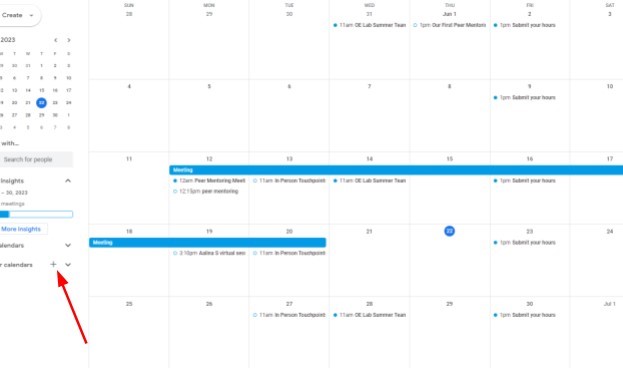
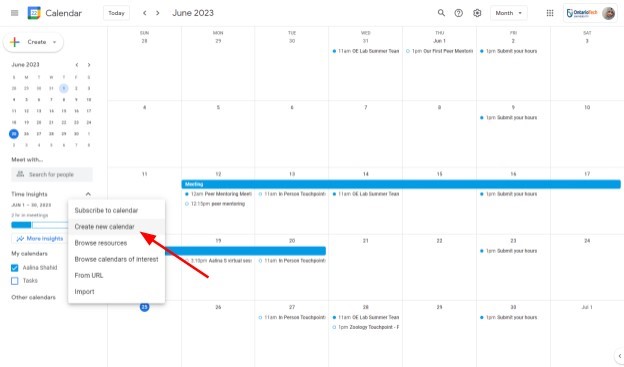
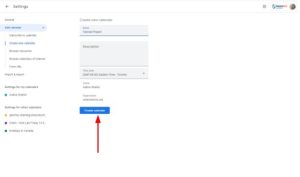
Once you do so, the following page will pop up.

Create a title for your new calendar and then hit Create a calendar.
