12 Colour Classification
Learning Outcomes
- Explain how a computer sees color
- Explain how Zumi can differentiate between colors
- Program their Zumi to classify and recognize three different colors in one model
- Program their Zumi to react a certain way when it sees a specific color
Introduction to machine learning
You can see colors and differentiate between them, but did you know computers can do this too? In this lesson, you will learn how to use a special algorithm to teach Zumi different colors. This is a very basic example of machine learning, which can be summarized in three steps:
- Gathering data
- Generating a model
- Making predictions
You will use Zumi’s camera to take many pictures of your favorite colors, and then run code that will use the color information to label each color. In the final step, you will be able to test your model and write code for Zumi to react to each color differently! For now, let’s teach Zumi about colors. You will need to have your activity color cards handy!

What is an image?
Before getting started with training Zumi to recognize colors, you need to learn how Zumi sees colors. It is very different than how you see colors!
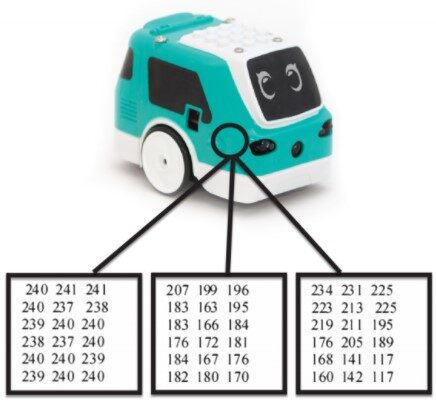
An image is made up of an array of small dots called pixels (short for picture element). A pixel can be a single color or a combination of colors, and each of those colors is represented by a series of three numbers that tell you exactly how much red, green, and blue are in it. This is called the RGB value, which stands for red, green, and blue. For example, a beautiful shade of turquoise might look something like (27, 209, 197) since there isn’t a lot of red, but there is a lot of green and blue. Because each value of RGB can be between 0 and 255, there are 256 values to choose from for each color. That results in 256^3, or 16,777,216, different color combinations!
What is a matrix?
Since each pixel can be represented by numbers, a picture is a grid of numbers. This is where humans and computers start to see images a little differently. Humans see colors and shapes that we recognize as different objects, but computers only see these grids, also called matrices. Each number represents the RGB value of each pixel. They look a little like the image.
Using HSV instead of RGB
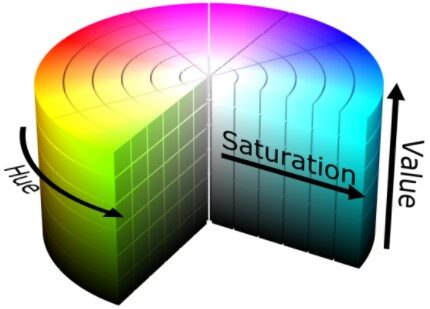
Your program will convert each RGB image to the HSV colorspace. HSV stands for hue, saturation, and value.
- Hue normally ranges from 0-360 and represents the color (in this application, however, it ranges from 0-180)
- Saturation is the color’s intensity
- Value is how light or dark the color is
In computer vision applications, it is better to use the HSV colorspace since it separates values for colors and intensity. This is important because shadows, reflections, and other factors may cause certain colors to look very different. The HSV colorspace takes this into account for more accurate results.
AI blocks
All of the blocks related to your machine learning models will be in the “AI” block category.
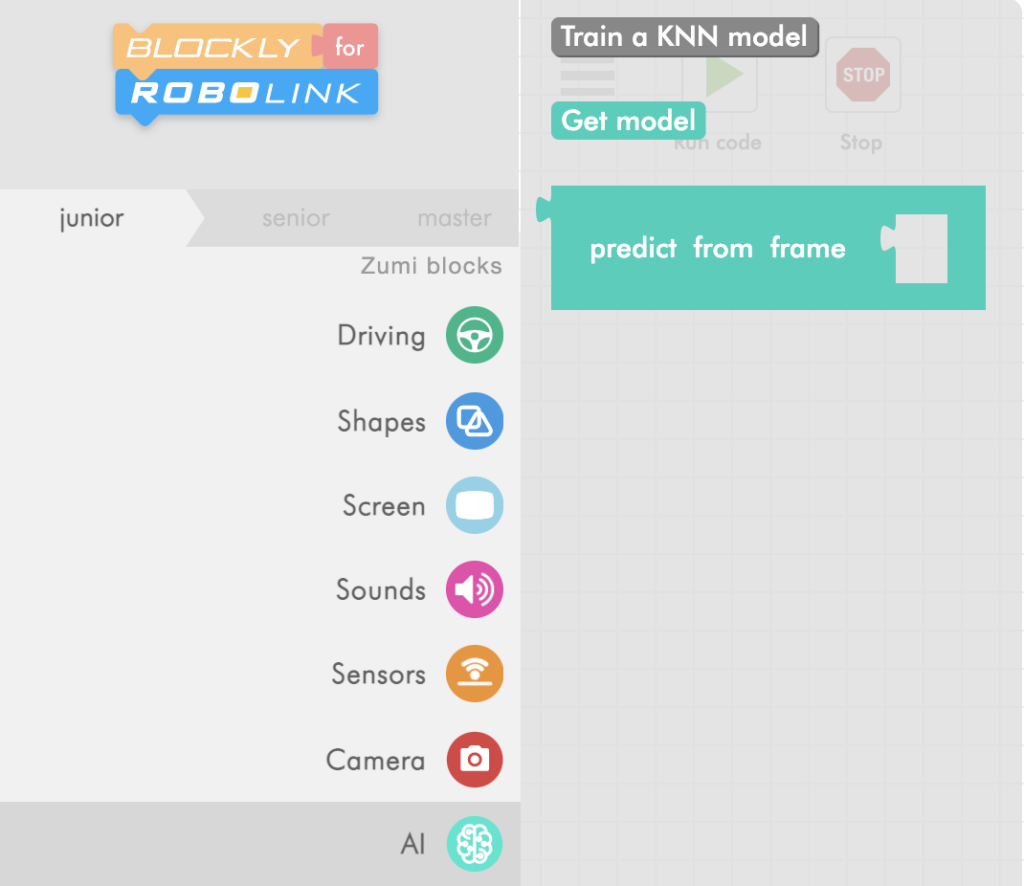
It looks a bit empty right now because you have not trained any models yet. Once you do, you will use the get model block to load it and the predict from frame block when you want Zumi to classify something!
Learning Colors Wizard
Pick three of your favorite colors from the packet of color cards in your Zumi box. Then, click on the grey “Train a KNN model button” to open the Color Classification wizard! You can also go to the “Explore” tab from the main dashboard to get here.
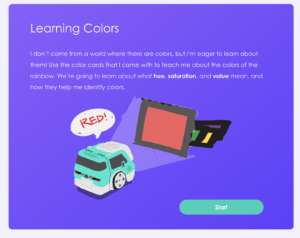
Follow the instructions and go through the whole wizard using your three color cards. Don’t forget to save your model with a project name that is easy to remember. You will be using it in the next section, so write it down if you have to! When you see this screen, you have successfully saved your model.
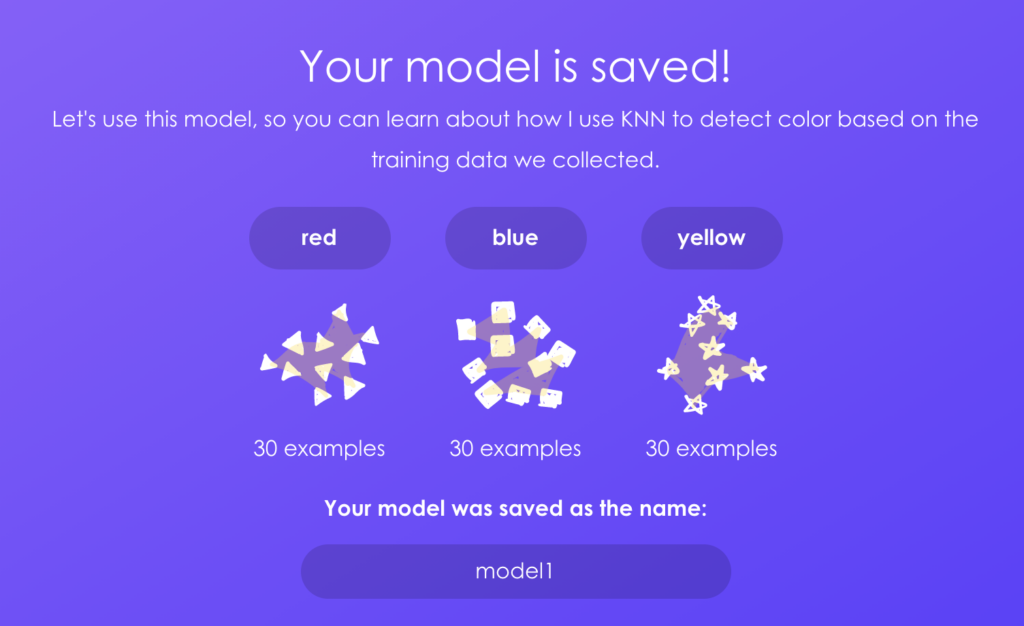
After saving, come back to this lesson to learn how to load your model in Blockly.
Binary in QR codes
Good job if you got “Hello!”, the same message that was encoded in the QR code. How does this binary code get translated to the QR code’s matrix of black and white squares? Remember that binary only uses two digits. This can also be represented by a black square or a white square, “on” or “off”. If you wrap that message around like a snake into the shape of a square, you will get a QR code! There are a few more details and rules about the formatting, but the general idea is the same. The QR code for “wikipedia.org” is broken down below.
Now that you know how QR codes work, you can generate your own and use them in your programs!
Load model
The great thing about machine learning is that you can use it again when you save a model! In the previous activity, you chose three of your favorite colors to teach Zumi. Now, you will load the model and have Zumi react differently to each of the colors!
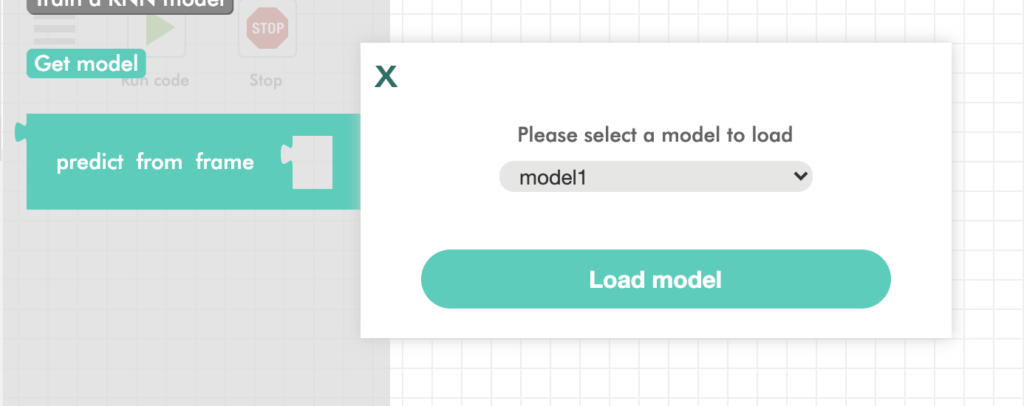
Open the “AI” menu and click on “Get model”. If you see a message saying you don’t have any models saved, try refreshing the Blockly page. You should see a dropdown menu that looks something like this. In this example, the model was named “model1” and it was trained to recognize red, blue, and yellow. Find your model name and click load!
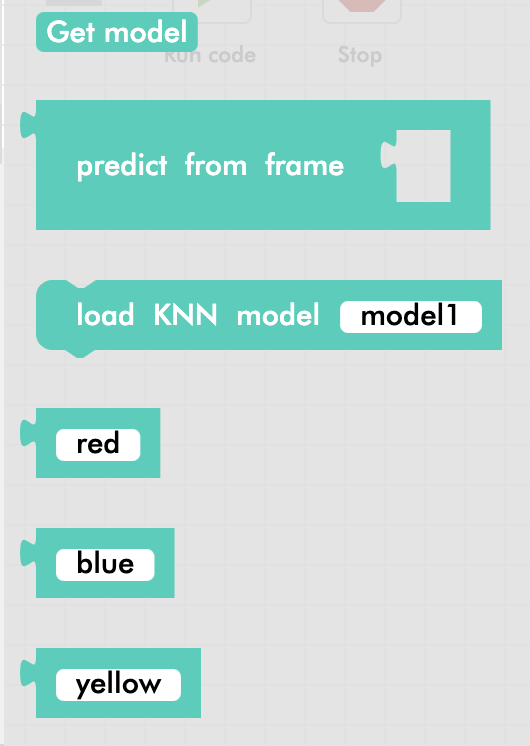
If your model loaded successfully, you will notice a few more blocks were added to your blocks list. One block loads the model in your program, and the other blocks should contain the label names for the colors you trained. Don’t worry if ours looks a little different. You should see the names of the three colors you picked!
Activity: Zumi’s favorite color
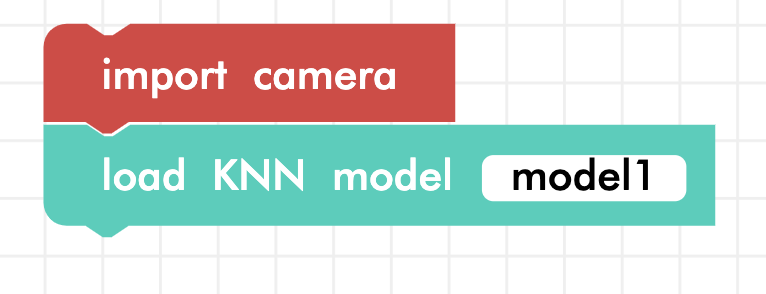
First, import the camera and drag the load KNN model to the workspace. It should have your model name as the parameter.
Next, take a picture and save it in image variable.
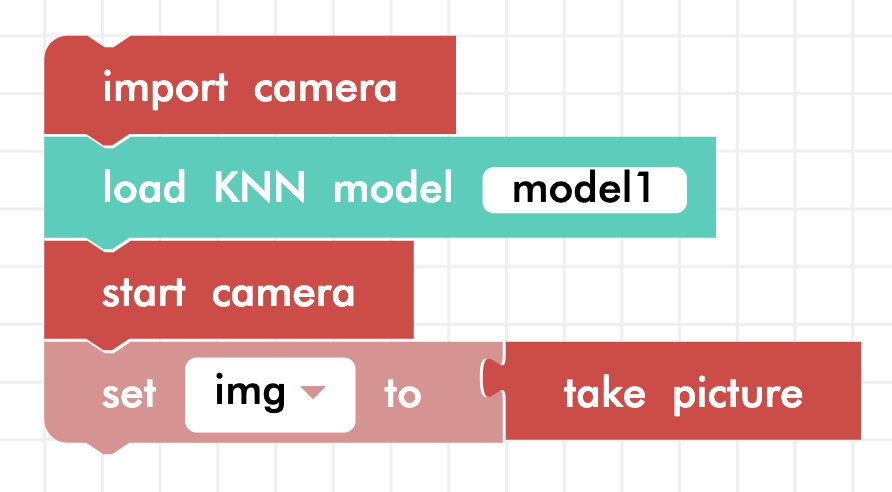
Use the “predict from frame” block and pass in the image. This function will return one of three labels/colors that you trained.
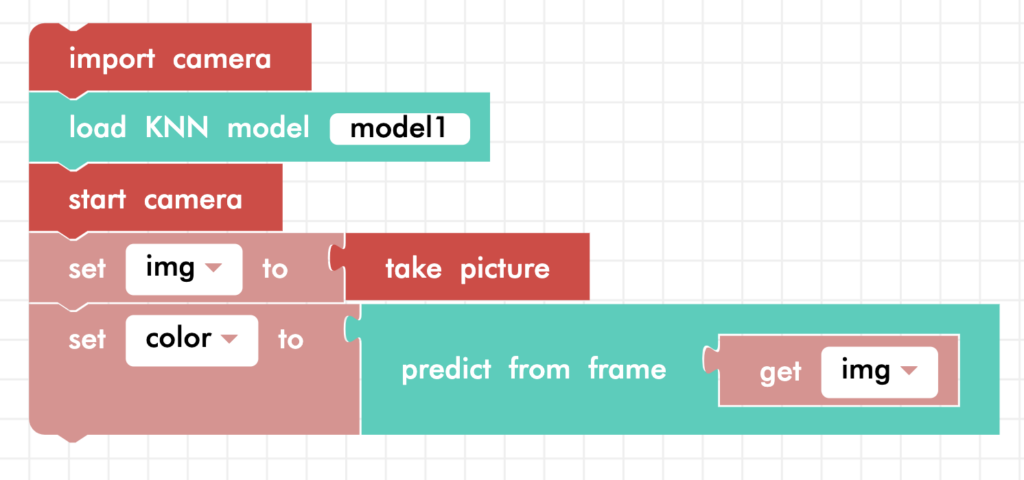
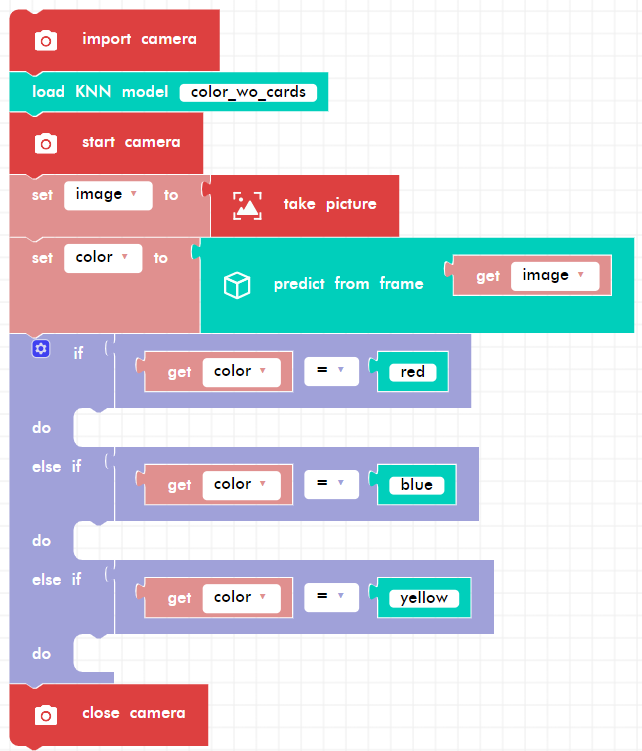
Depending on the color detected, have Zumi react in different ways! Use three if statements, one for each label. In each if statement, compare the value stored in “color” to each of the labels.
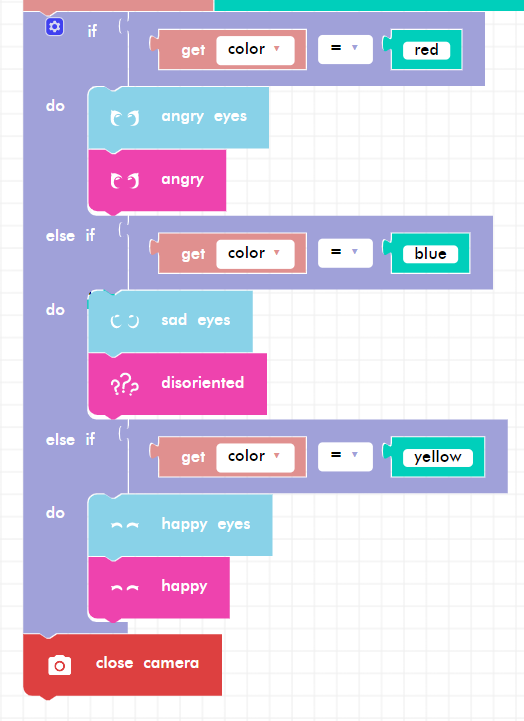
Finally, add in driving or personality for each color! Here’s an example:
Traffic light
Now it’s time to practice for a real-life scenario. Think about a traffic light. There are three colors on the traffic light. What do each of the colors mean?
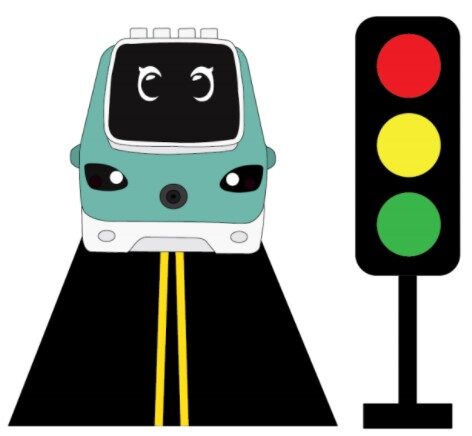
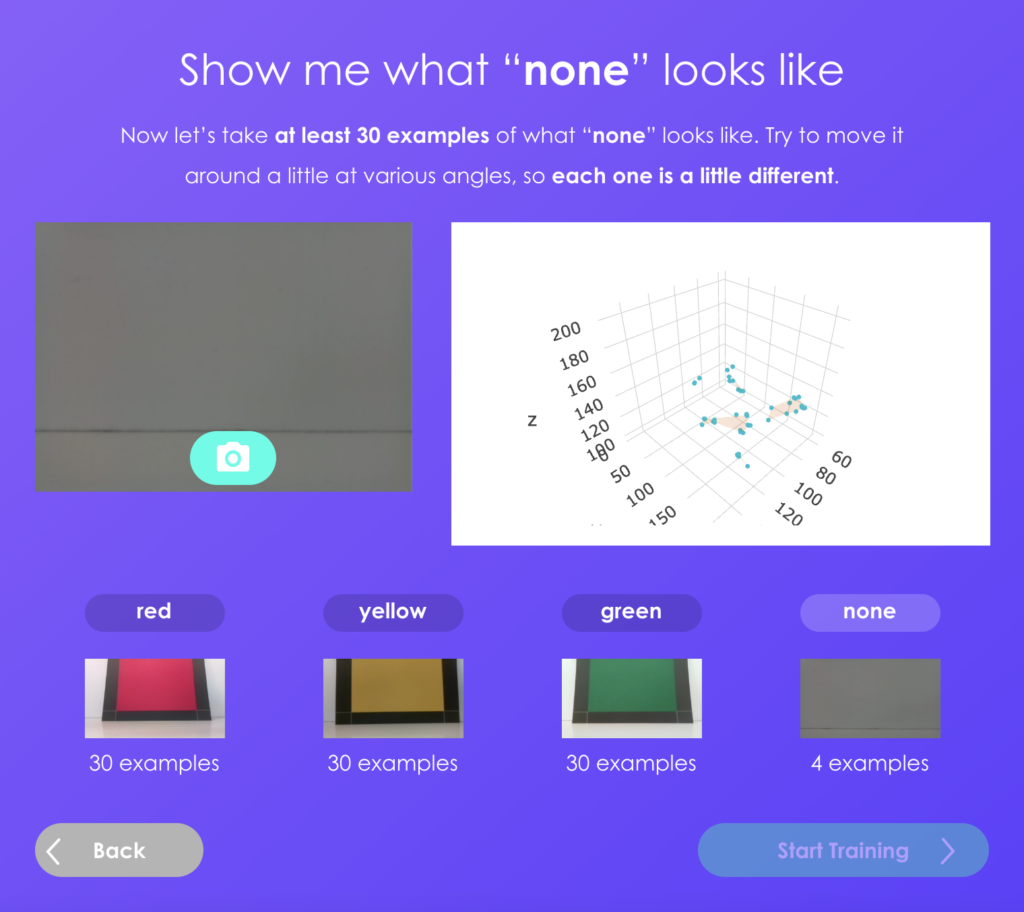
Go back to the Color Training Wizard and create a new model. Don’t worry, it won’t erase your old one! Train the labels “red”, “yellow”, “green”, and “none”. You might be wondering why there’s a none category. You need to show Zumi what it looks like where there is no color card.
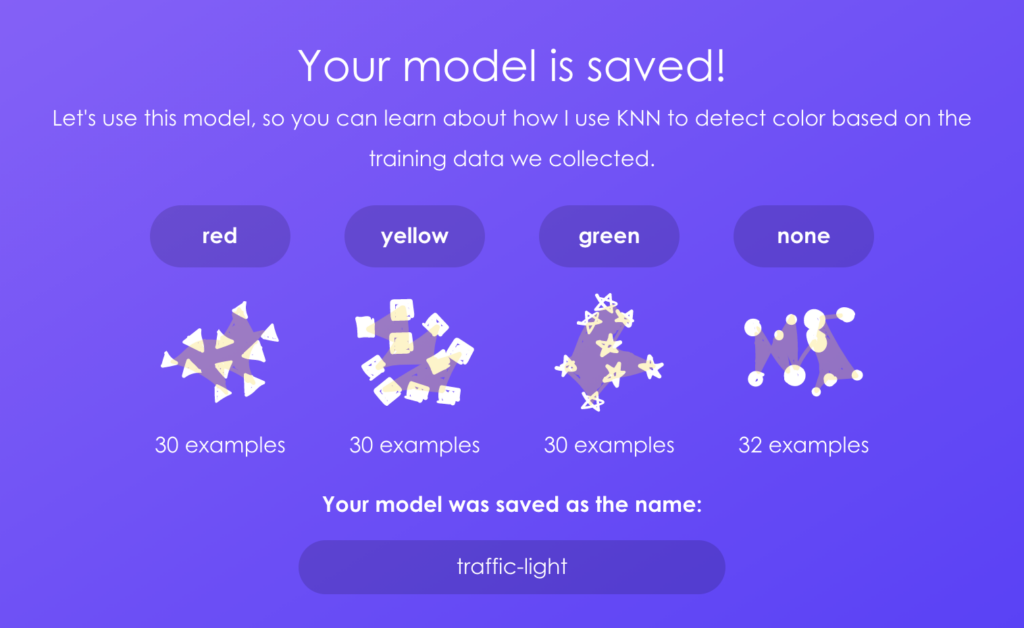
When you are done, save this model as “traffic-light”.
Predicting in a loop
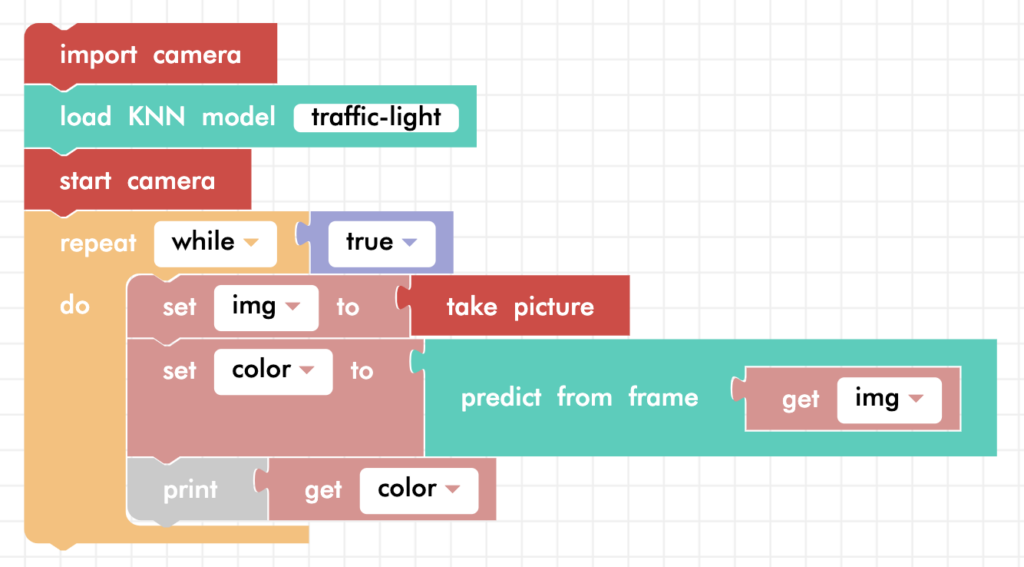
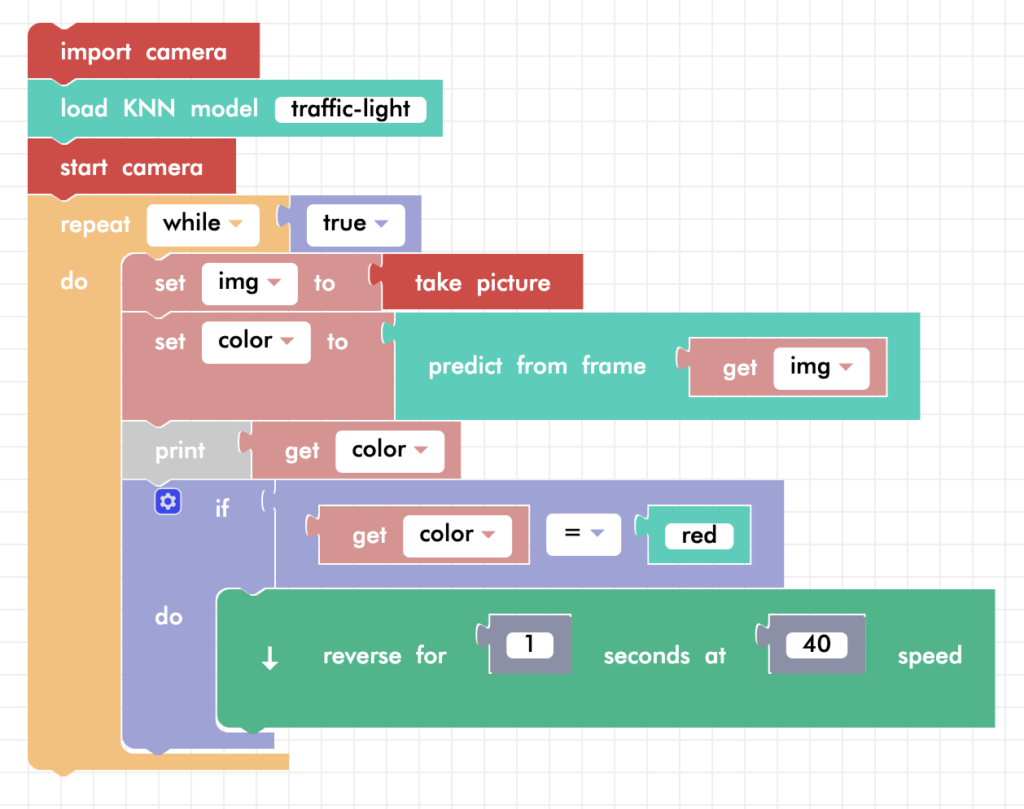
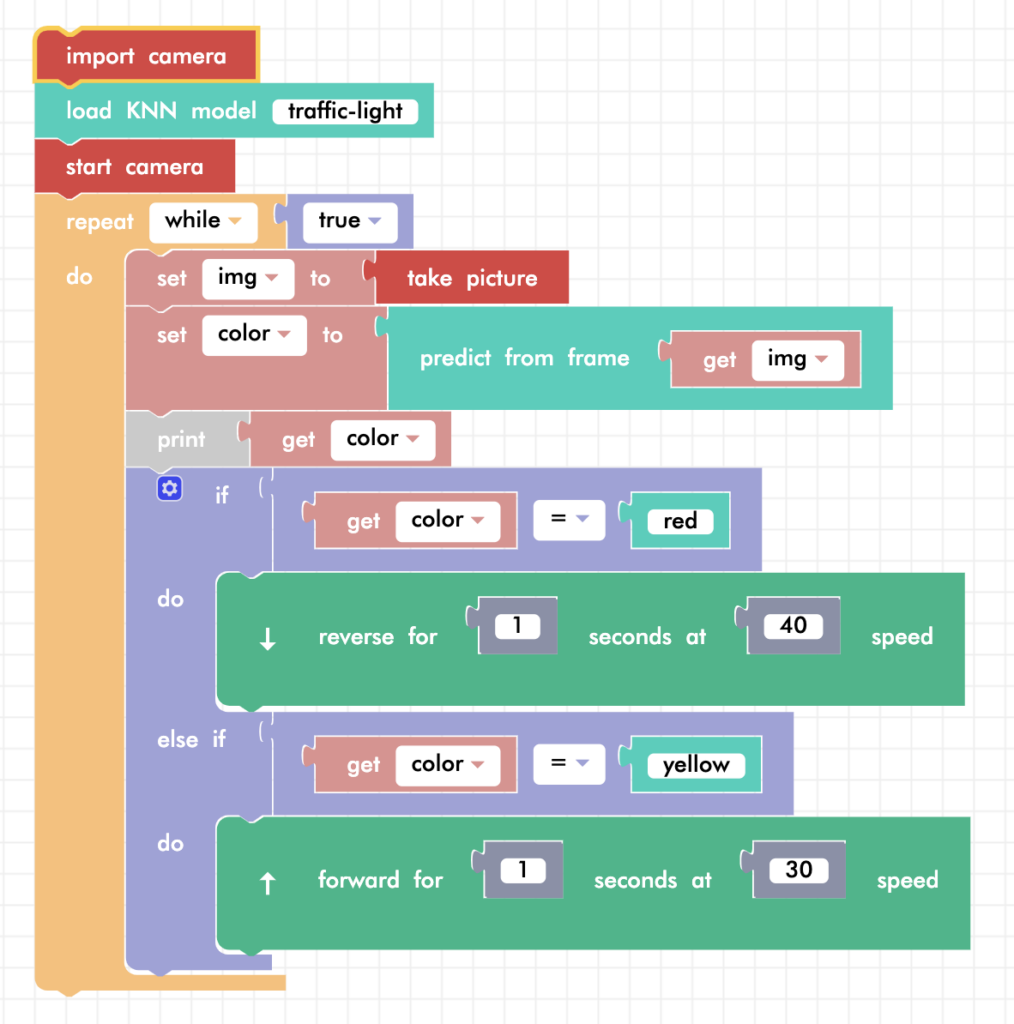
Open a new Blockly project. In this activity, Zumi will back up at the red light, drive at speed 70 if she sees green, and drive at speed 30 if she sees yellow. Since Zumi will need to be checking if the light has changed, you will need to use a while loop while predicting the color. Import the camera and model like before and use a while loop to take pictures and print the prediction.
Insert if statements
Now you need to insert the if statements. First, if the color is red, reverse for 1 second.
Second, add an if statement that will check if the traffic light changes to yellow! Zumi should drive forward at speed 30 for 1 second.
Finally, if Zumi sees green, drive ahead at speed 70!
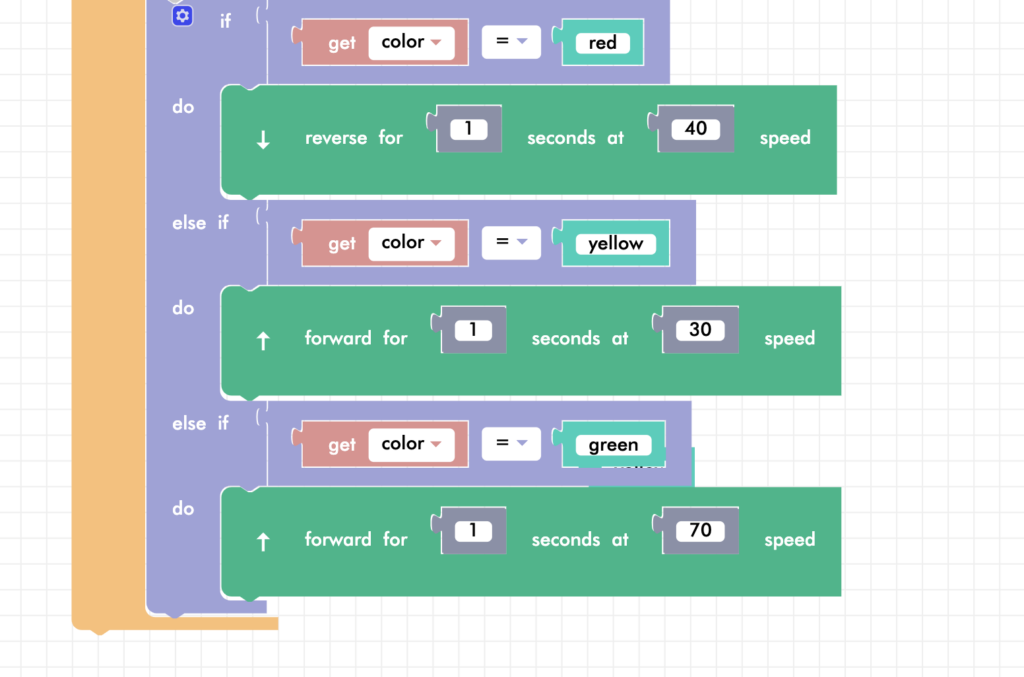
You do need to write anything for the none case!
Tip: To take more time between each prediction, add a wait block at the end of your loop.
Activity: Design your own traffic light
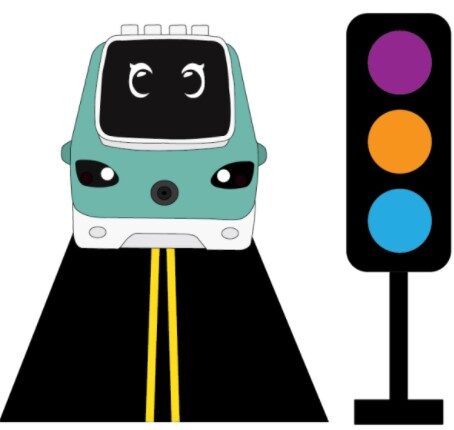
Who said traffic lights always have to be red, yellow, and green? In the real world, these are universal symbols and we should keep them that way, but in Zumi world, you can create your own traffic lights that signal different behaviors. Maybe purple means “do a u-turn”, or blue means “go left”. It’s your world so you get to decide!
Go to the Color Training Wizard in your Zumi dashboard and train three (or more!) colors for your new traffic light. You can go beyond simply stopping and driving. Check out the driving commands lessons or the Zumi documentation for more ideas! Remember your project name and labels because you will need to load the model below when you are done.
Test Your Knowledge
Review The Key Concepts
Solve The Problem
Scenario: Zumi is getting ready to drive on roadways that have traffic lights.
Problem: How can Zumi detect, read, and decide what to do?
Sample Solution
There are many different ways that we can solve the problem listed above. Please watch the following video to review a sample solution completed by Ontario Tech University Engineering Students.
Demo
Code
Common Errors
Errors can also occur while creating a solution to the problem. Please review the video below to view some of the common errors that can occur.
