Ch. 2.4: Alliance Cloud
Alliance Cloud
When to use cloud
The Alliance also provides a cloud service, where users can configure and manage their own virtual machines (VM).
Cloud provides a different type of computing resource than the national clusters. Clusters allow you to run individual software jobs in a large shared computing environments. The Alliance clusters are the default choice for most workflows. A Cloud VM on the other hand, is a smaller, dedicated computing environment that you manage and customize to your requirements.
Compared to many commercial cloud offerings, using the Alliance cloud service is free, and it ensures that your data remains in Canada within a managed, secure environment.
Who should use the cloud service?
- Researchers who need continuously running jobs or services, rather than batch processing.
- Researchers requiring a web portal.
- Researchers who need a VM, need to control their own operating system, and want the ability to customize software stacks.
- Researchers who need to build specialized virtual clusters for big data.
As of this writing, the Alliance clouds are arbutus, beluga, cedar, and graham.
Requesting a VM
Creating a cloud project (PI)
You will first need to have a DRAC account. By default, this does not give you access to a project, a PI must make a request for a cloud project. The steps to requesting a VM are:
- Determine the sizing for your VM. This includes items such as the amount of vCPU cores, vGPUs, VM instances, RAM, storage. Current maximums are available here.
- Review security practices.
- When requesting either a new project or an increase in quota for an existing project some justification, in the form of a few sentences, is required:
- why cloud resources are required, including why a cluster is not suitable
- how the resources will be used efficiently
- Fill out the request form
Requesting access to a cloud project (sponsored user)
- Gather this information from your PI:
- cloud project name
- which cloud the project is on
- Fill out this form, indicating that you are not a PI.
- The PI will then need to confirm your request.
Creating a VM
Once your research group’s PI has finished requesting a cloud project, you can create a virtual machine. In this example, we have a project allocated on the Arbutus cloud. The cloud software is called Openstack.
Here are the steps to create a VM:
- Logging in to Openstack:
Log in on the page for the cloud where you are assigned a project. For example, navigate to the Arbutus Login Webpage. Fill in the fields for your username and password and click the Sign In button.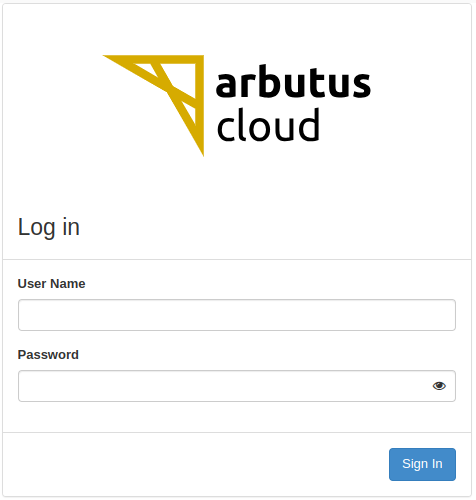
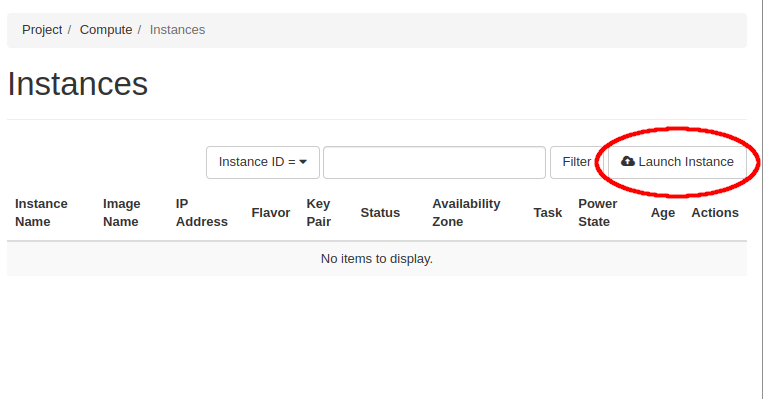
- Configure VM:
Here are the steps to Launch and configure a VM. More details can be found in the Alliance Documentation: - On the cloud management website, go to the Instances page, and press the Launch Instance button.
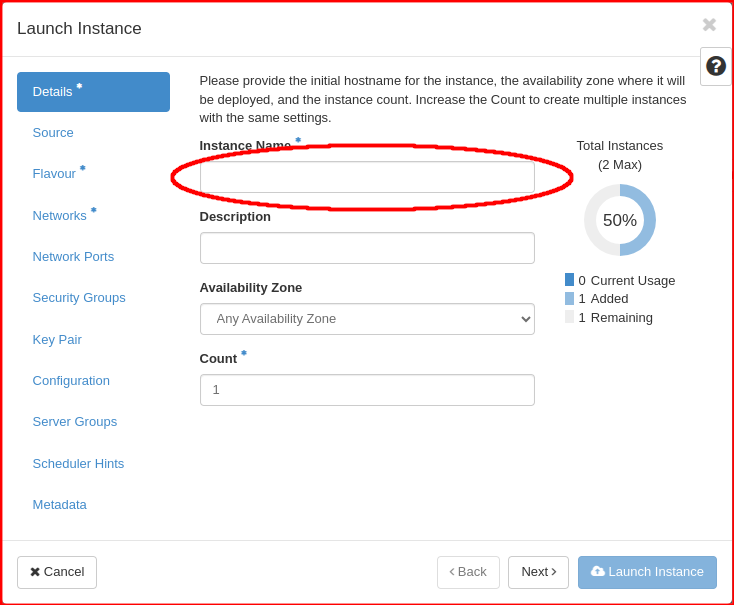
- On the Launch Instance form’s Details page, fill out the Instance Name with your VM hostname.
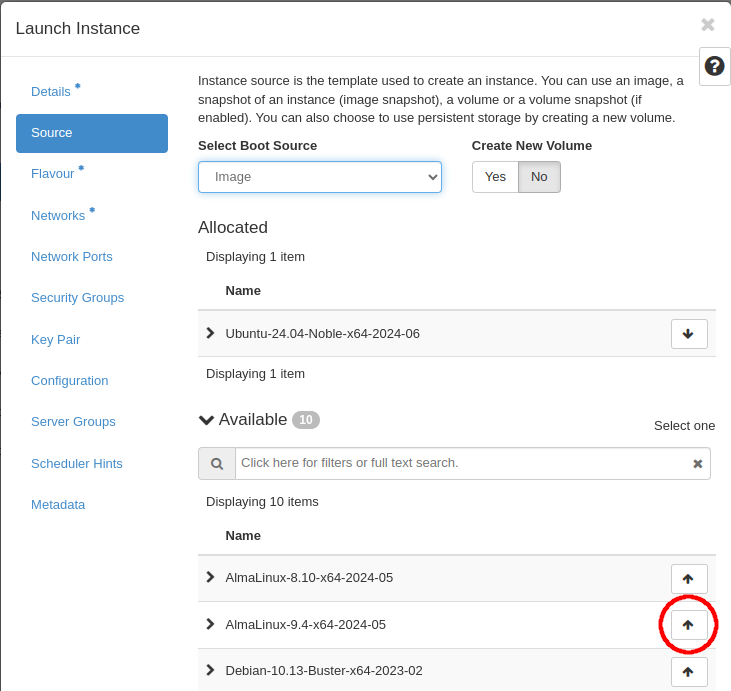
- On the Launch Instance form’s Source page, select your preferred OS by pressing the up arrow of the corresponding image name.
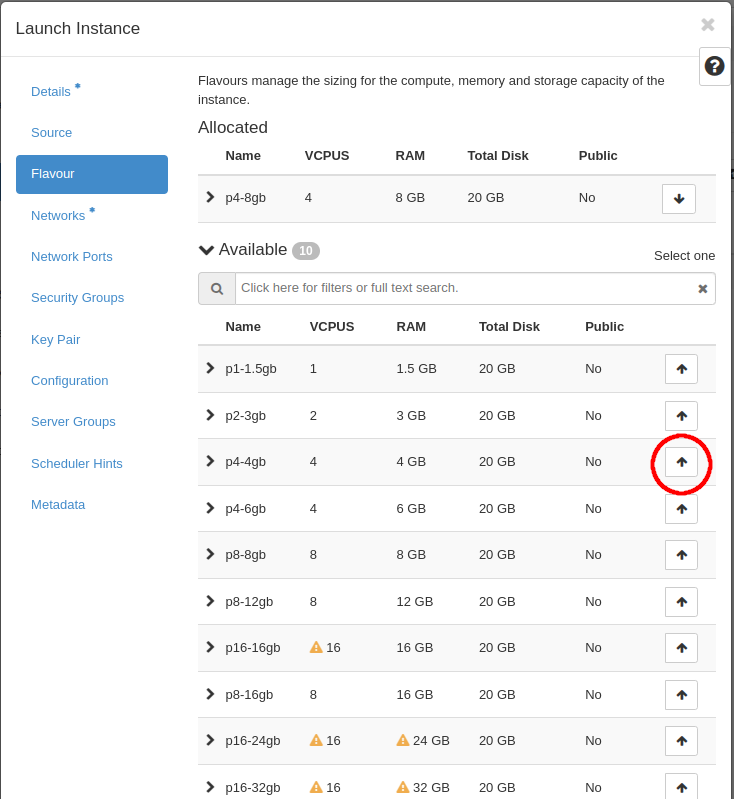
- On the Launch Instance form’s Flavour page, select your preferred VM size by pressing the up arrow of the corresponding flavour name.
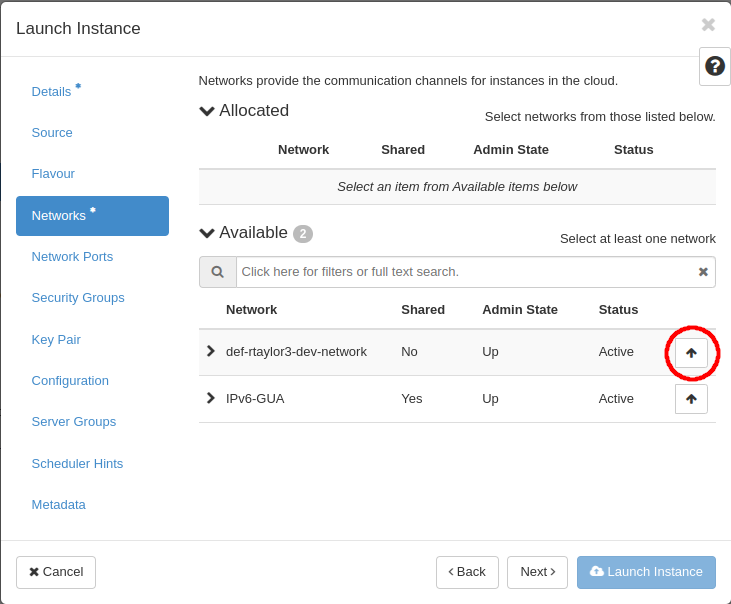
- On the Launch Instance form’s Network page, select the default network for your project by pressing the up arrow of the corresponding network
- Click Launch Instance to create the VM
Assign an IP address
A floating IP address allows your VM to be connected to the internet, including for incoming connections. To assign a floating IP address:
- Select Compute on the left menu then navigate to Instances
- Open the menu dropdown on the right side of your VM’s entry in the instances list, and select Associate Floating IP
- Click the + to the right of the IP Address field to open the Allocate Floating IP dialog. Click the Allocate IP button
- Click the Associate button
Setup firewall:
Security Groups create firewall rules that limit your VM‘s network traffic. This helps to keep your VM secure. You start with one Security Group called Default, which starts with rules that only allow your VM to reach the internet. To allow login connections to your VM:
- Select Network on the left menu then navigate to Security Groups
- Click on Manage Rules for the default security group
- Click the Add Rule button
- Select SSH in the Rule field
- Put your computer’s IP address into the CIDR field, and add ‘/32’ after the IP address.
- Keep your VM secure by reviewing VM security practices
Connecting to a VM
After you finish creating your VM, it will show up on the cloud Instances webpage. Initially, the status will appear as Building, thereafter the status will change to Active when the VM is ready for your use.
You will need to use SSH to login to your VM. By default, the SSH password is not assigned to the user. Instead, you should use the SSH key pair generated during the VM creation process for SSH. An SSH key pair includes two files, a private key and a public key. The cloud stores your public key on the server, and you should safely store your private key on your computer.
The public key is like a lock, and the private key is like the key to the lock. If somebody steals the public key, they cannot unlock anything. The public key only allows access to whoever has the private key.
Connecting to a VM from a Mac
From a Mac computer, you can use a built-in command to connect to your VM. You first need to open the Terminal app, and then type a command similar to this:
ssh -i ~/Desktop/cloud_private.key ubuntu@192.168.1.2Where ~/Desktop/cloud_private.key needs to be replaced with the path to your ssh private key file, and 192.168.1.2 is to be replaced with the floating IP address that you had assigned to your VM. The username ubuntu works for Ubuntu images. The username will differ if you chose a different OS image.
Connecting to a VM from Windows
MobaXTerm is a powerful terminal app for Windows. It allows you to use Linux commands on your Windows PC, and to remotely connect to your Alliance VM and even drag and drop files to and from the Alliance cluster.
You will need to install the free Home Edition of Mobaxterm from this download.
To connect, you need your VM’s username, private key, and IP Address. In this example, we use 192.168.1.2 as the IP address. Replace this with the floating IP that you assigned to your VM. The username ubuntu works for Ubuntu images. The username will differ if you chose a different OS image.
The first time you connect to an Alliance VM, you must setup a MobaXterm session by following these instructions:
- Start MobaXterm, then click the Session button to open the Session settings dialog box
- Click the SSH icon along the top of the Session settings dialog box
- Type your IP address in the Remote host field, select the Specify username checkbox, and type your ubuntu or your VM’s username
- Click the Advanced SSH settings tab in the dialog box
- Select the Use private key checkbox and choose your private key file in the corresponding file selector
- Click OK. MobaXterm will connect to your VM. MobaXterm will save your session. To reconnect, you do not need to fill out the session dialog again. Instead, choose the saved session.
Putty is another common Windows app to connect with Linux servers. Some people prefer to use it. To use Putty, follow these alternative instructions.
Exercises
Virtual Machine
Principal Investigator
Digital Research Alliance of Canada
Random Access Memory
Operating System
