Getting Started with Jupyter Notebooks
Install and test Jupyter Notebooks with Anaconda
2020-01-27 The easiest way to access Jupyter Notebooks at Queen’s University is probably to use the Syzygy Server with your Queen’s netid, however this system may grind to a halt if the whole class tries to use it at once. This was a new service for September 2017, so we kept Anaconda as a backup option. Most students preferred Anaconda running on their own laptops and so do I. A local copy may start up faster than Syzygy, doesn’t require a net connection to work, and makes it easier to store and organize your notebooks locally. Another alternative is Google’s Colaboratory, which is a cool resource available to the world, but just enough different to be confusing.
Downloading and installing Anaconda works for anybody, anywhere, but it takes more time, especially if the whole class tries to download it at the same time. Some Windows users have problems with printing PDFs, and with being unable to save using the MS Edge browser.
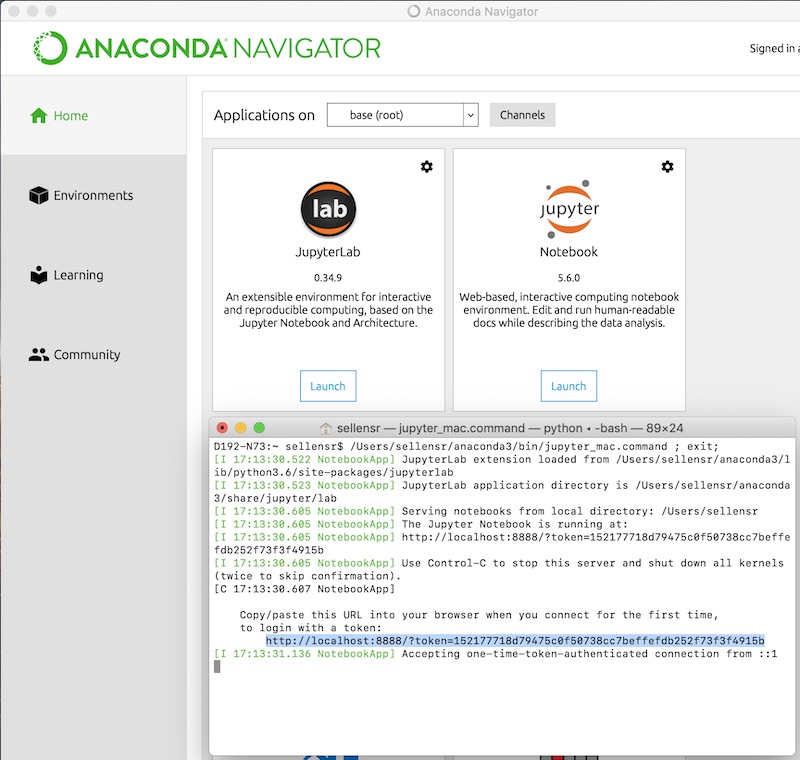
Follow https://www.anaconda.com/download to download and install the latest version of Anaconda for your computer and operating system. Choose the Python 3.7 or higher version. It’s a large download, so do the download and install ahead of class time to avoid the network bottleneck. Be patient with the install process and let it complete without interference. The installer takes quite a while and sometimes looks like it isn’t doing anything. Just start it running and go enjoy a beverage of your choice 😉 Once it is done you should see an Anaconda Navigator link in the Start Menu, possibly in the Anaconda Folder (Windows) or the Application Folder (Mac). Once it installs, run Anaconda Navigator and choose Jupyter Notebook from the menu. You should get something like this:
(N.B. If your Windows install fails for any reason, you may need to run the uninstall program for Anaconda that you’ll find in the Users/userid/anaconda folder in order to start with a clean slate on your next try.)
Learning Sequence
Watch the video below or attend an intro session to cover some basic Jupyter Notebook skills and help you focus on the analysis without worrying too much about learning a lot of Python. This video (11:24) will walk you through some of the basics for right after you have installed Anaconda.
Some of the files referred to in this book can be obtained from a GitHub repository to install, view, and run on your own computer. (Download as a zip and expand at a convenient location on your computer. Avoid using links or aliases in the path to the Resources folder, as Jupyter Notebooks does not follow them successfully in either Windows or macOS (2018-09).)
Downloading the complete package is particularly useful for Jupyter Notebooks and Arduino sketches that rely on having all the component files in the right folders to avoid errors. Check out the example notebooks under Code – Python/Learning Sequence for some samples that will be useful in your course work.
For more help with Python try the tutorials and language reference at python.org or take advantage of the free course at w3schools.com.
You can often find what you want by googling “python” and some keywords. For example, googling “python plots” will immediately lead you to https://matplotlib.org/users/pyplot_tutorial.html and from there it is pretty easy to find your way to https://matplotlib.org/gallery.html for examples of how to do all sorts of plots.
Printing Your Jupyter Notebooks to PDF
The easiest way to get decent PDFs is probably to upload all your files to queensu.syzygy.ca and select File / Download as / PDF via LaTeX (.pdf). This didn’t used to work, but it did today 2018-10-02. Trying to do the same thing using my mac installation of Anaconda also works, although numerous users are reporting problems trying this with the Windows version of Anaconda and could try the detailed instructions below that worked 2018-07.
The elegant way to do it is using LaTex to format the results:
- Download and install either MacTex for Mac or MikTex for Windows.
- Choose File/Download as LaTeX (.tex) from the Jupyter Notebook Menu.
- Open the downloaded zip archive, then open the .tex file with the LaTex Typesetter (TeXShop on Mac, TeXWorks on Windows) and press the “Typeset” button, or choose typeset from the menu. It may ask you to install the caption.sty package, and a whole lot more, so say ‘yes’, or even ‘yes to all’. The typesetting will run faster once the packages have all been installed. (Tested on Mac OS and Windows 10.)
- You will wind up with a nicely formatted PDF of your notebook.
- Resources/Python Code Fragments/Learning Sequence/Notebook Printing Example includes an unzipped example to practice on, as well as a sample of output from the less elegant Chrome File/Print to pdf approach detailed below.
- For even better results add this code to your notebook to produce PDF versions of the figures that will display at higher resolution.
# http://blog.rtwilson.com/how-to-get-nice-vector-graphics-in-your-exported-pdf-ipython-notebooks/
# needs to come after the %matplotlib inline in order to produce high grade LaTeX output
from IPython.display import set_matplotlib_formats
set_matplotlib_formats('png', 'pdf')
The less elegant way is simply to print the notebook directly from the browser. I am using Chrome on Mac. I choose File/Print from the Chrome menu (not the Jupyter menu in the browser window) then choose “save as PDF” as the destination. Works for me… Apparently Chrome on Windows has eliminated the menu bar, but you can still reach the print function through the little dots on far right of the address bar. We tried it on a Windows machine in tutorial and were able to save the notebook as a PDF, then read it using adobe reader. The same approach also works with Safari on Mac.
Updating Anaconda
You probably won’t need to do this during your course, and there is always the simple option of deleting anaconda and reinstalling. If you want to update, try following these instructions.
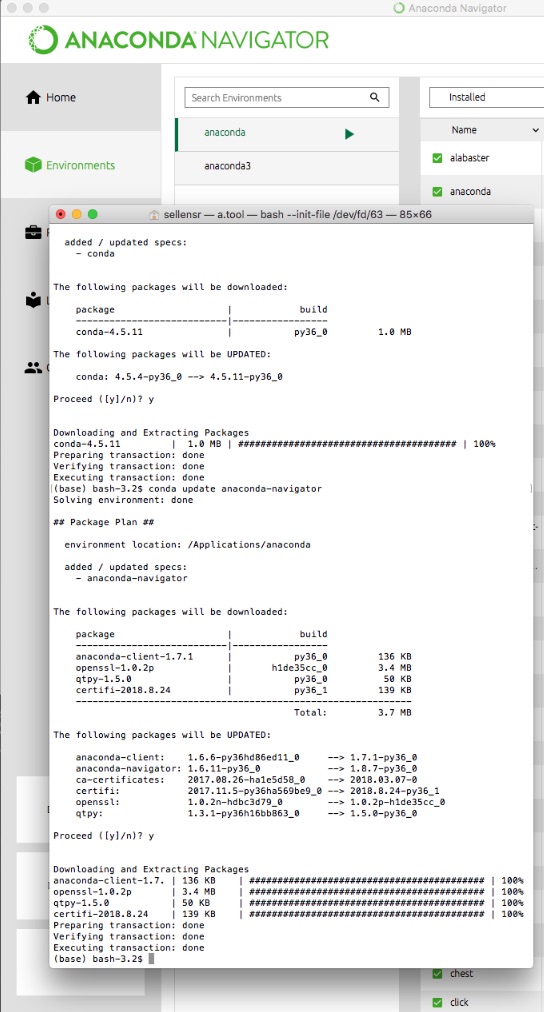
From Anaconda Navigator choose Environments. Select the root environment, probably named anaconda, and open a terminal. First type
conda update -n base conda
and hit return. When you get back to the terminal prompt, then type
conda update anaconda-navigator
and hit return. The session should look something like the image below.
Media Attributions
- First Open Jupyter © Rick Sellens is licensed under a CC0 (Creative Commons Zero) license
- Jupyter Console © Rick Sellens is licensed under a CC0 (Creative Commons Zero) license
- Anaconda Update © Rick Sellens is licensed under a CC0 (Creative Commons Zero) license
